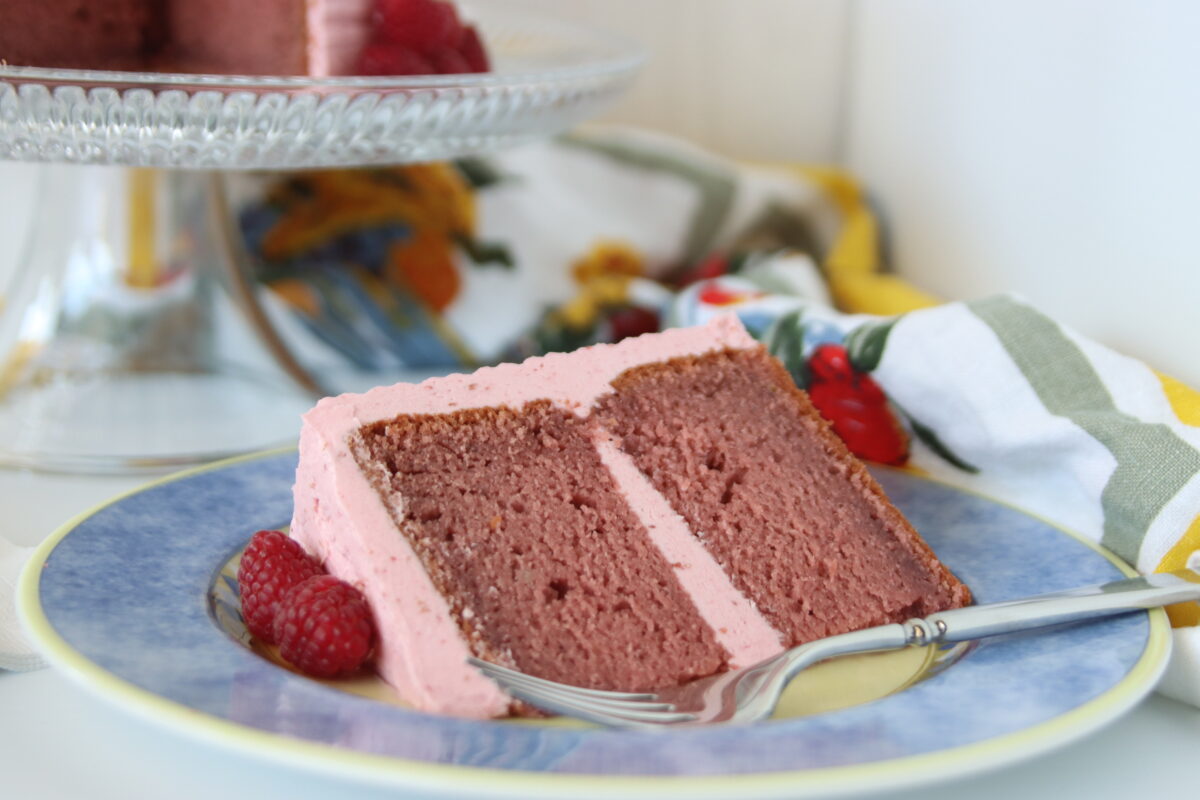
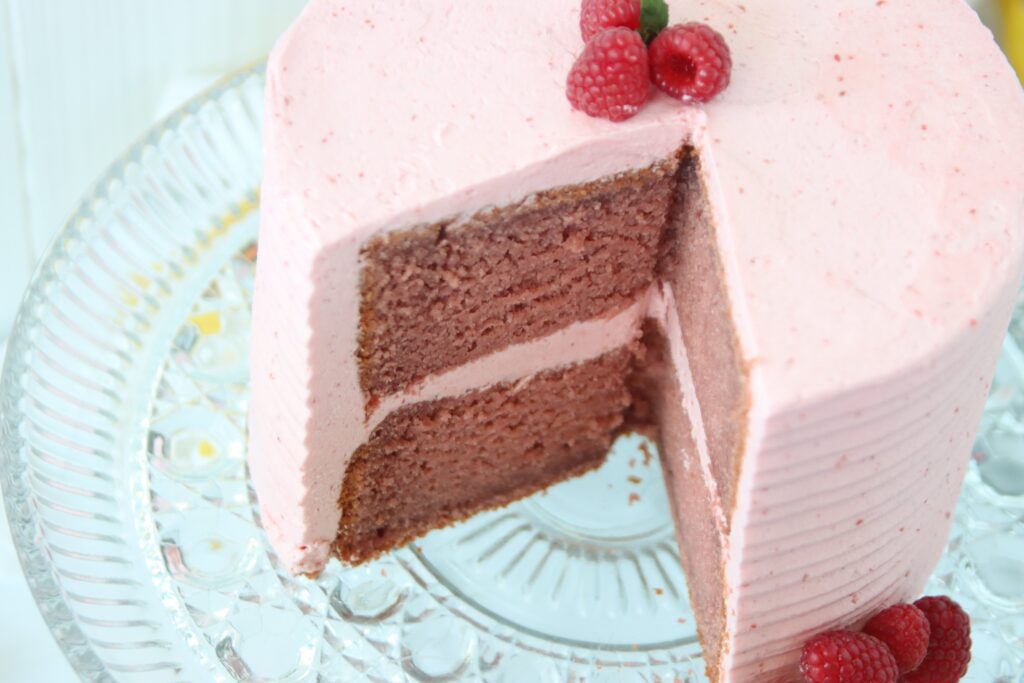
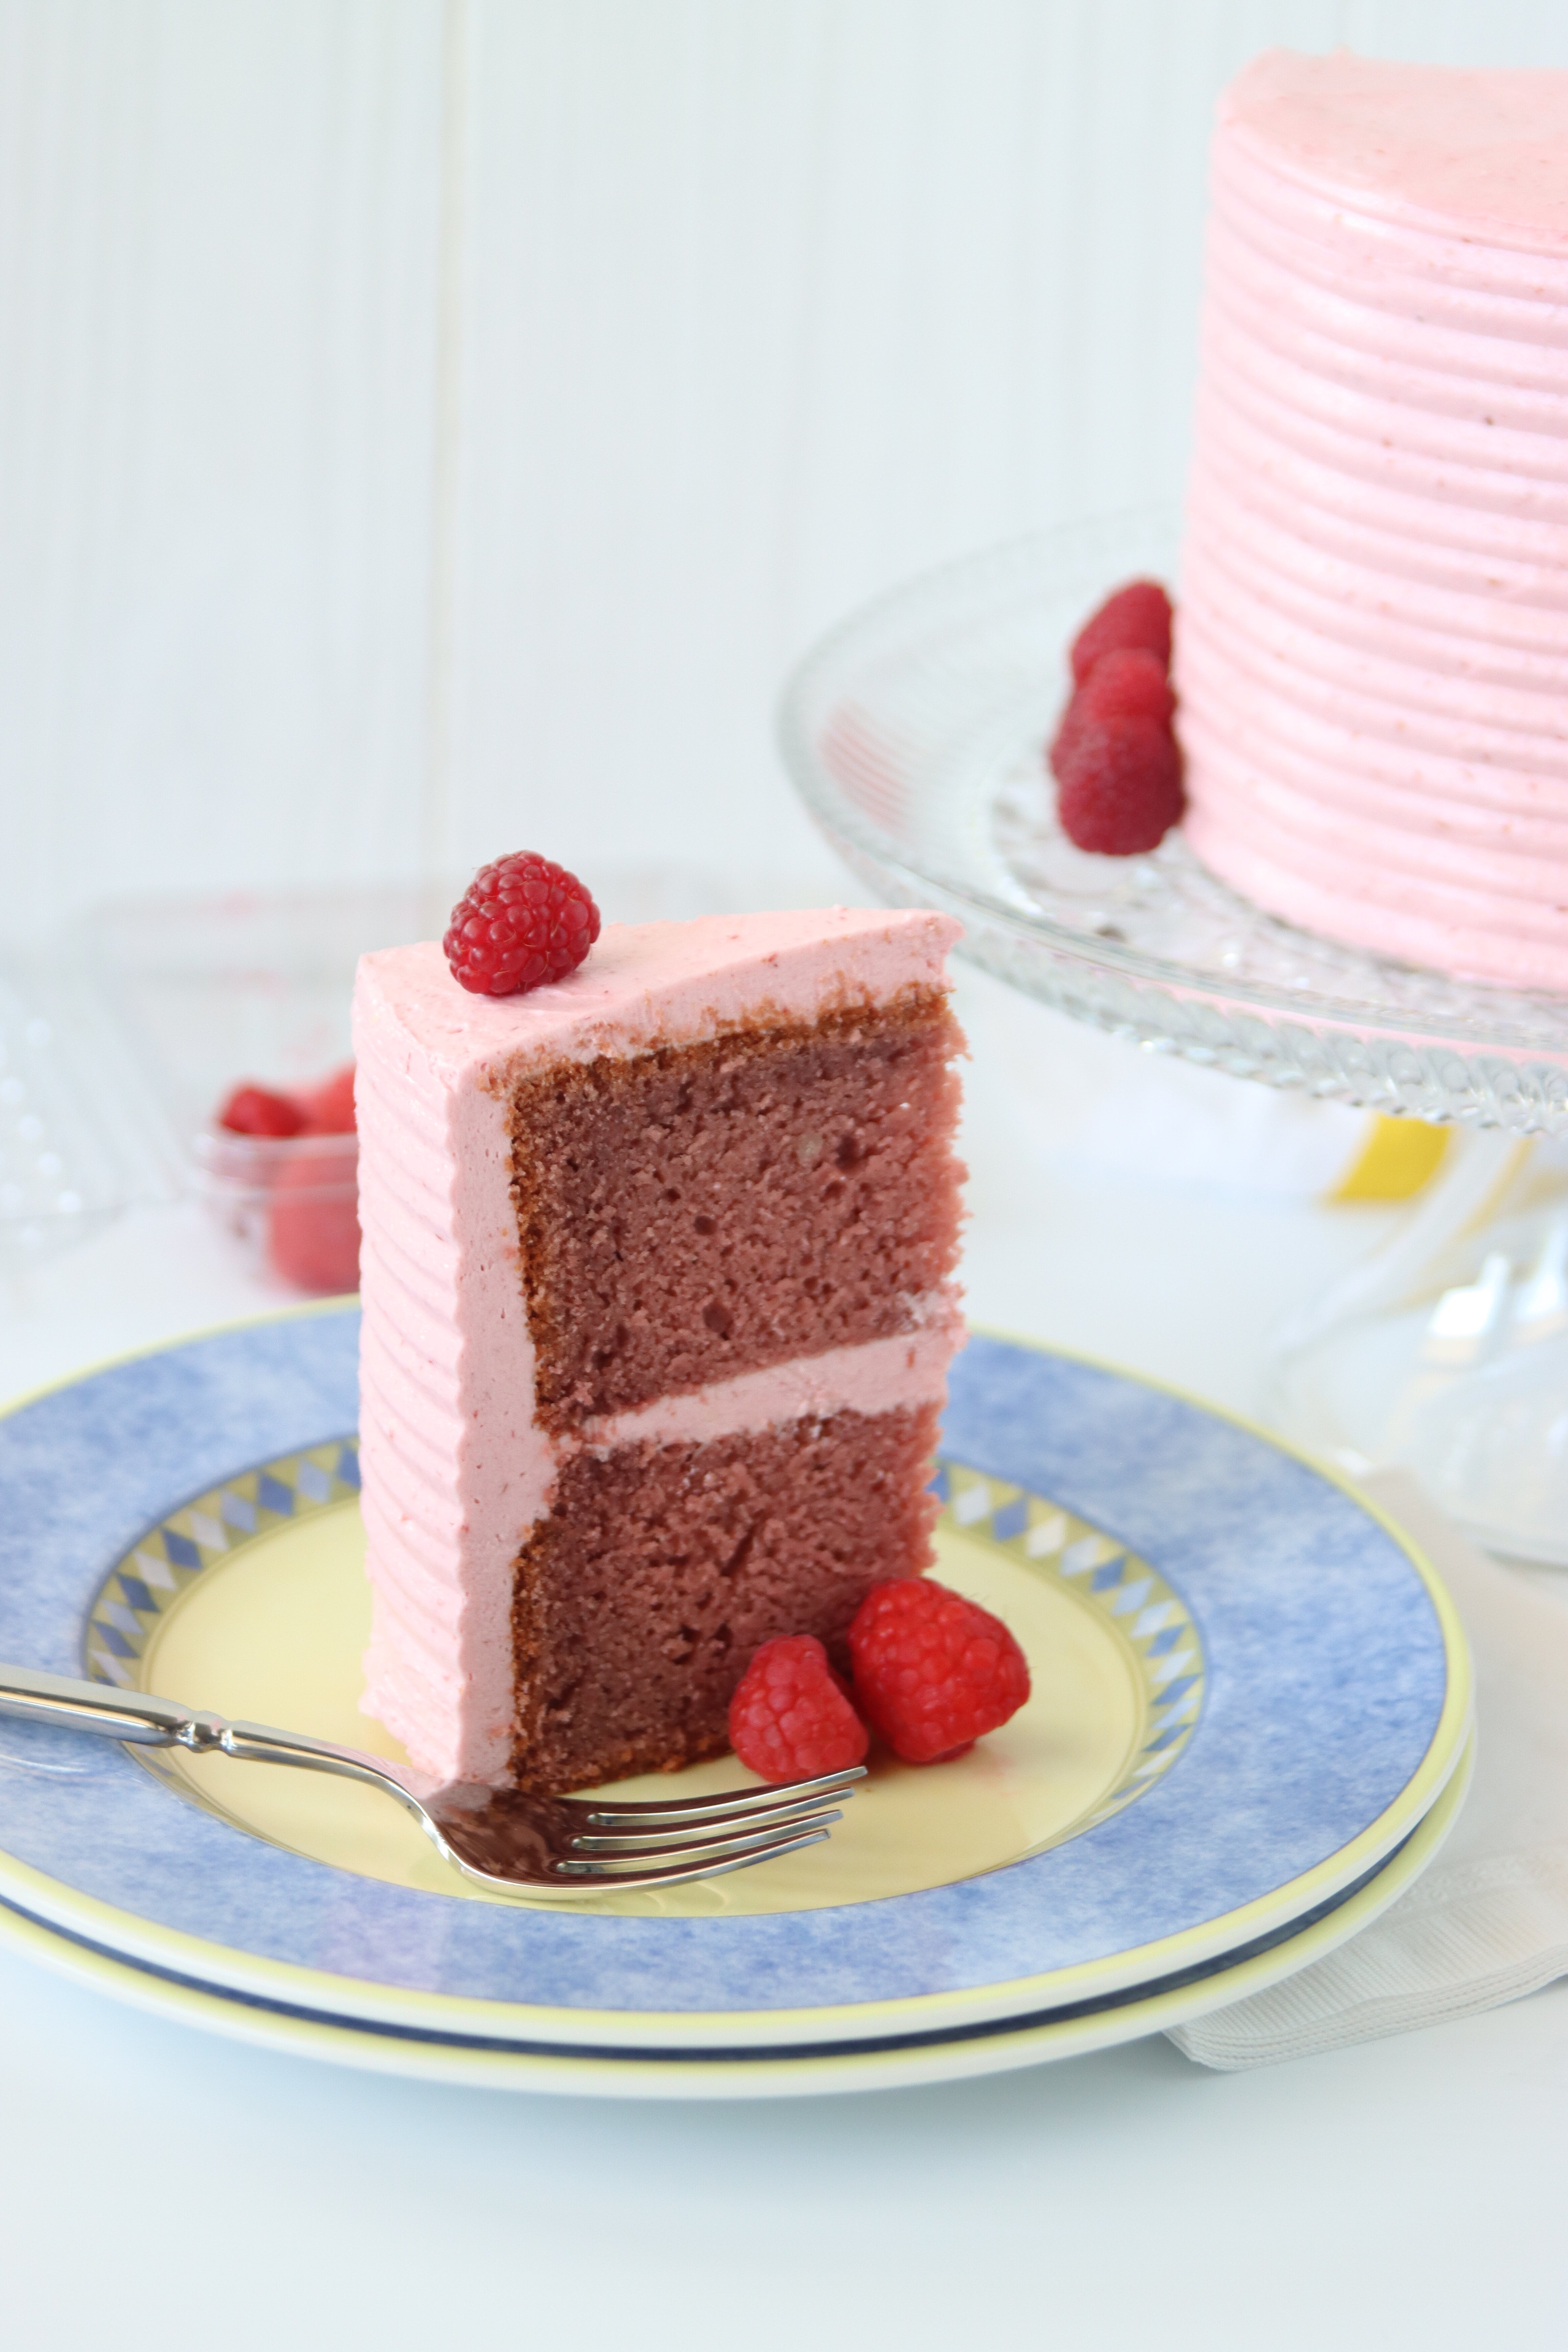
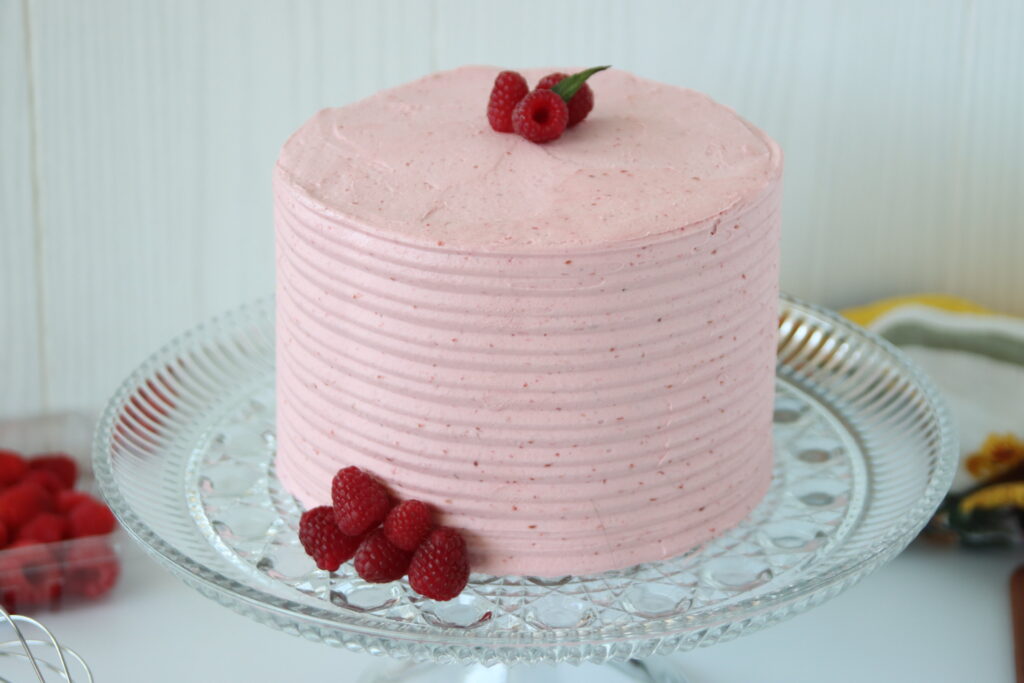
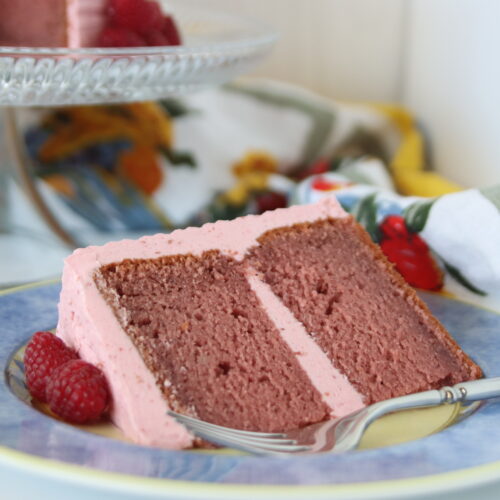
This Raspberry Cake is insanely moist and soft! Made with a raspberry-based batter (instead of most recipes that just have raspberry pieces folded in), this cake gives you fresh raspberry flavour in every delicious bite! Keep reading to find out how you can make this amazing Fresh Raspberry Cake.
The Story Behind the Raspberry Cake:
The Occasion:
I created this recipe in July of 2021, when my grandparents visited for the first time since before the pandemic. My family moved houses during the pandemic and none of my relatives had seen the new house yet. So, once we were all fully vaccinated, we invited my grandparents to come visit; basically the first family members to visit in over a year.
It was definitely an exciting weekend. Not only was it the opportunity to finally show off our house to our family, but we also hadn’t seen them in forever! My family kept very Covid-safe, so the only time we saw our relatives in-person were during porch visits, which were very rare occasions since they live 3 hours away! I’m pretty sure we only had like 2 porch visits total in the entirety of the pandemic up to this point!
Now that all of us were finally doubled up on our vaccinations (and at least 2 weeks out from it), we had my grandparents visit. And, being the cake-maker I am, I had to make them a welcome cake.
The Decision:
I had an extremely hard time figuring out what kind of cake to make. It was only a few hours before I made the cake when I finally decided what flavour to go with!
The night before, we ruled out chocolate (we have it too often, apparently), vanilla (still haven’t found THE vanilla cake recipe and all the others are only meh), and practically every other flavour I could come up with! It’s summer so it can’t be apple cinnamon or pumpkin. Funfetti is too childish. Red velvet uses up too much food colouring…. The list goes on and on!
I also knew that I wasn’t going to make more frosting since we had leftovers from the past TWO cakes still sitting in the fridge. In addition, I had leftover Pineapple Curd from my mom’s birthday cake to use up. And we had plenty of other berries – and even frozen cherries – to choose from!
So, after debating what fruit goes in what component of the cake (Should we mix the pineapple curd in the frosting? Make a cherry cake? A raspberry filling?), I finally settled on this. A plain vanilla buttercream from the leftovers, the pineapple curd filling as it is, and a raspberry cake. It was probably the easy way out since the only new thing I had to make were the cake layers, but I was short on time.
Does Raspberry Cake Exist?
But, how does someone go about making a Raspberry Cake? None of the recipes I found in my google search were what I was looking for. I didn’t want raspberry pieces in a vanilla cake. I didn’t want a raspberry filling or frosting. What I wanted was a raspberry flavoured cake, made from the fresh raspberries that were going mushy in the fridge, and not from some weird raspberry extract that I definitely did not have.
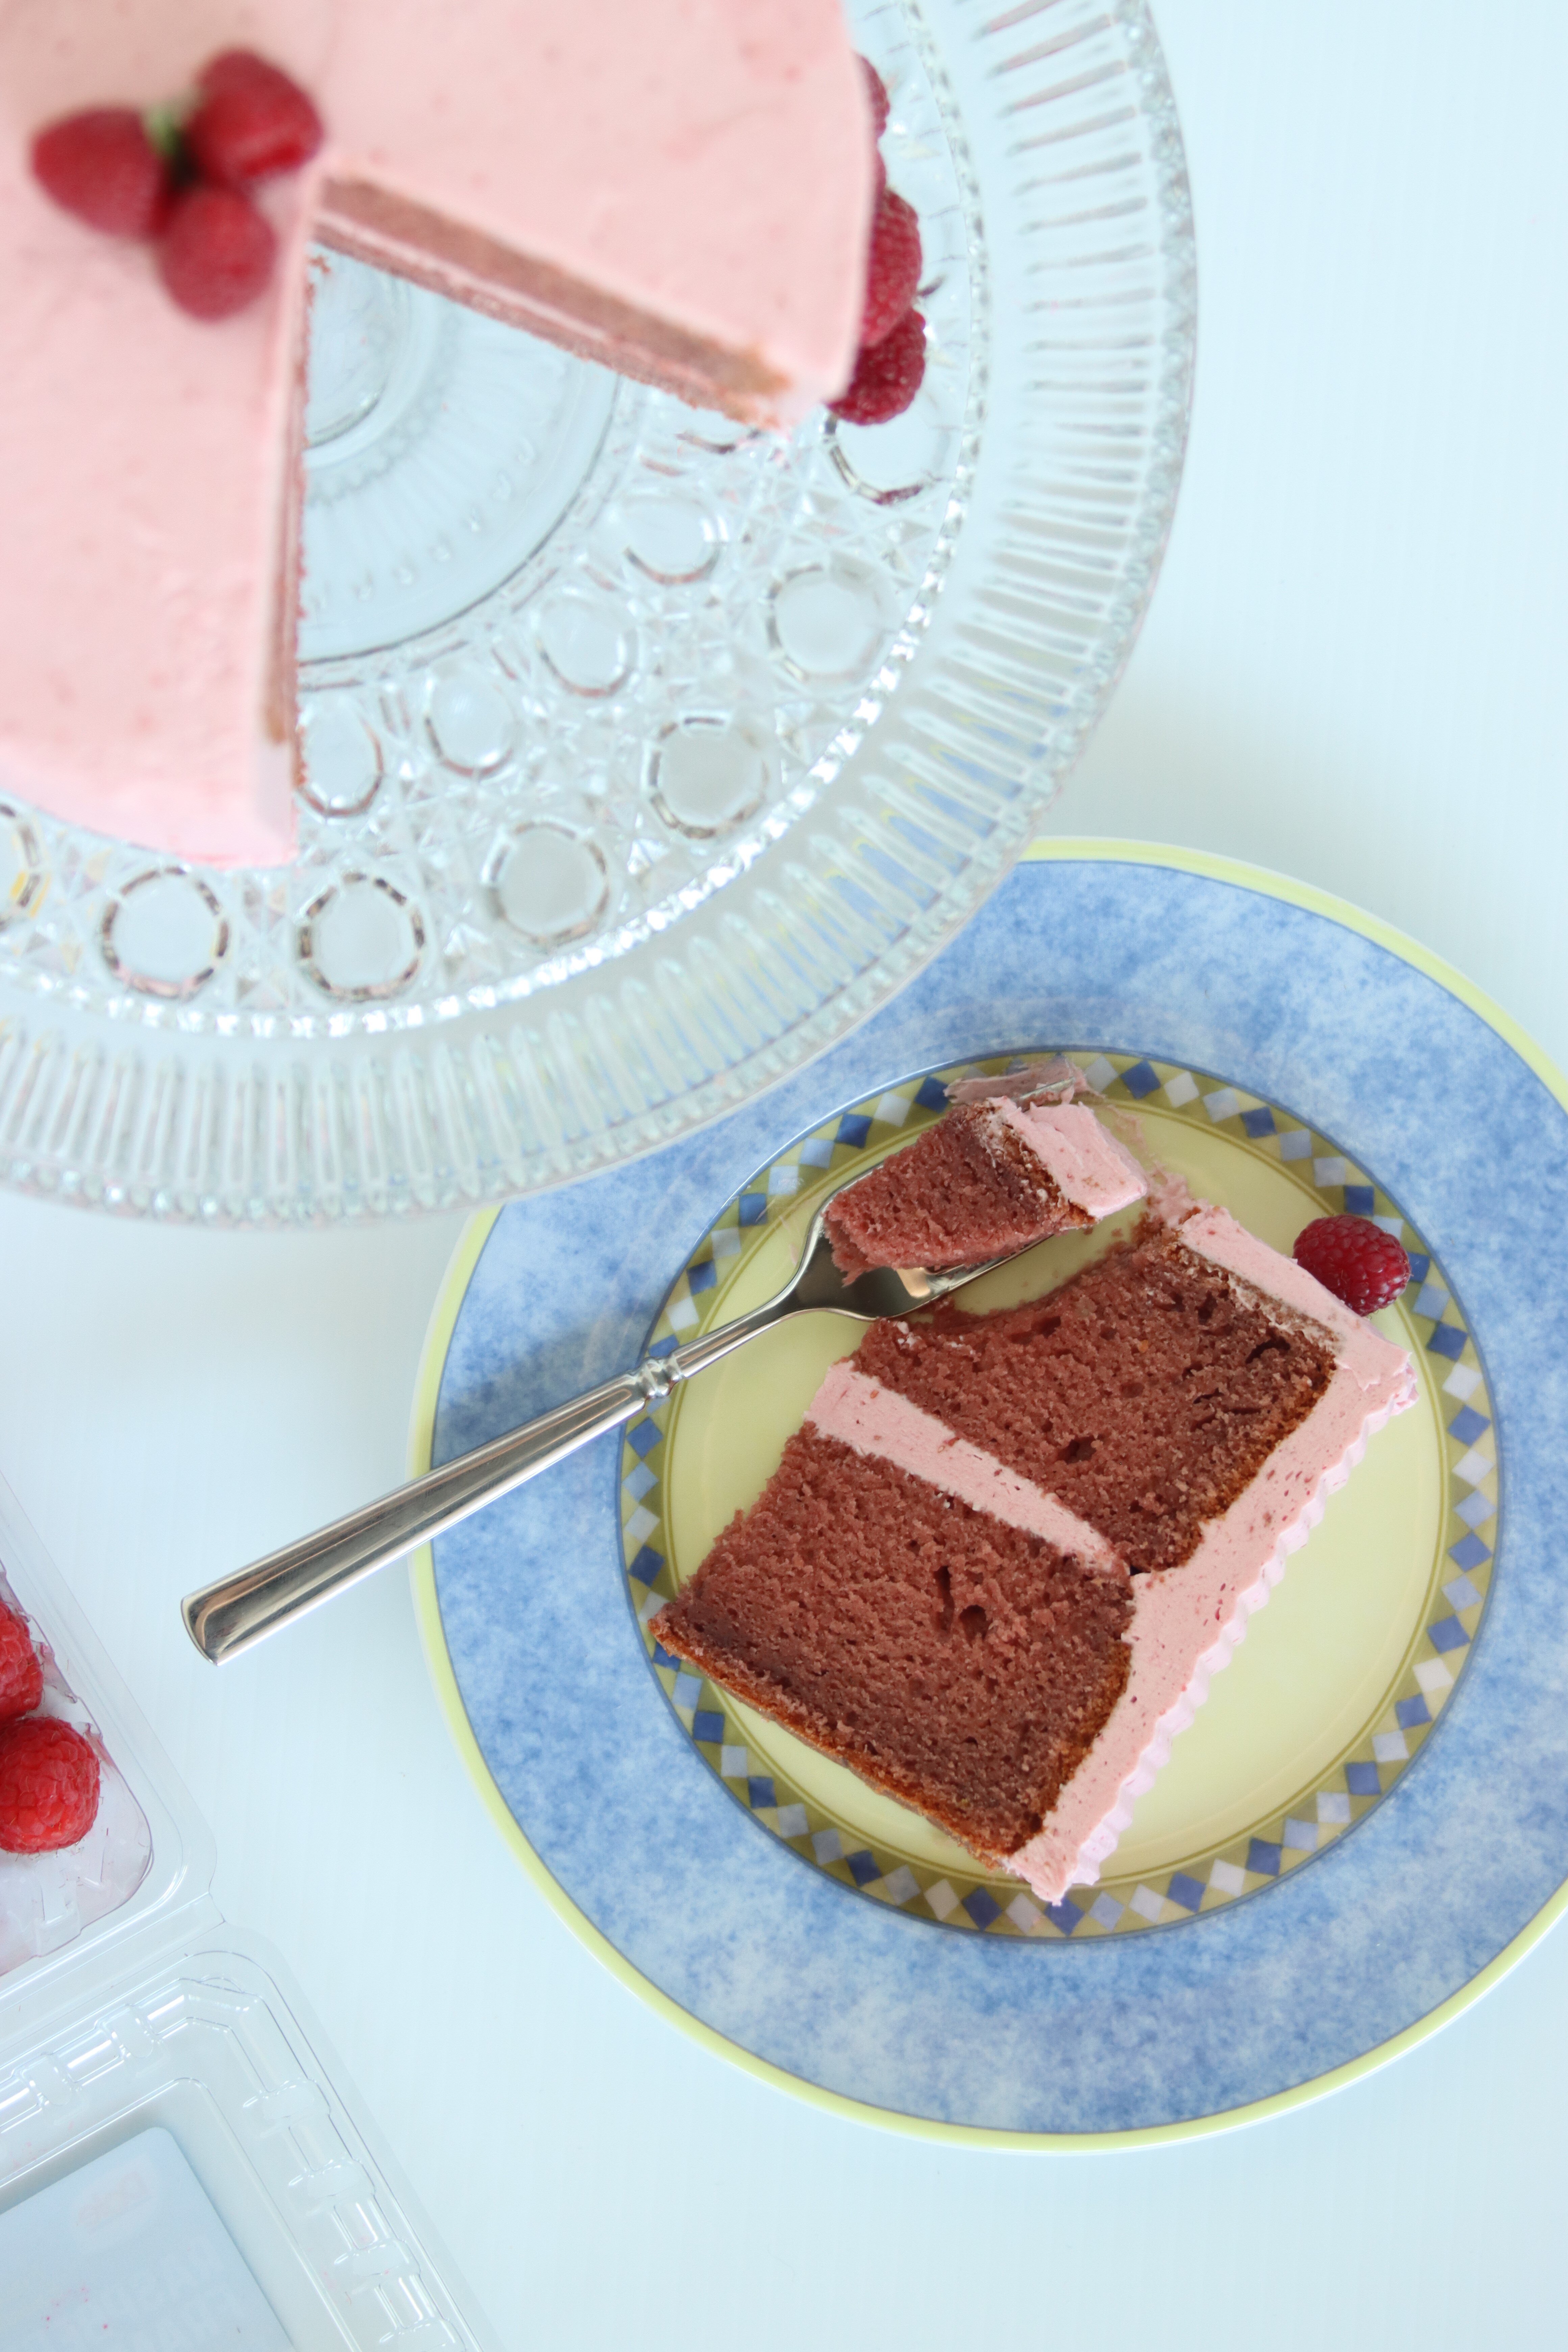
So, I used my Apple Cake recipe. My amazing, absolutely perfect, insanely soft and moist Apple Cake recipe. If you haven’t checked it out already, you definitely should by clicking right here. But, obviously, I changed the apples to raspberries.
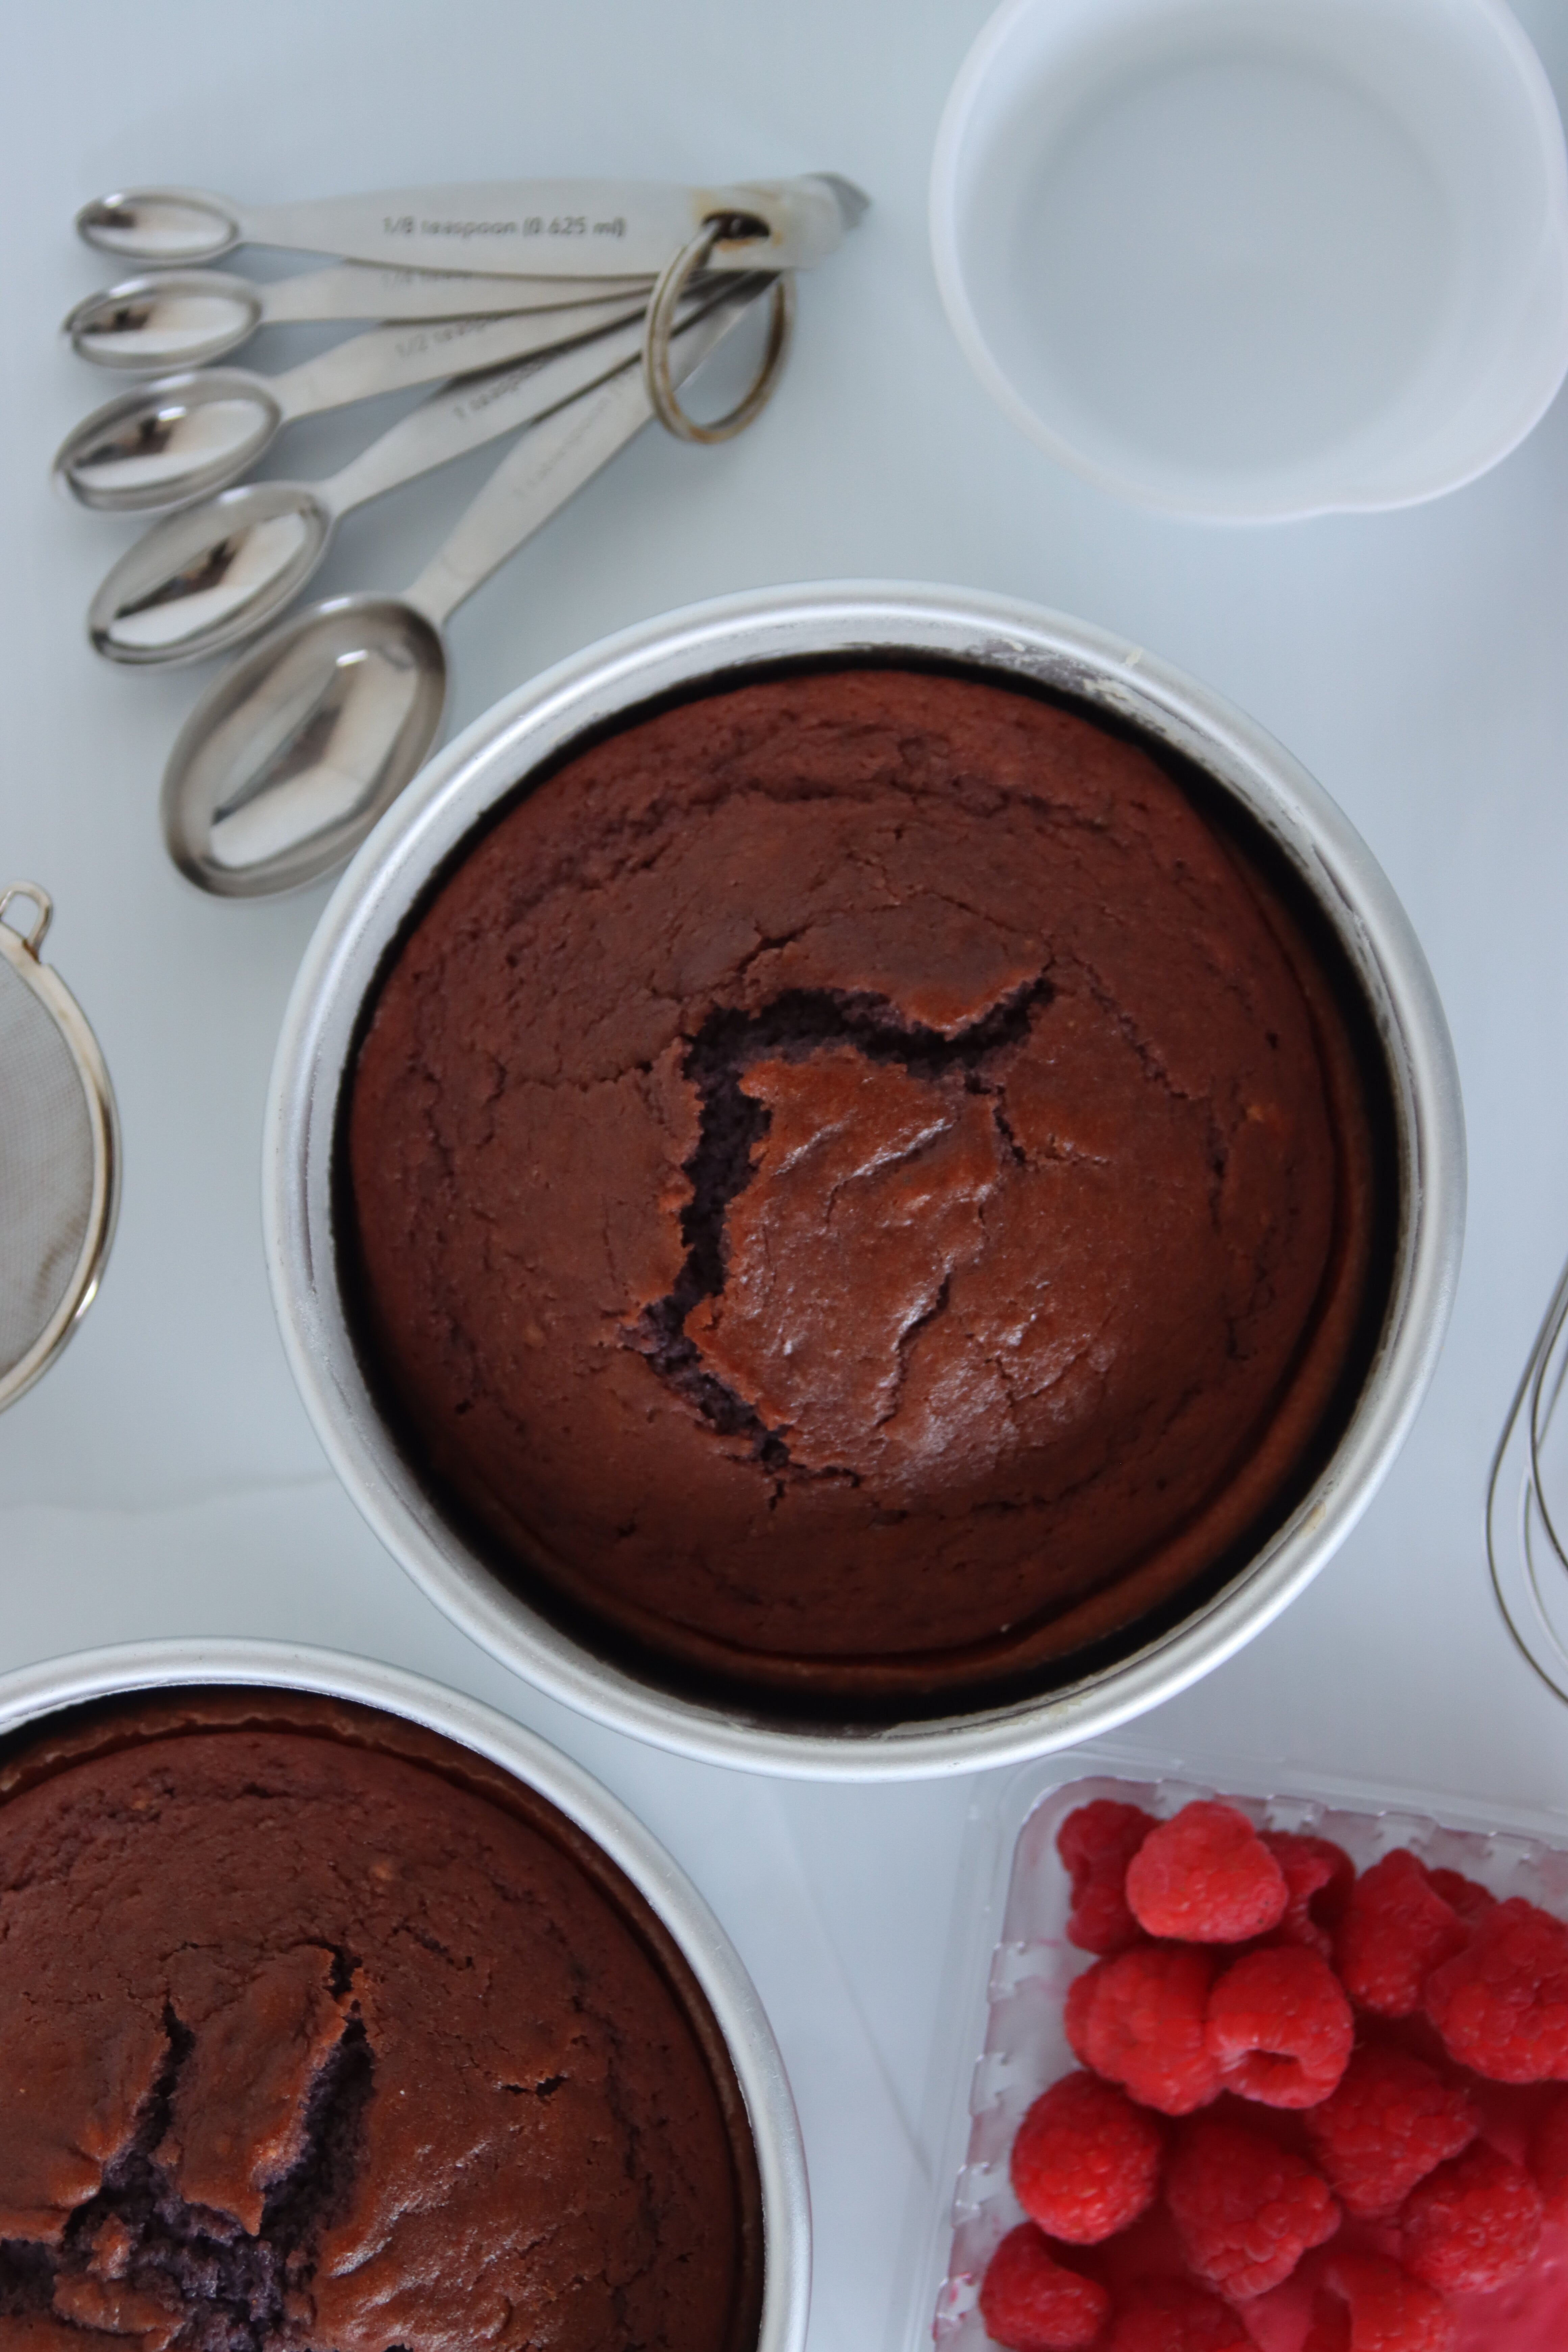
Raspberry Reduction:
To get the amazing raspberry flavour in this cake, you make a raspberry reduction. You do this by cooking the raspberries over medium heat with a pinch of sugar and a splash of lemon juice. This will take a little bit of time, probably about 20 or so minutes, so I usually start the batter while it’s cooking, and go back to stir it every few minutes. Afterwards, I strain out the seeds as I pour it into the batter.


Cake Batter Base:
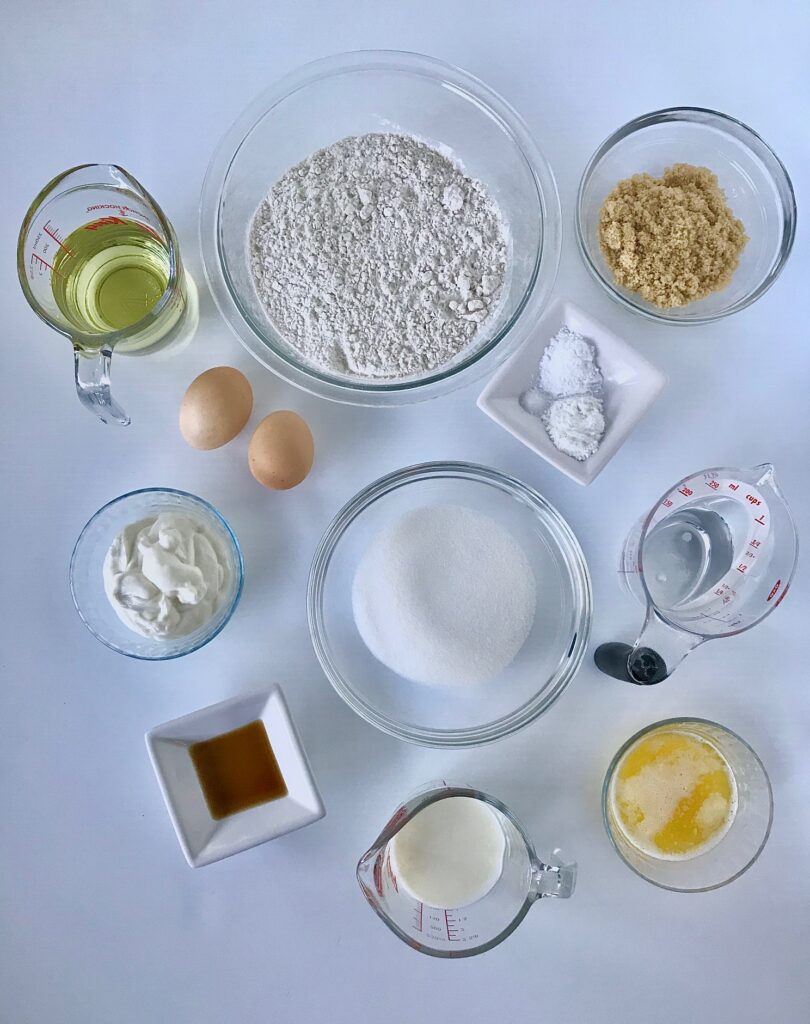
The batter starts by whisking the egg yolks with the sugars. Normally, cake recipes cream the sugars with butter, but for this recipe, we’re using liquid fats. I find that the creaming method results in a bit of a denser cake, and this method has always given me perfectly moist results. This mixture will be pretty dry since there’s more sugar than egg yolks, but don’t worry we’ll thin it out into a liquid. We’ll also be needing the remainder of the eggs – the whites – so be sure to hold onto those.
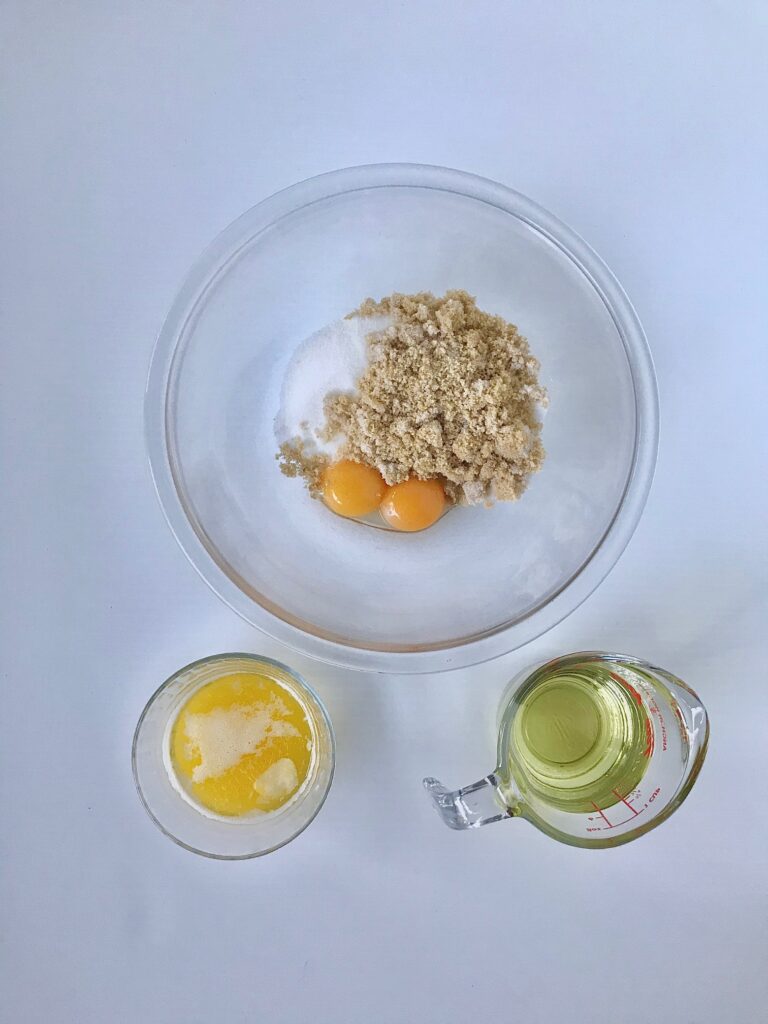
Next, you add the liquid fats. I use a mixture of various fats, and sometimes I even use melted Crisco. This time, I decided to use mostly oil since that provides cakes with a lot of moisture. In my apple cake recipe, the reduced apples, or apple mush as I call it, is much thicker than the reduced raspberries (which turns out to be mostly juice and seeds), so I use the oil to add in the moisture that the thinner fruit addition might reduce. The other fat is melted butter, which gives the cake more stability.
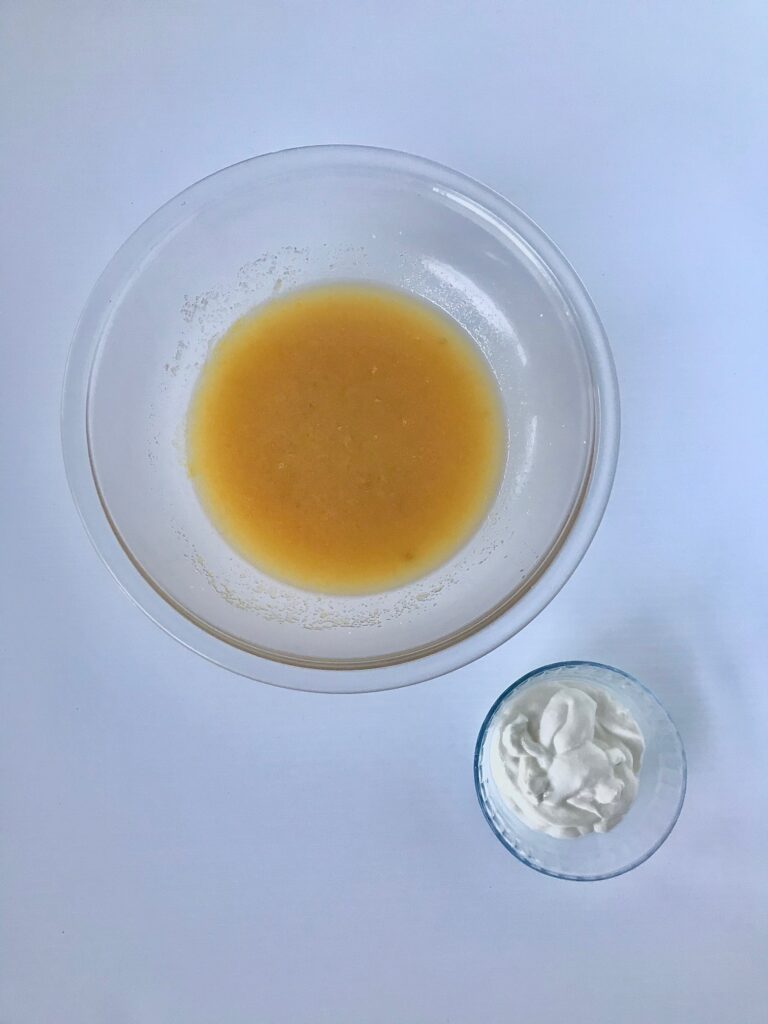
After that, we whisk in the sour cream, which helps give nice and rich dairy undertones, and adds more fat content to get the wonderful moist texture we’re looking for.
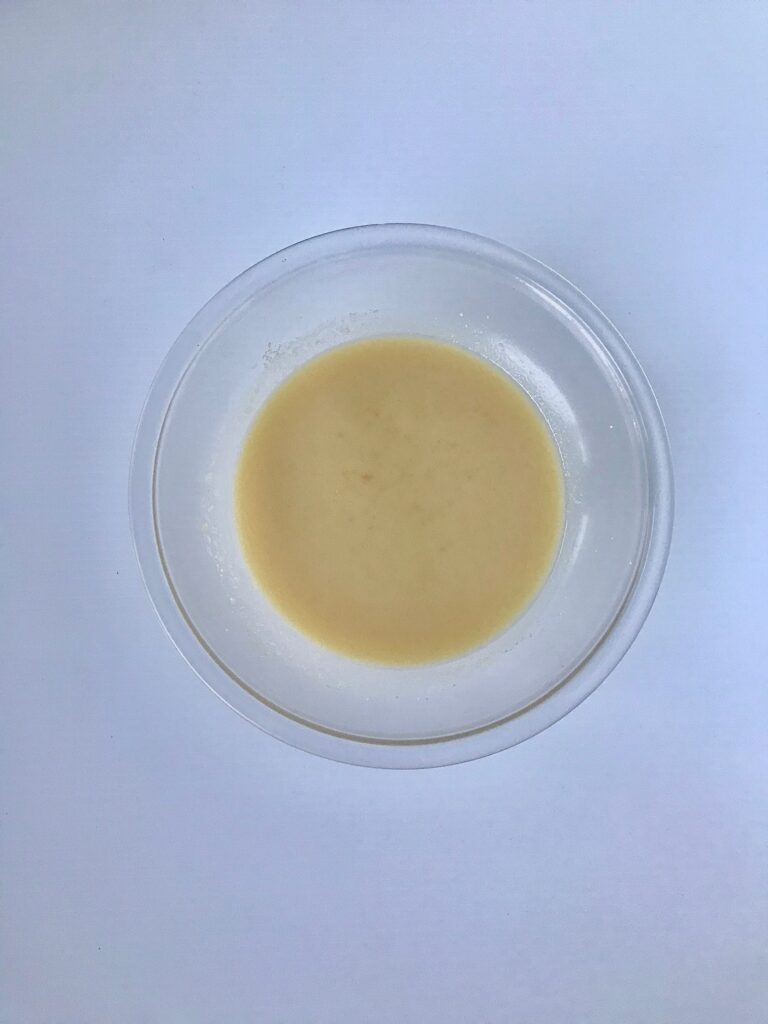
Normally, I’d also add in the reduced fruit at this point (like in my apple cake). However, since this is a much thinner liquid rather than a thicker paste, I fold it in at the end.
Dry & Wet Ingredients:
Now that our batter base is finished, we continue like most standard recipes by alternating whisking in the dry and wet ingredients.
Dry Ingredients:
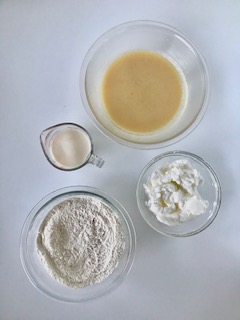
For our dry ingredients, we whisk together flour, baking powder, baking soda, and salt. This takes care of our cake structure, part of our leavening agents (remember those egg whites we were talking about earlier?), and a little bit of a sweetness cutter that helps bring out the flavour of the cake. In my apple cake recipe, we’d also add in all sorts of delicious spices here, but raspberry flavour doesn’t go well with nutmeg. At least, I don’t think it does.
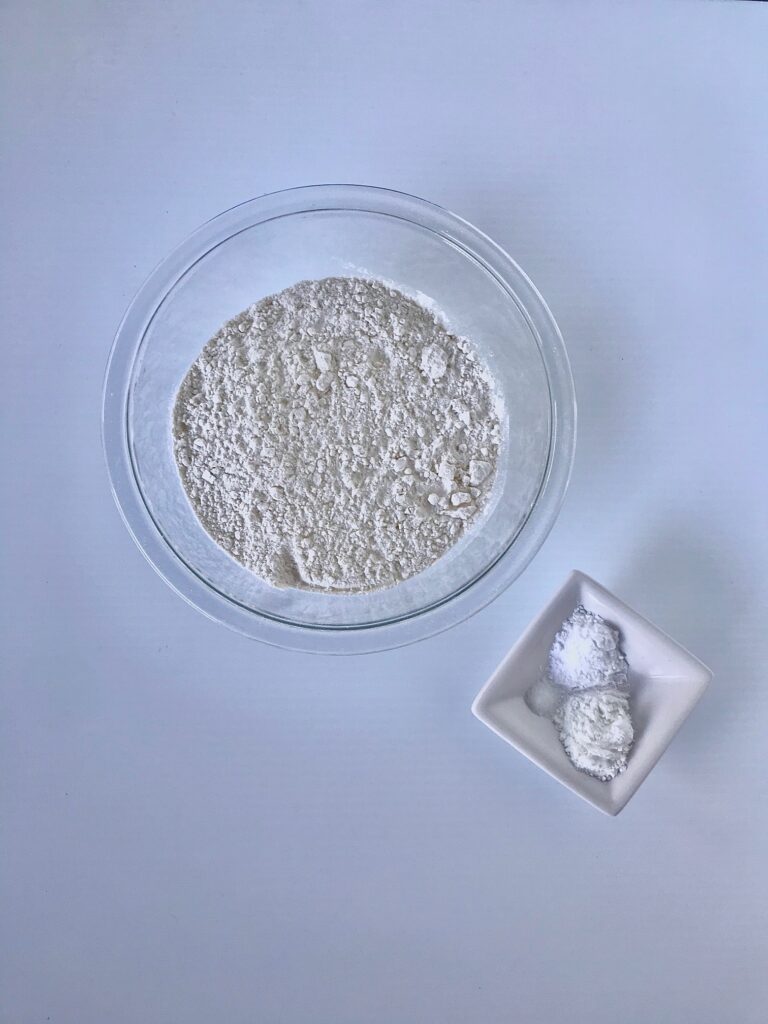
We first mix in half of these dry ingredients into our batter base. Then we pour in all of our wet ingredients.
Wet Ingredients:
For the wet ingredients, I use half milk and half water. Most recipes use milk, but since we already have sour cream, we don’t want to weigh the cake down with more heavy dairy. Instead, we use half water, which is very light compared to milk and thins the batter very well. We also have vanilla extract, which is a huge background player in the baking world. It provides each dessert with a subtle sweetness that may not play the lead role, but is still an important team player.
Once these are poured in and whisked together, you add in the remaining dry ingredients. And finally, we put in our last additions.
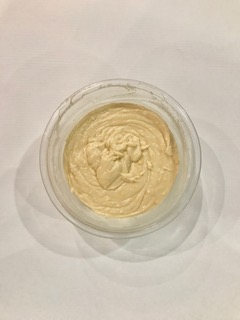
The first is our raspberry reduction. I prefer to strain out the seeds since they can take away from the cake if you get a mouthful of them that stick to your teeth in between bites. The second addition is pink and red food colouring, giving the cake a beautiful colour that resembles a real raspberry. You’ve probably noticed that after you mixed in the raspberry reduction, the batter turned into a weird grey colour. This is because raspberries actually release a purple colour when cooked. We fix this by adding in the food colouring. I use gel food colour because it’s super concentrated and only takes 1 drop to get a beautiful hue.
The last addition is the egg whites.


Stiff Peaks:
As you can tell from the header, we will be whipping our egg whites to stiff peaks. But, what are stiff peaks?
Stiff peaks are one of the many stages that egg whites go through when incorporating air into them. It’s practically the last stage, so I’d definitely recommend using an electric mixer (a hand mixer is probably best since a stand mixer will be too big for only 2 egg whites) on the highest speed.
You’ll know you’ve reached stiff peaks when the egg whites are completely white and look like a fluffy cloud. To tell if you’ve actually reached stiff peaks, and not just soft peaks, you lift the beaters out of the bowl and look at the peak of egg white on the tip. If it holds completely stiff, you’re good. If it droops, you need to keep whipping.


Once you’ve reached stiff peaks, you gently fold the egg whites into the batter. Be careful not to completely deflate them since those air bubbles help the cake rise.
Conclusion:
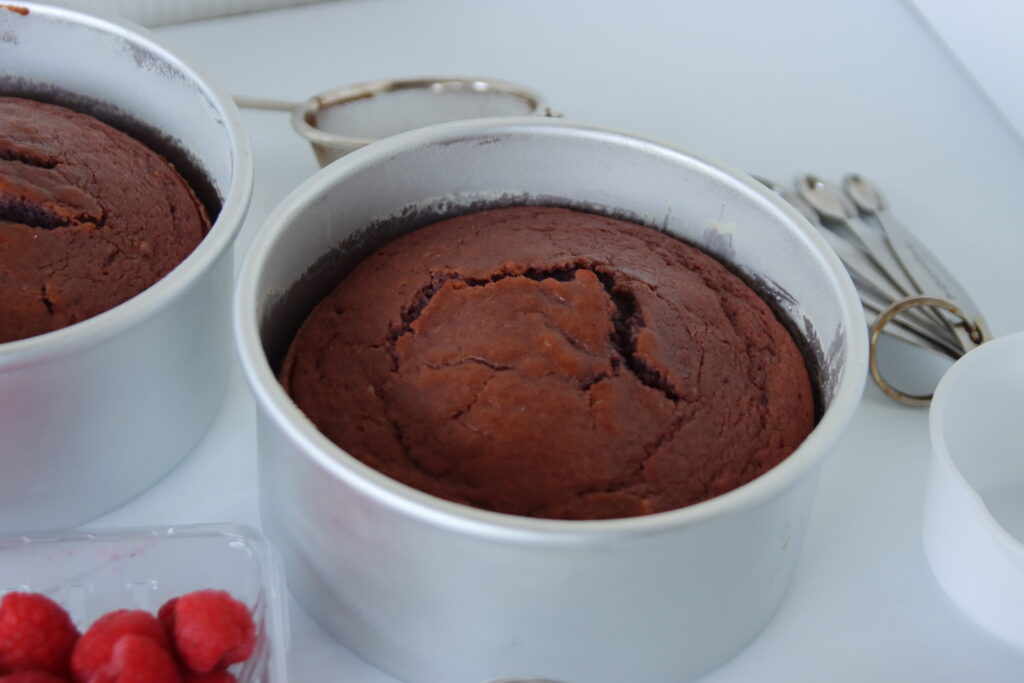
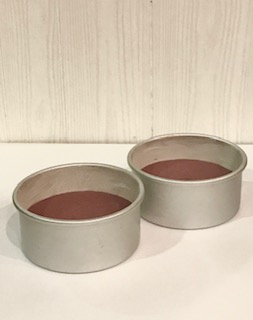
And, that’s finally it for our batter! You might’ve dirtied a few bowls along the way, but after you pop this in the oven for about an hour, you’ll have a deliciously moist cake that’s full of raspberry flavour! It’s a super unique flavour that everyone will love and it shows off your skill and creativity in the kitchen!
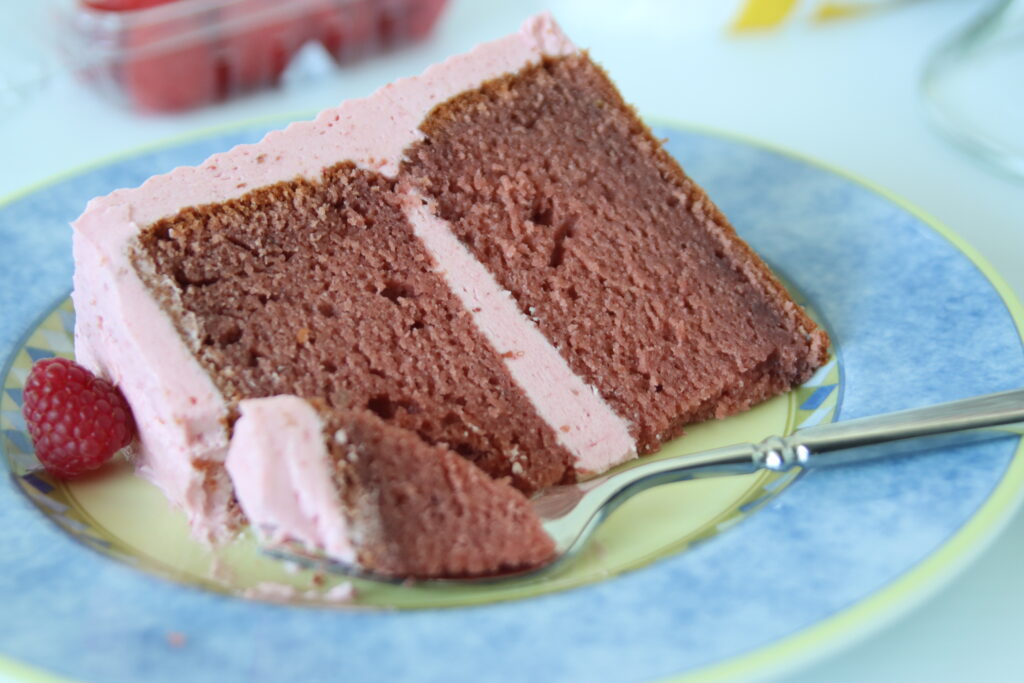
Let me know what you think of this recipe in the comments below! Be sure to check out some of my other recipes that use this same method: my famous Cinnamon Apple Cider Loaf Cake and my favourite Carrot Cake.
Looking for a frosting? I made a special Raspberry Cream Cheese frosting with the intent to pair it with this cake, and let me tell you, it is delicious! It is the frosting that is in all of the pictures. You can find the recipe here. If raspberry overload isn’t your jam (haha, jam), this cake also goes well with and American Buttercream frosting, or creates a more delicate pairing with a Stabilized Whipped Cream Frosting. Enjoy!
Raspberry Cake
Ingredients
- 2 cups raspberries fresh or frozen
- 1 tbsp white sugar
- 1 tsp lemon juice
- 3 cups all purpose flour
- 2 1/2 tsp baking powder
- 1 1/2 tsp baking soda
- 1/4 tsp salt
- 2 egg yolks
- 3/4 cup white sugar
- 1/2 cup brown sugar
- 3/4 cup vegetable oil
- 1/4 cup butter melted
- 1/2 cup sour cream
- 1/2 cup milk
- 1/2 cup water
- 1 tsp vanilla extract
- 2 egg whites
- 2 drops red or pink gel food colouring
Instructions
- Grease and flour 2, 6" (3" tall) round cake pans (*see notes).
- In a small pot, reduce raspberries by cooking them over medium heat with the tablespoon of sugar and splash of lemon juice. This will take awhile, but every now and then, stir them with a wooden spoon and try to mush them down. Once it has become a red liquid with seeds, you can turn off the heat and let it cool.
- In a medium bowl, whisk together the flour, baking powder, baking soda, and salt.
- In a large bowl, whisk the egg yolks with the white and brown sugars. It will be very dry. Thin out this mixture by pouring in the oil and melted butter, and whisk to combine. Add in your sour cream and whisk.
- In a measuring cup, stir together the milk, water, and vanilla extract.
- Preheat the oven to 335 degrees Fahrenheit.
- In a small bowl, whip the egg whites using an electric mixer at high speed until they reach stiff peaks. This will take a few minutes. (see article for help with stiff peaks)
- Add half of your dry ingredients (medium bowl with flour etc.) into your large bowl with egg yolk, sugar and fat mixture, and whisk to combine. Pour in all of your wet ingredients (measuring cup with milk etc.) into the large bowl. Whisk to combine. Add in the remaining dry ingredients. You should now be left with a uniform batter.
- Strain the reduced raspberries into the batter and fold it in with a spatula. Make sure to take the time to get all of the seeds out as the seeds can really take away from the cake. The batter should now look like an ugly grey colour. Add in your drops of food colouring (I use 1 drop of red gel colour and 1 drop of pink gel colour).
- Gently fold in the whipped egg whites, trying your best not to deflate them. It's okay if there are a few small lumps of egg white left in.
- Pour the batter evenly into your prepared pans and bake for about 60 minutes or until a toothpick inserted in the centre comes out clean.
- Let cool in the pan for about 10 minutes and then flip the cakes onto a wire rack to let them cool completely.

