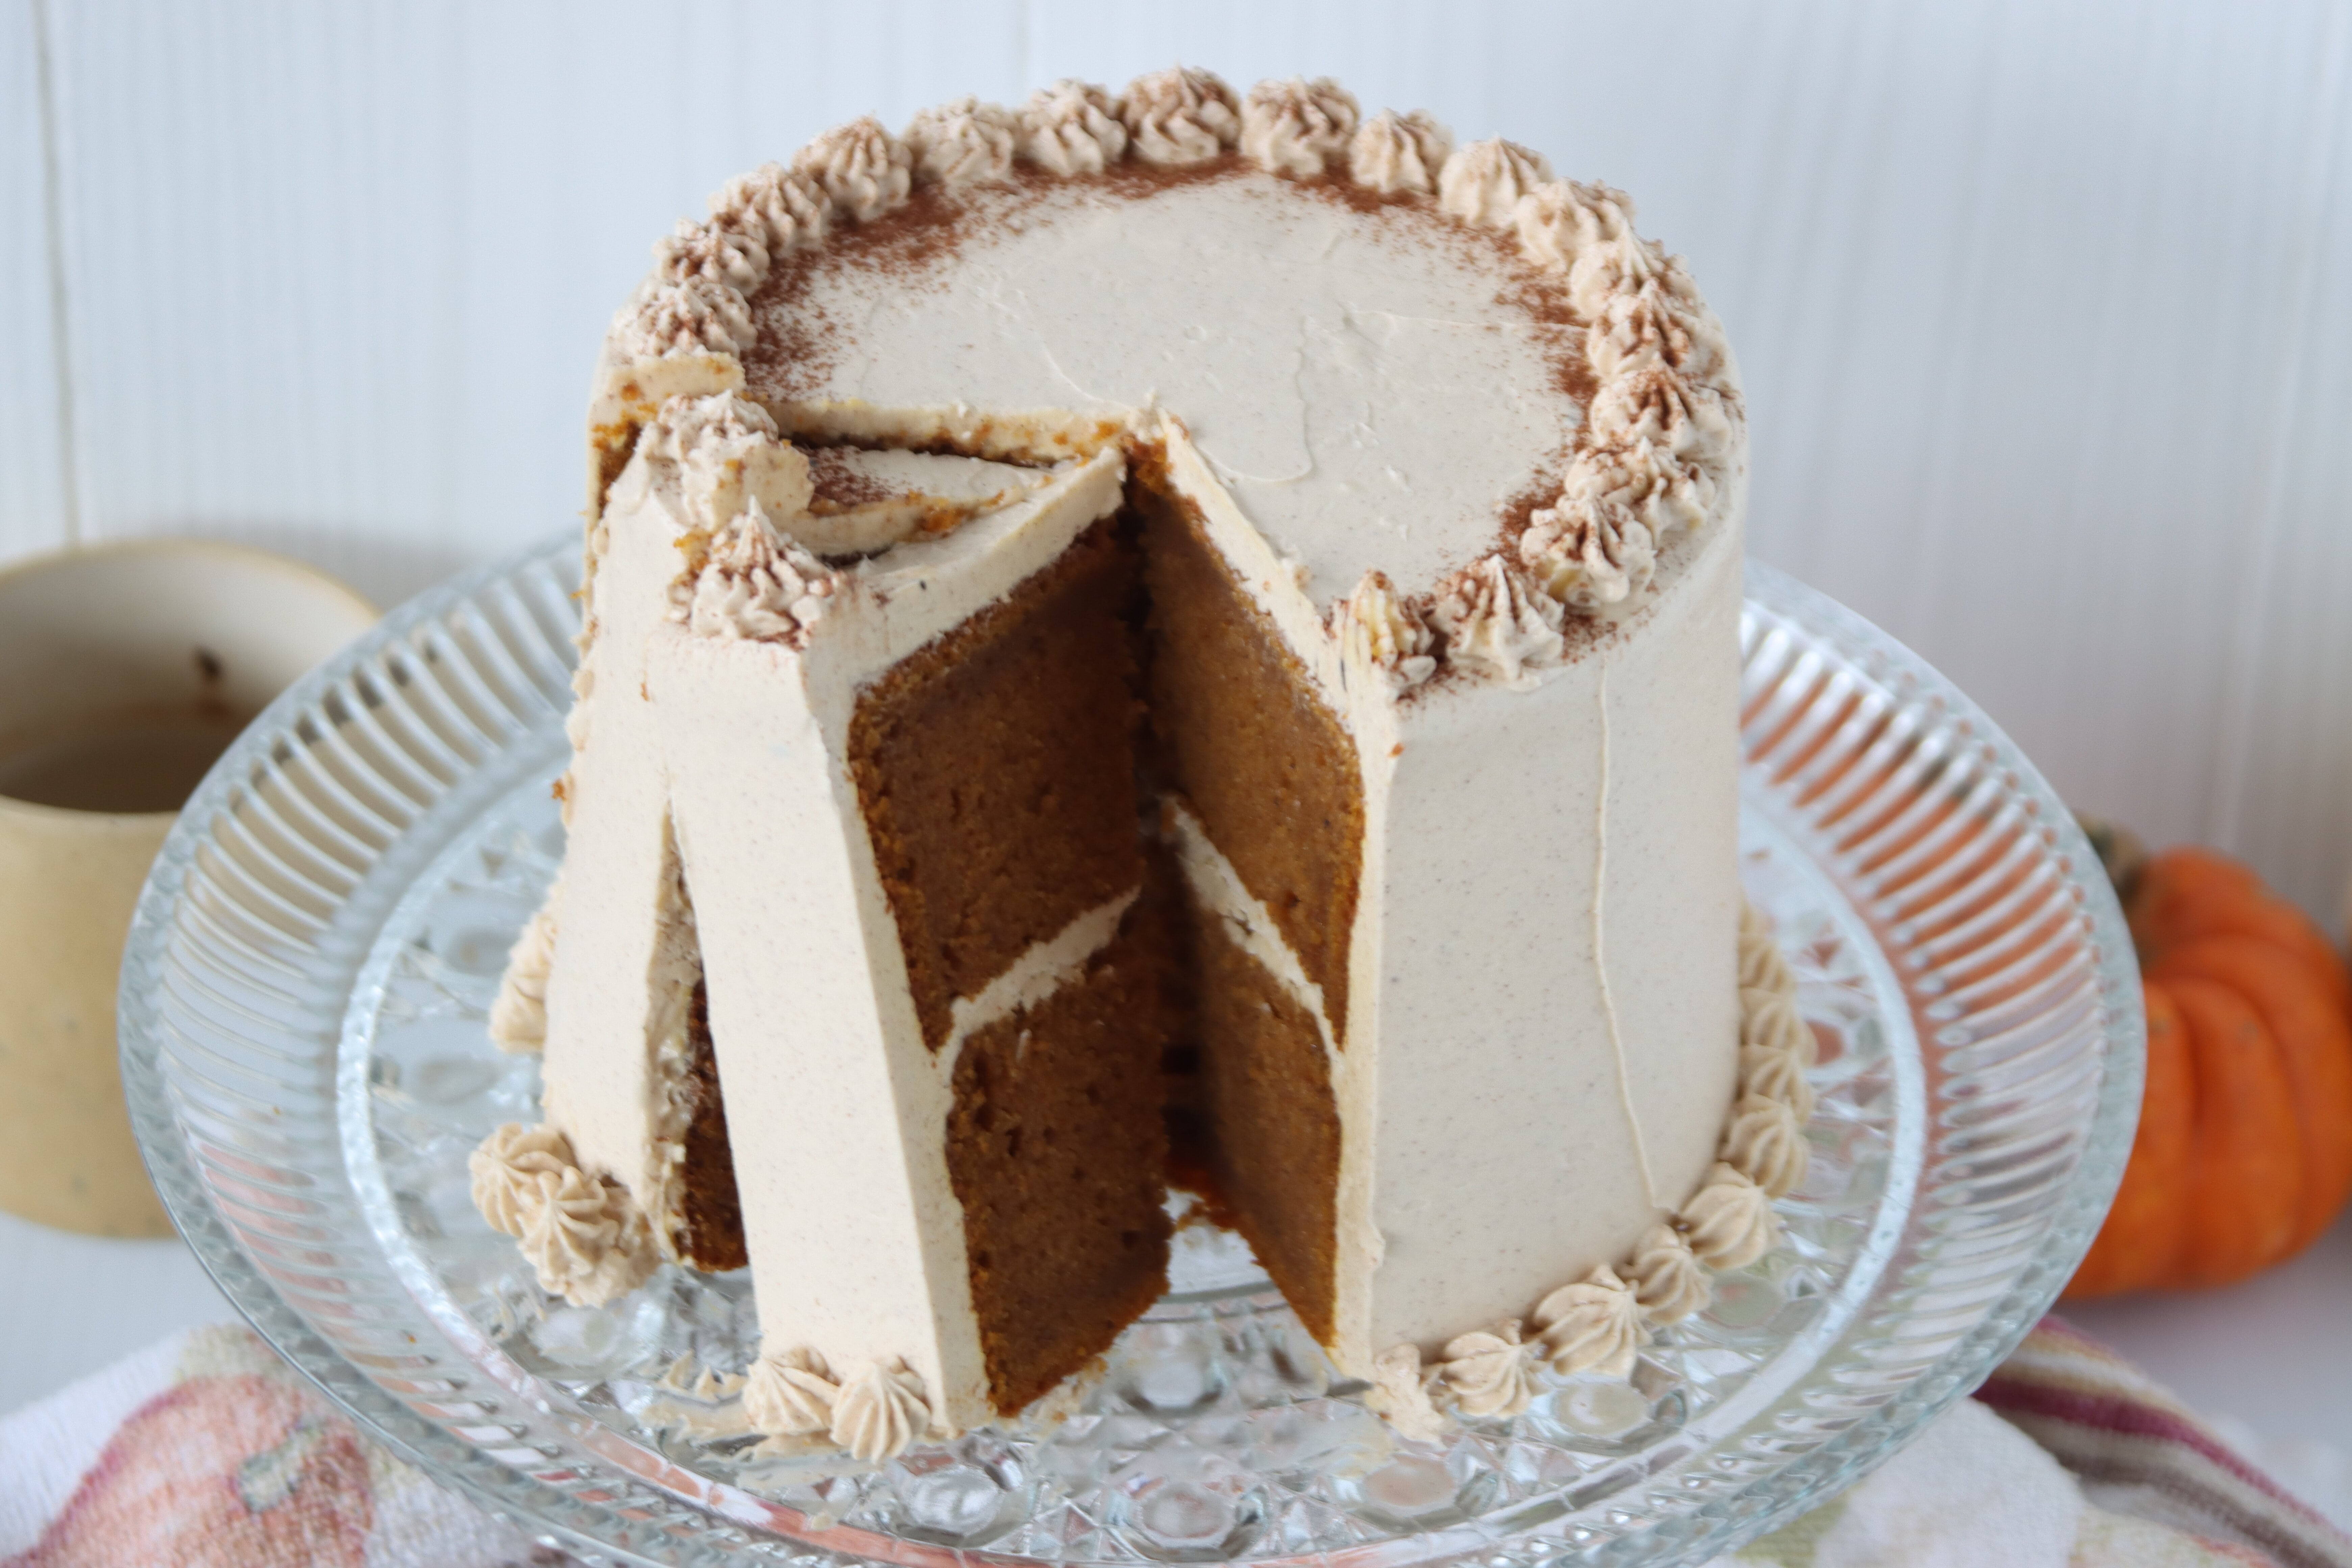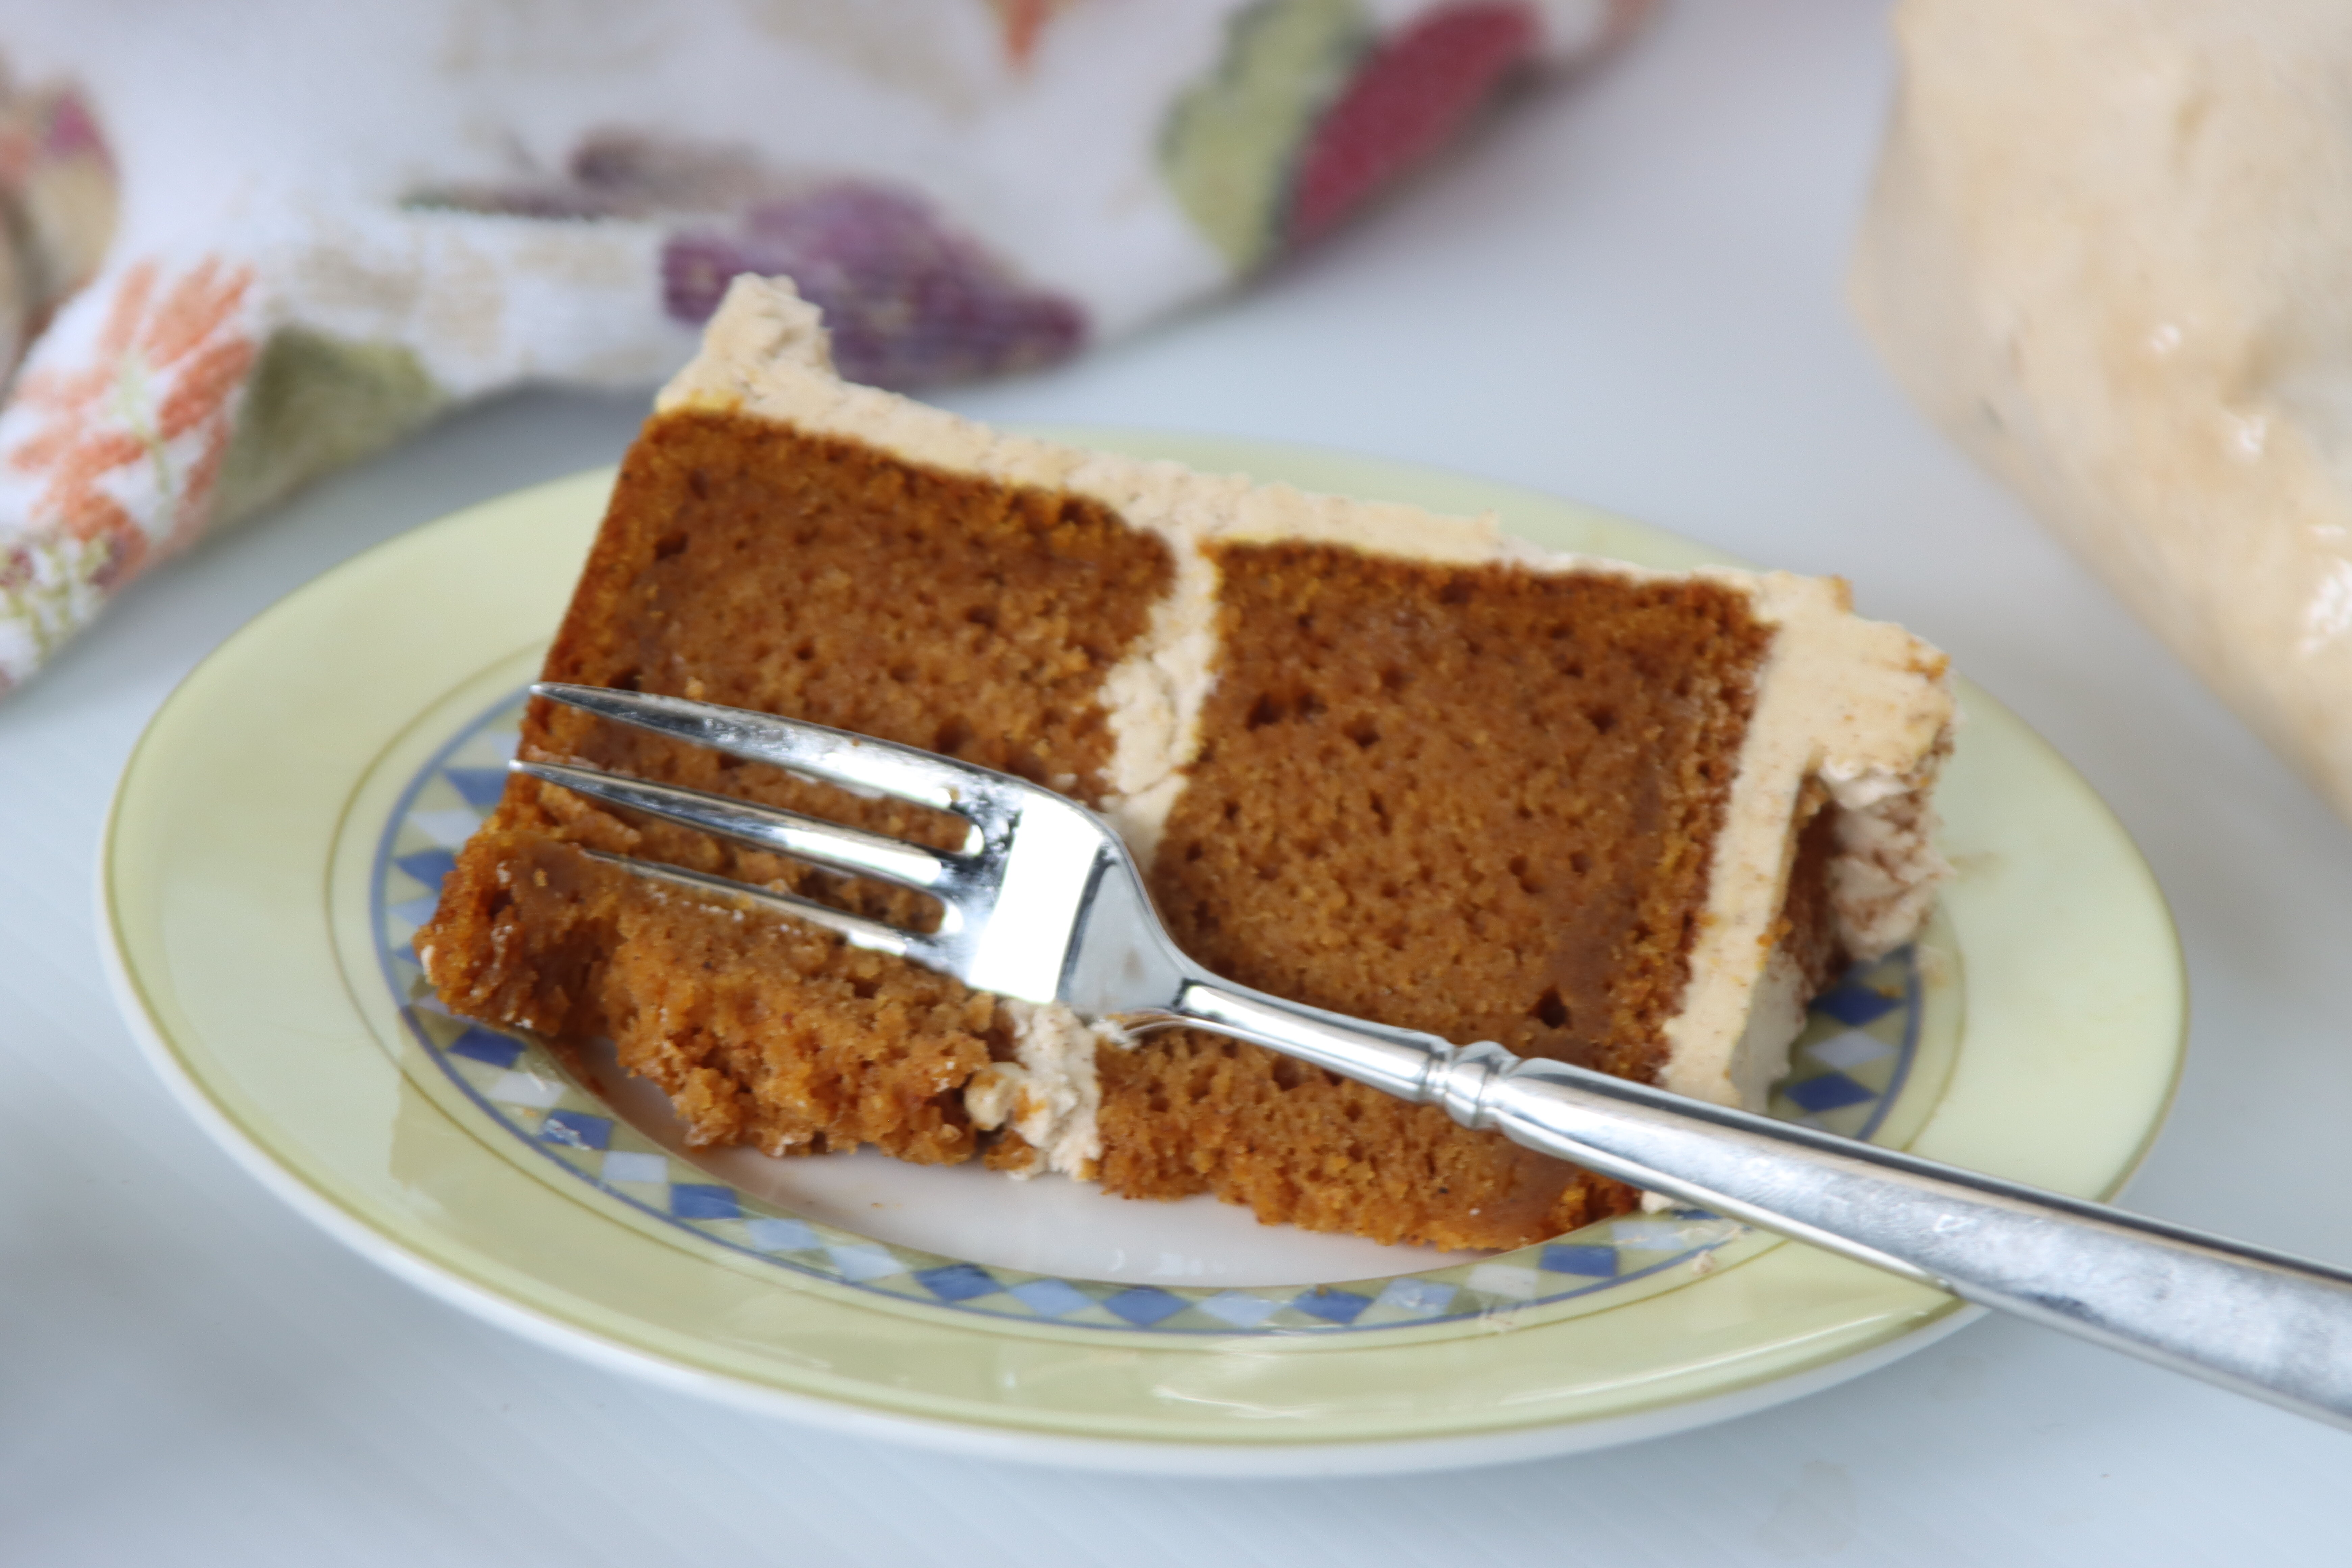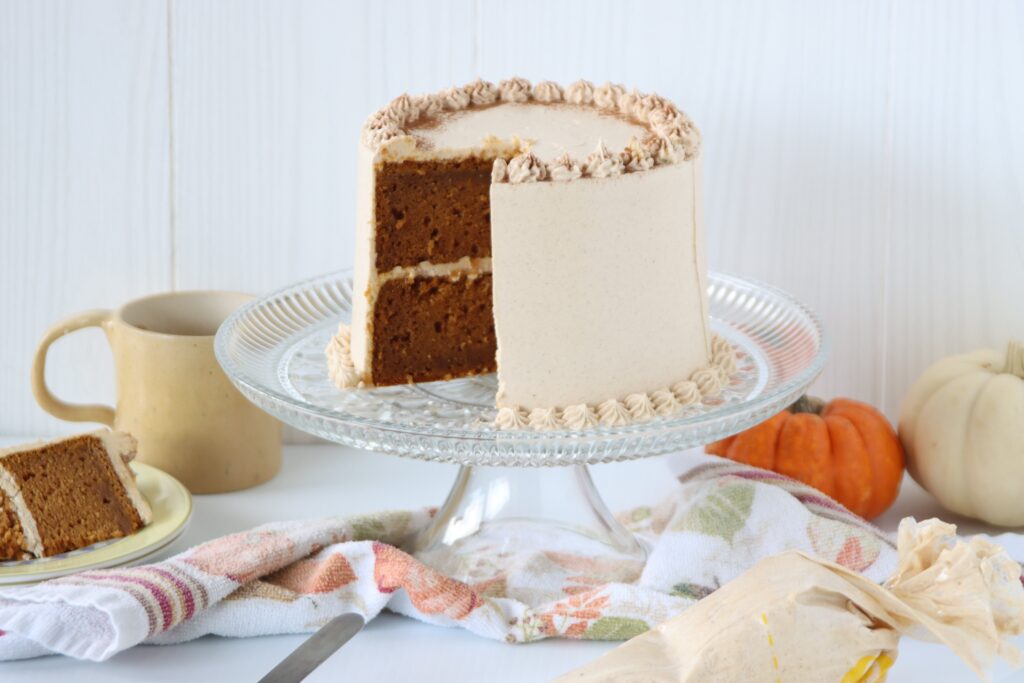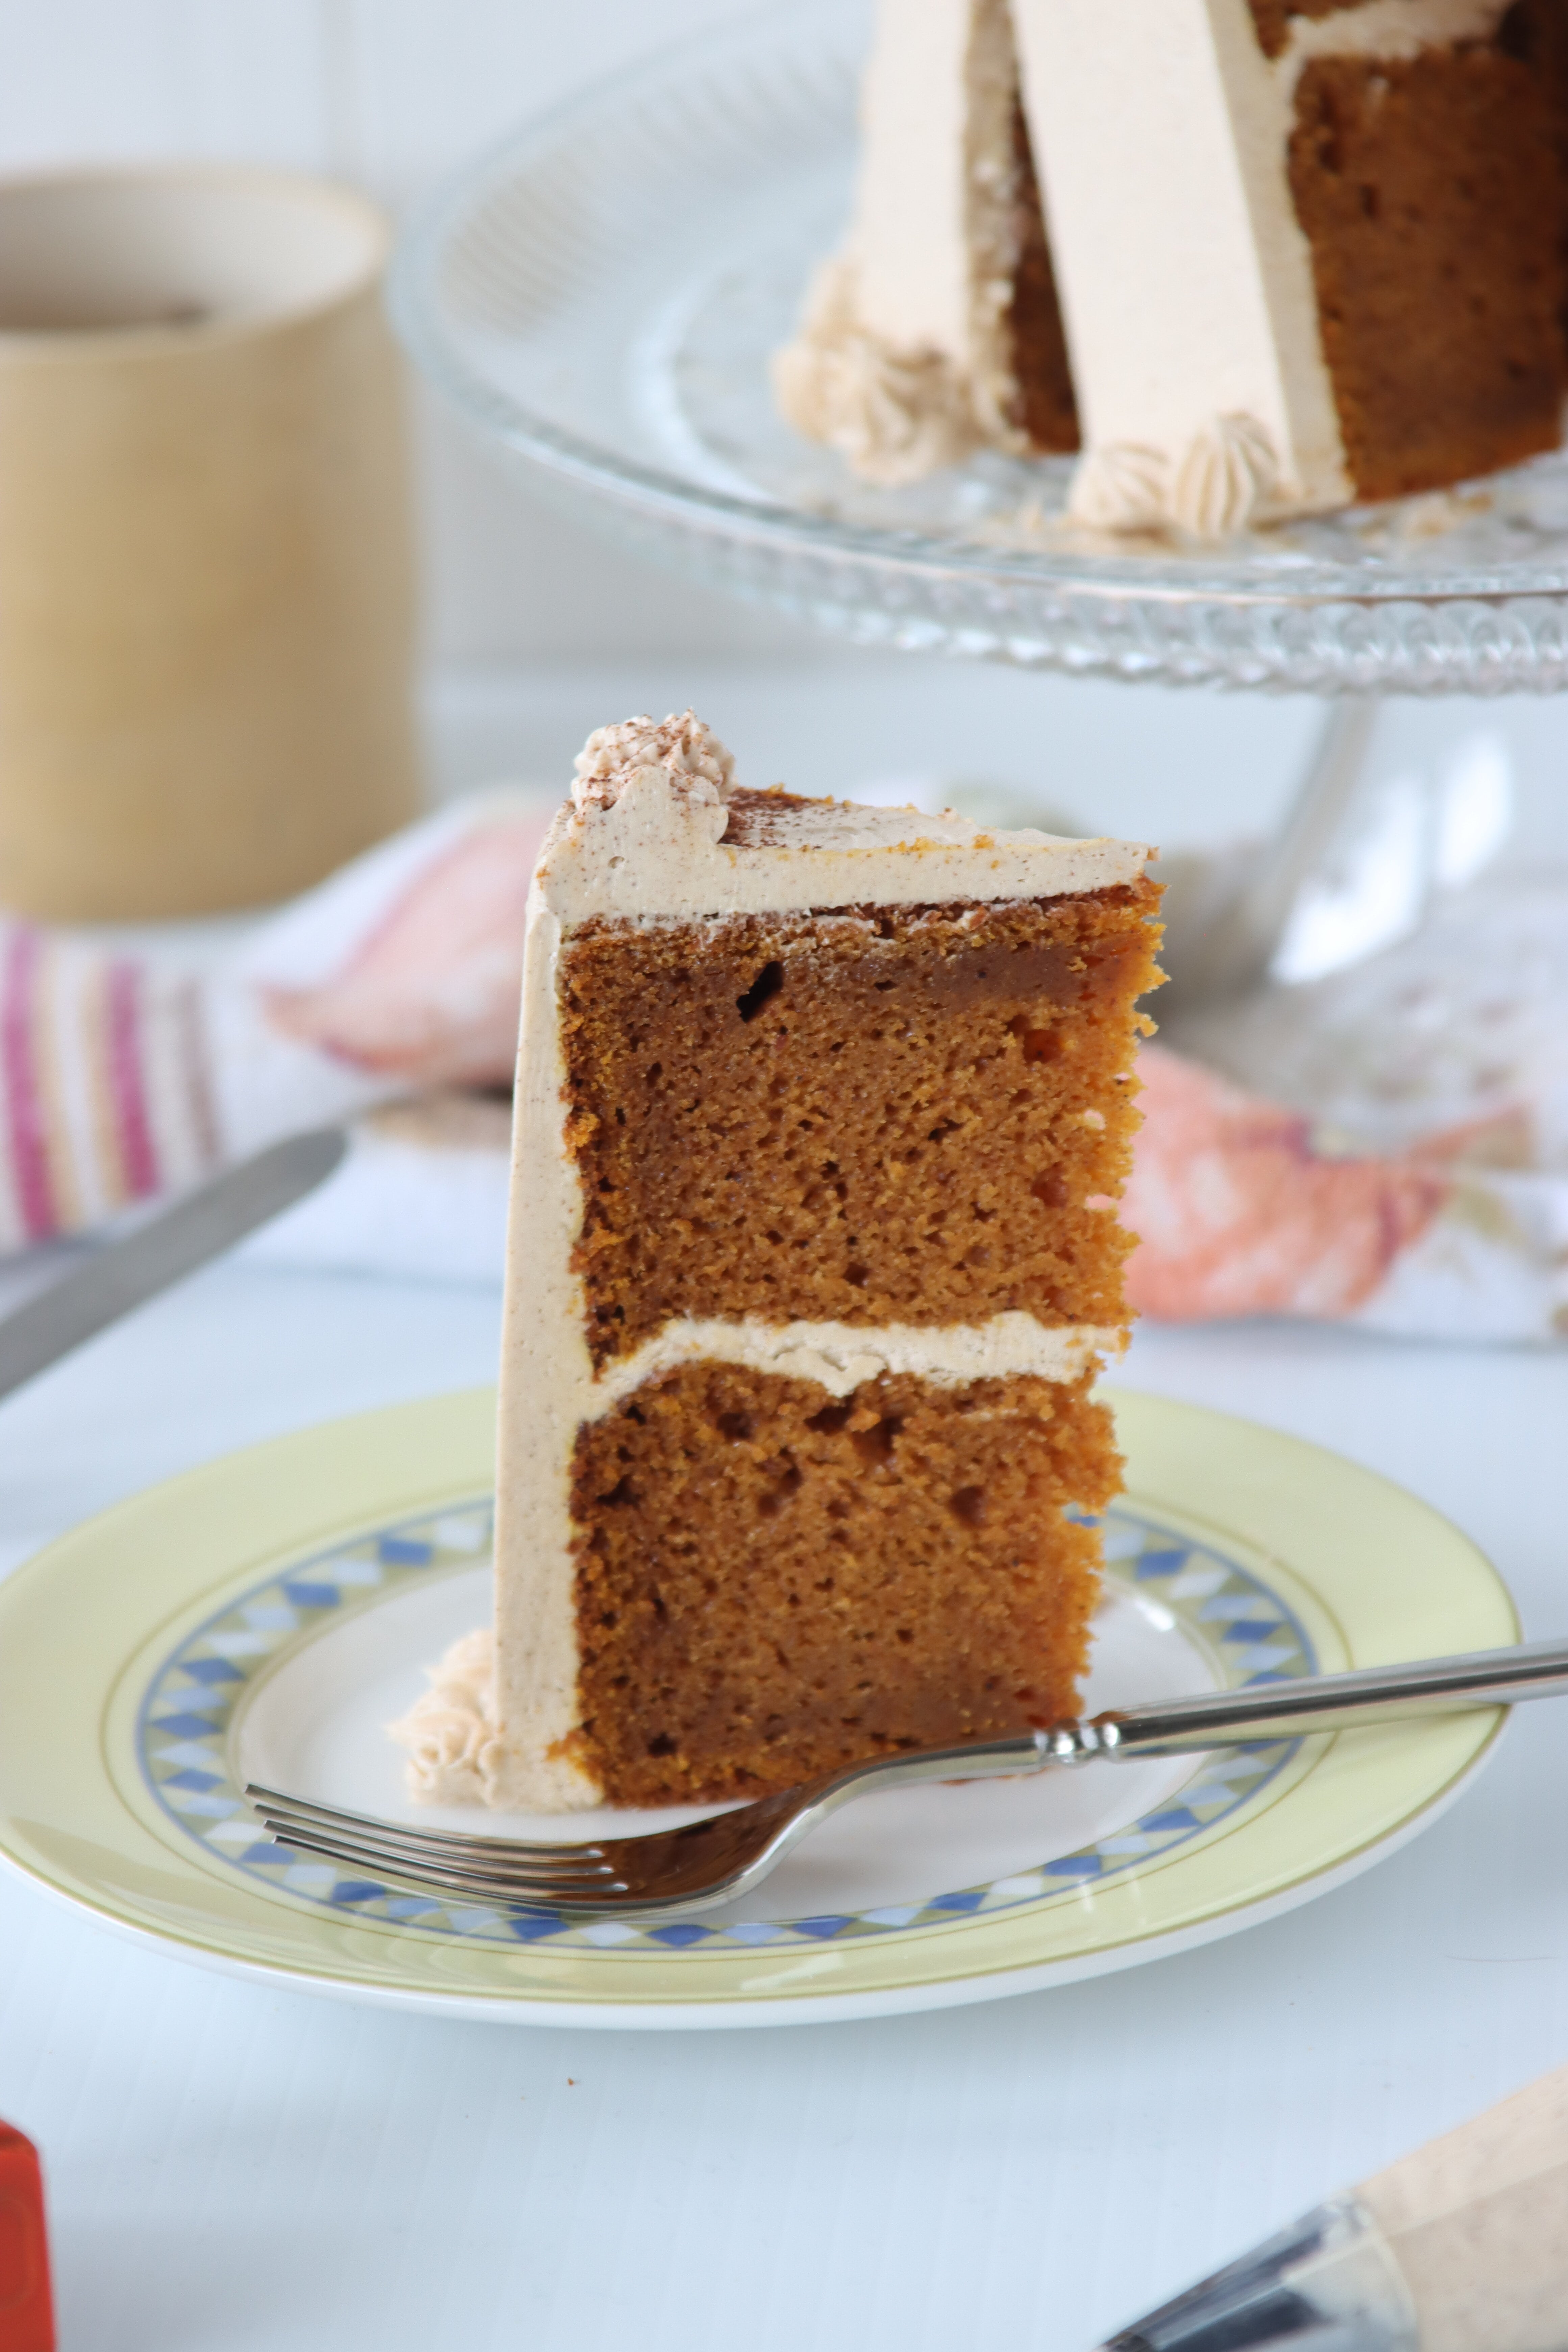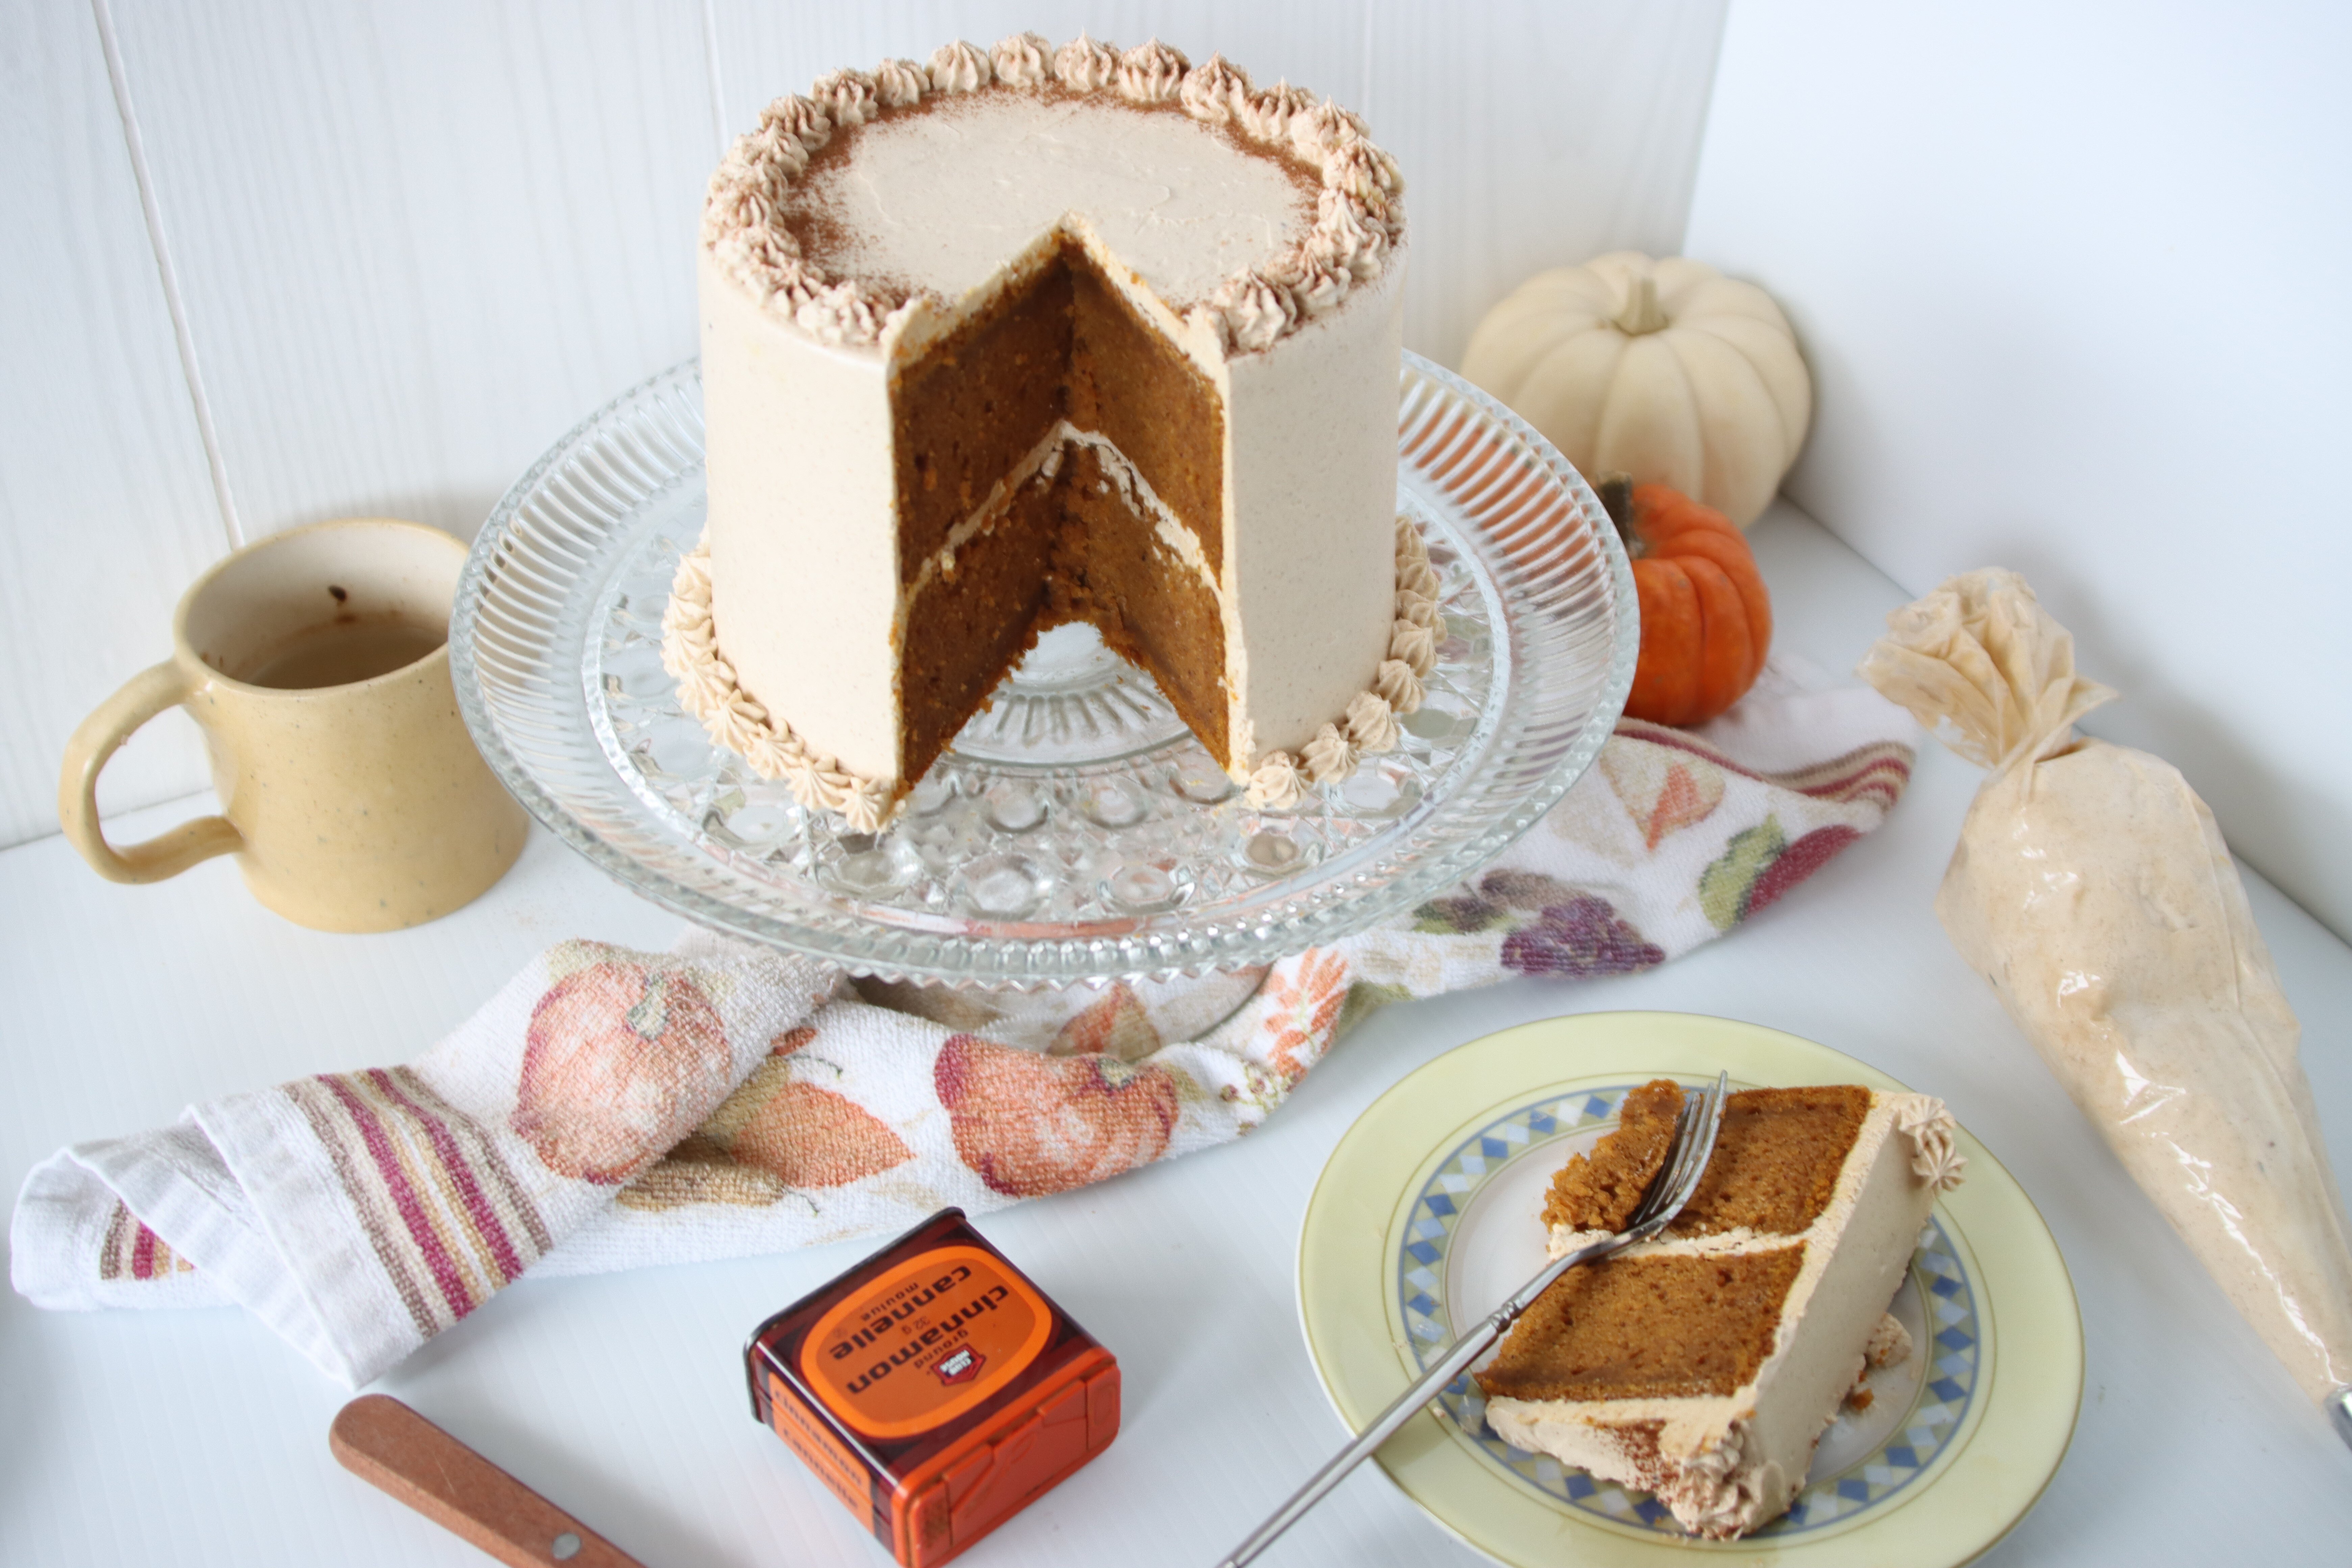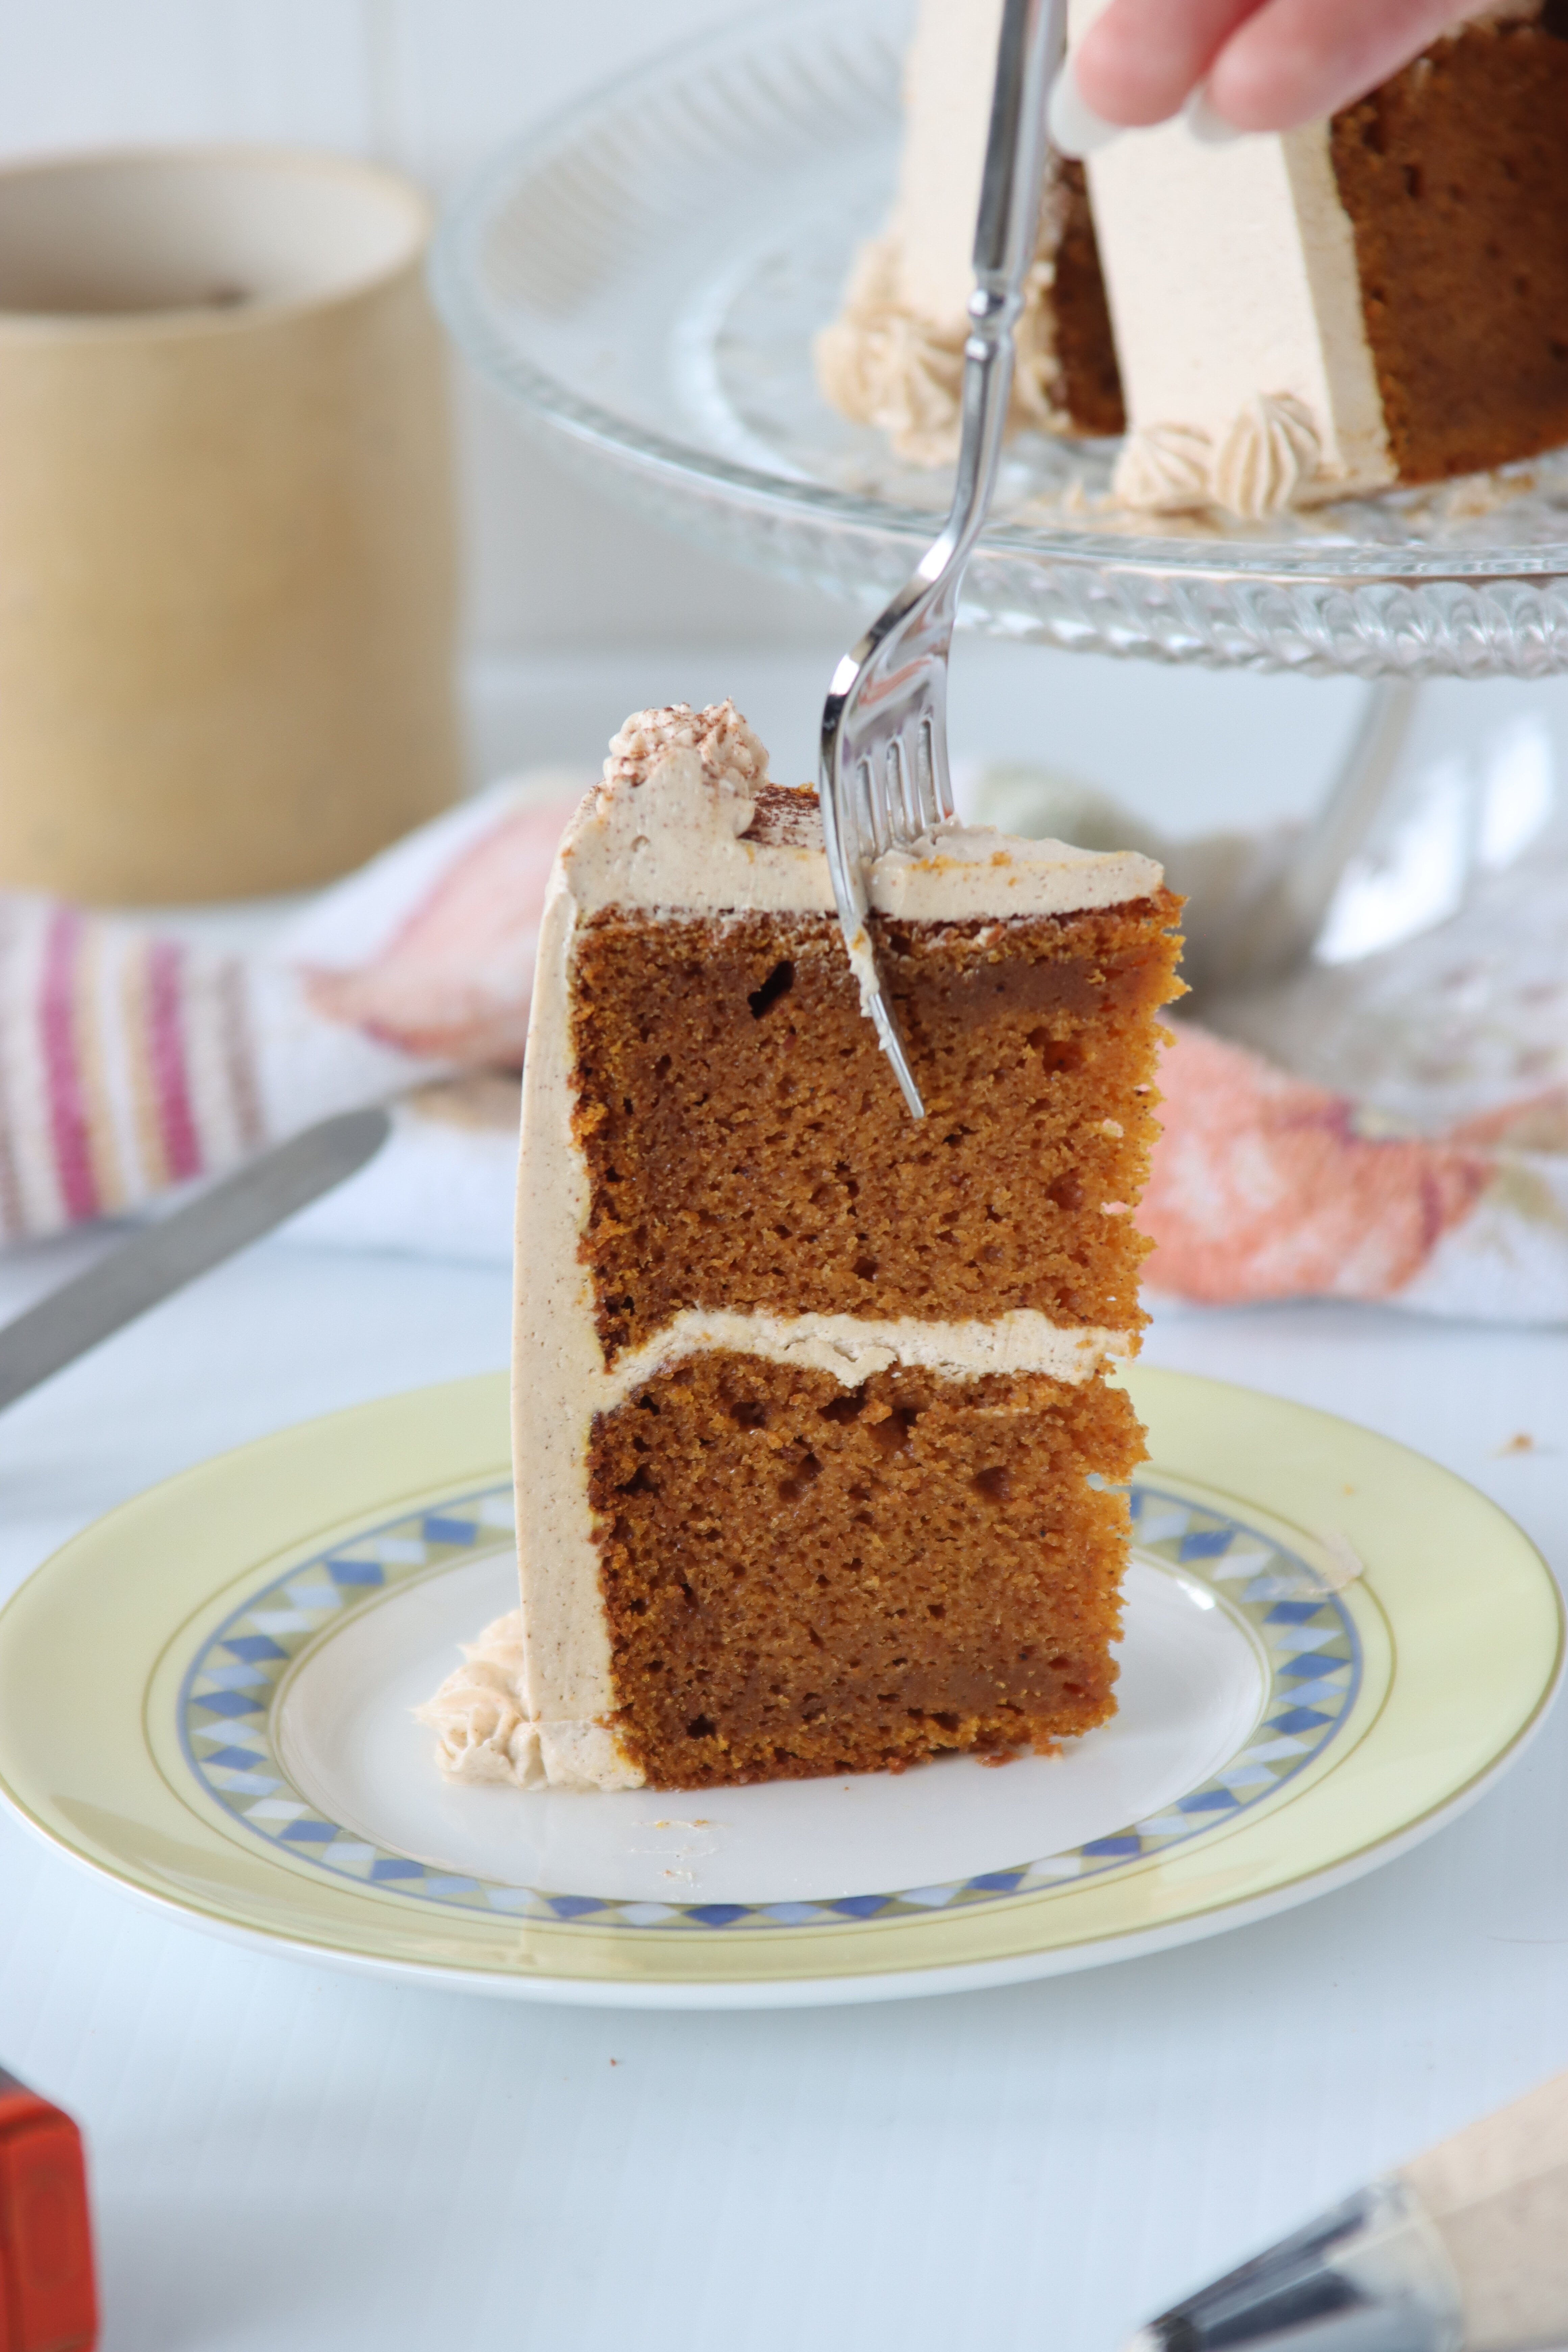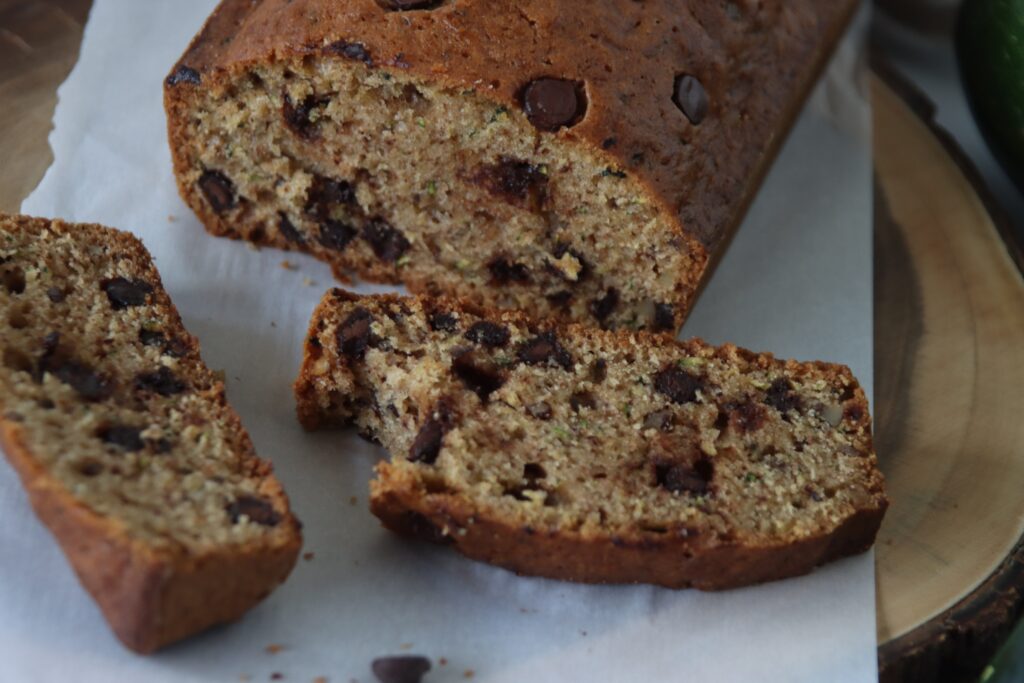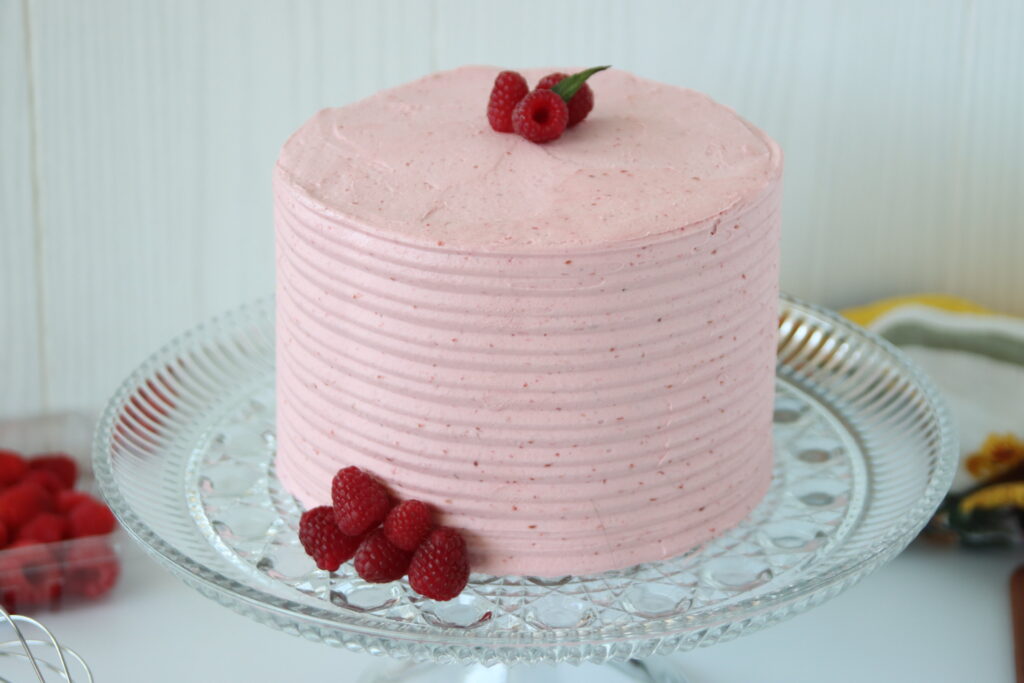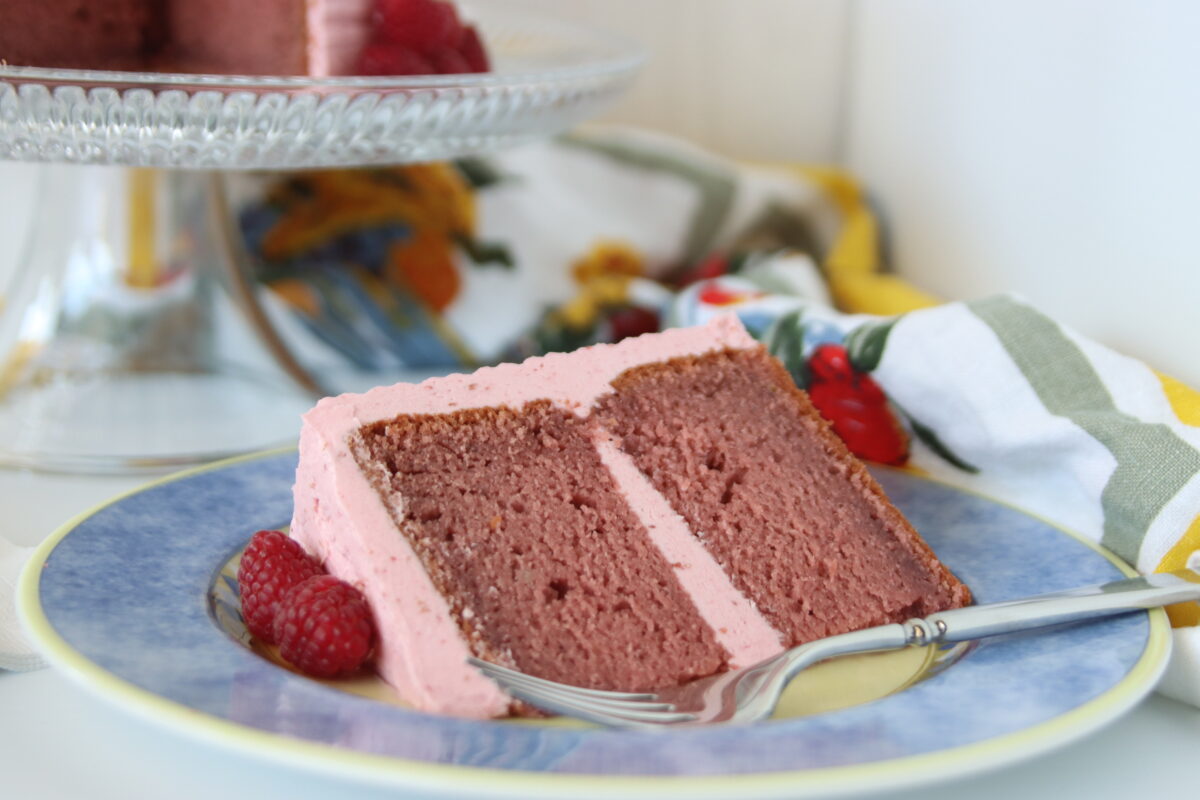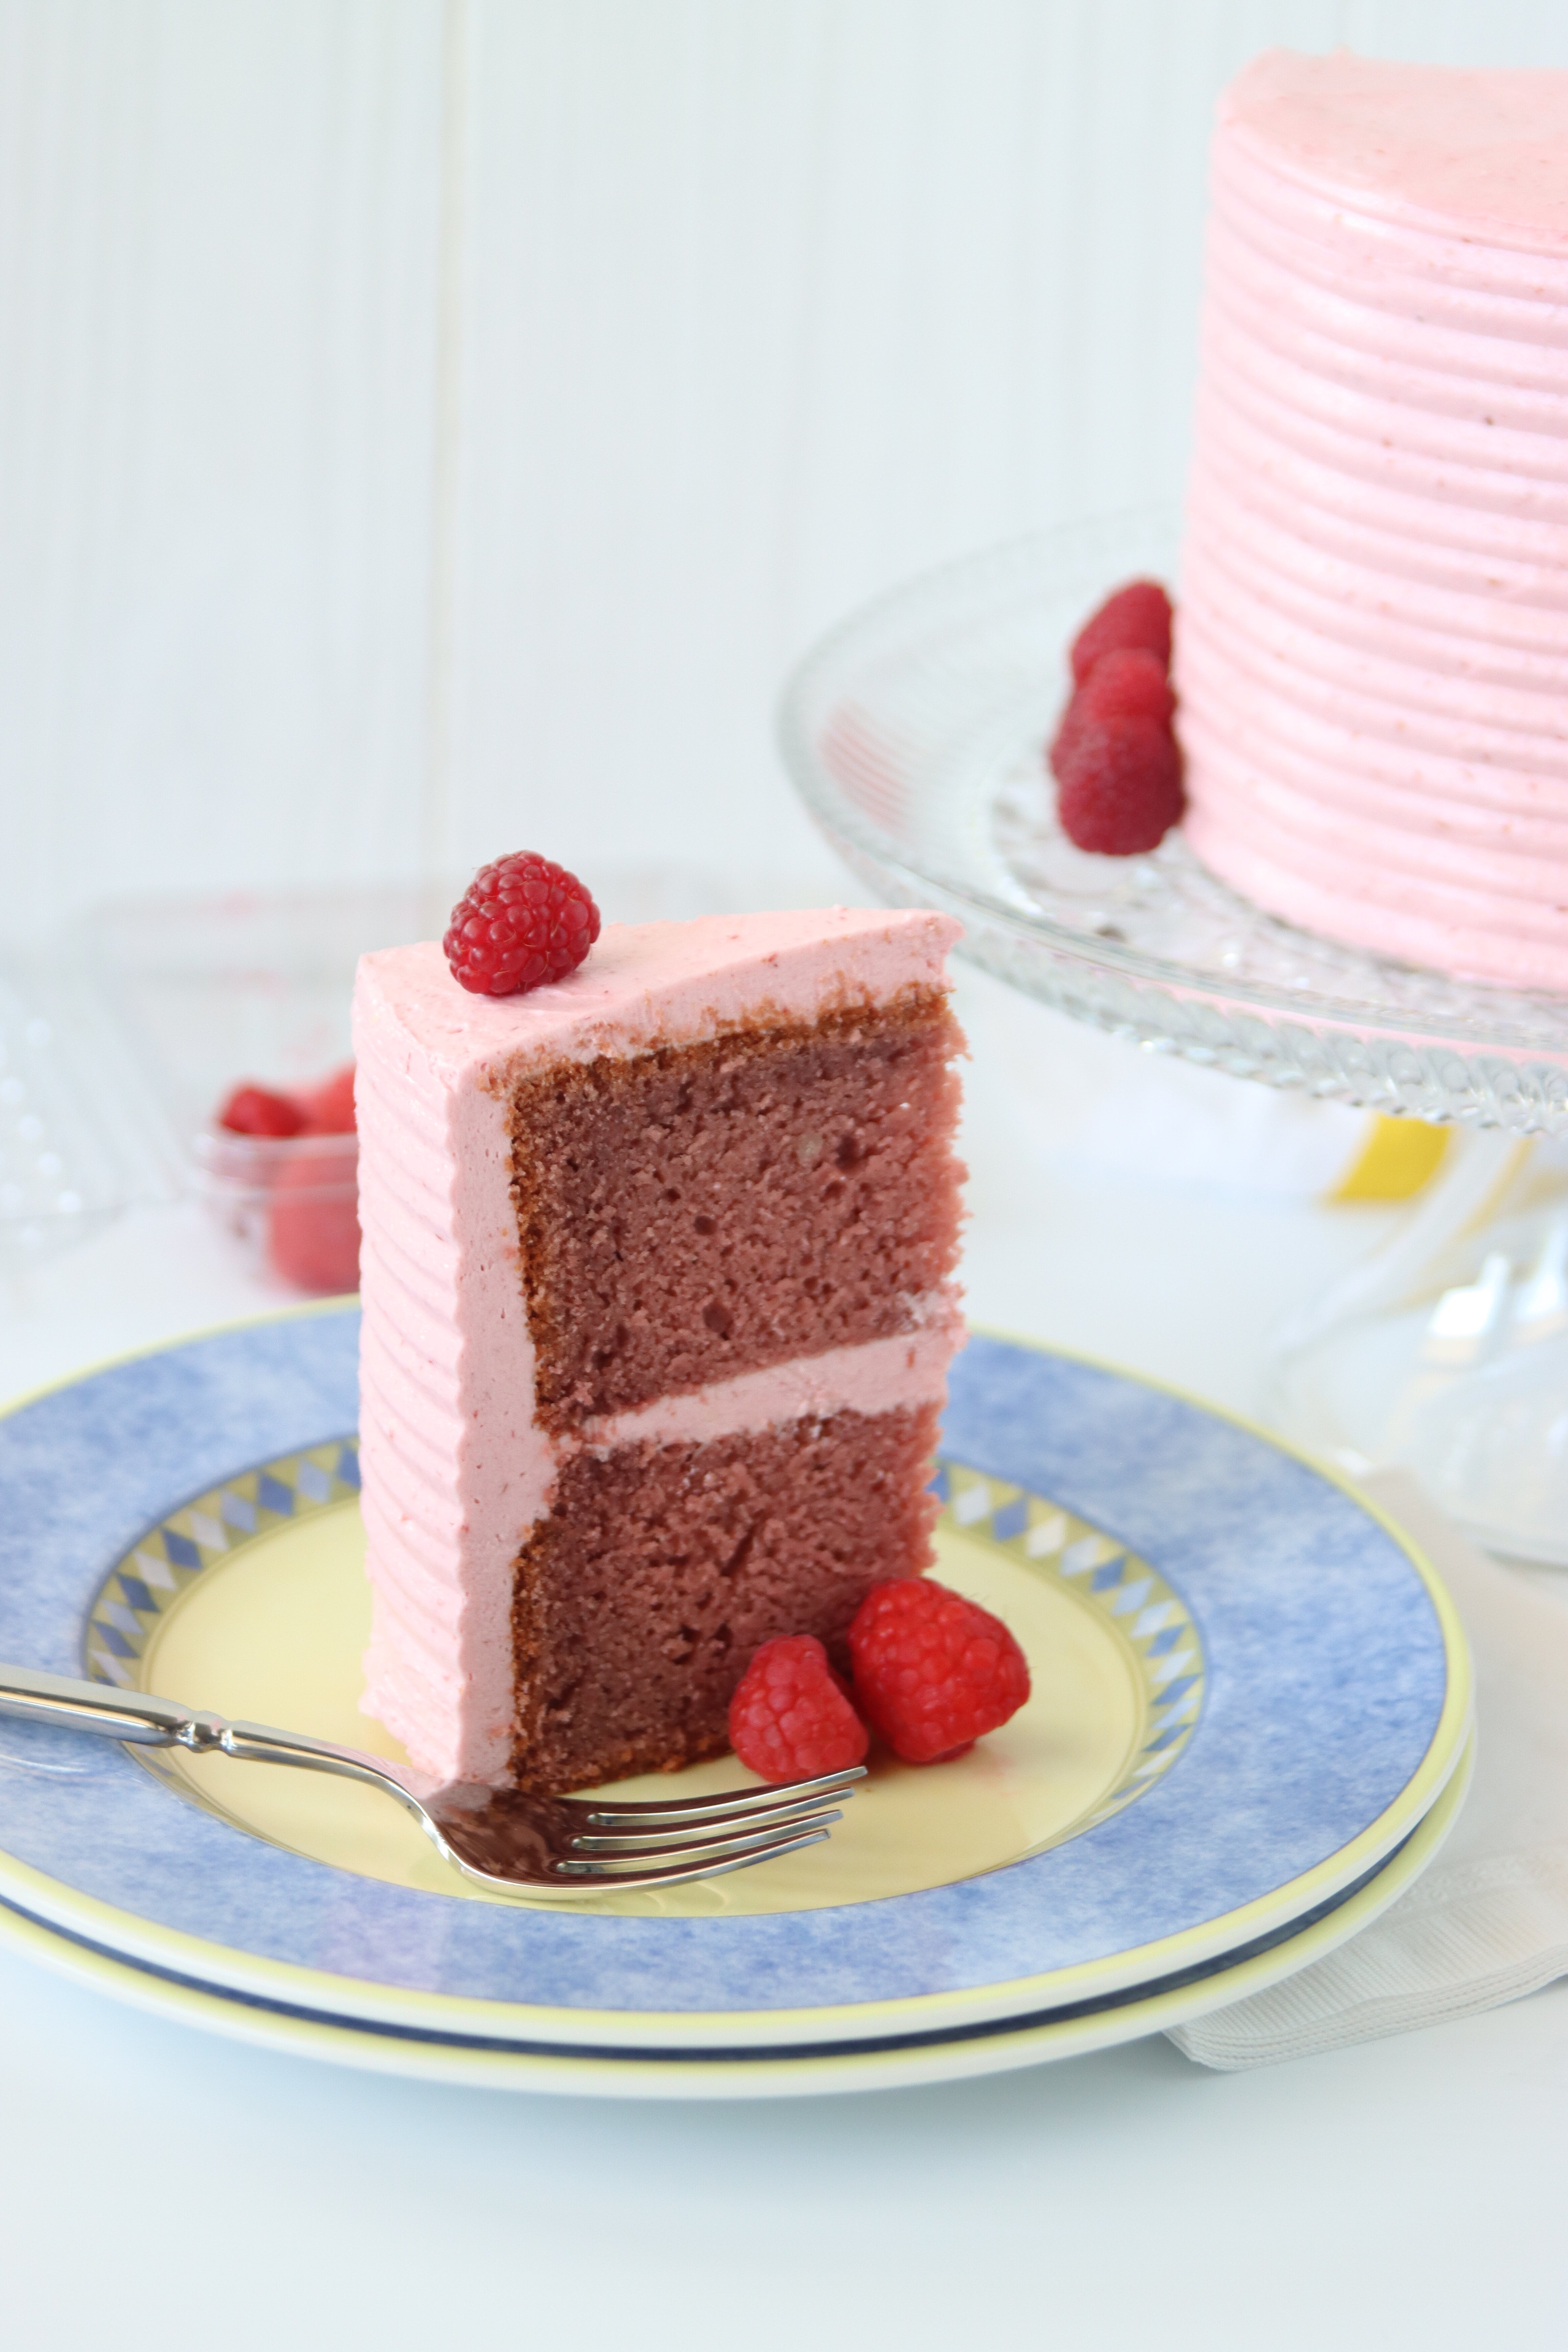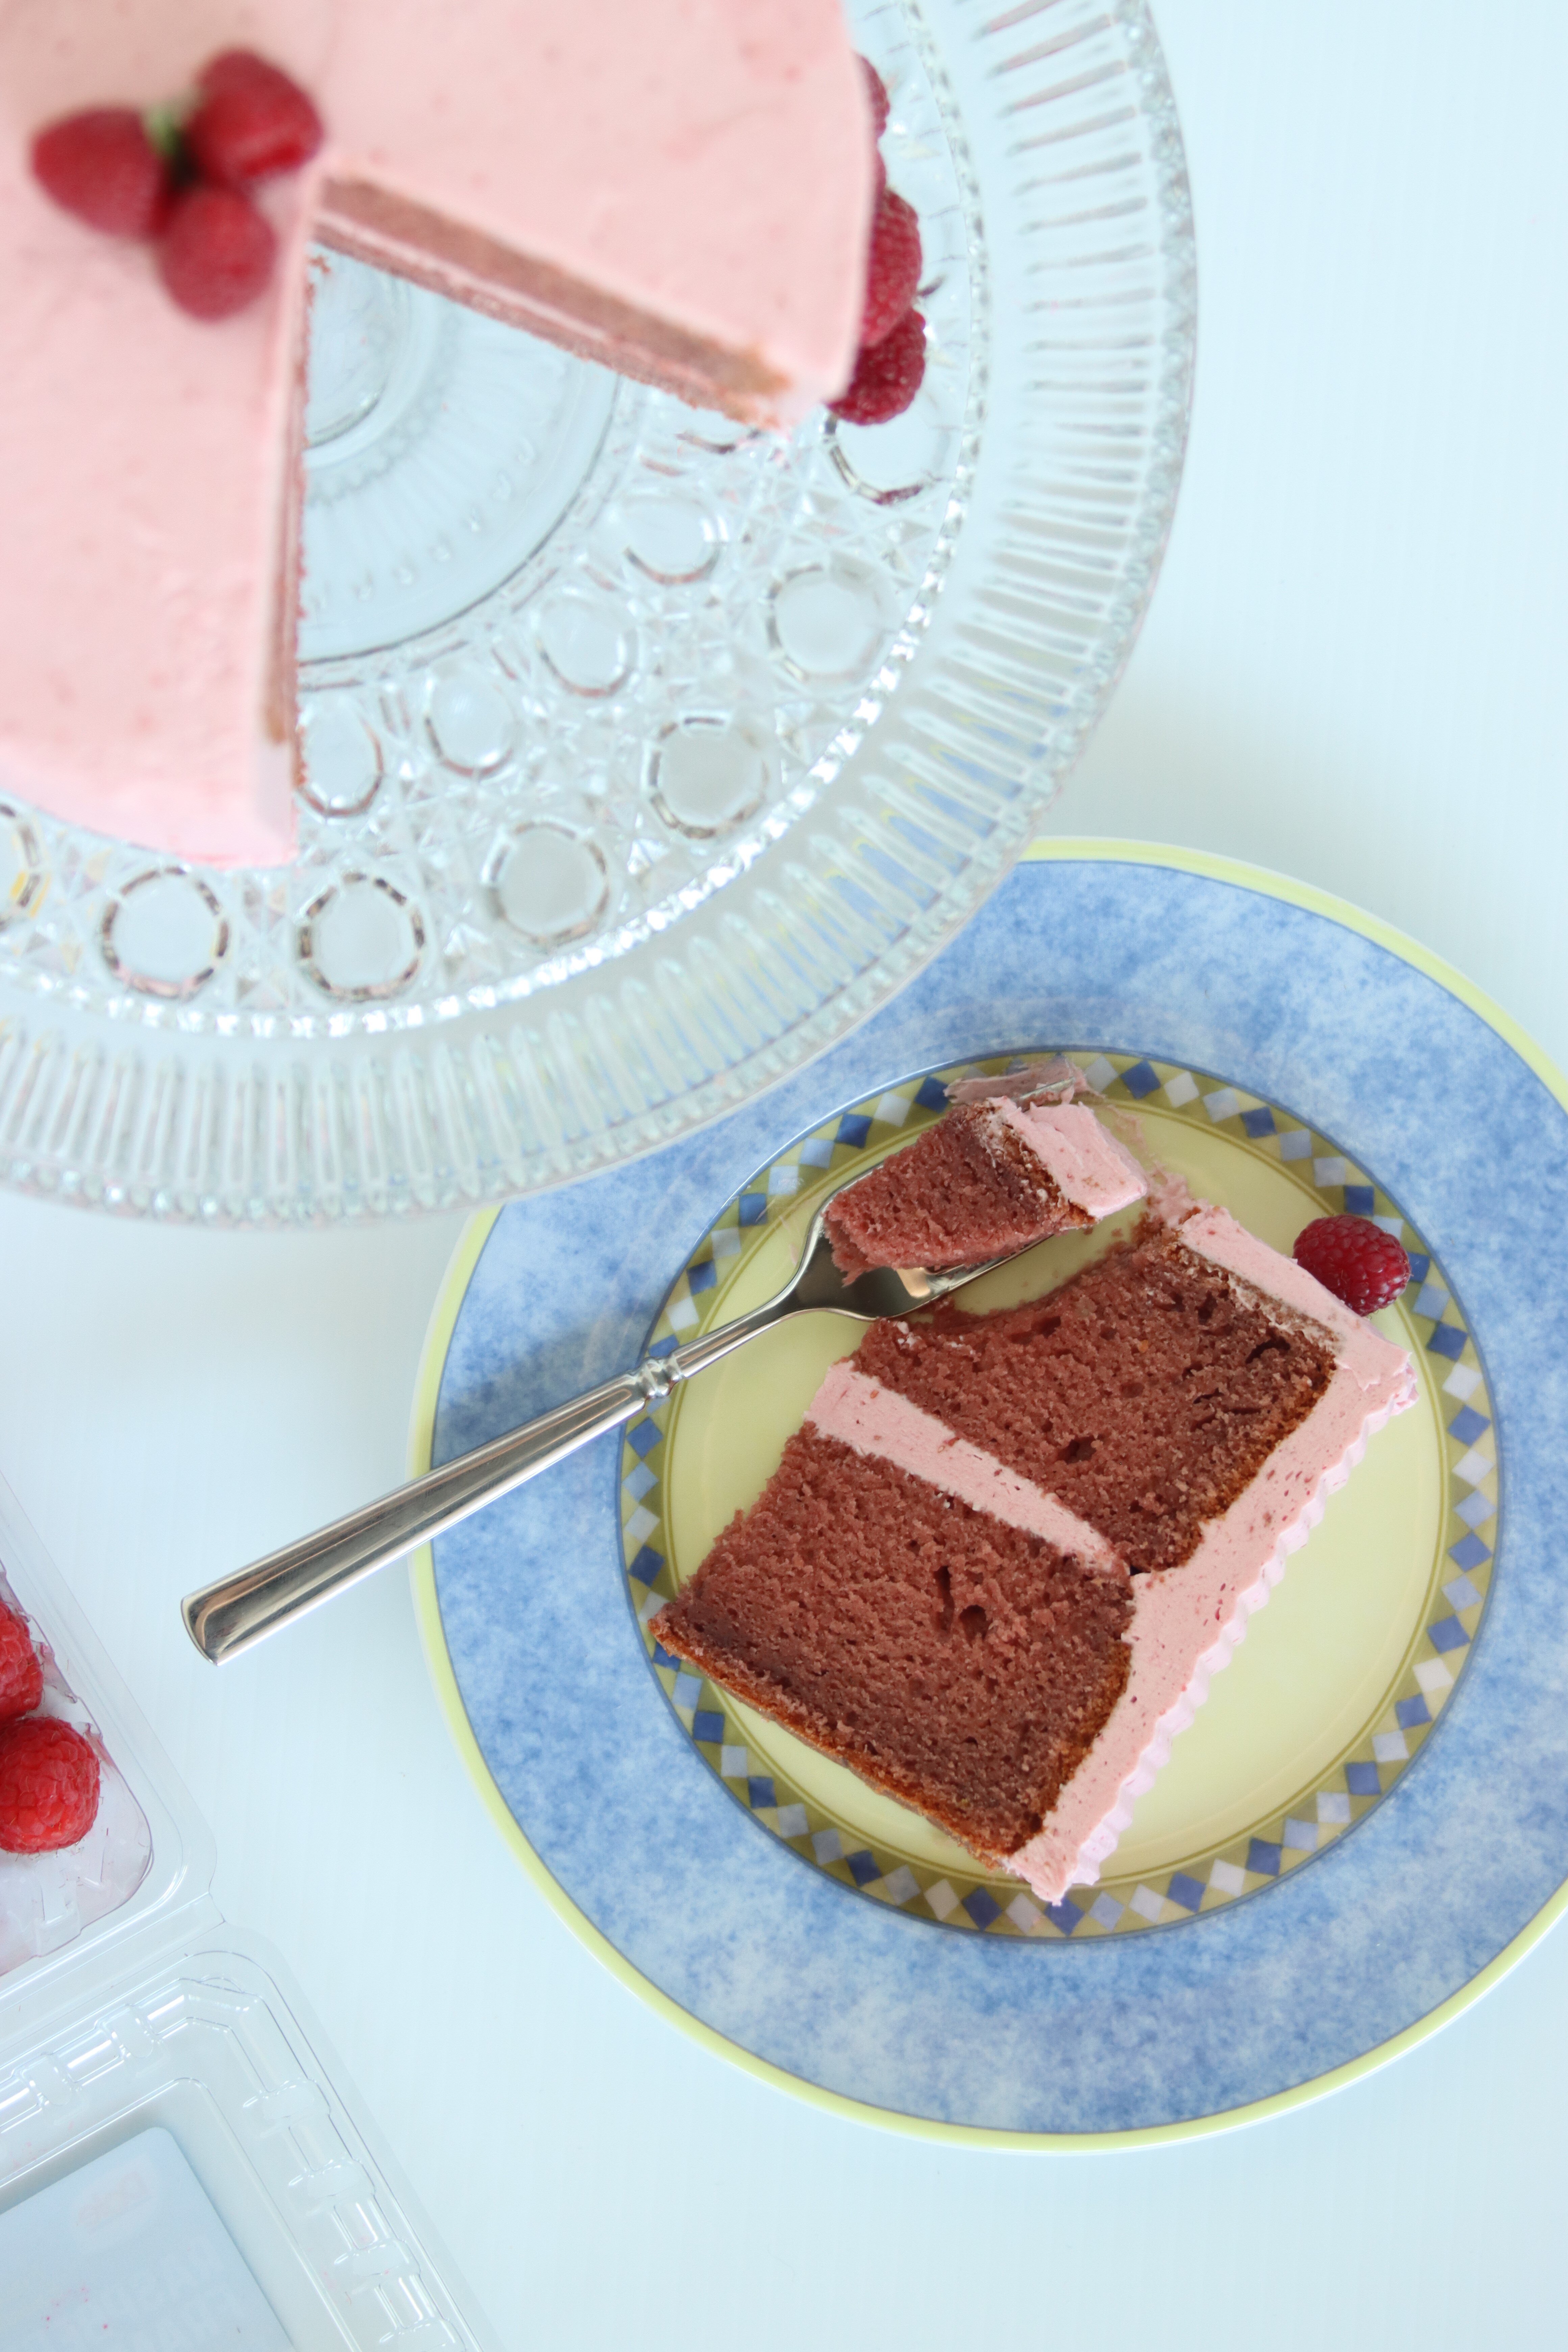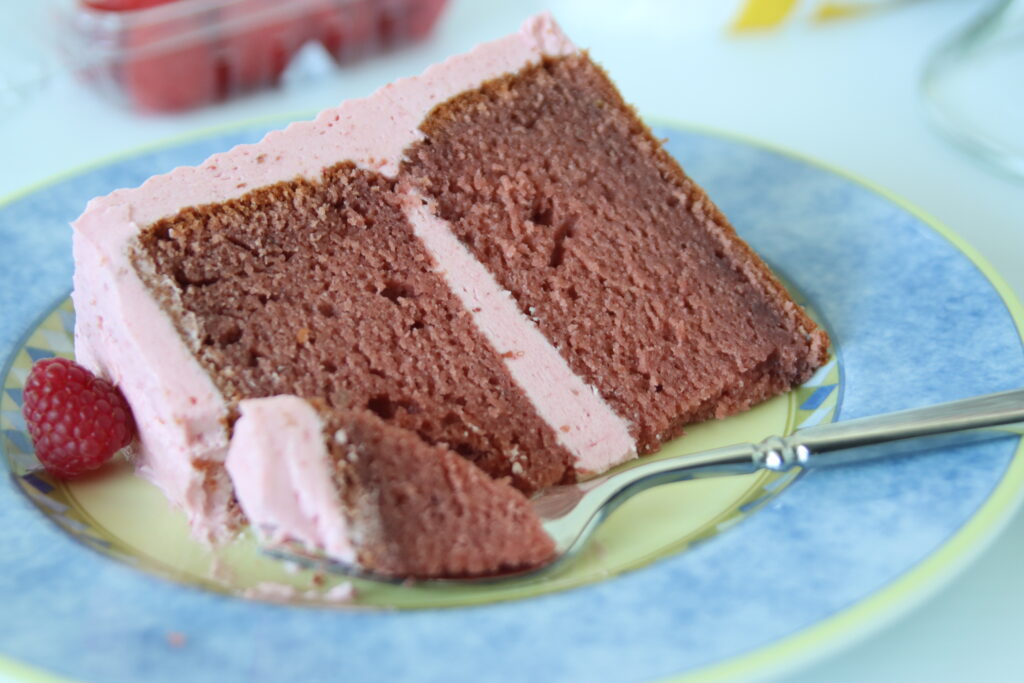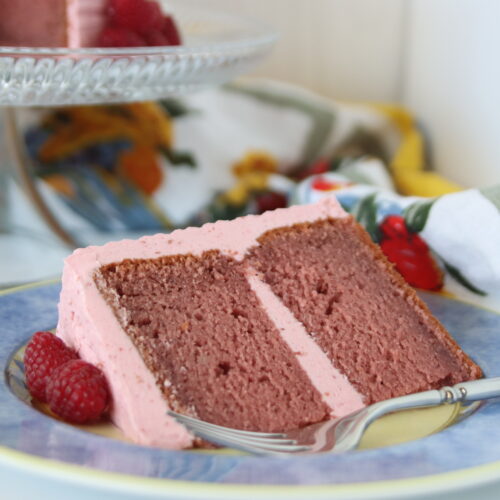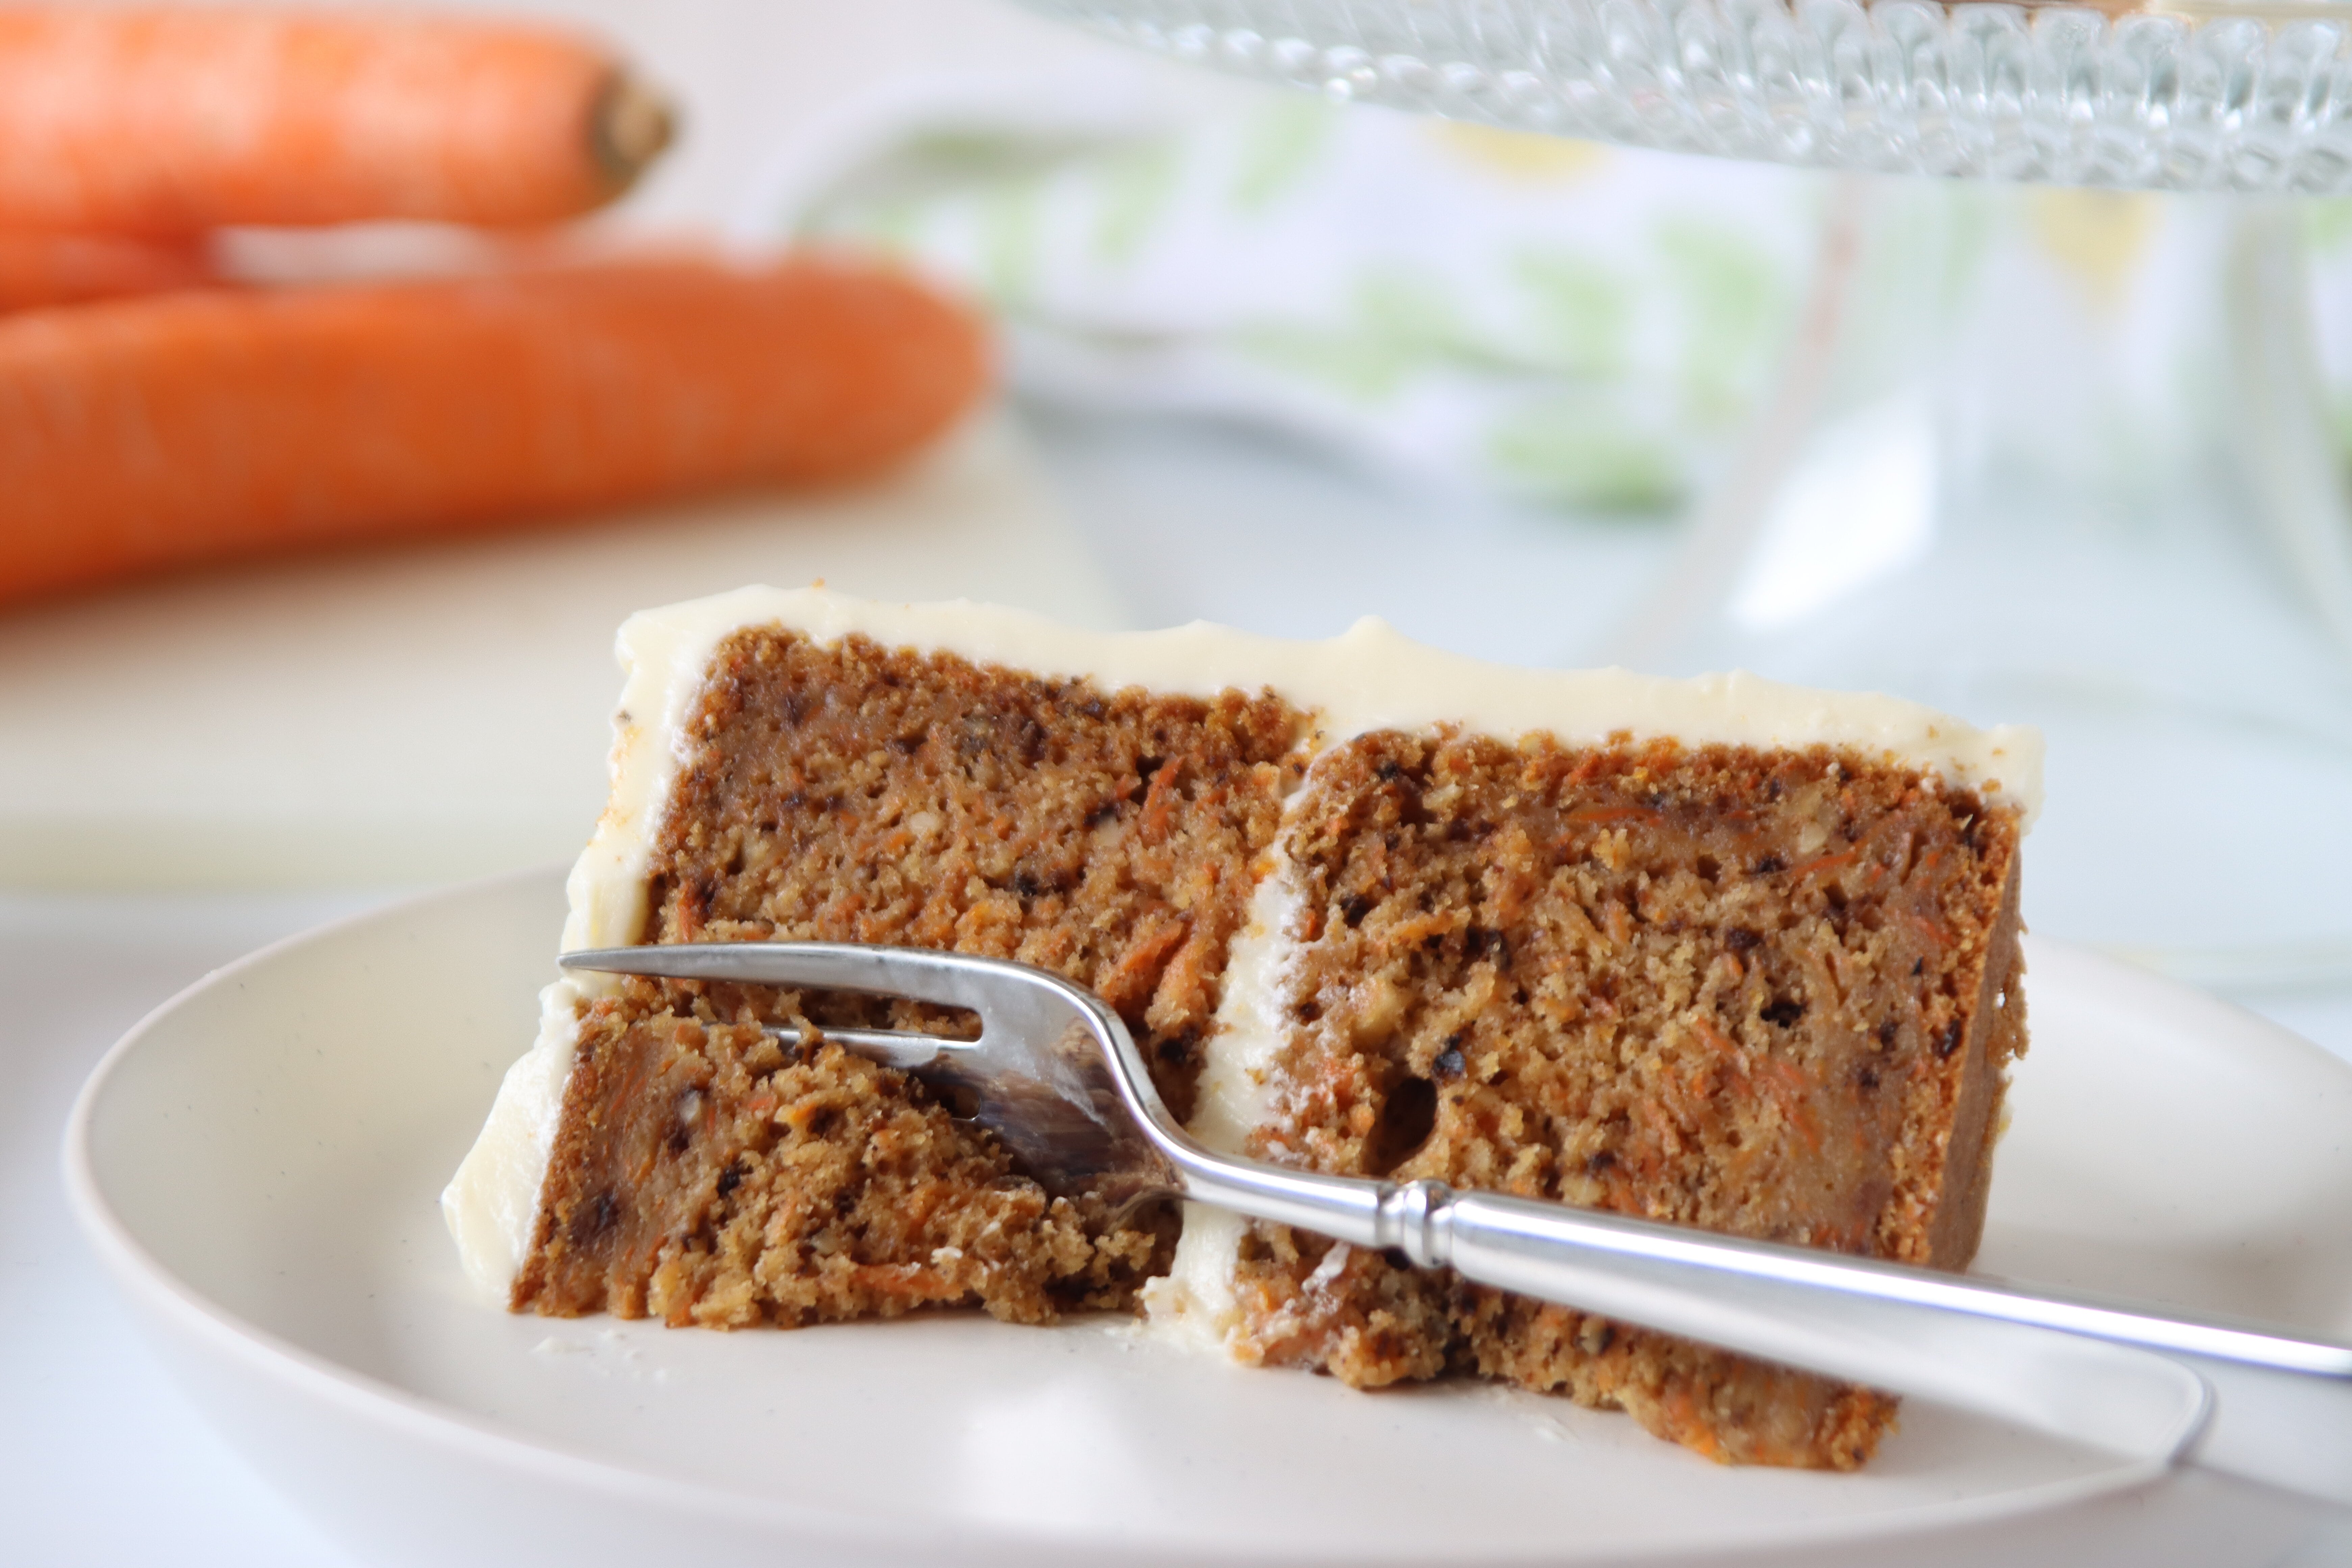
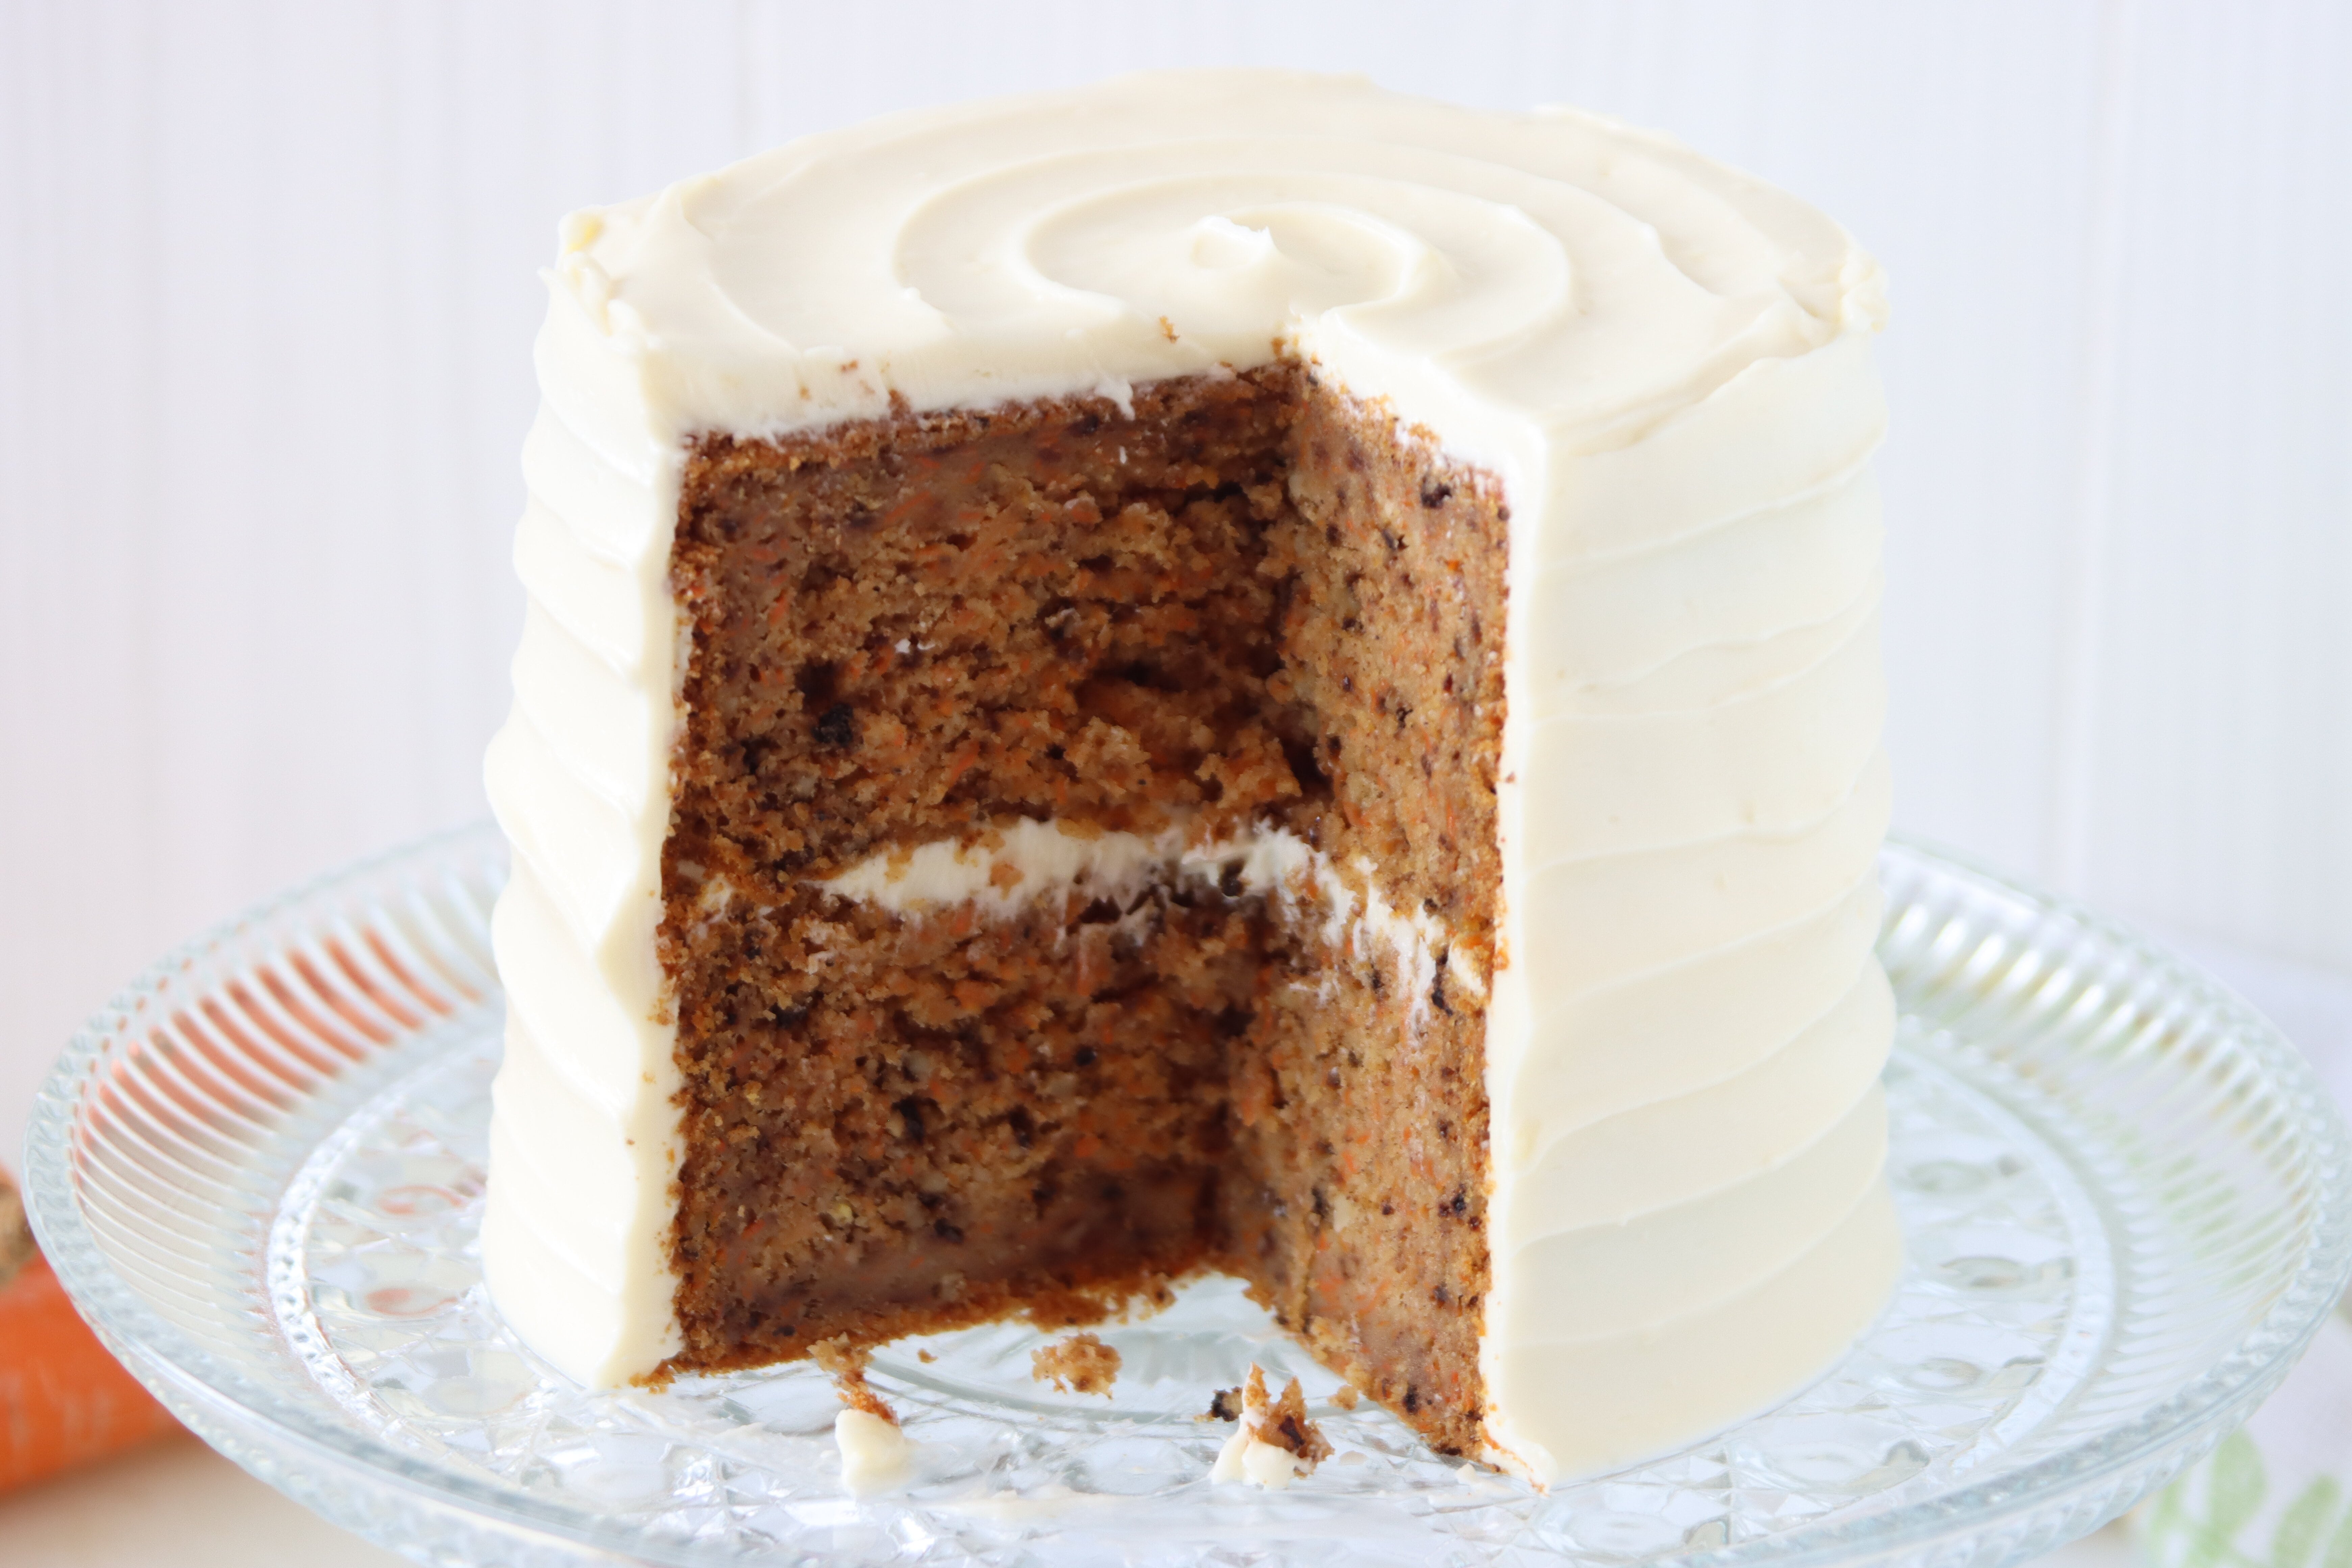
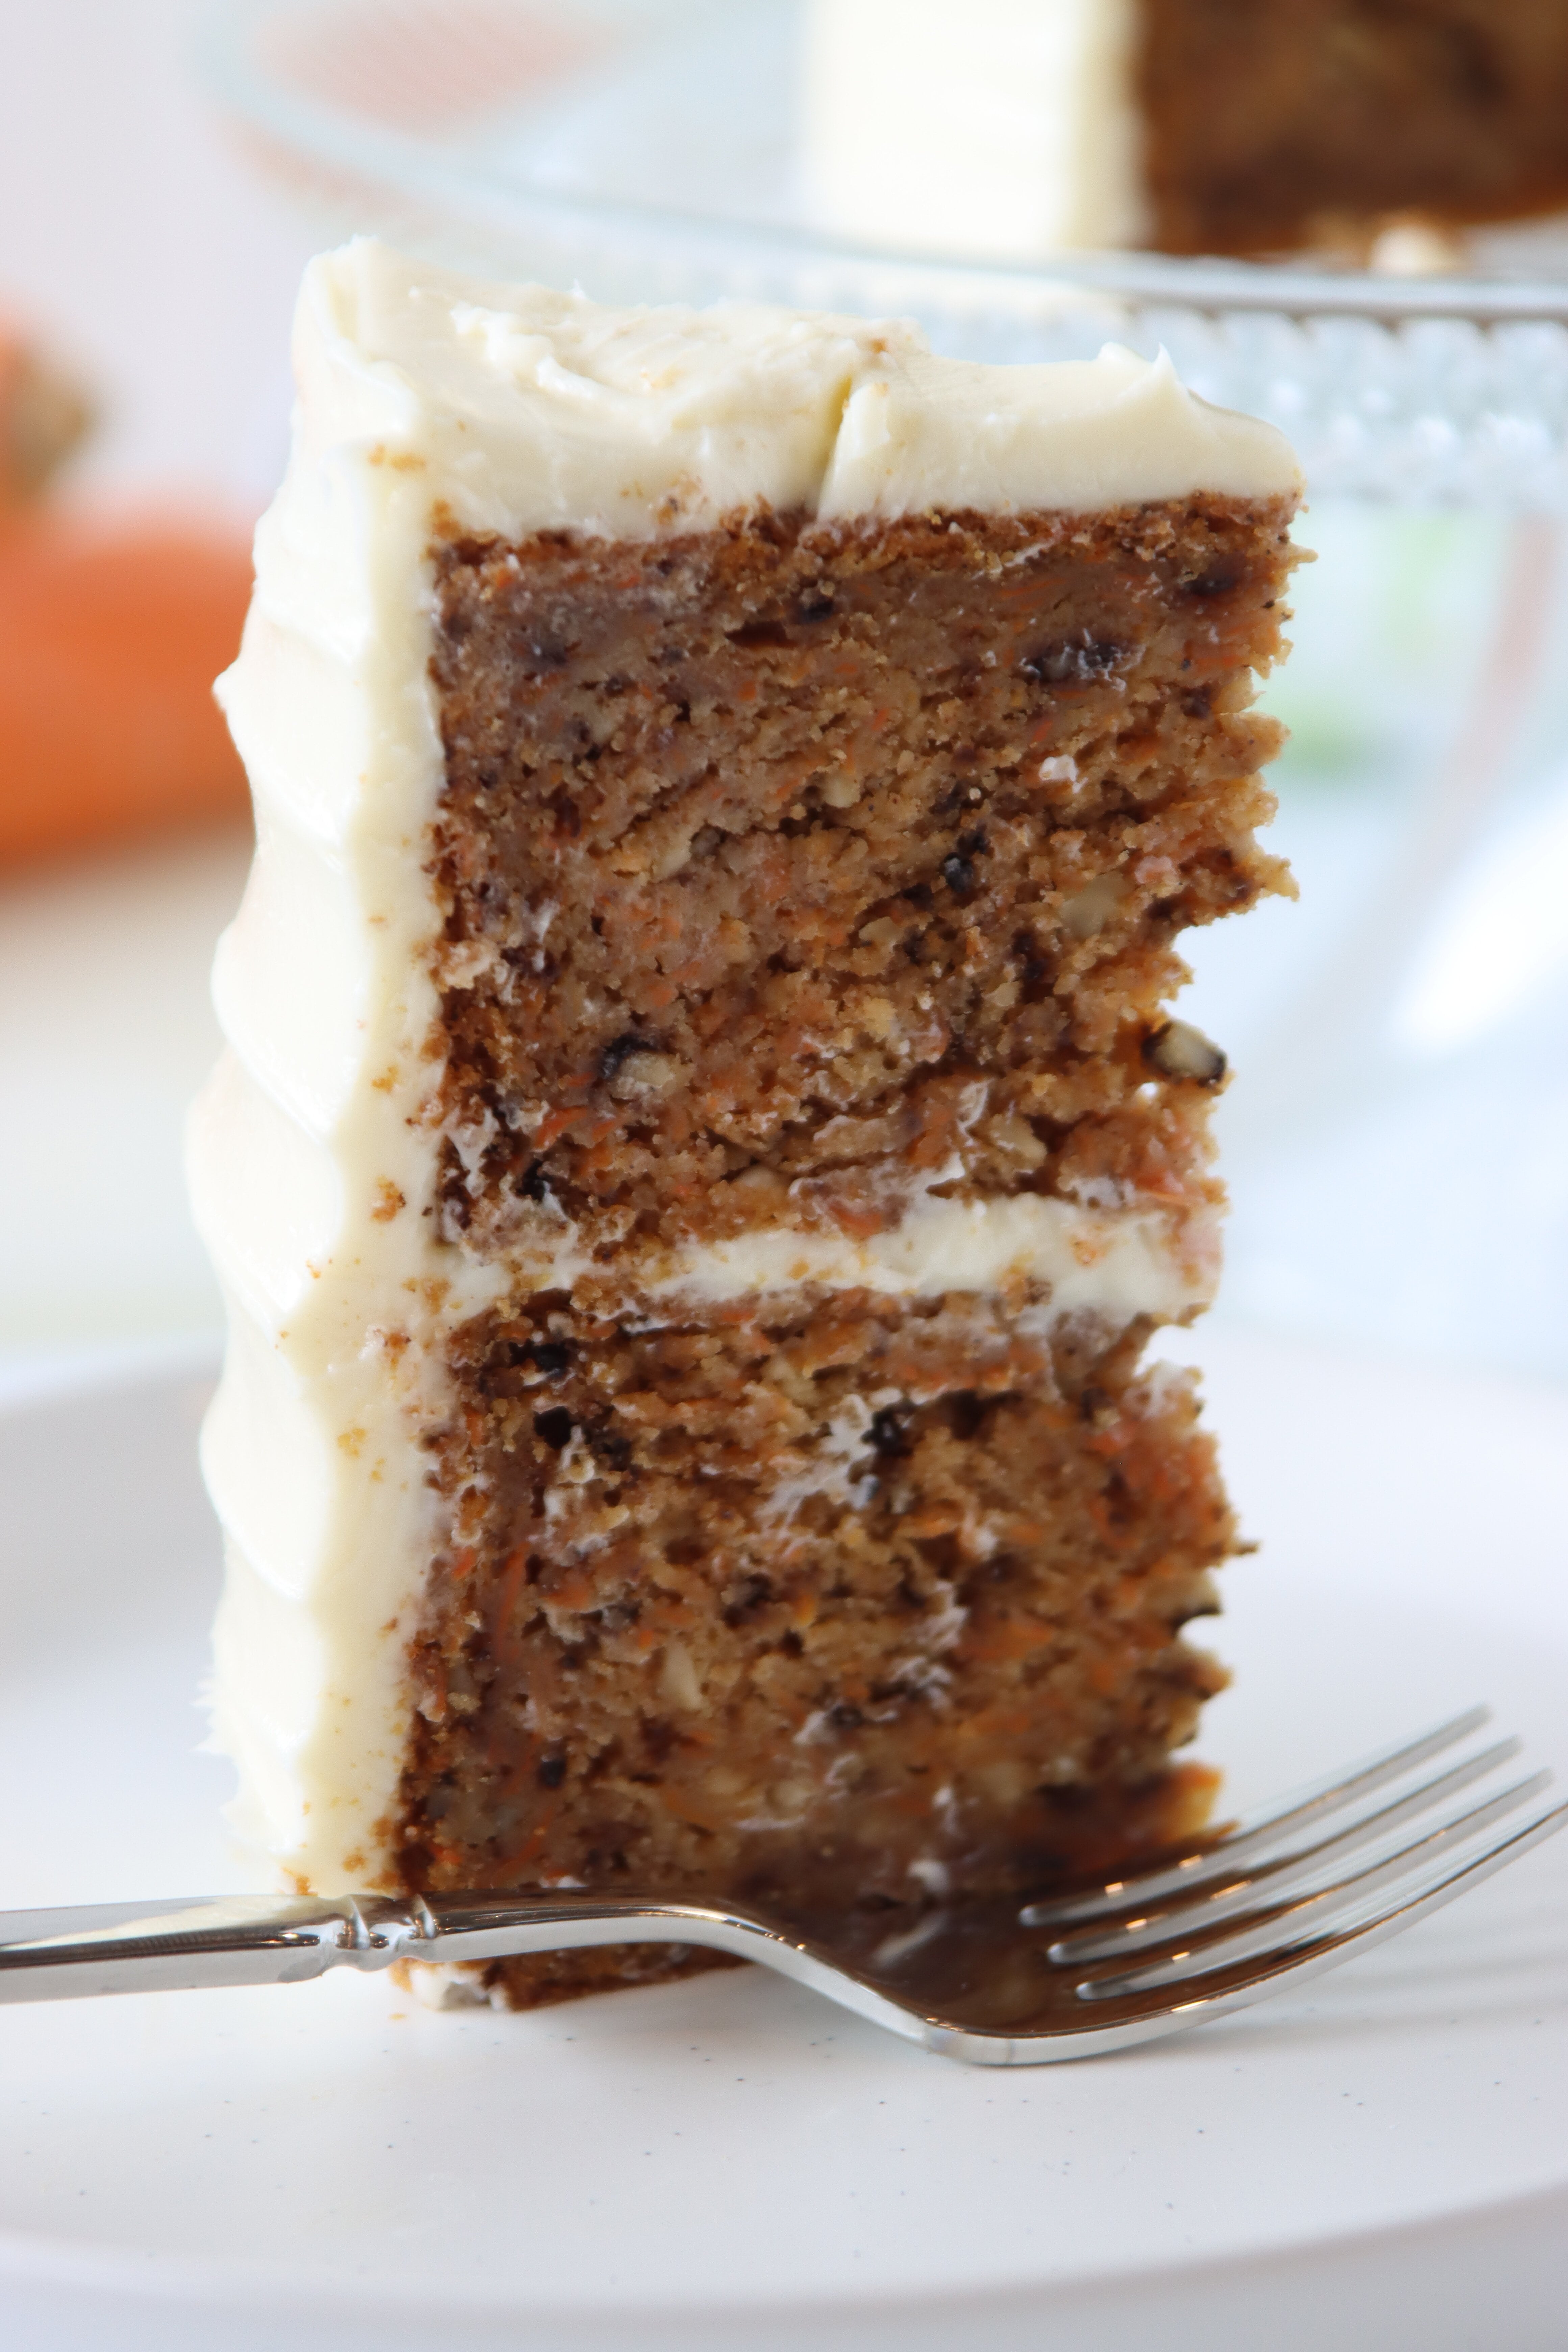
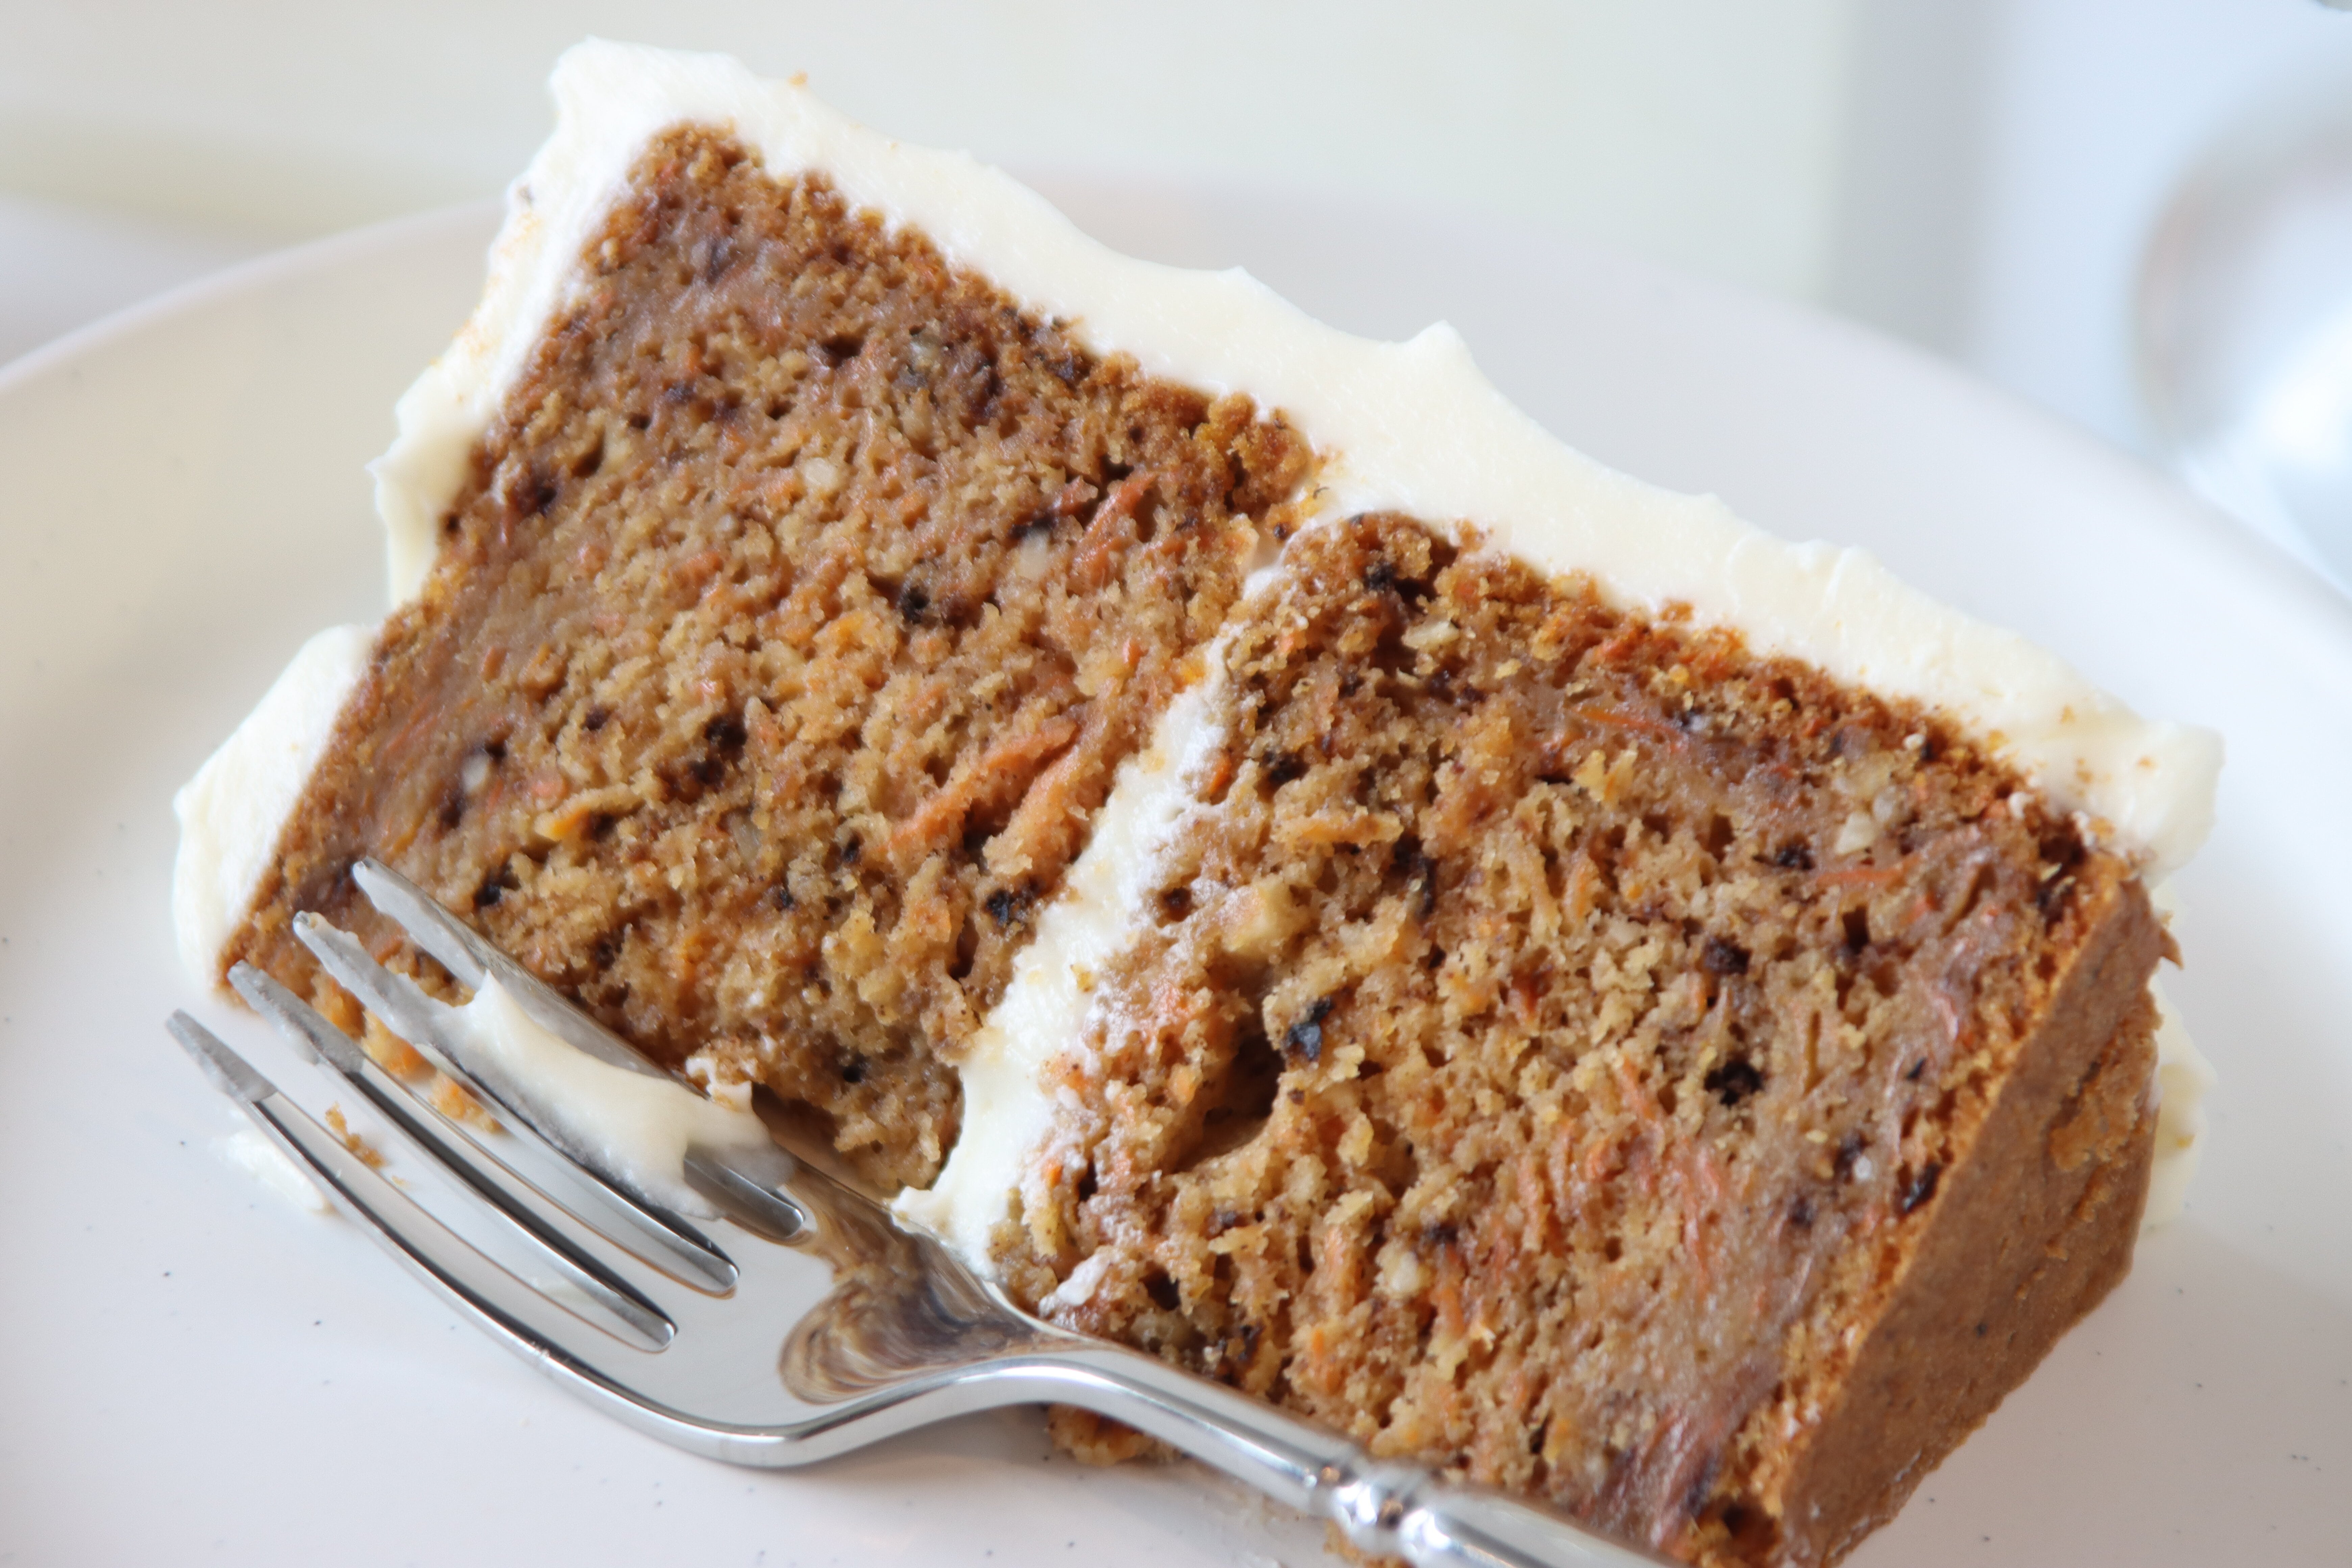
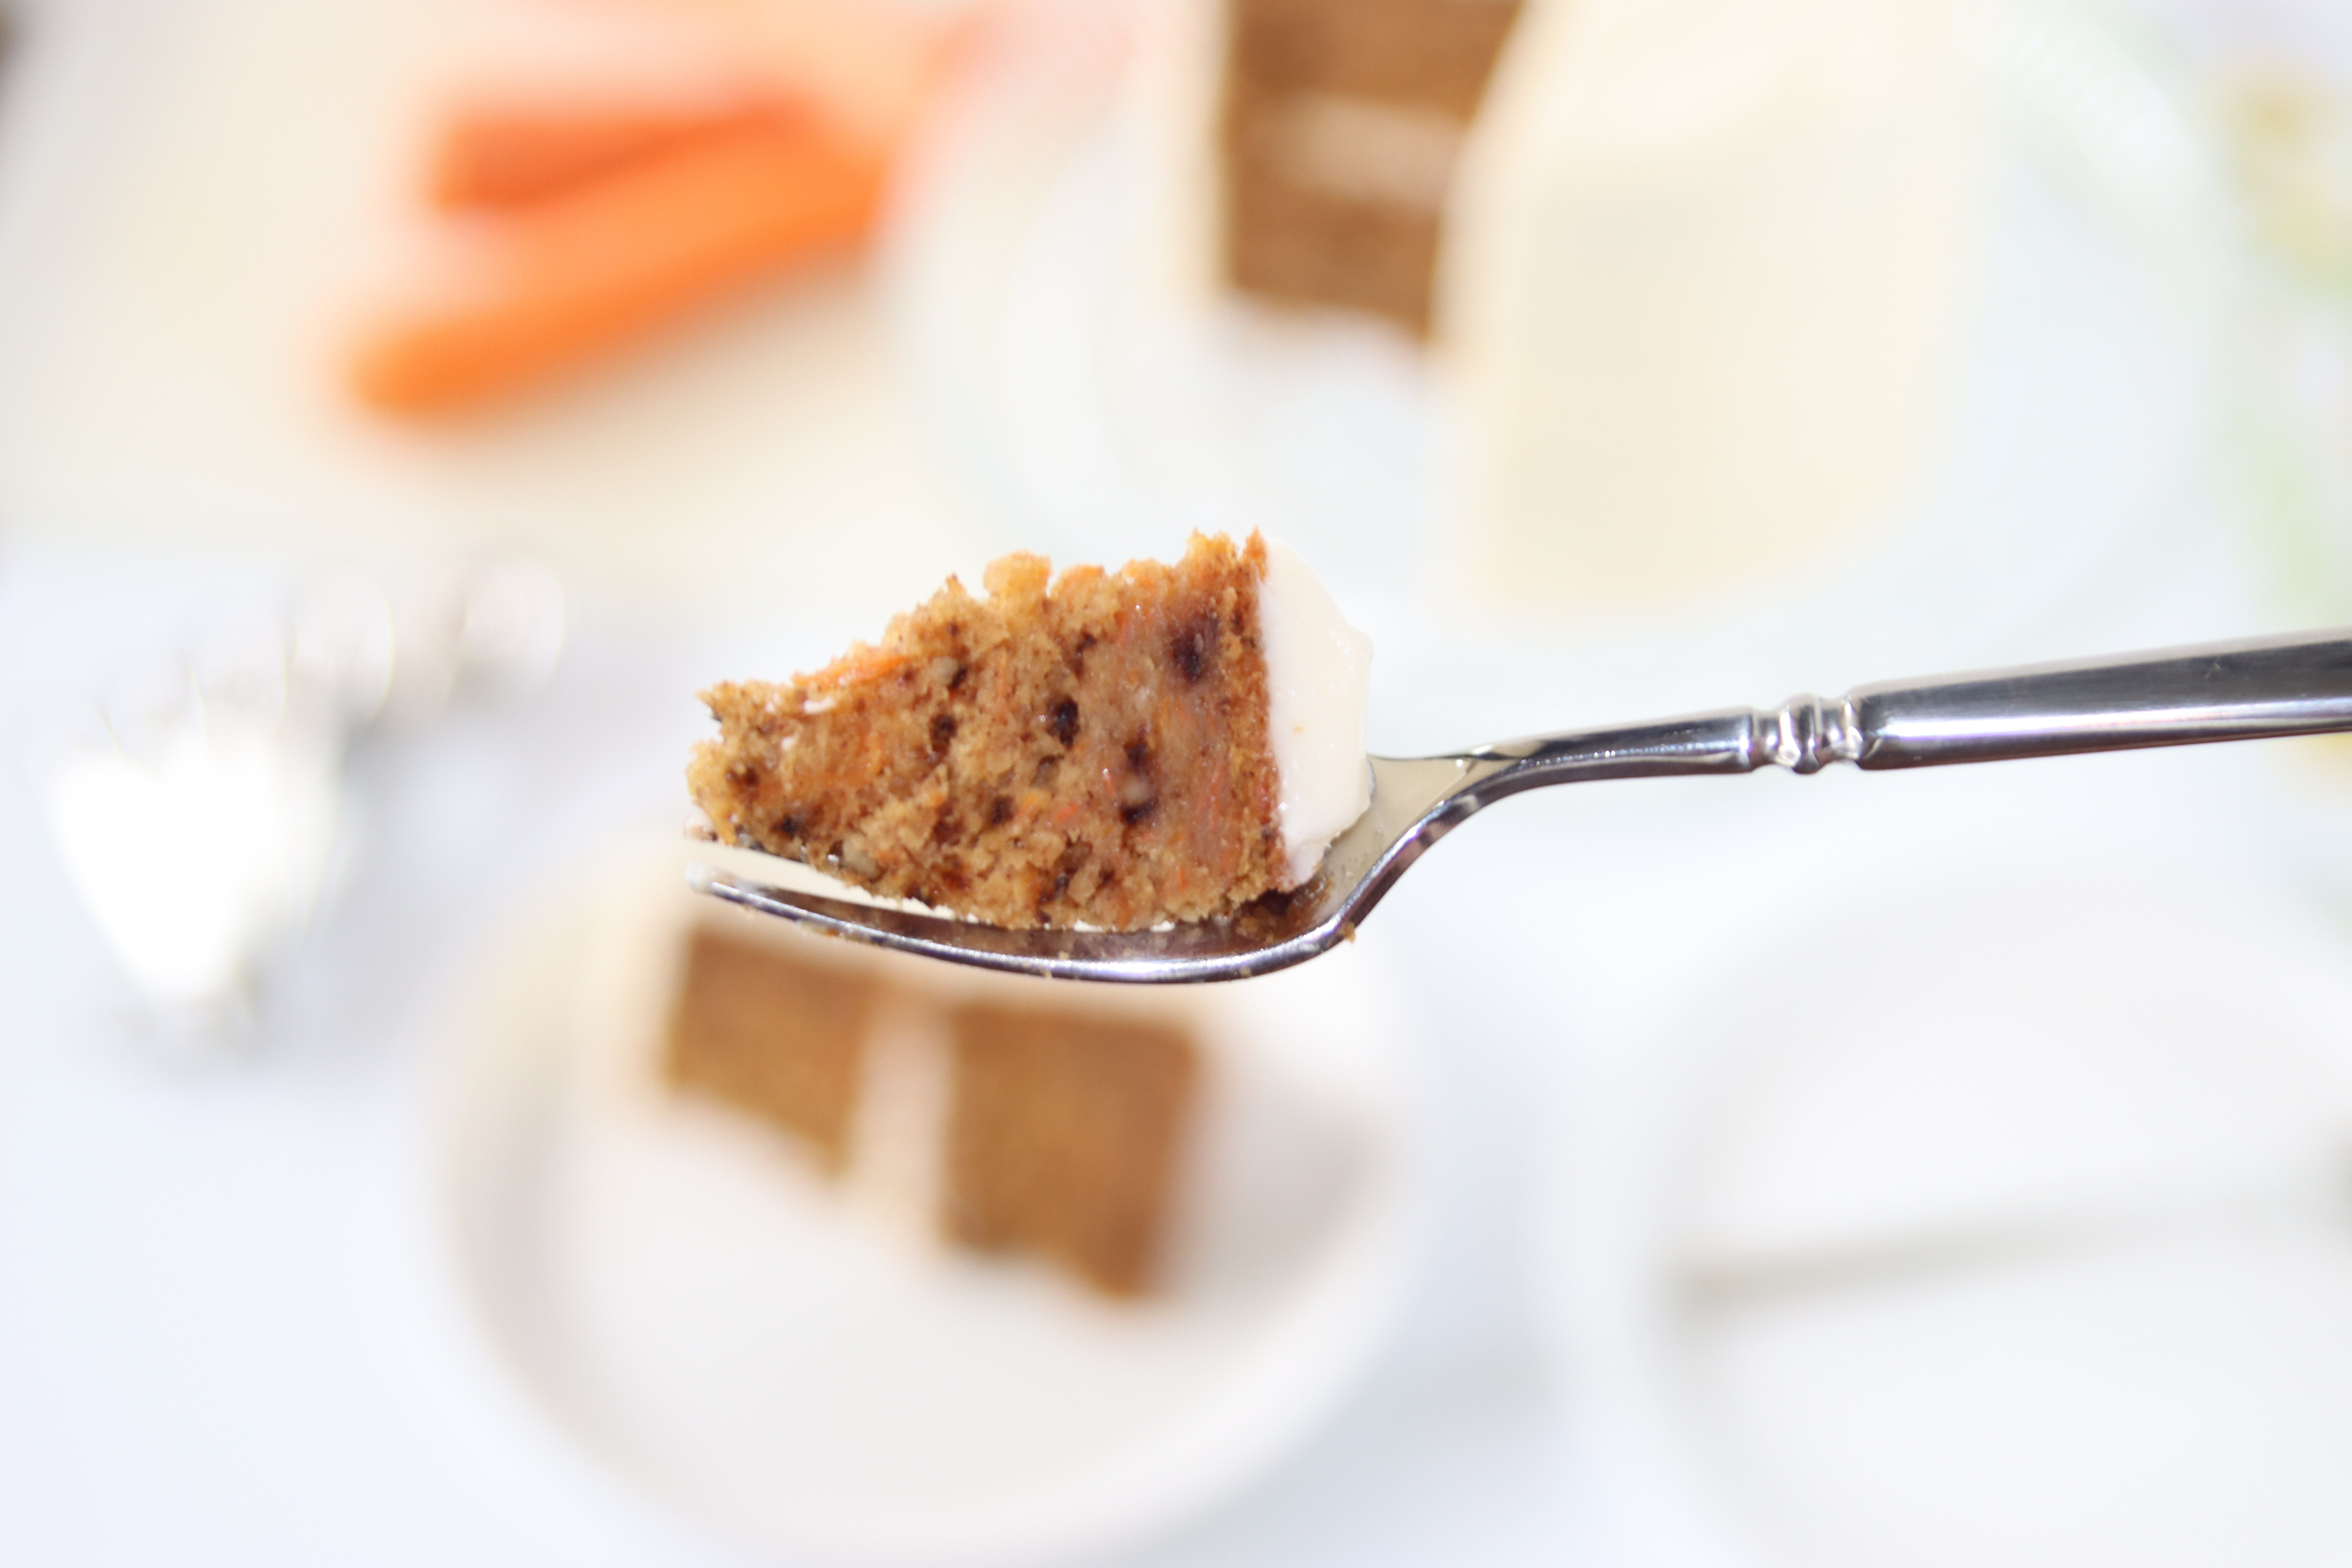
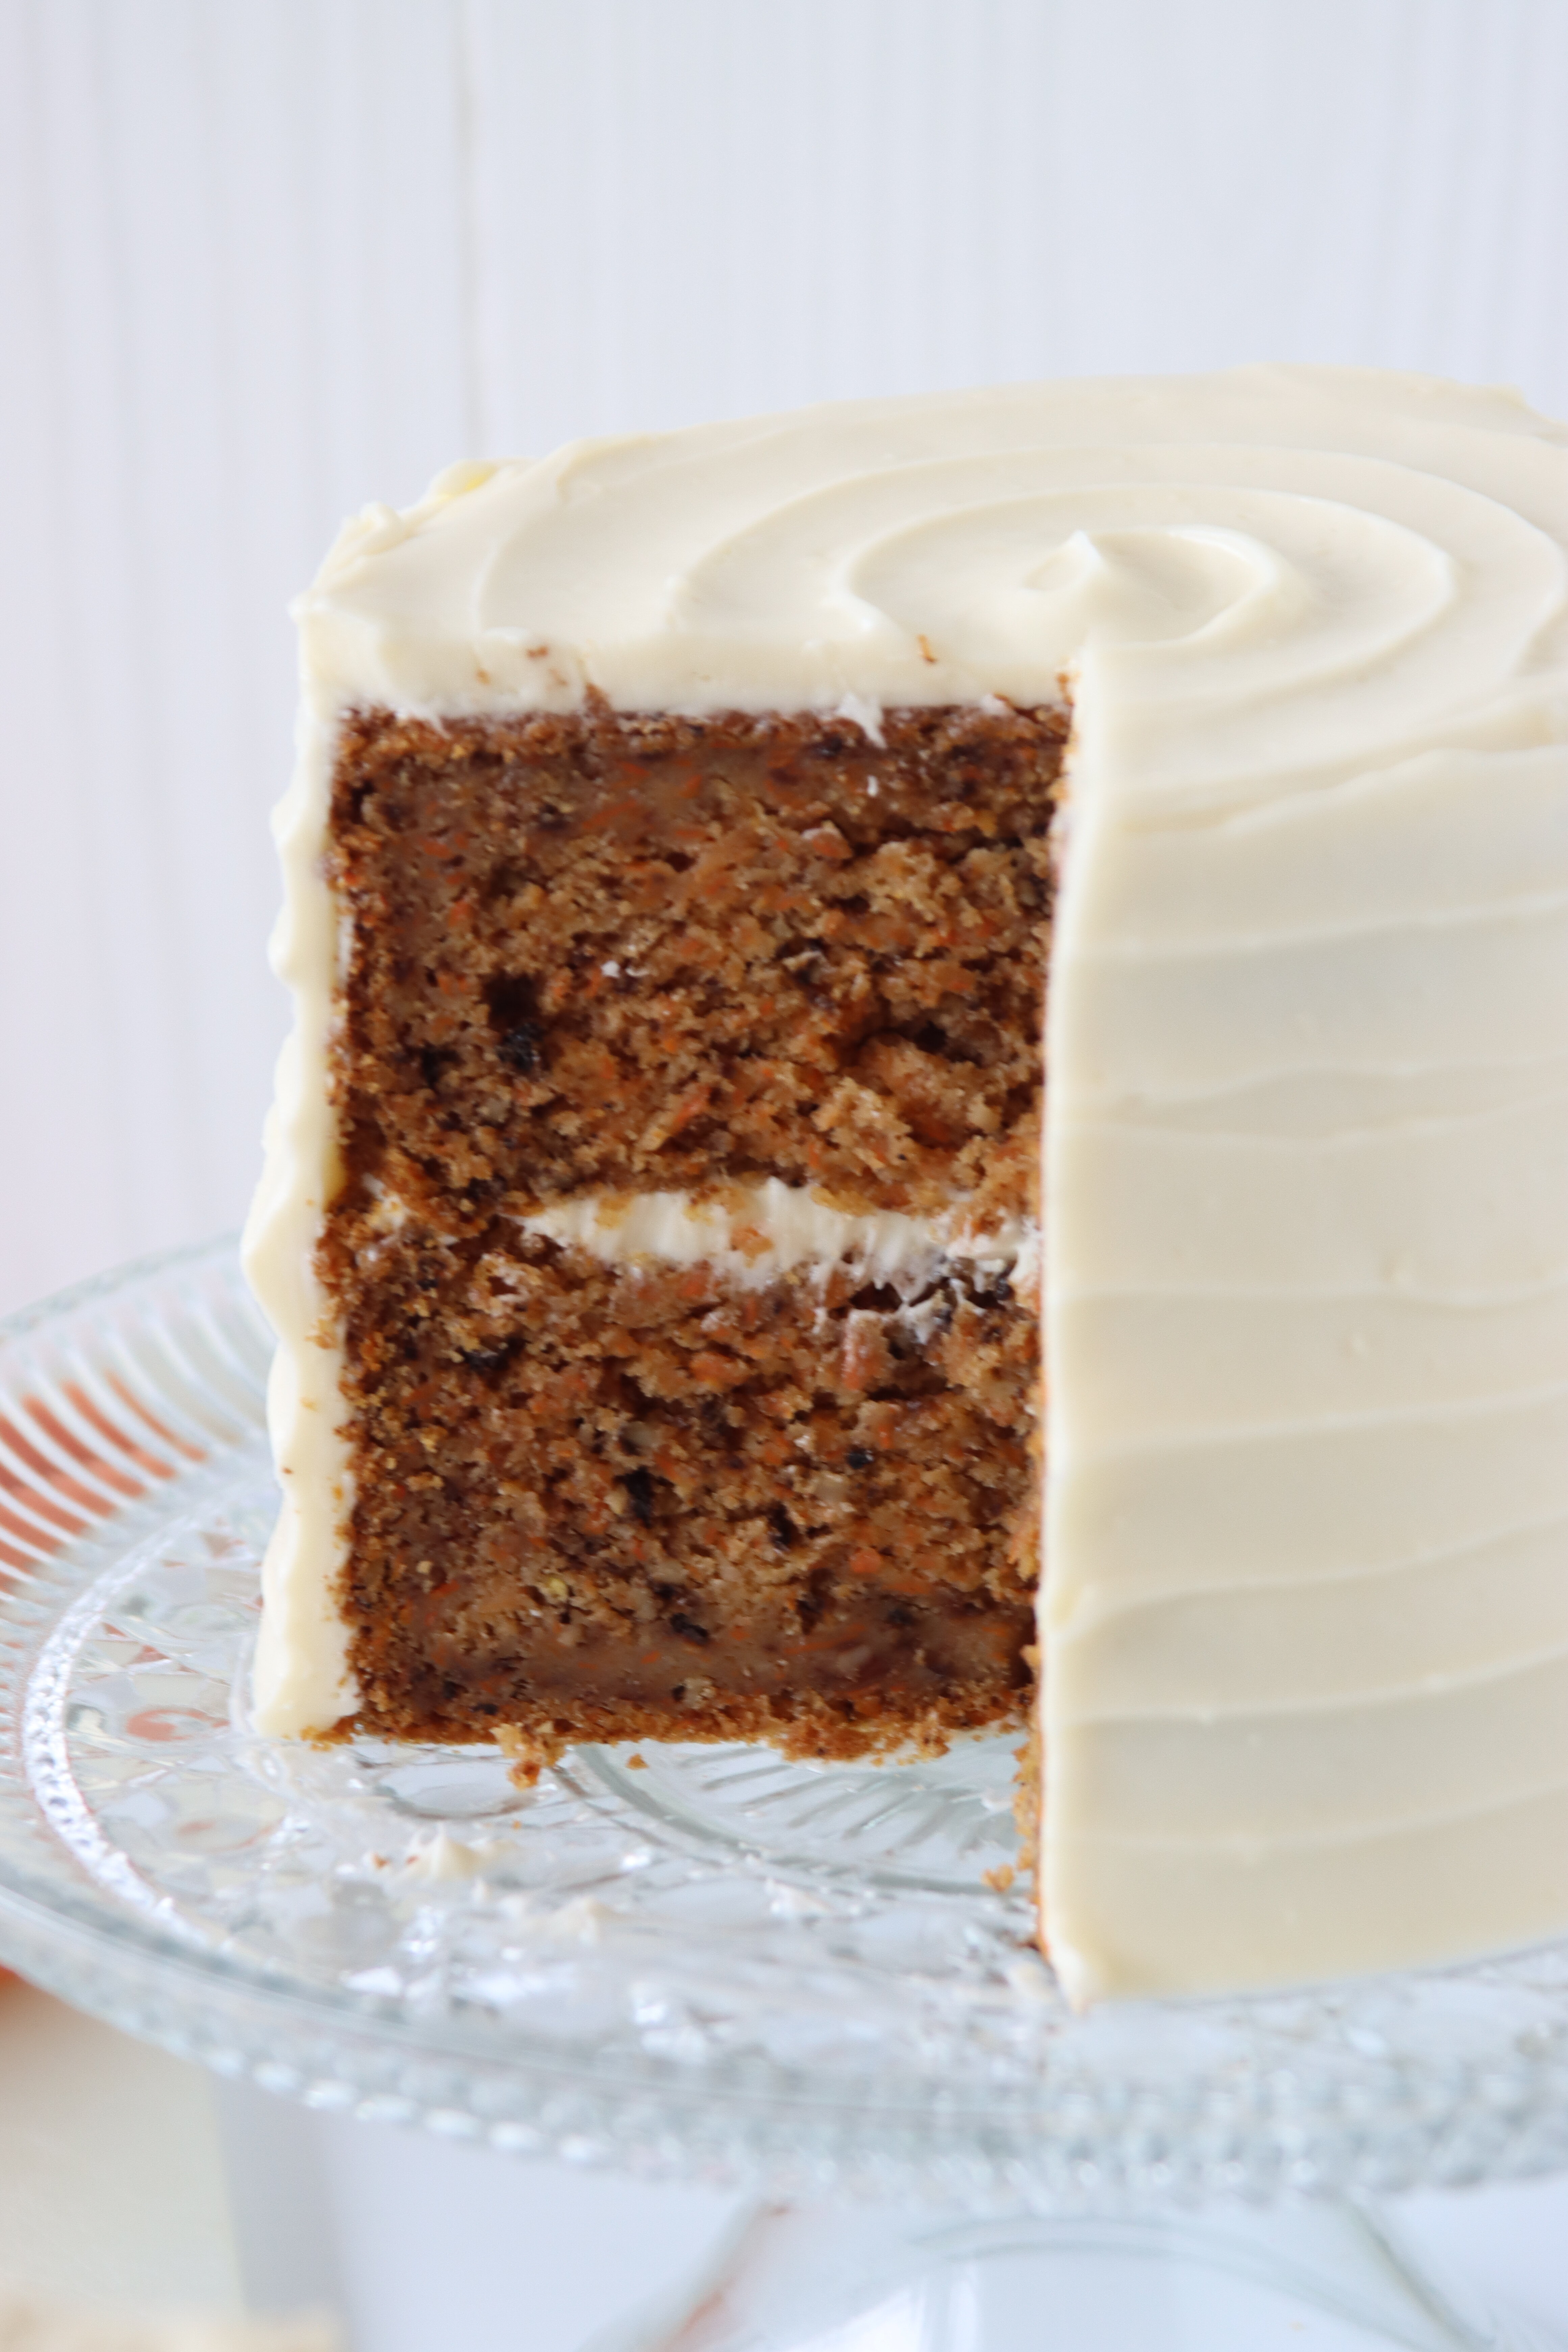
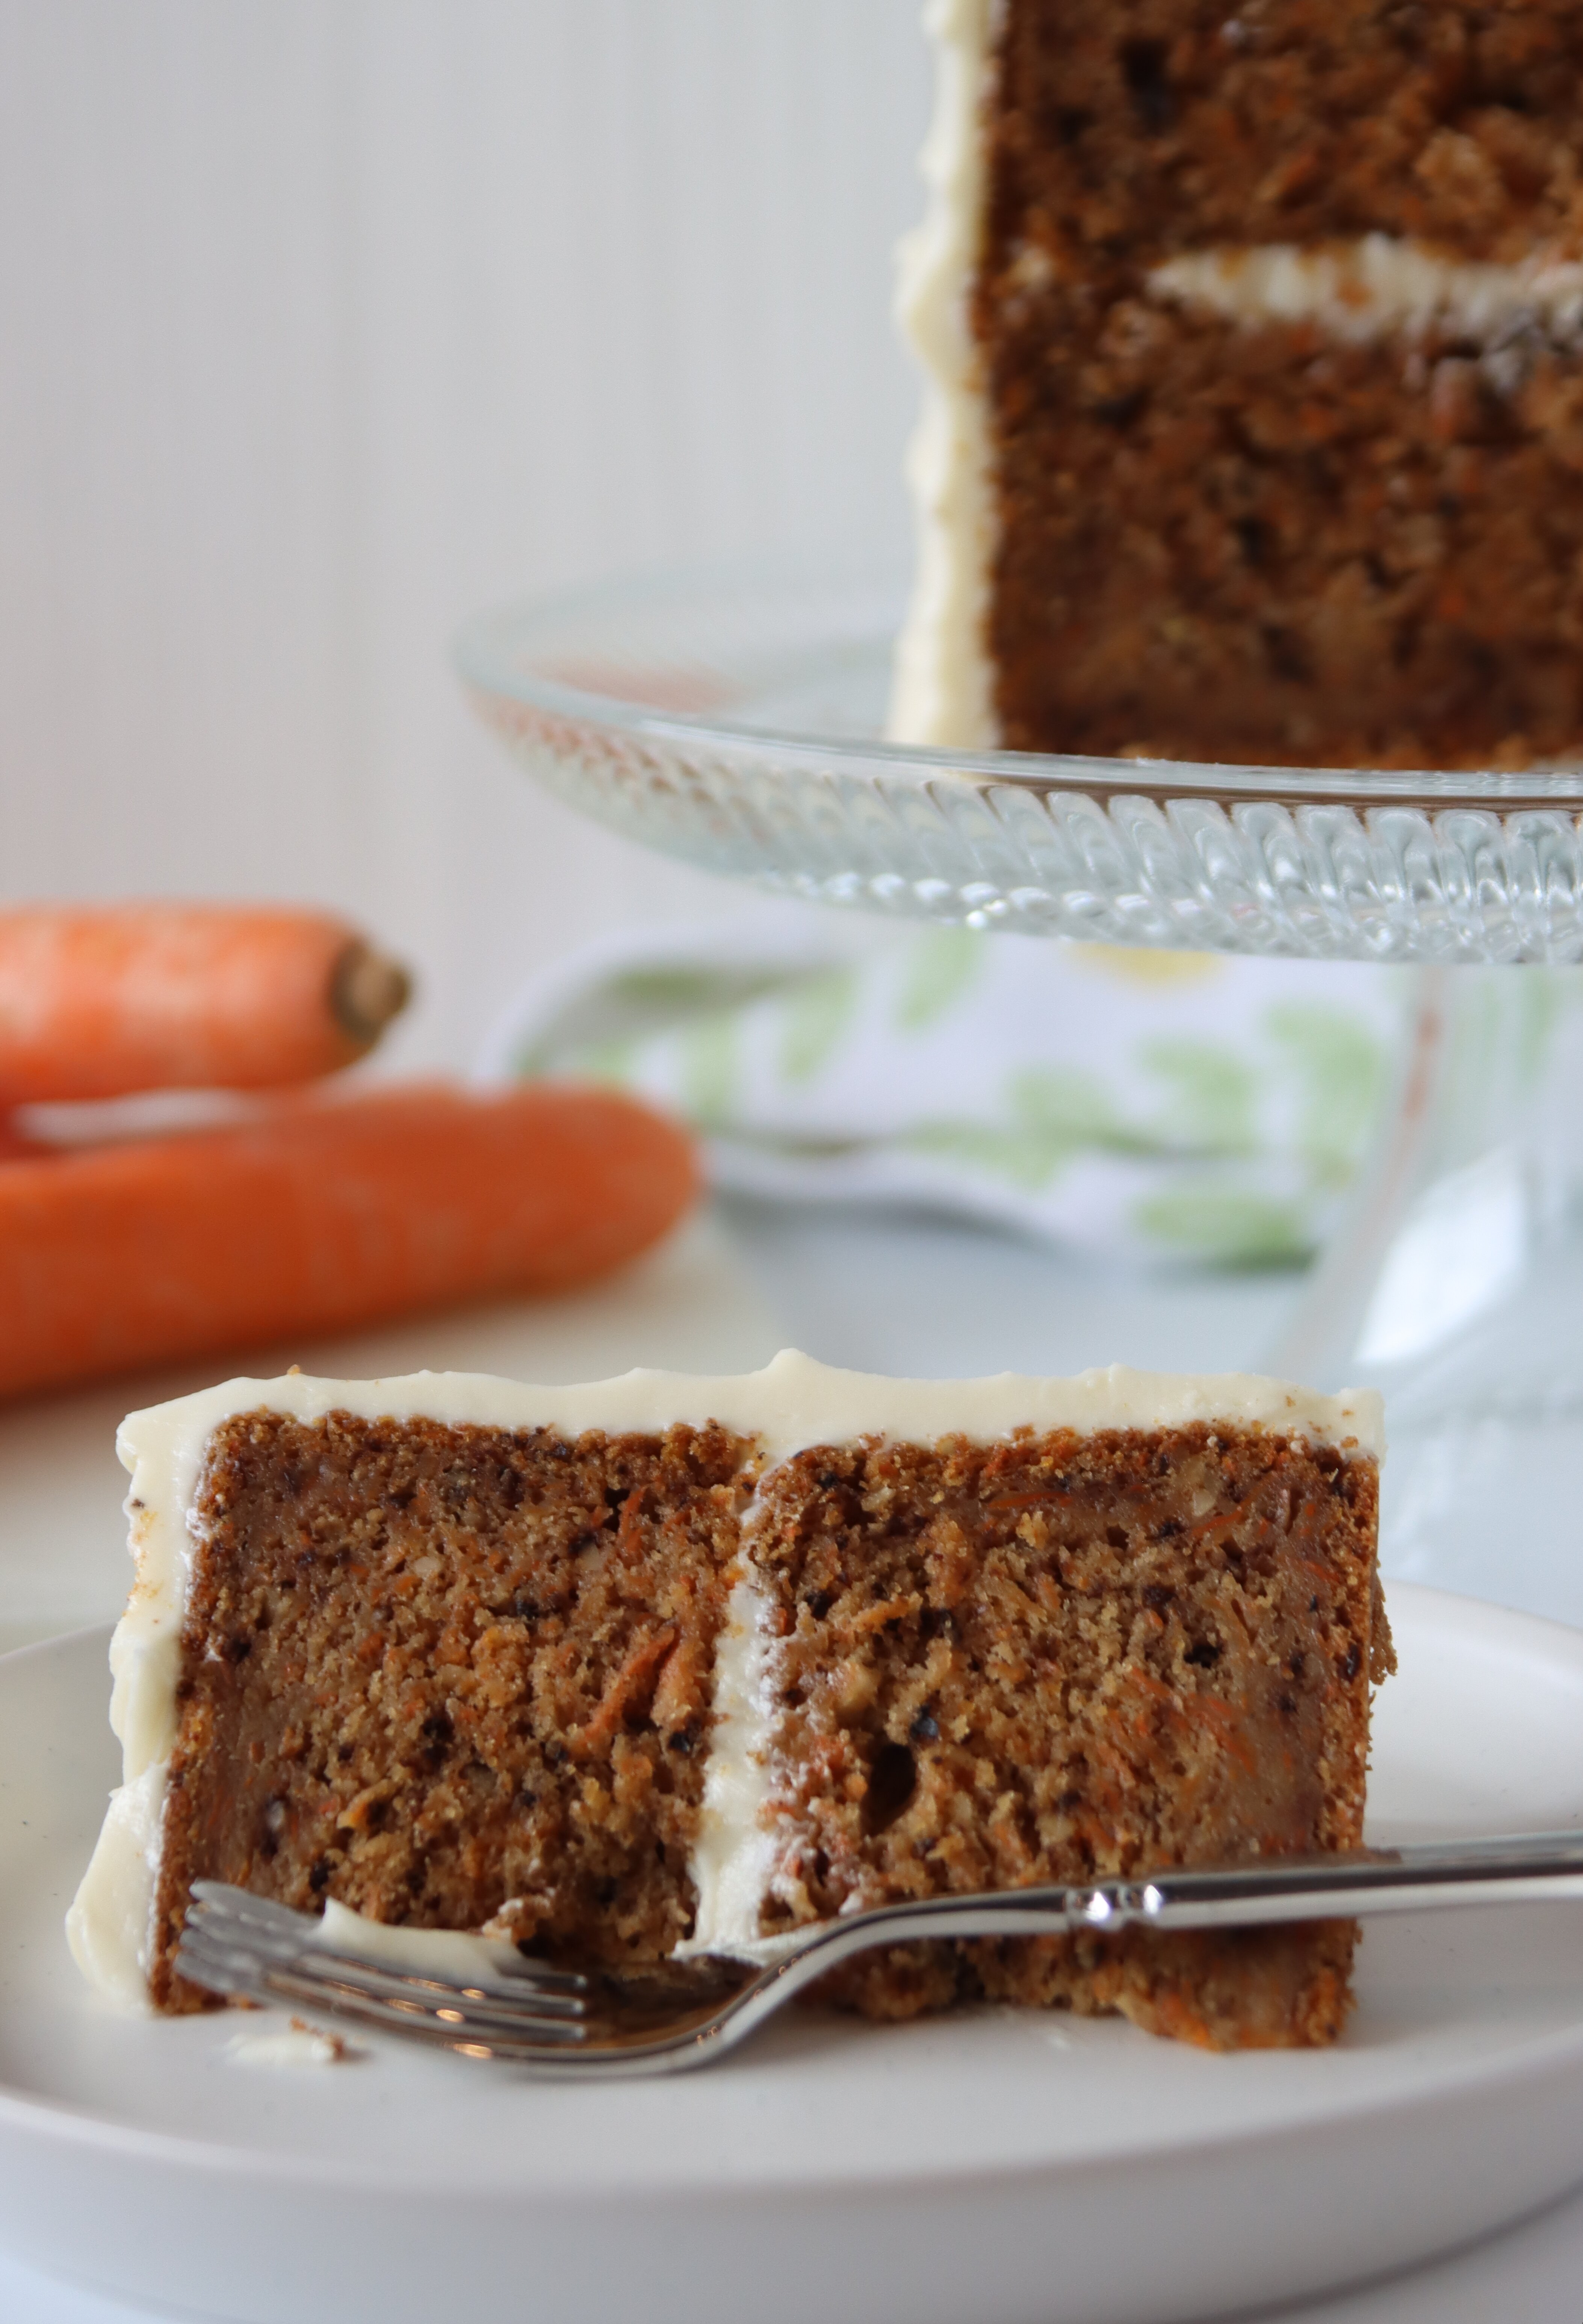
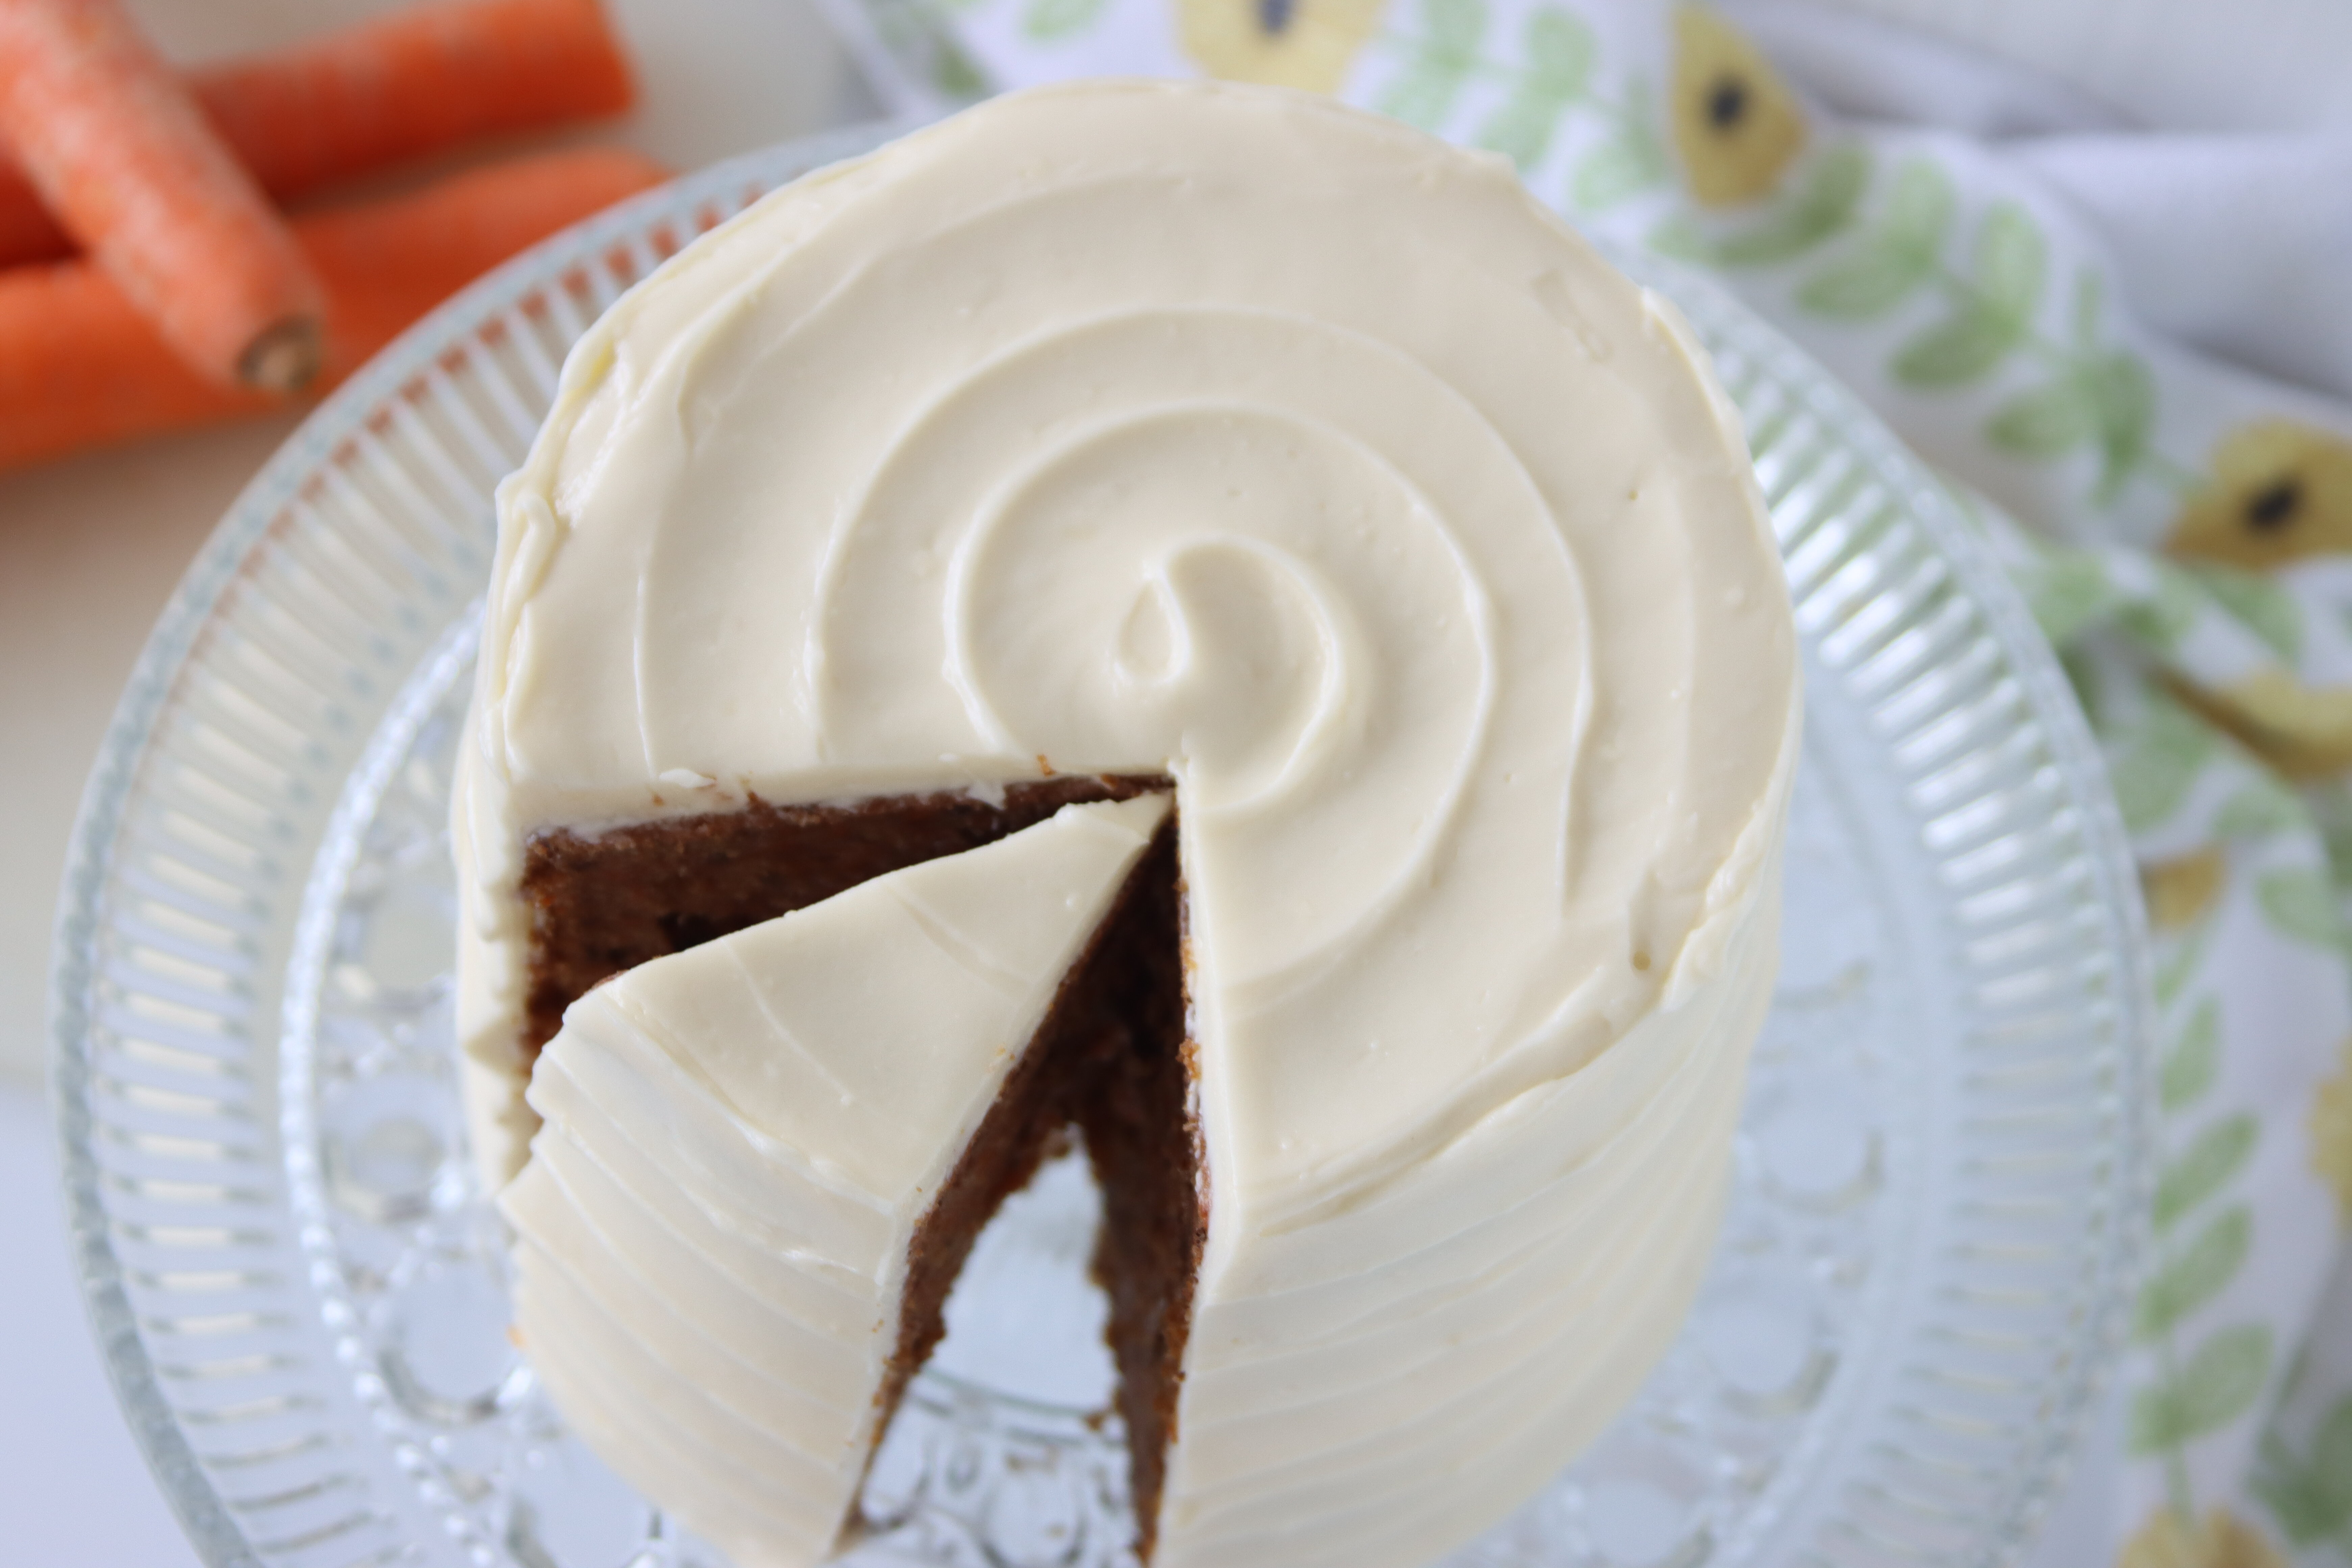
This soft and fluffy Carrot Cake is the best treat for almost any season! Full of flavourful spices and fresh carrots that give the cake a wonderfully moist texture, top this cake with Cream Cheese Frosting for the perfect dessert – or any other meal, since carrots make it healthy, right? Keep reading to find out how to make this Carrot Cake yourself!
The Story
In 2021, I decided that I wanted to make a cake for Easter. With the Easter Bunny on my mind, I chose to make a carrot cake, since bunnies eat carrots. But, I didn’t want to use a box mix as I had been starting to learn the intricacies of recipe development and scratch baking. So, I adapted my very best Raspberry Cake recipe to have grated carrots instead of a raspberry reduction, and boom! The Best Carrot Cake was born!
Sure, it’s not quite that simple. But that was basically exactly what I did to perfect the recipe for this insanely moist and flavourful cake.
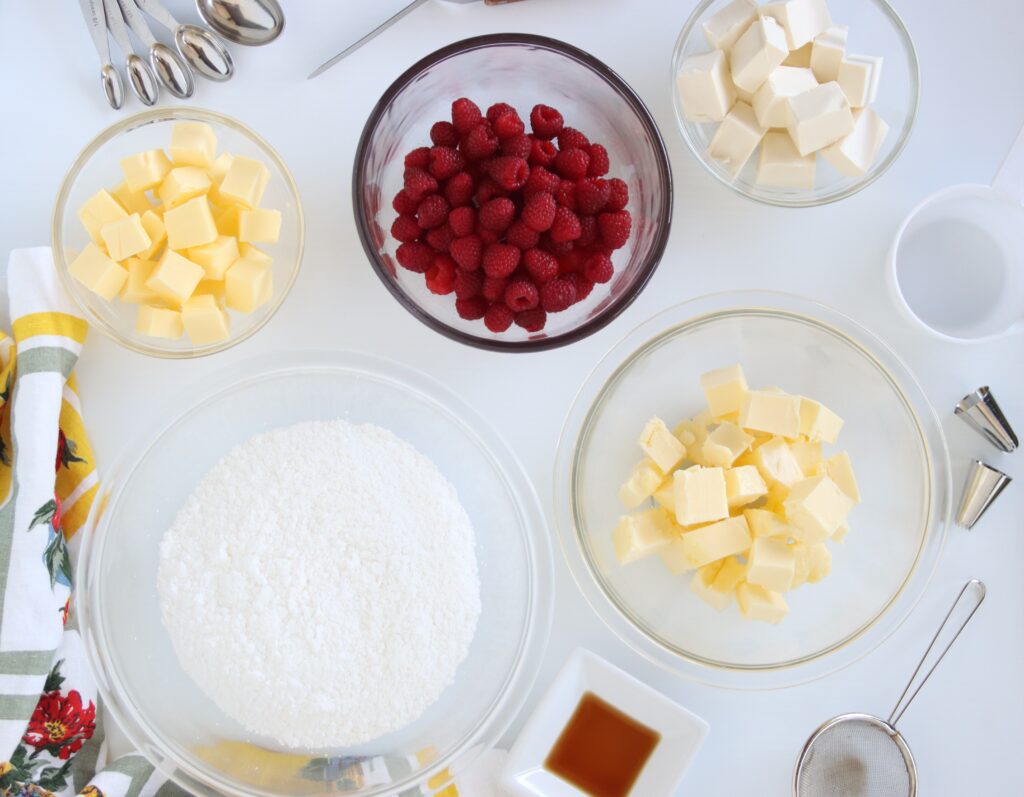
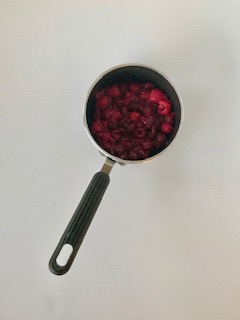
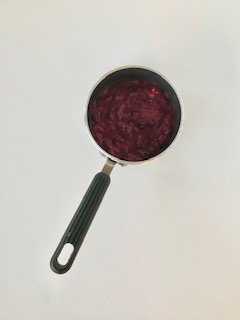
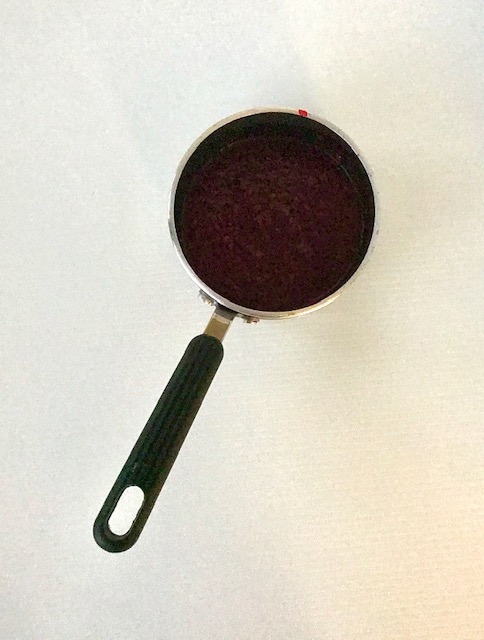
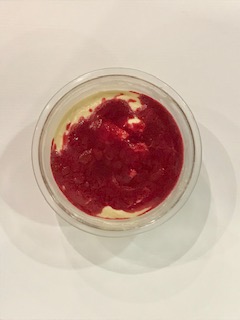
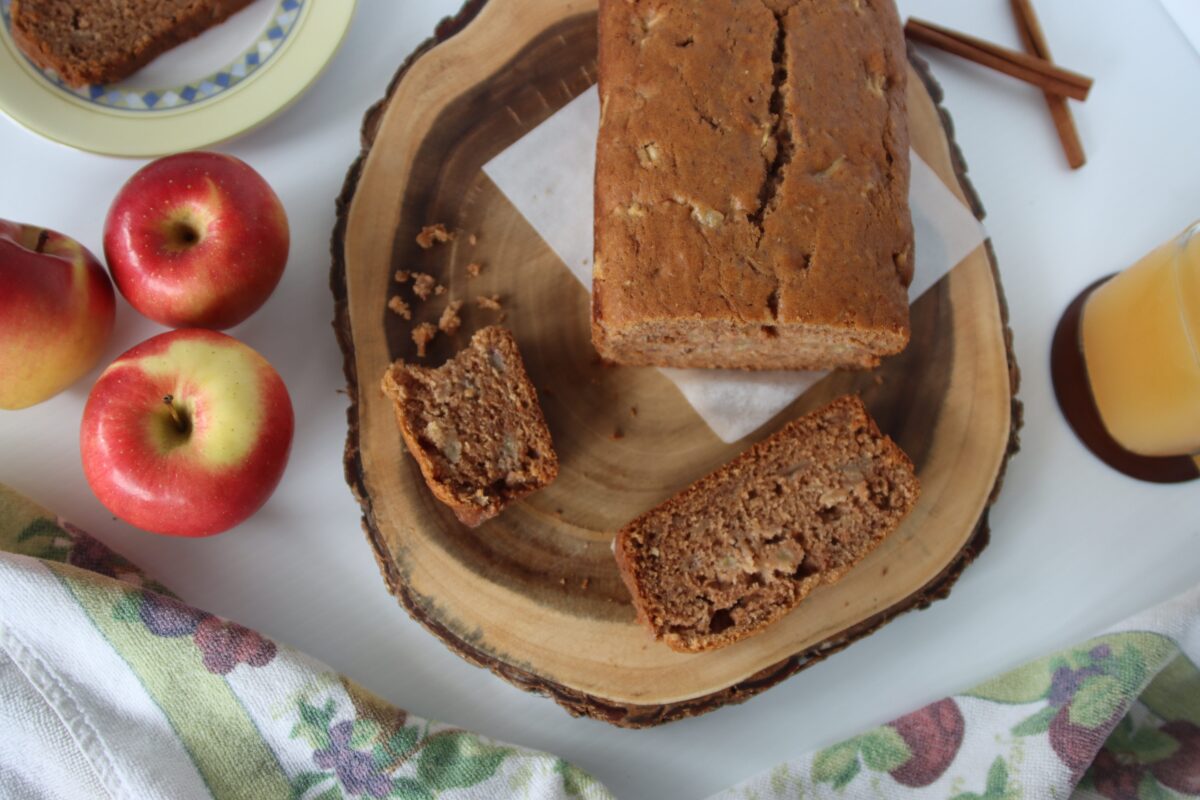
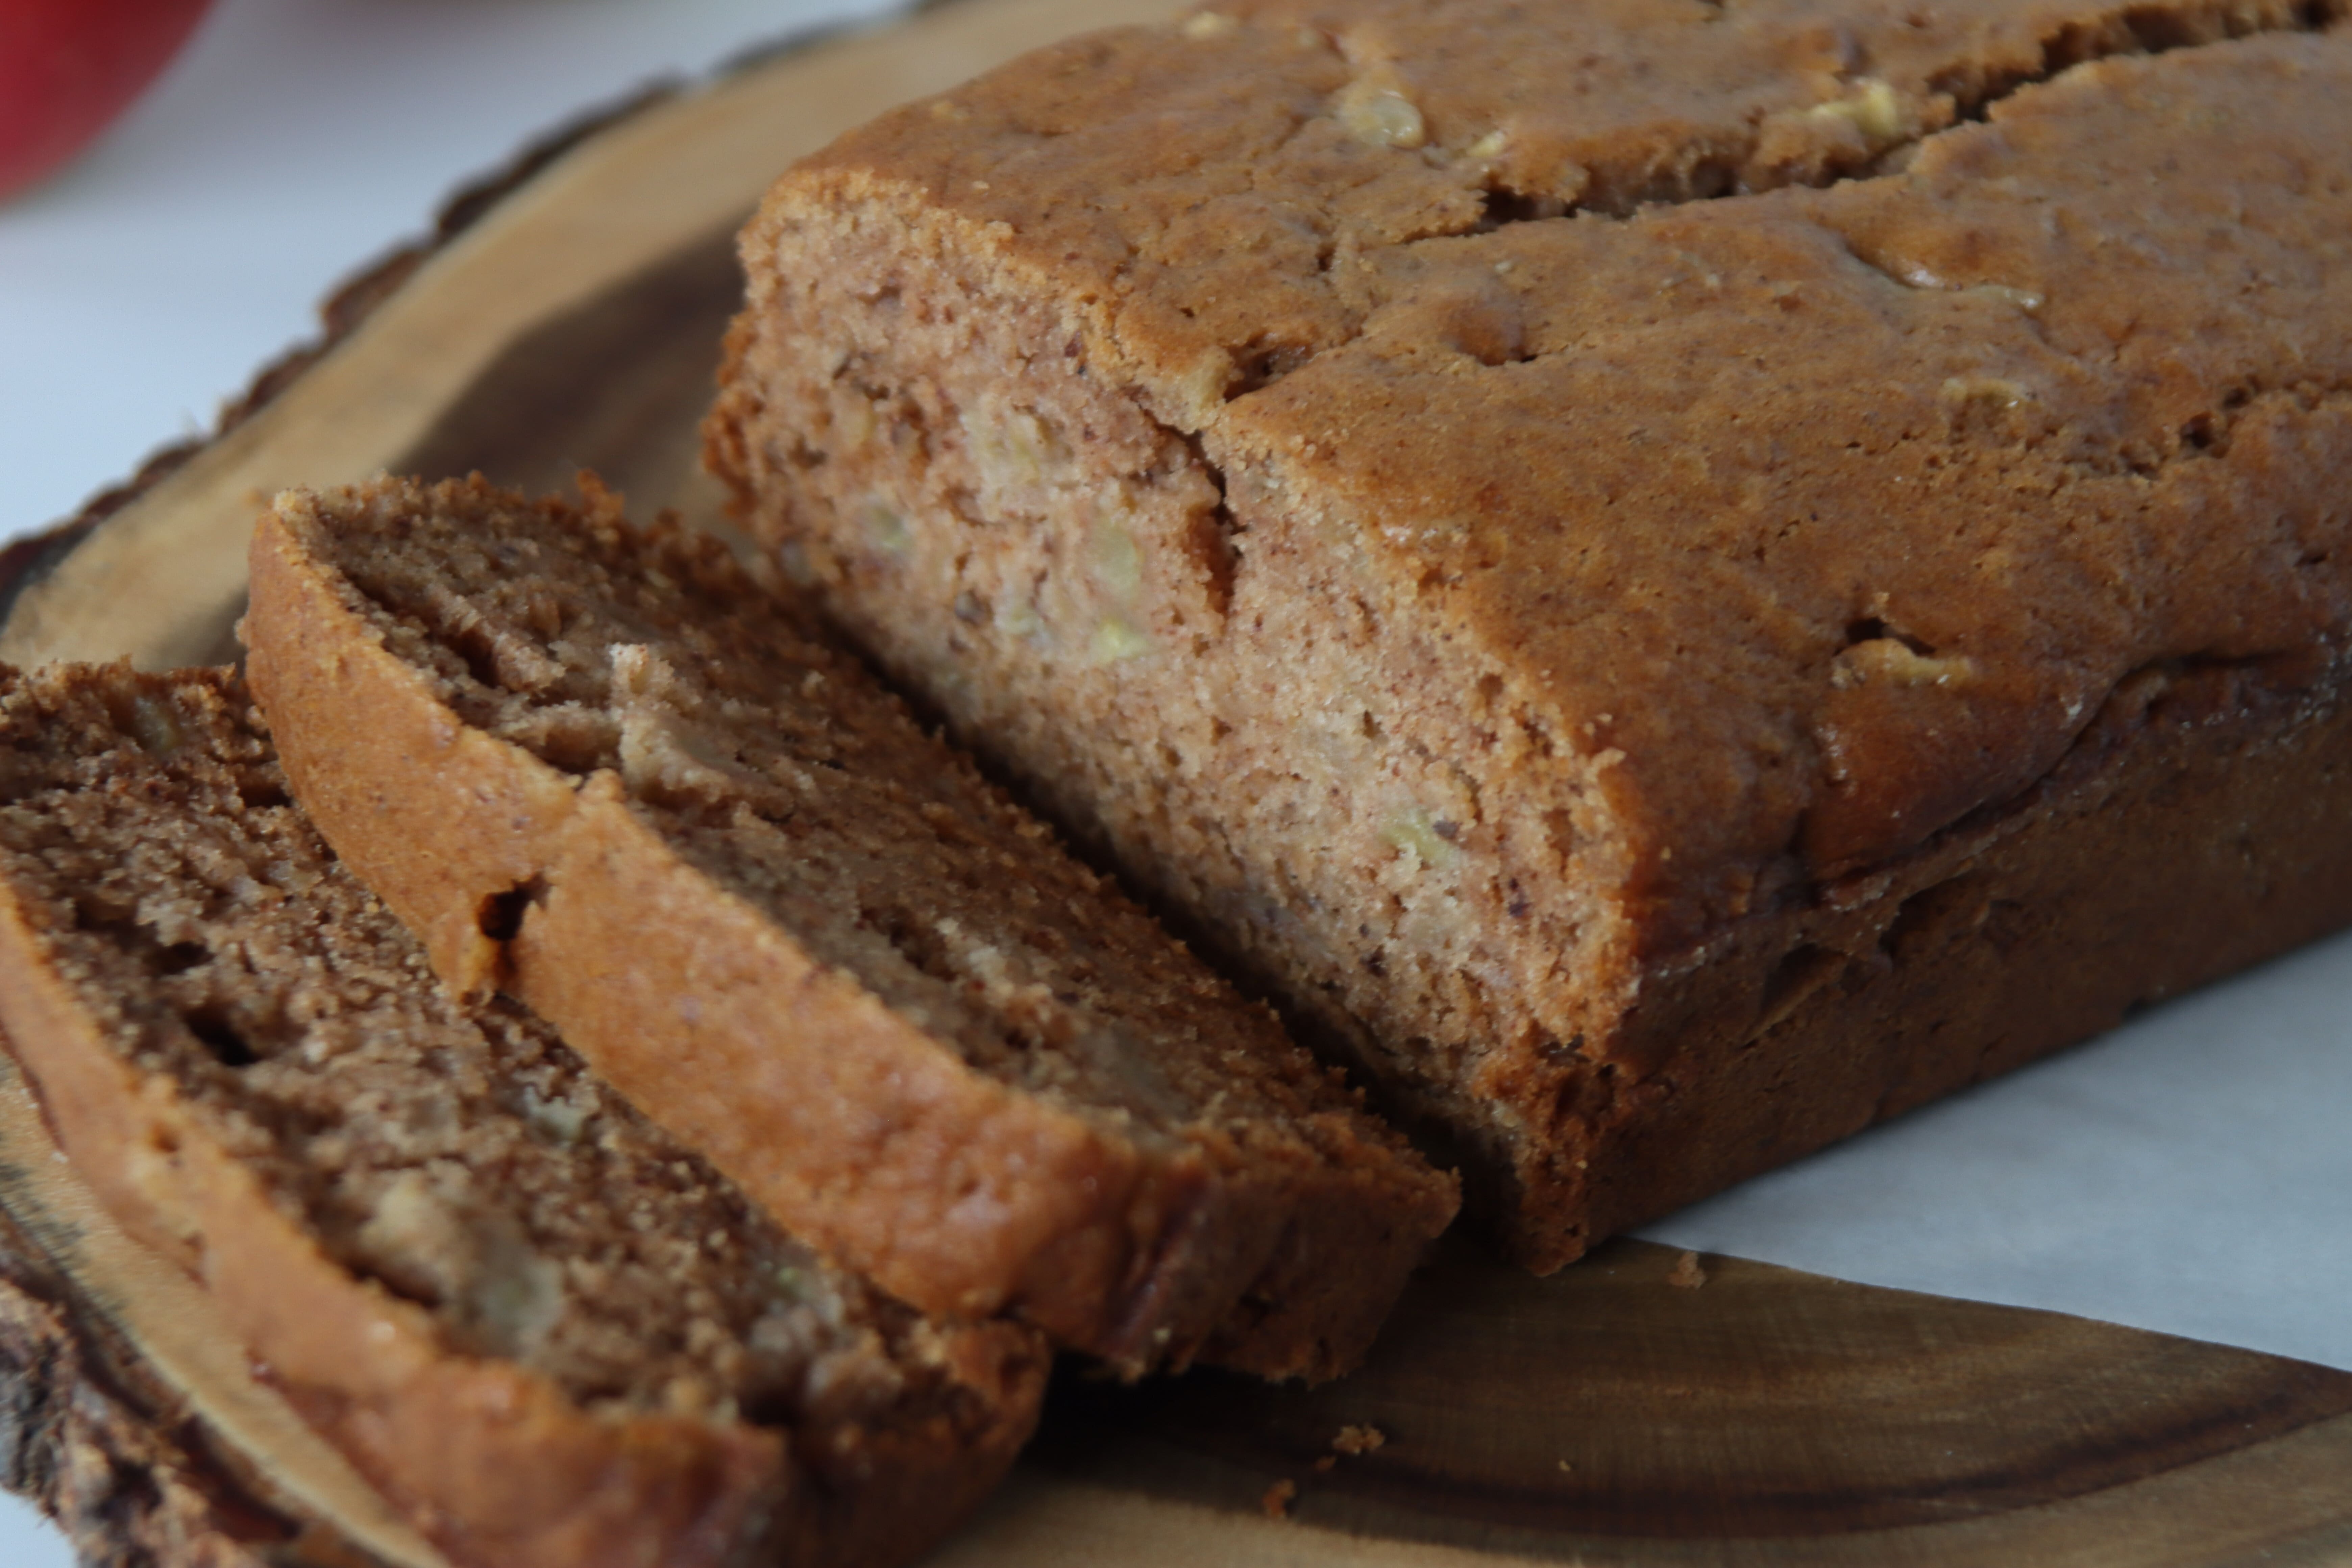
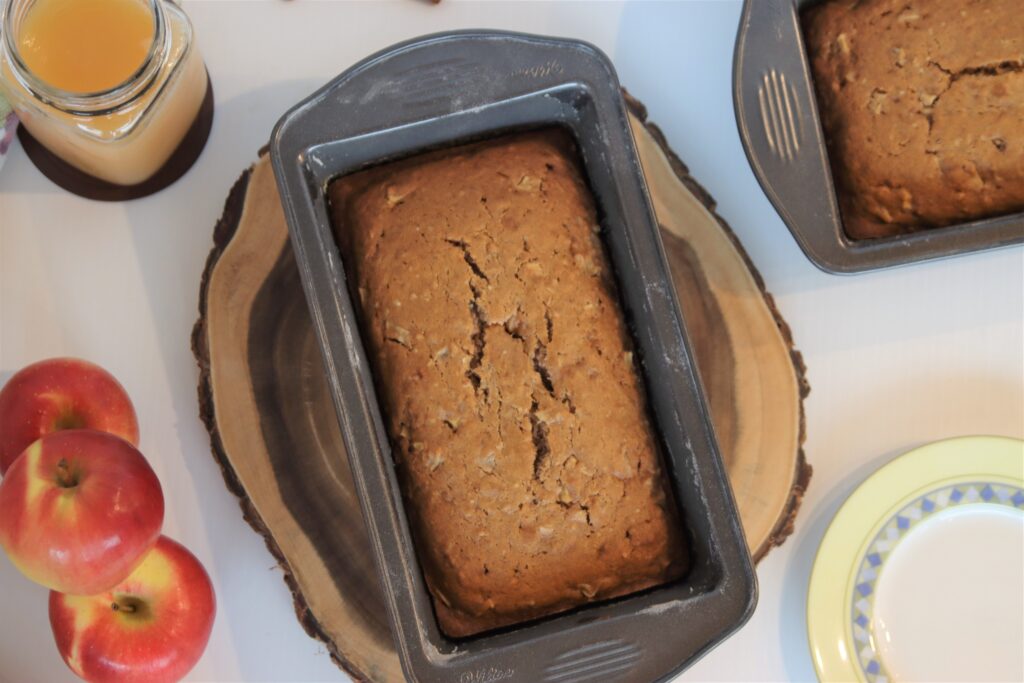
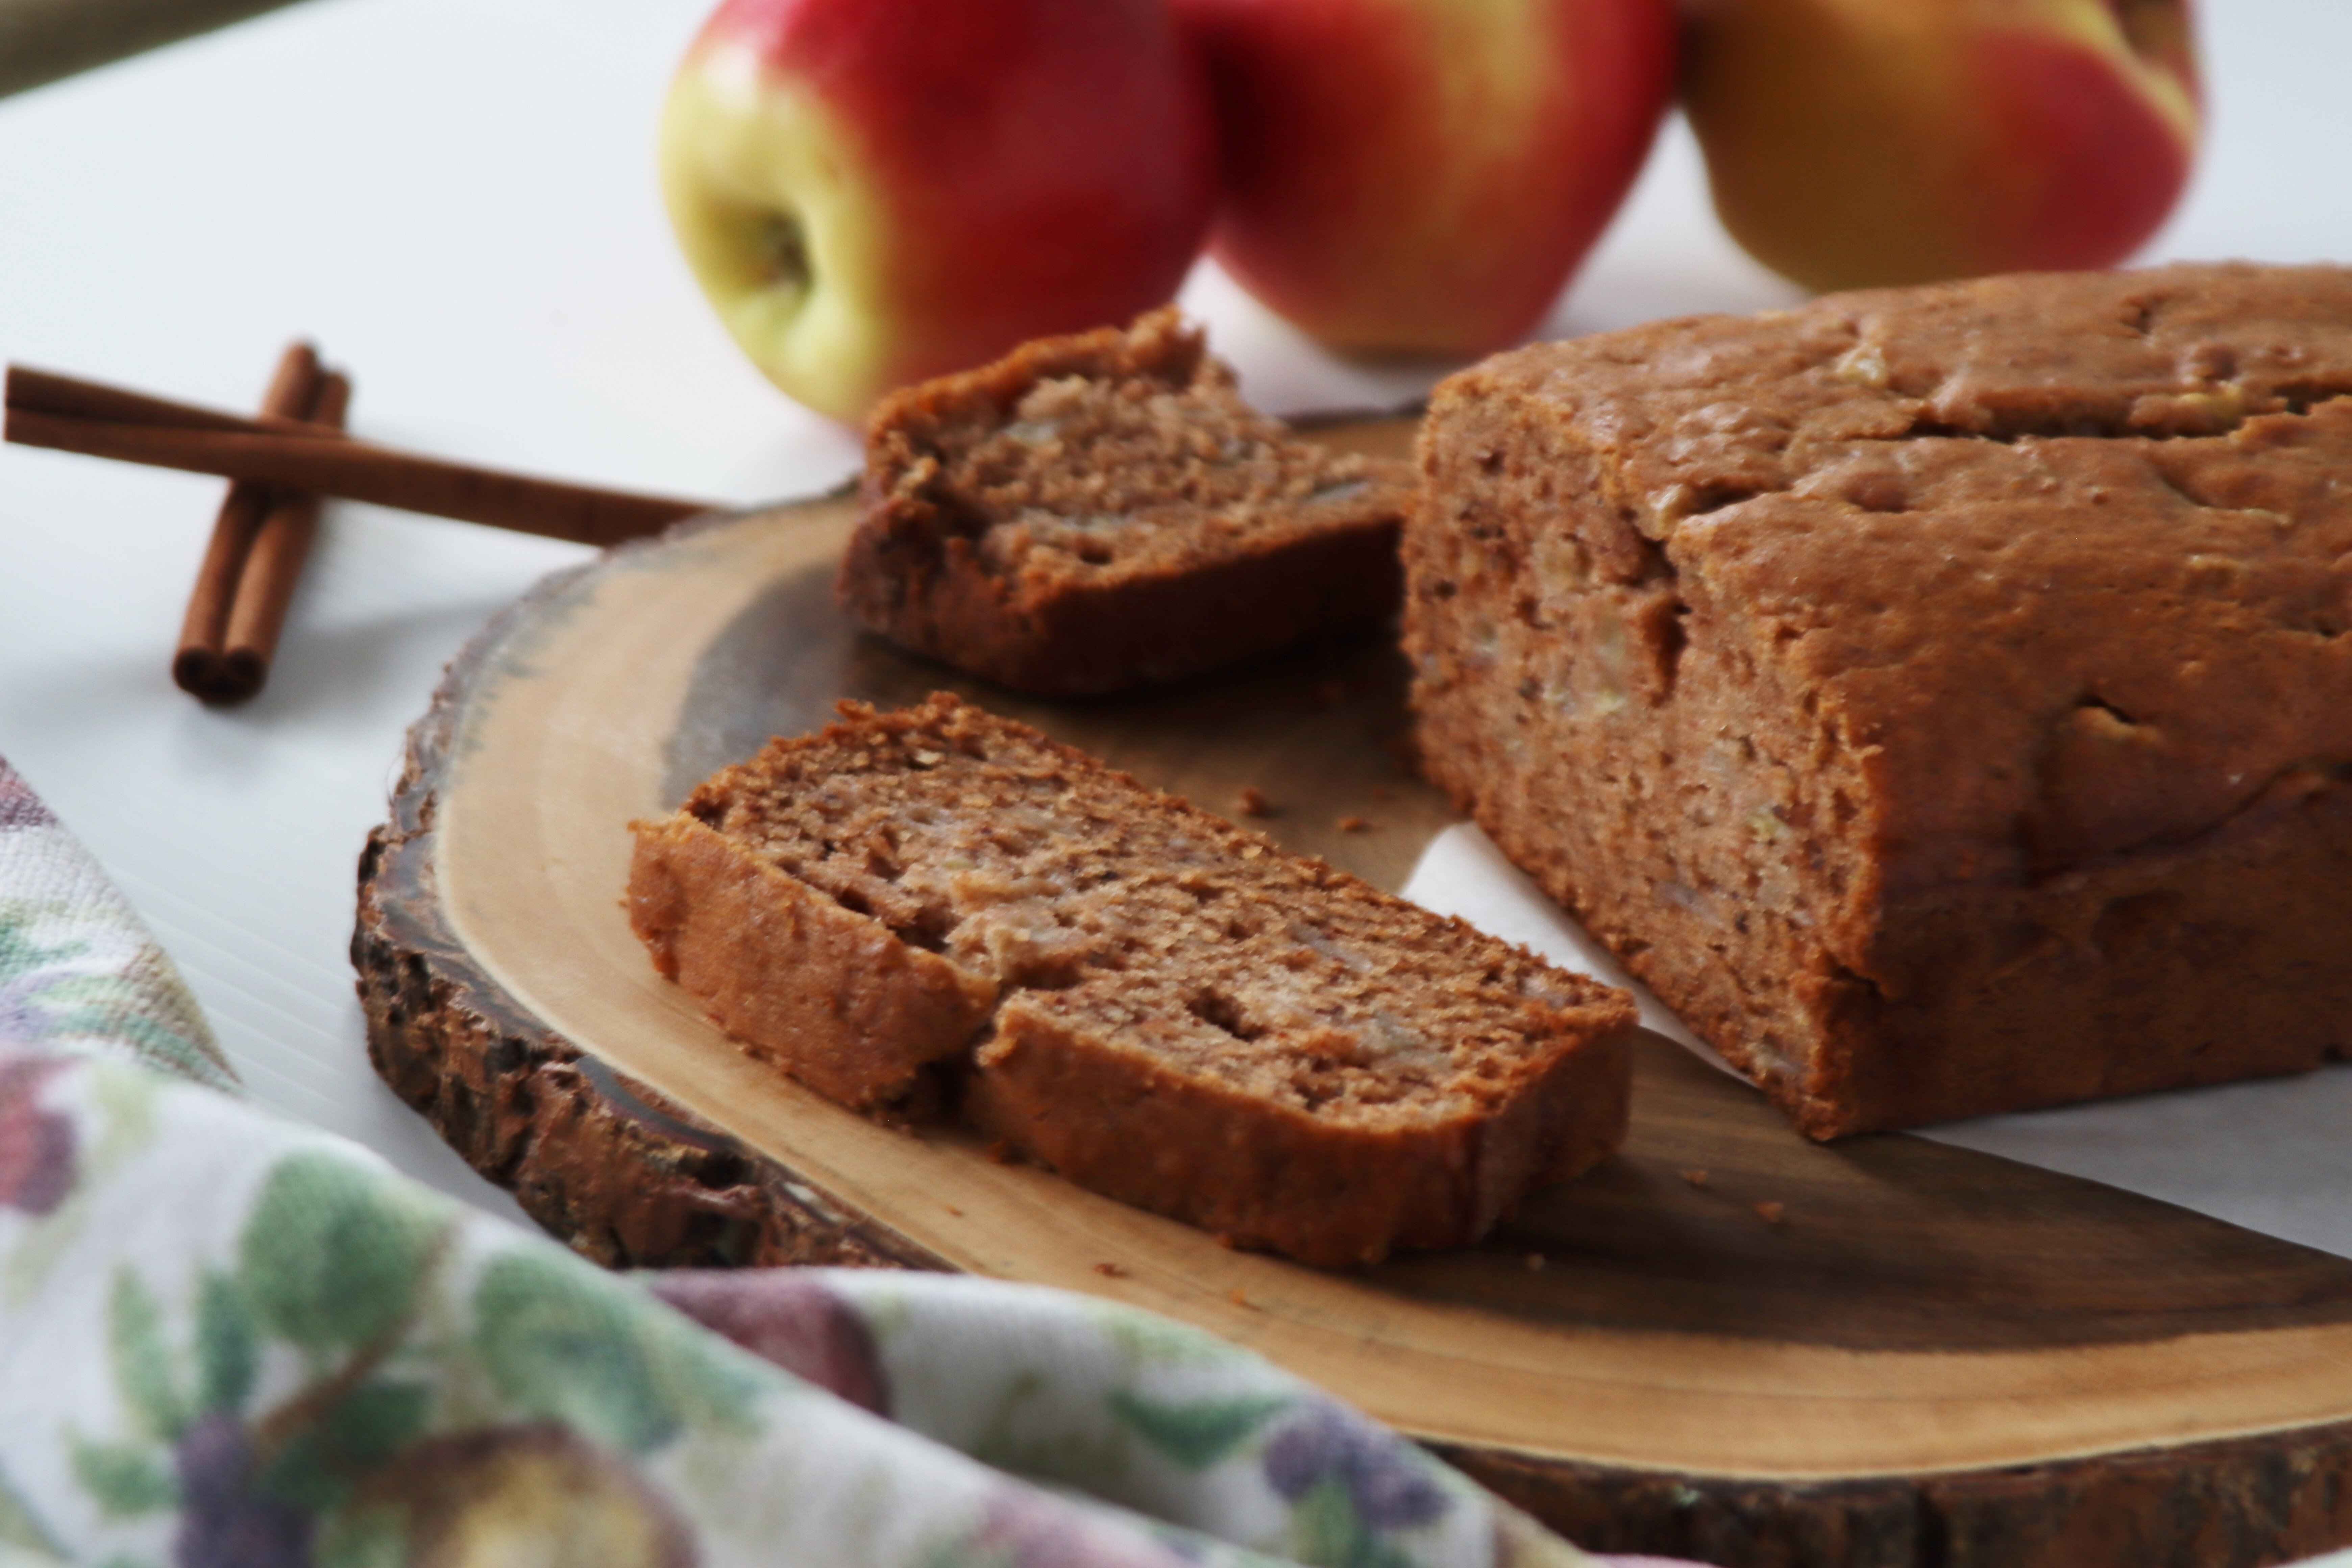
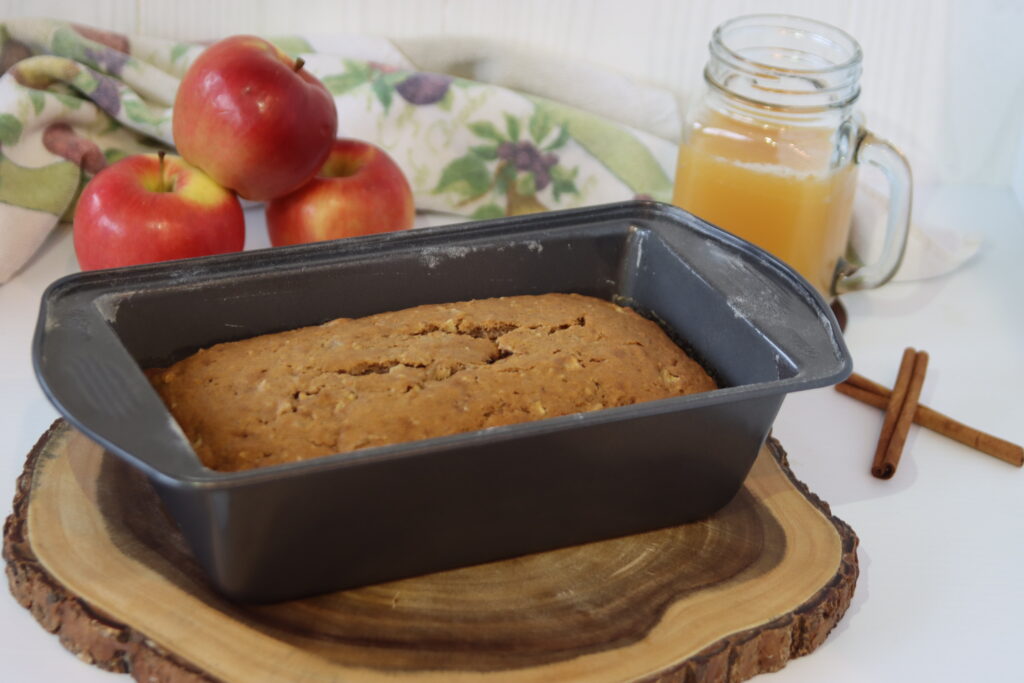
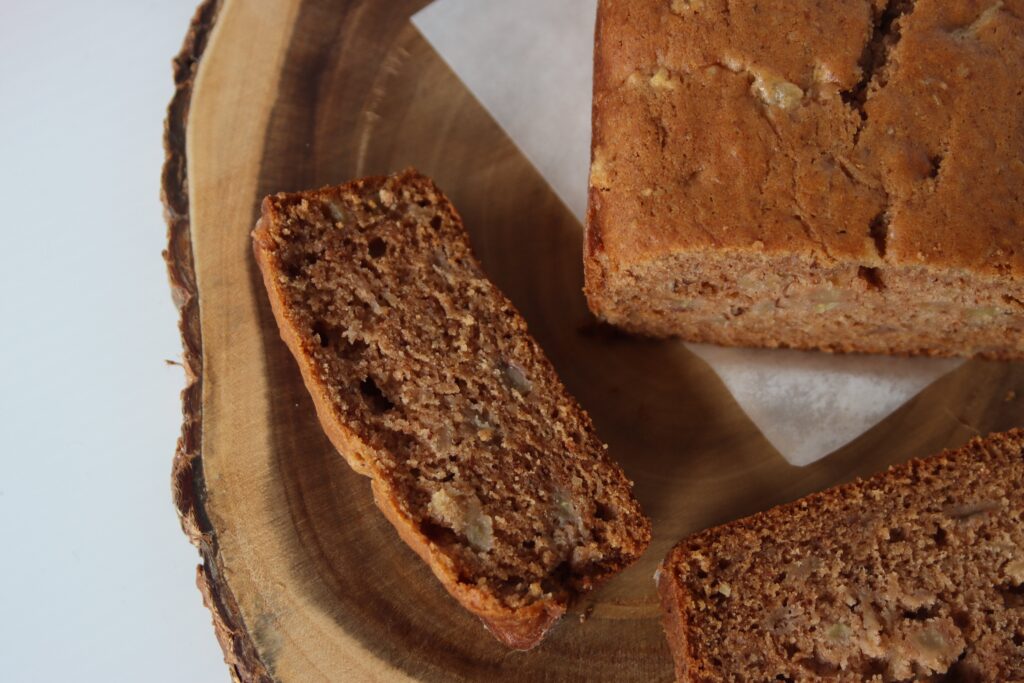
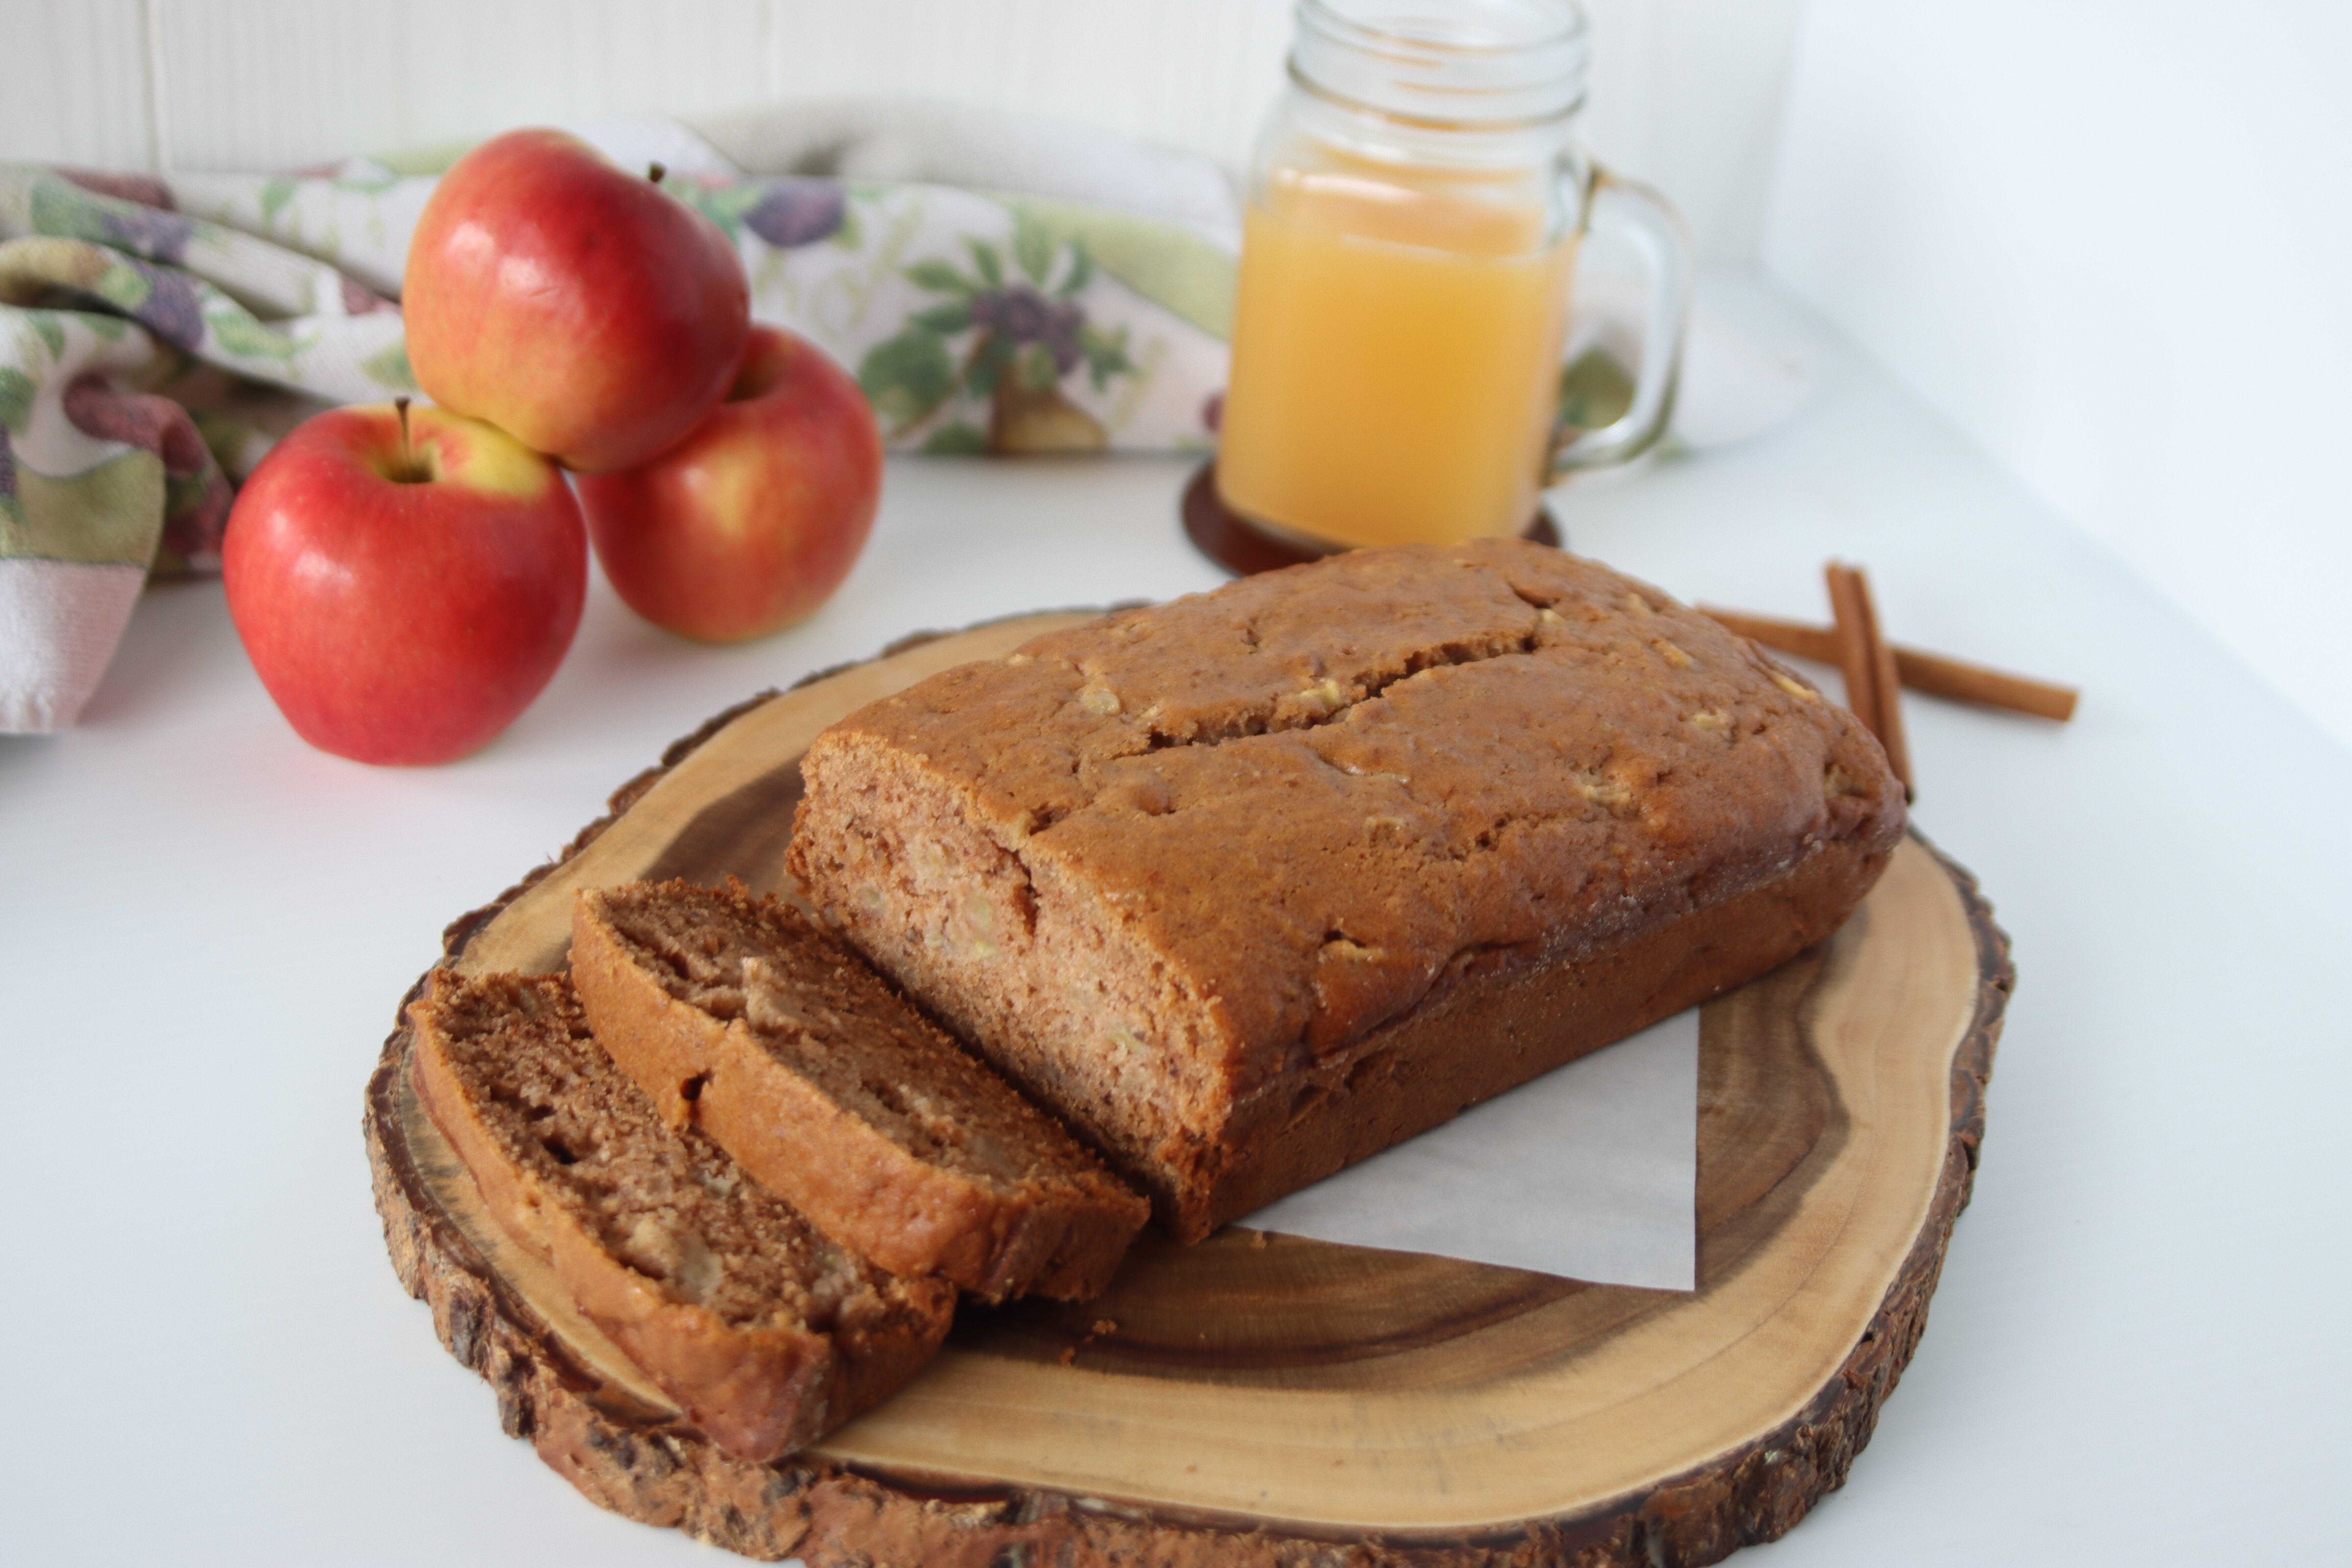
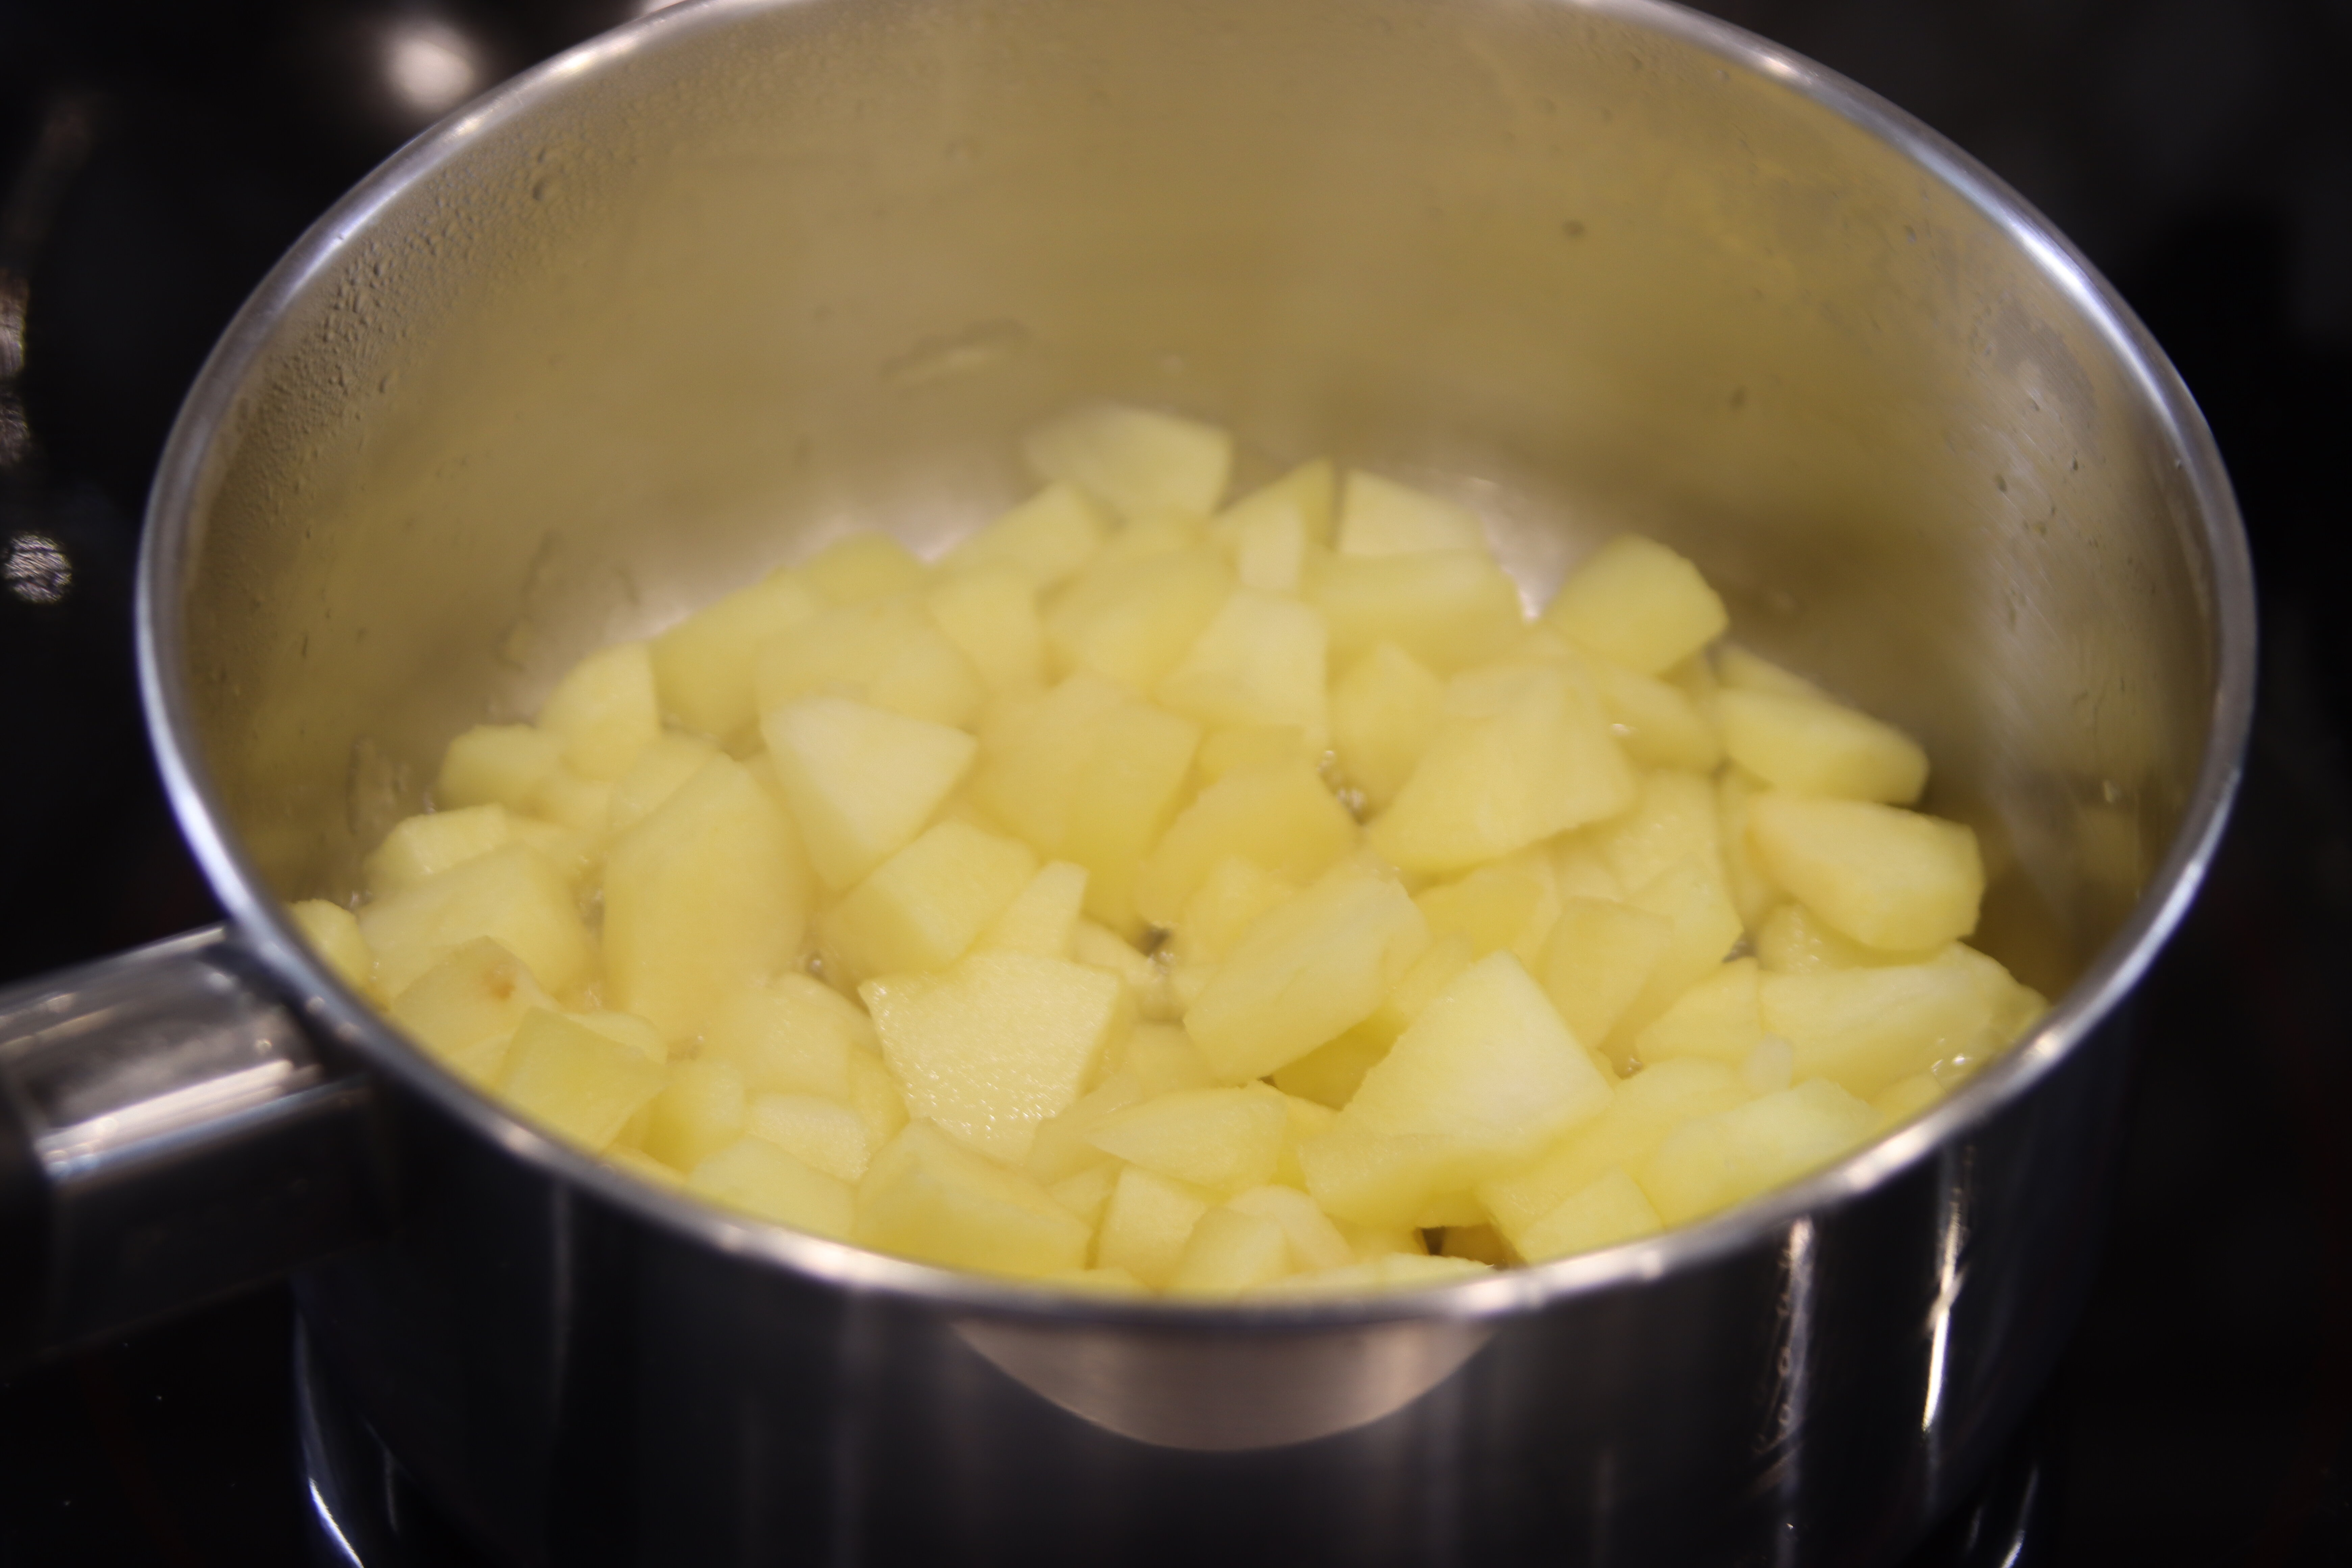
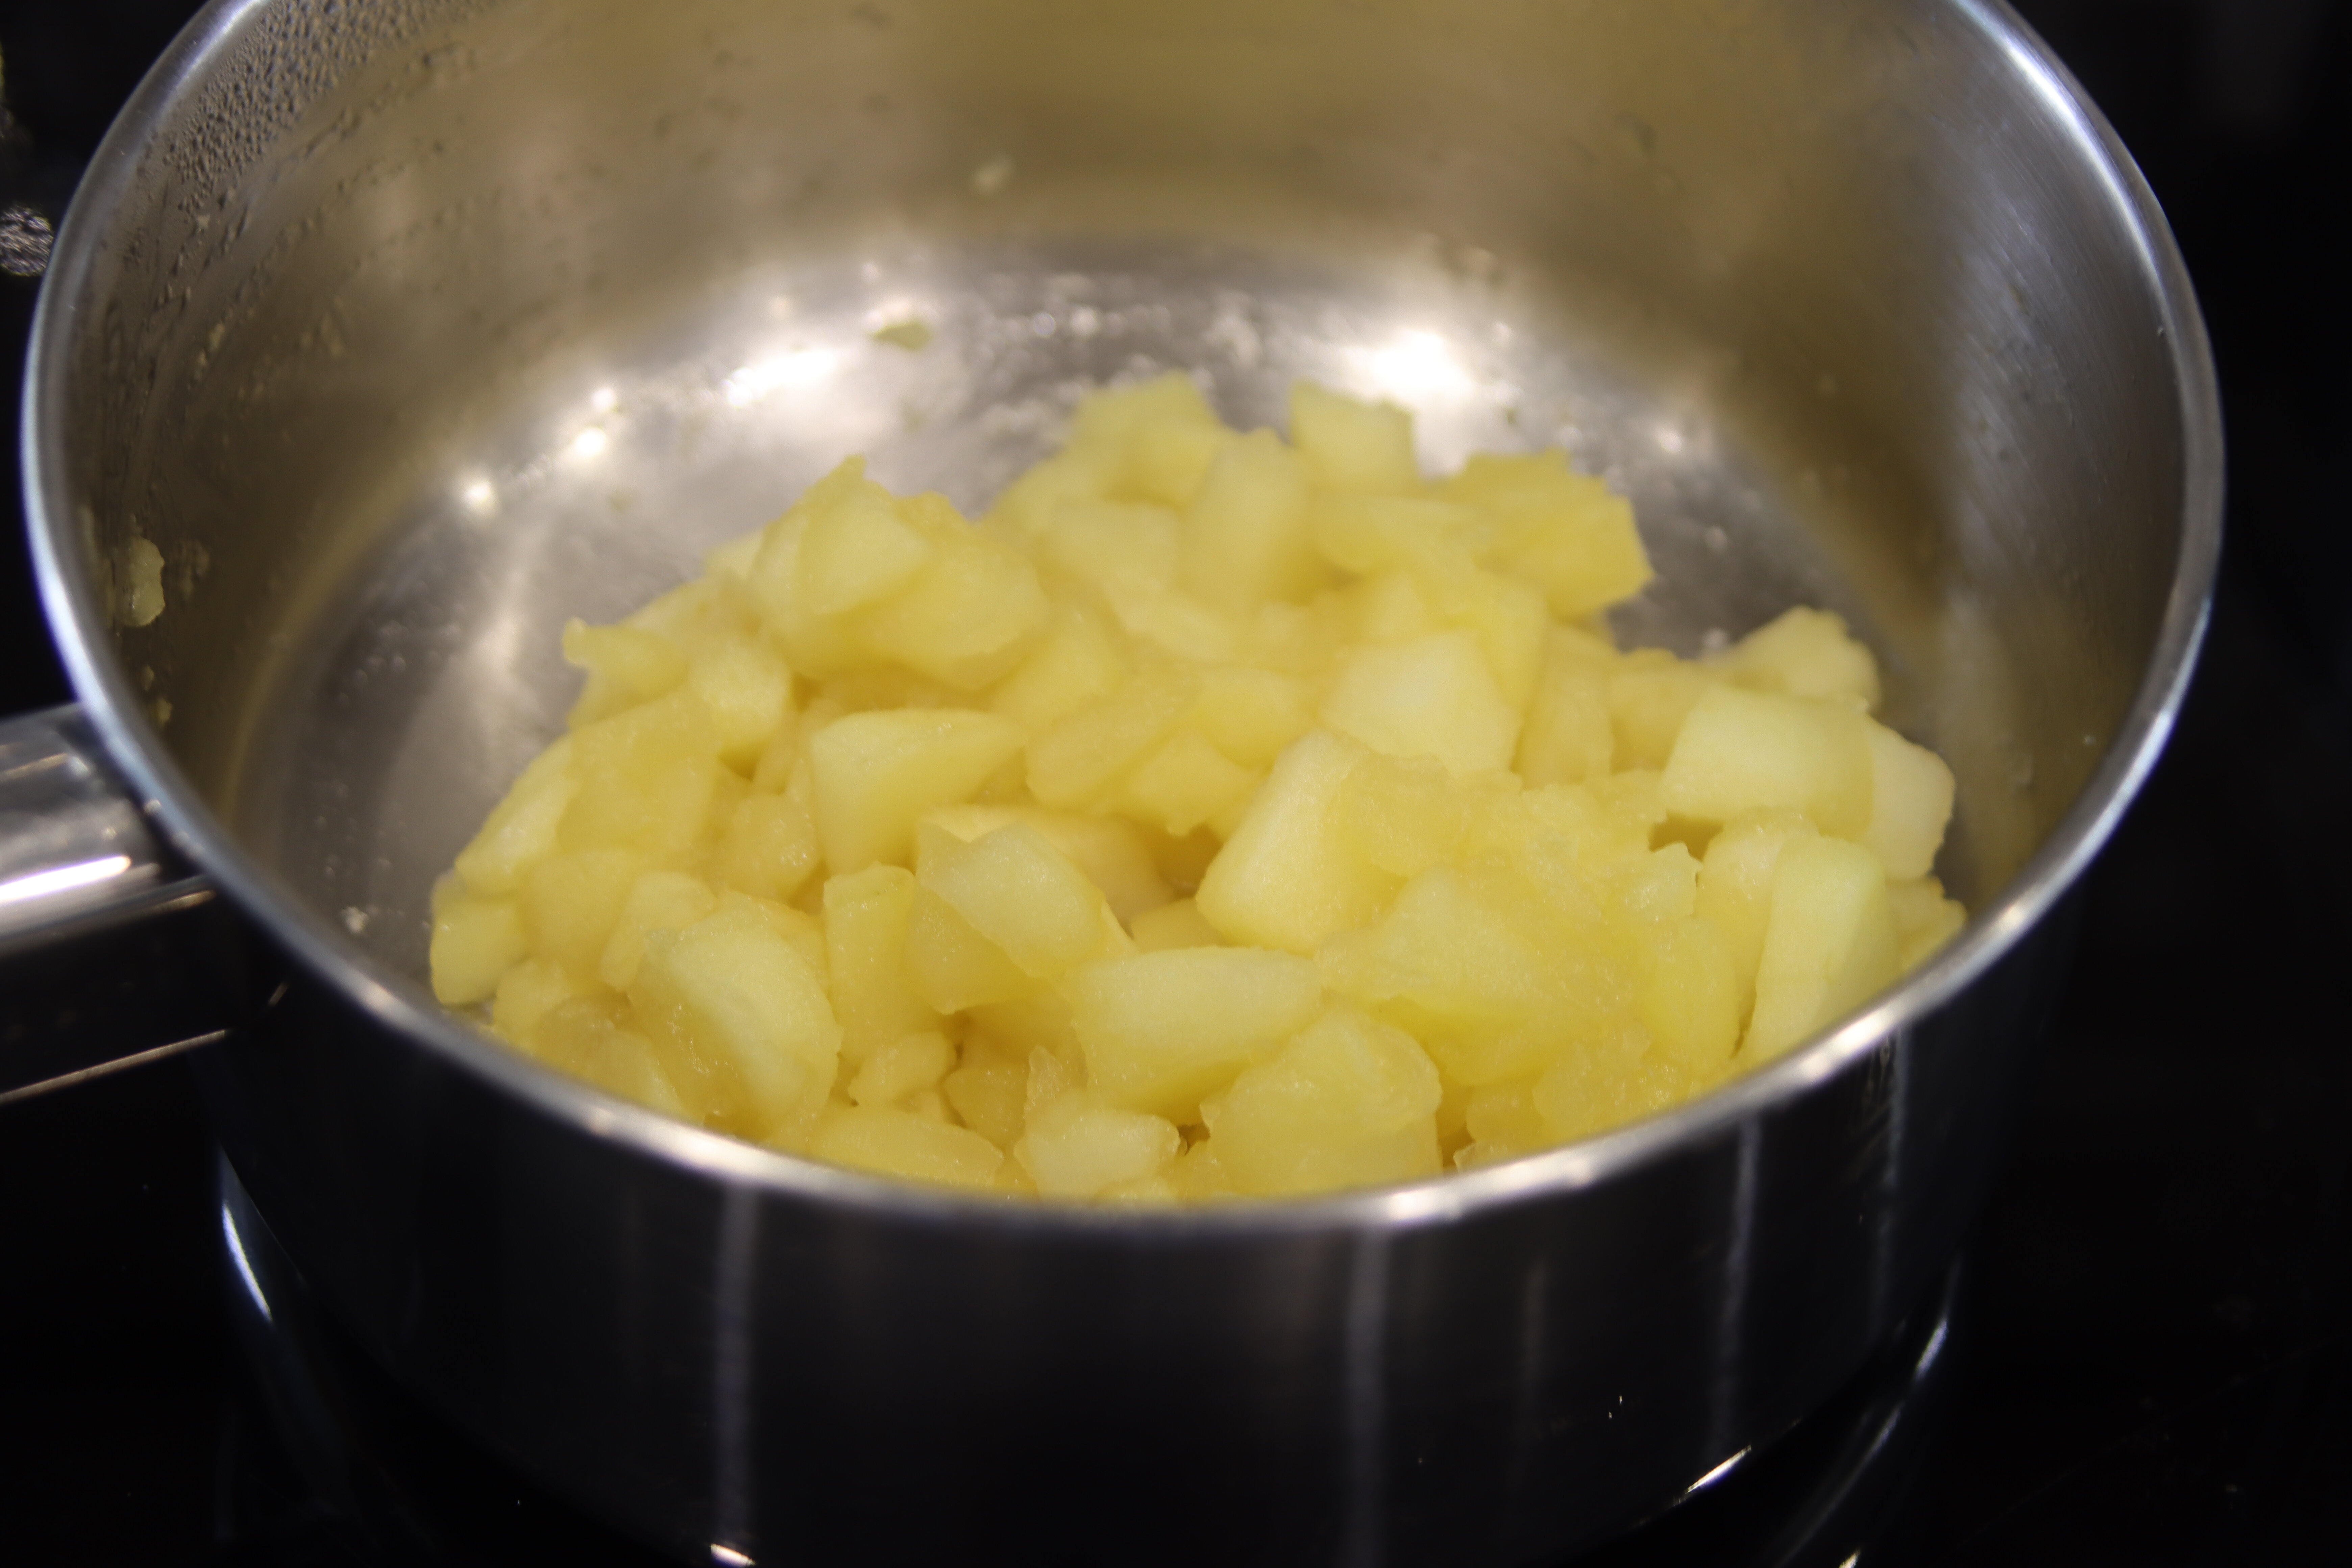
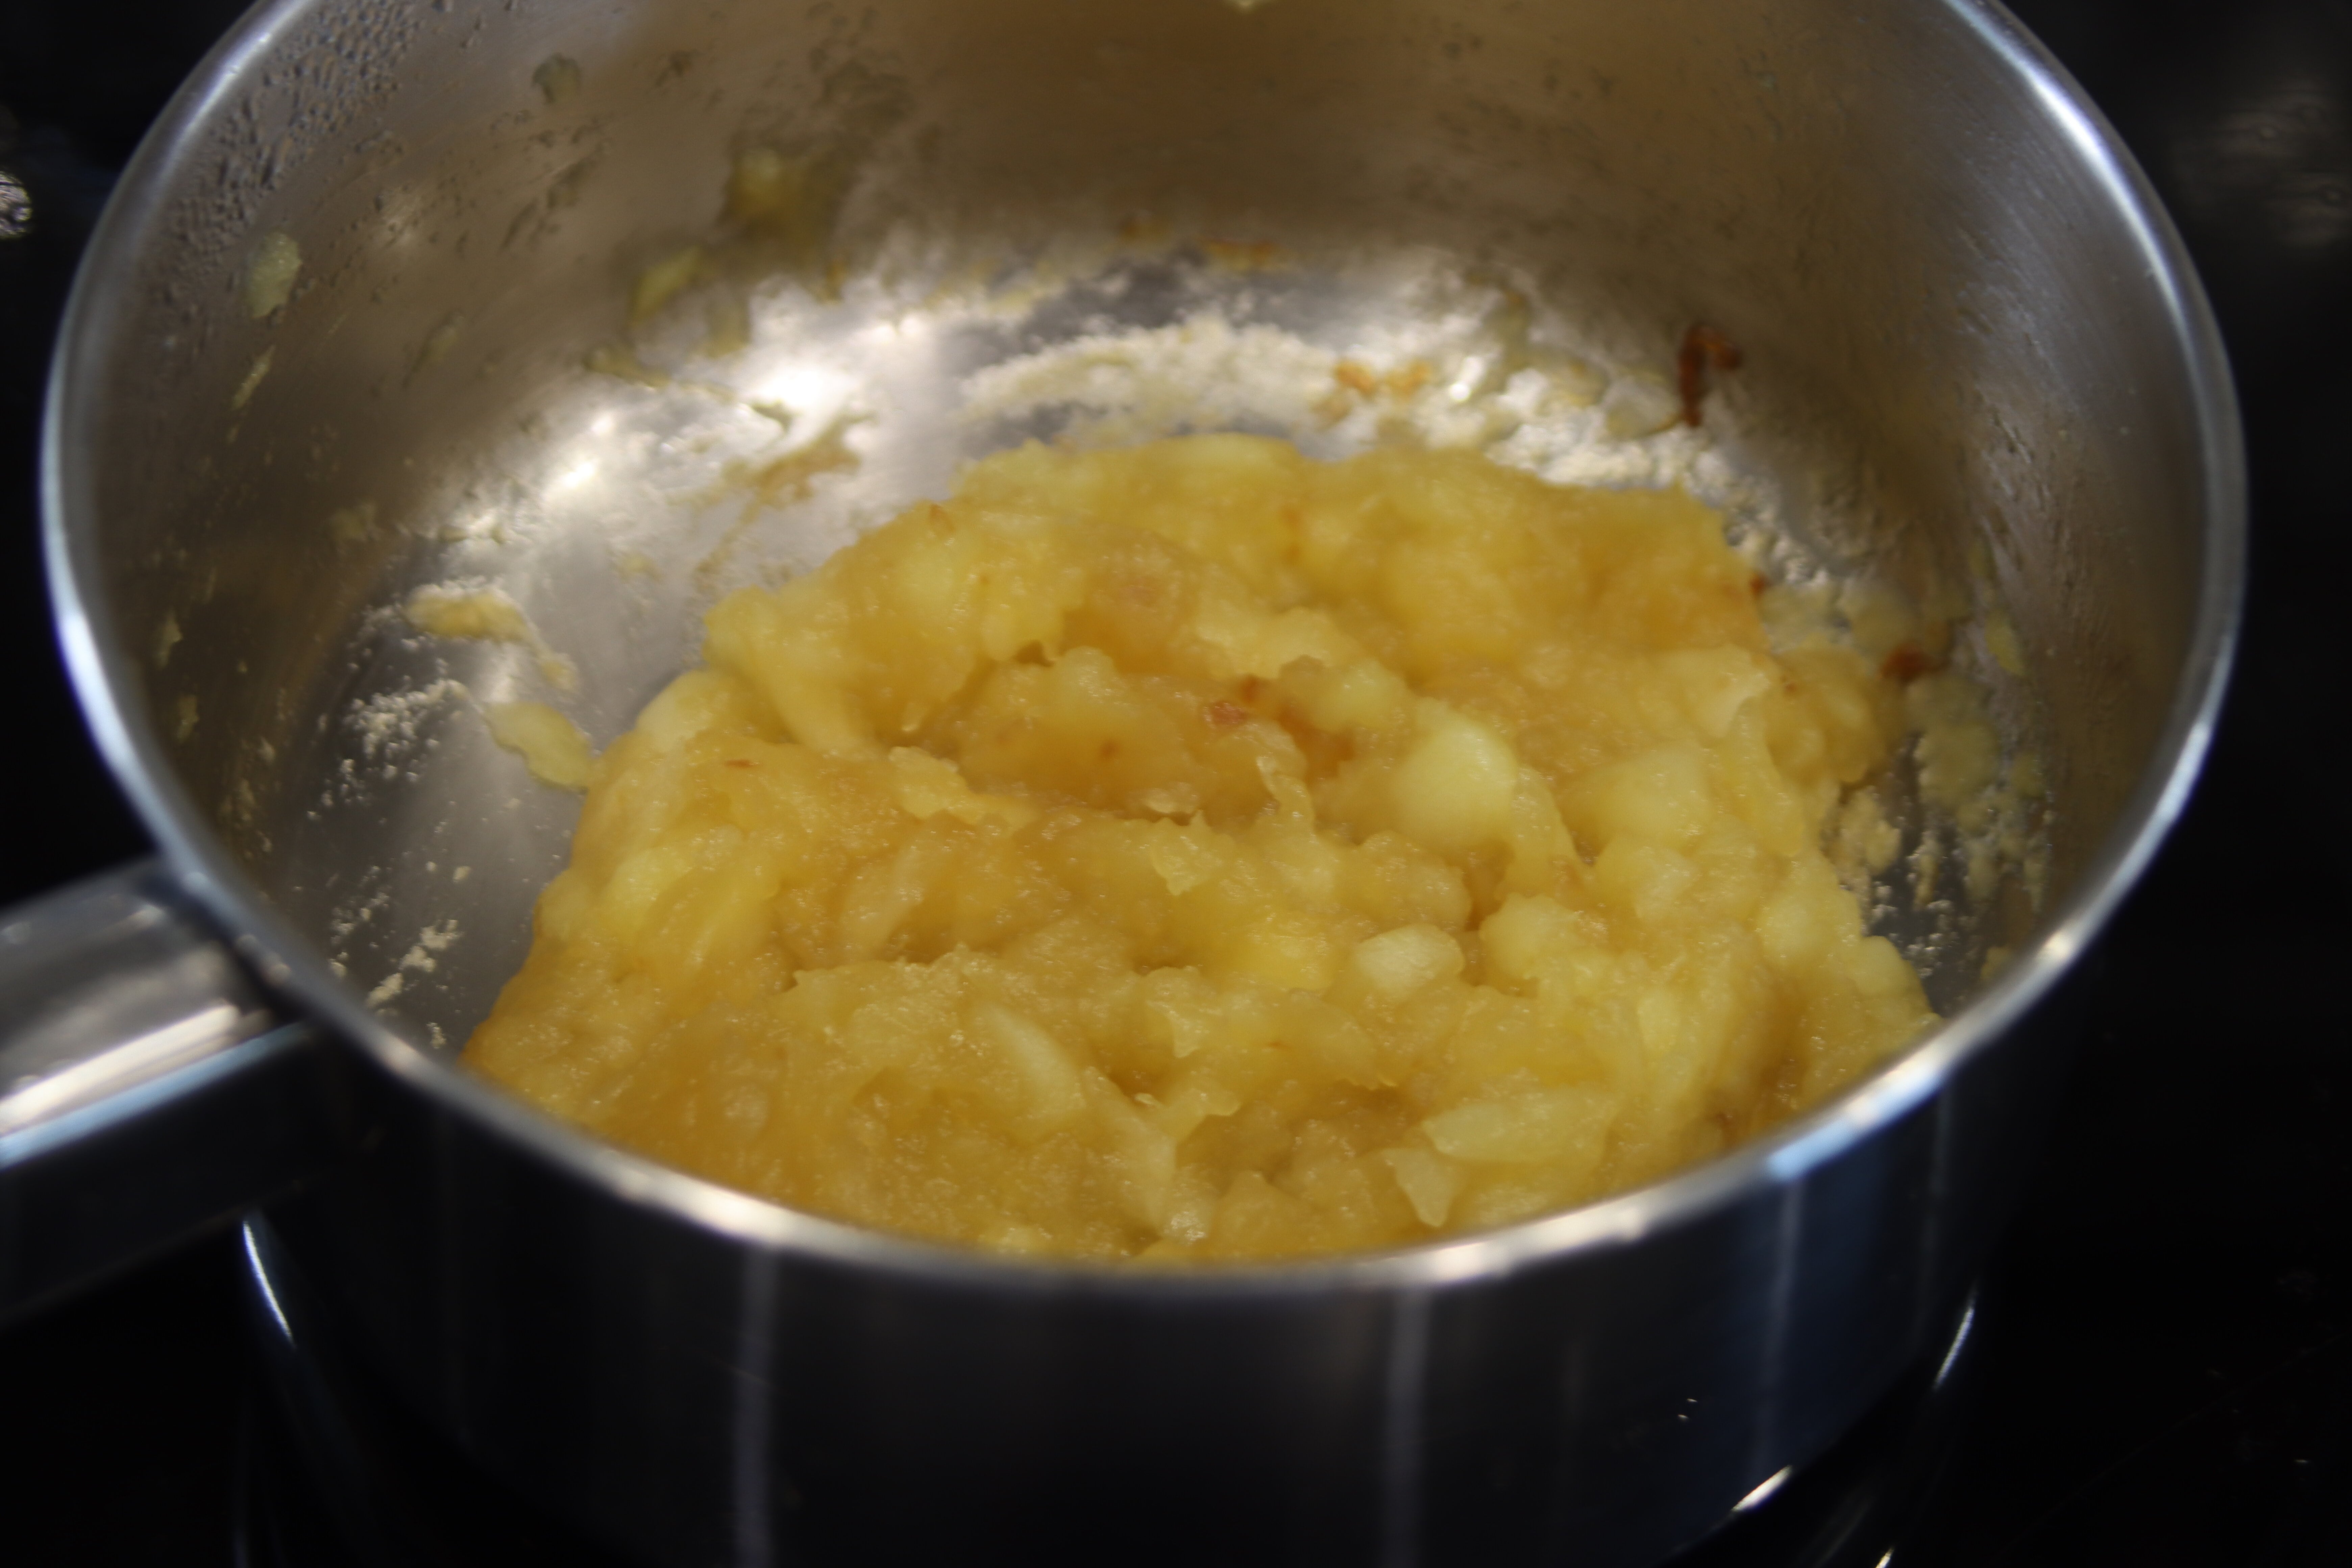
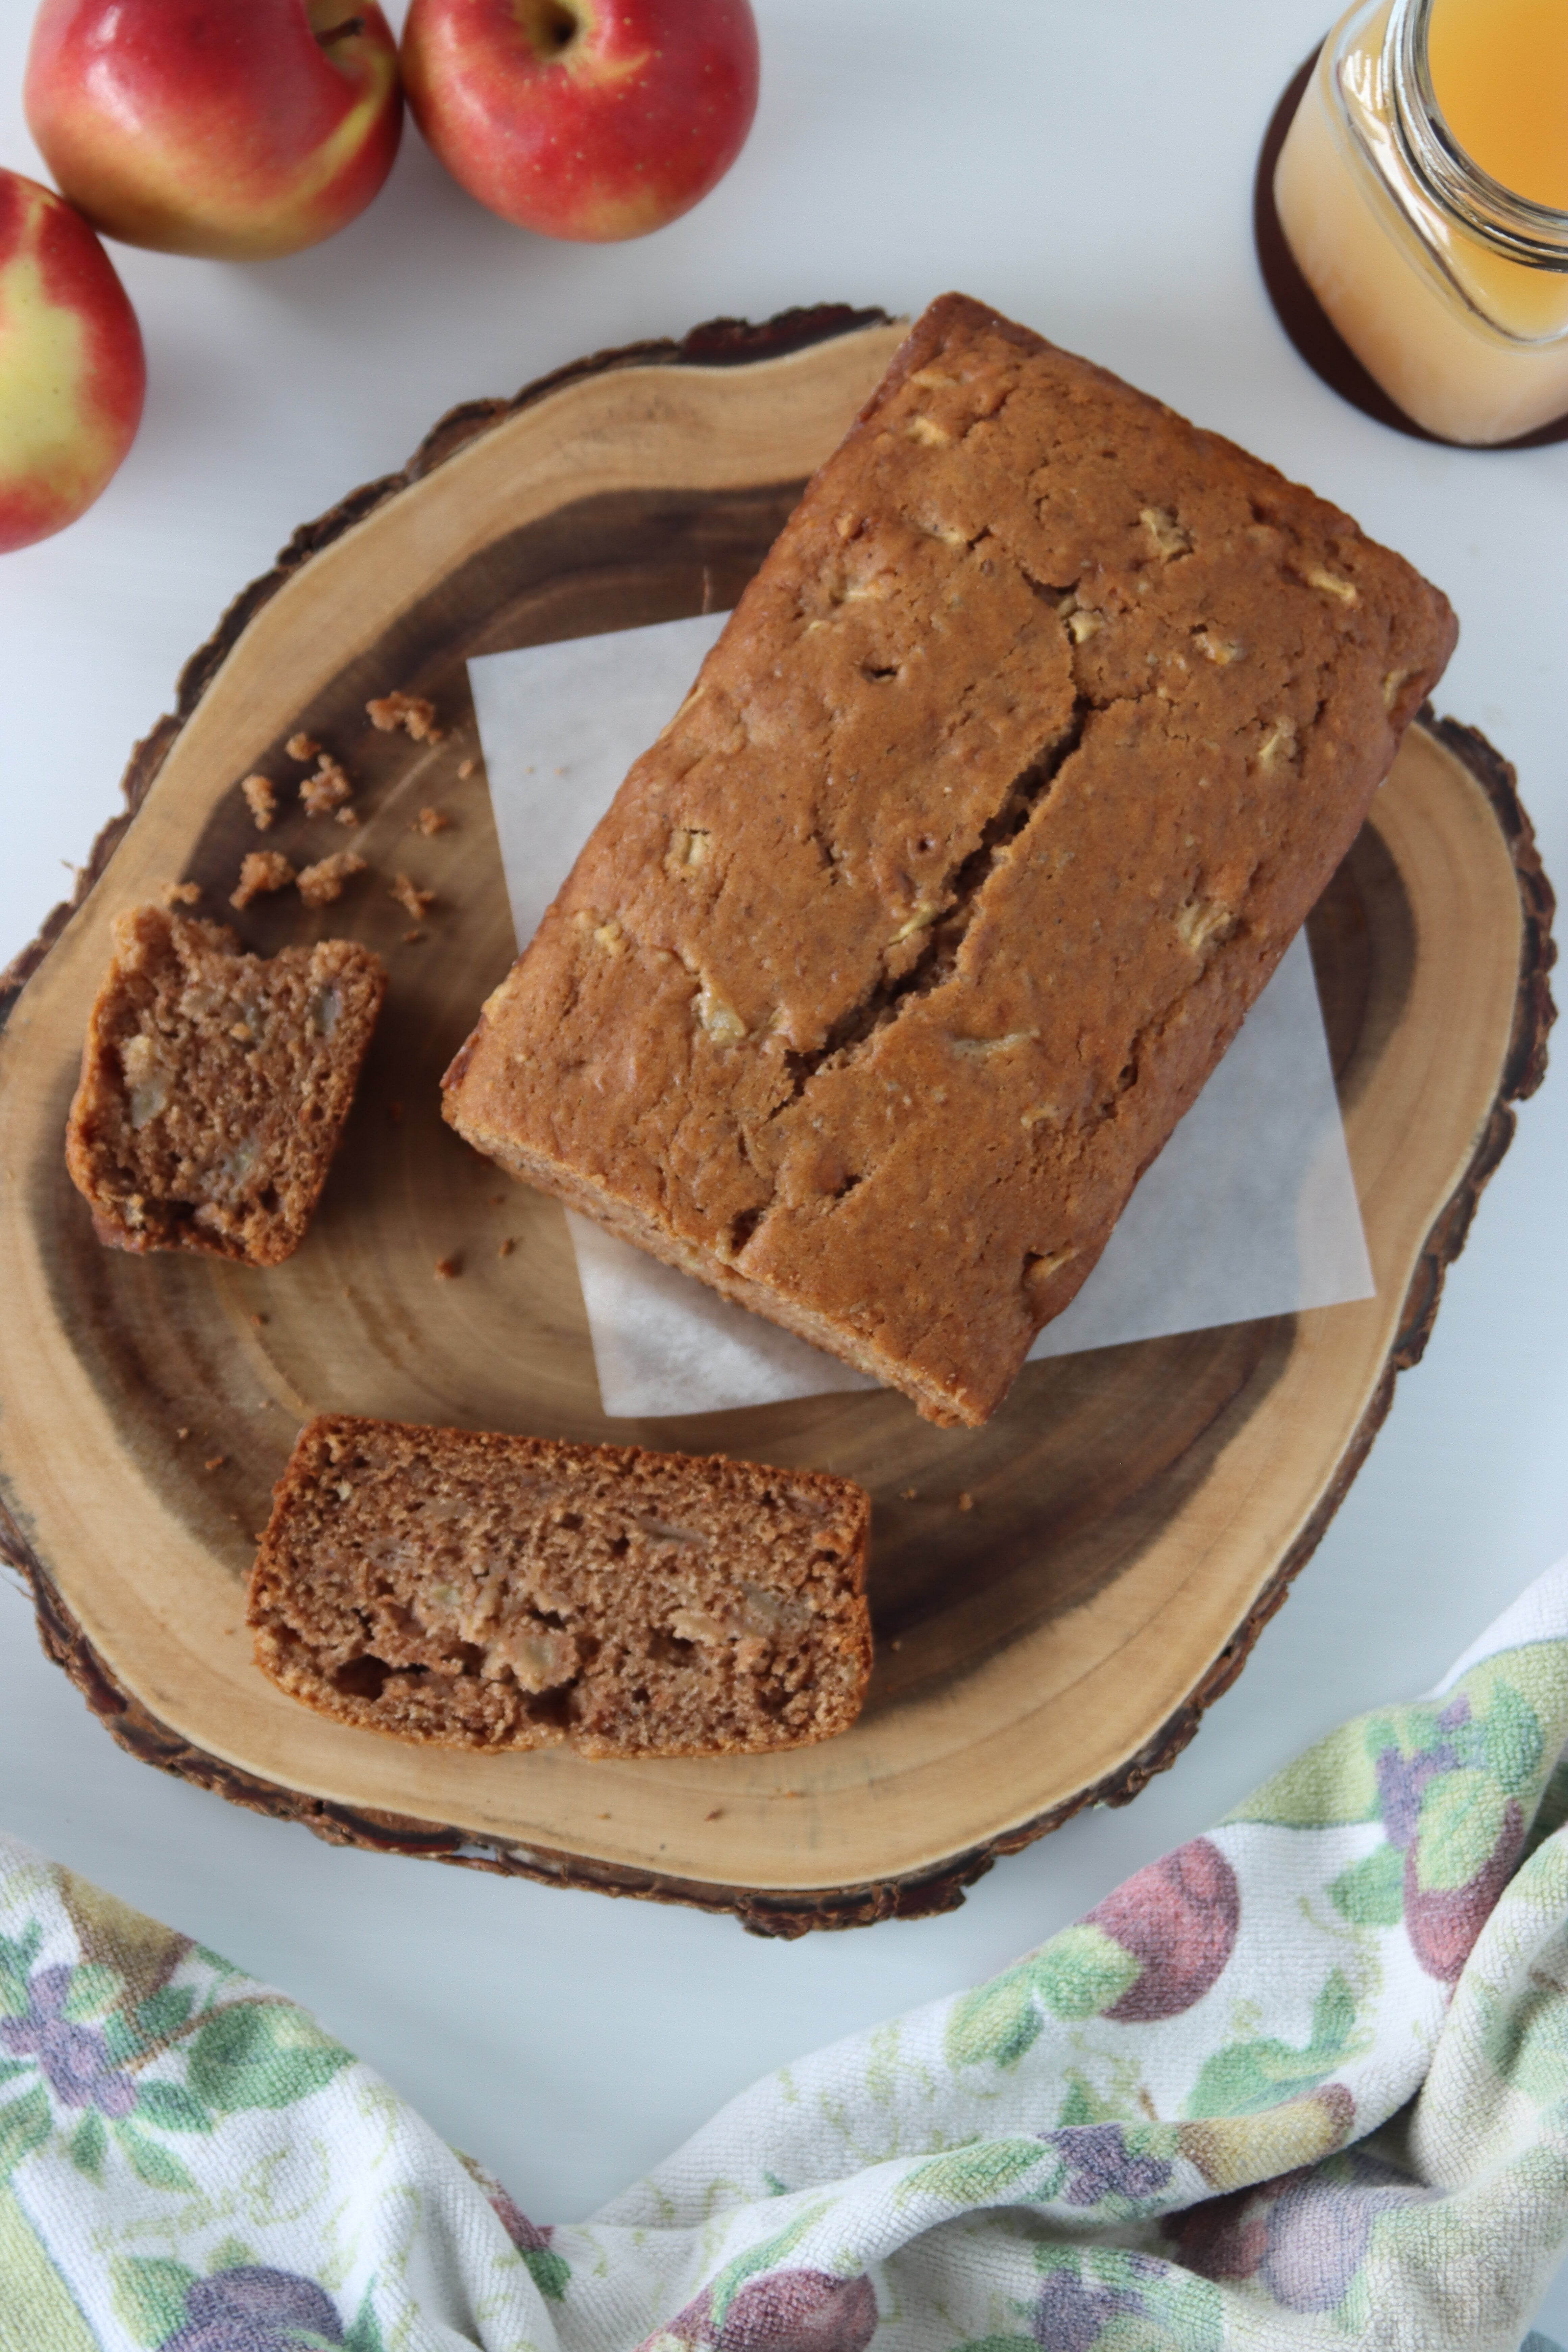
My raspberry cake recipe is my tried and true base cake recipe for any cake that includes a natural flavour. The reduced fruit component keeps it insanely moist. As well, the texture is perfect (and the pure raspberry flavour is divine, but that doesn’t matter for a carrot cake!), making for the best adaptable recipe there is! Almost any fruit reduction works in this cake, including apple in my Apple Cider Loaf Cake!
Making the Best Carrot Cake
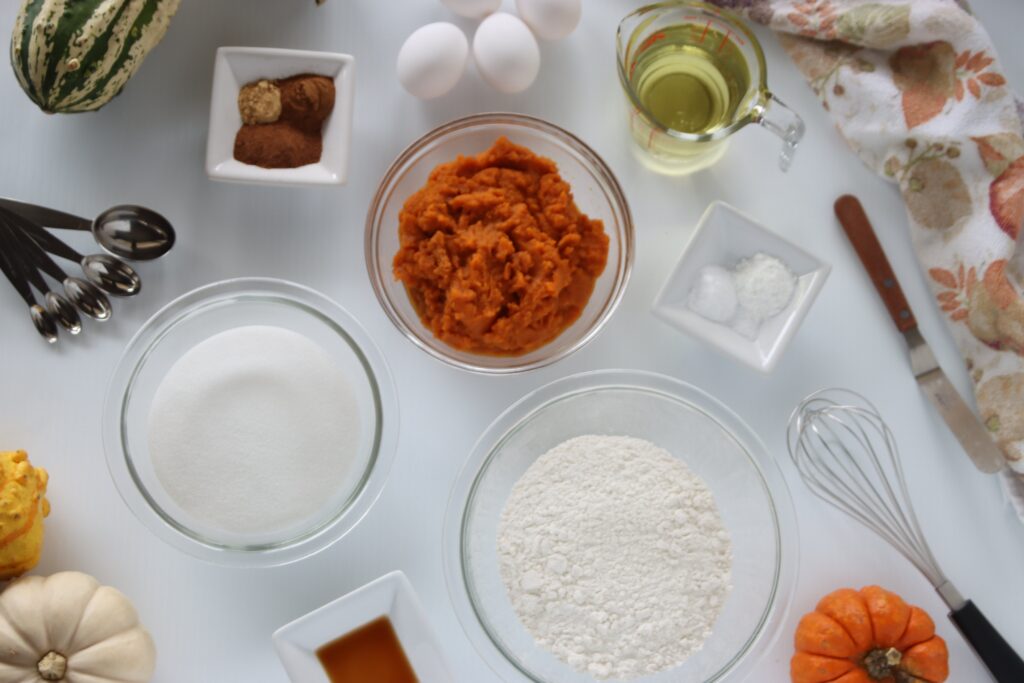
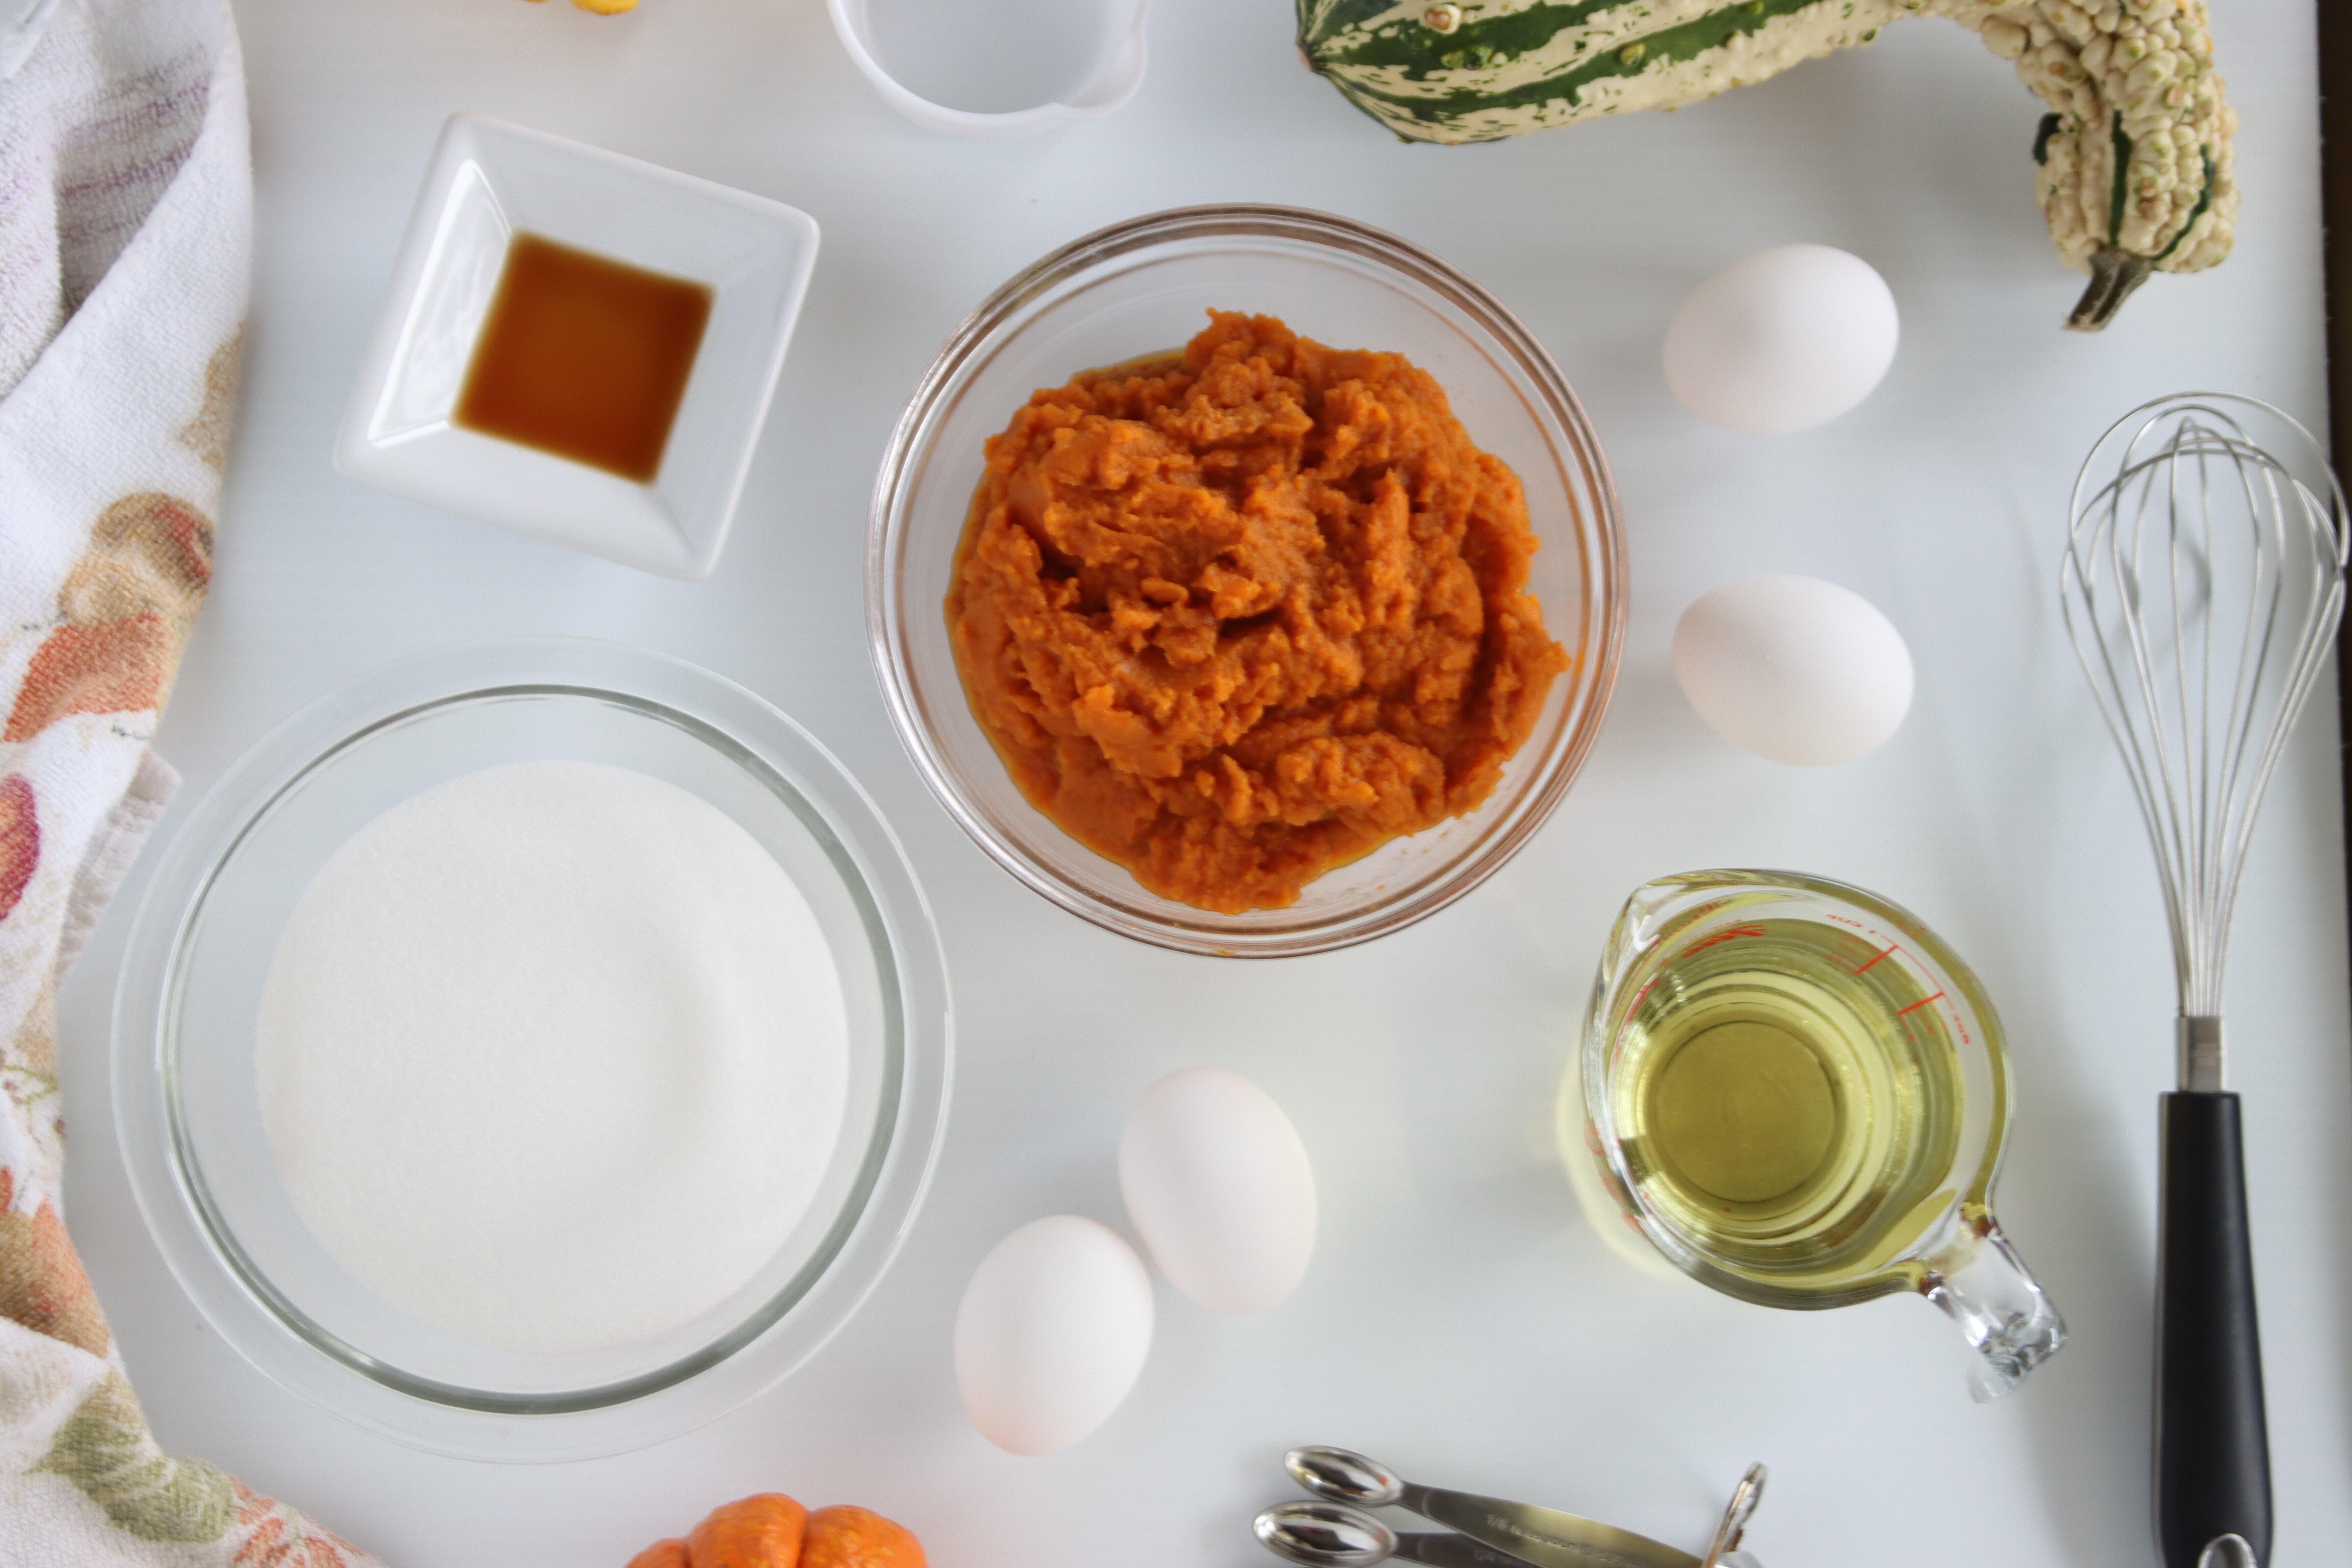
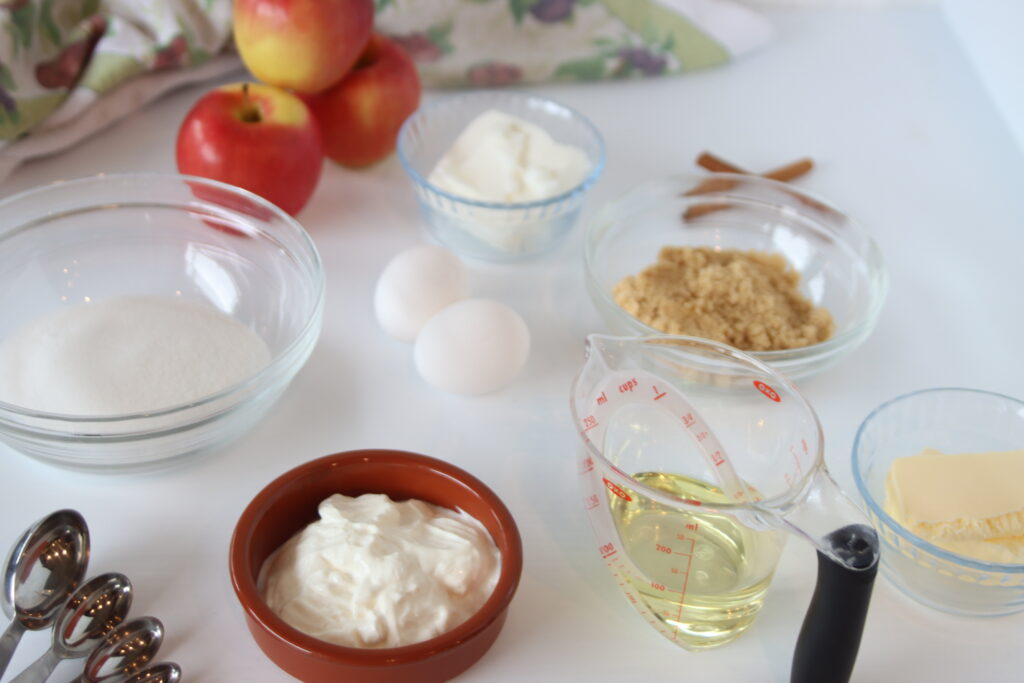
Eggs, Fats & Sugars
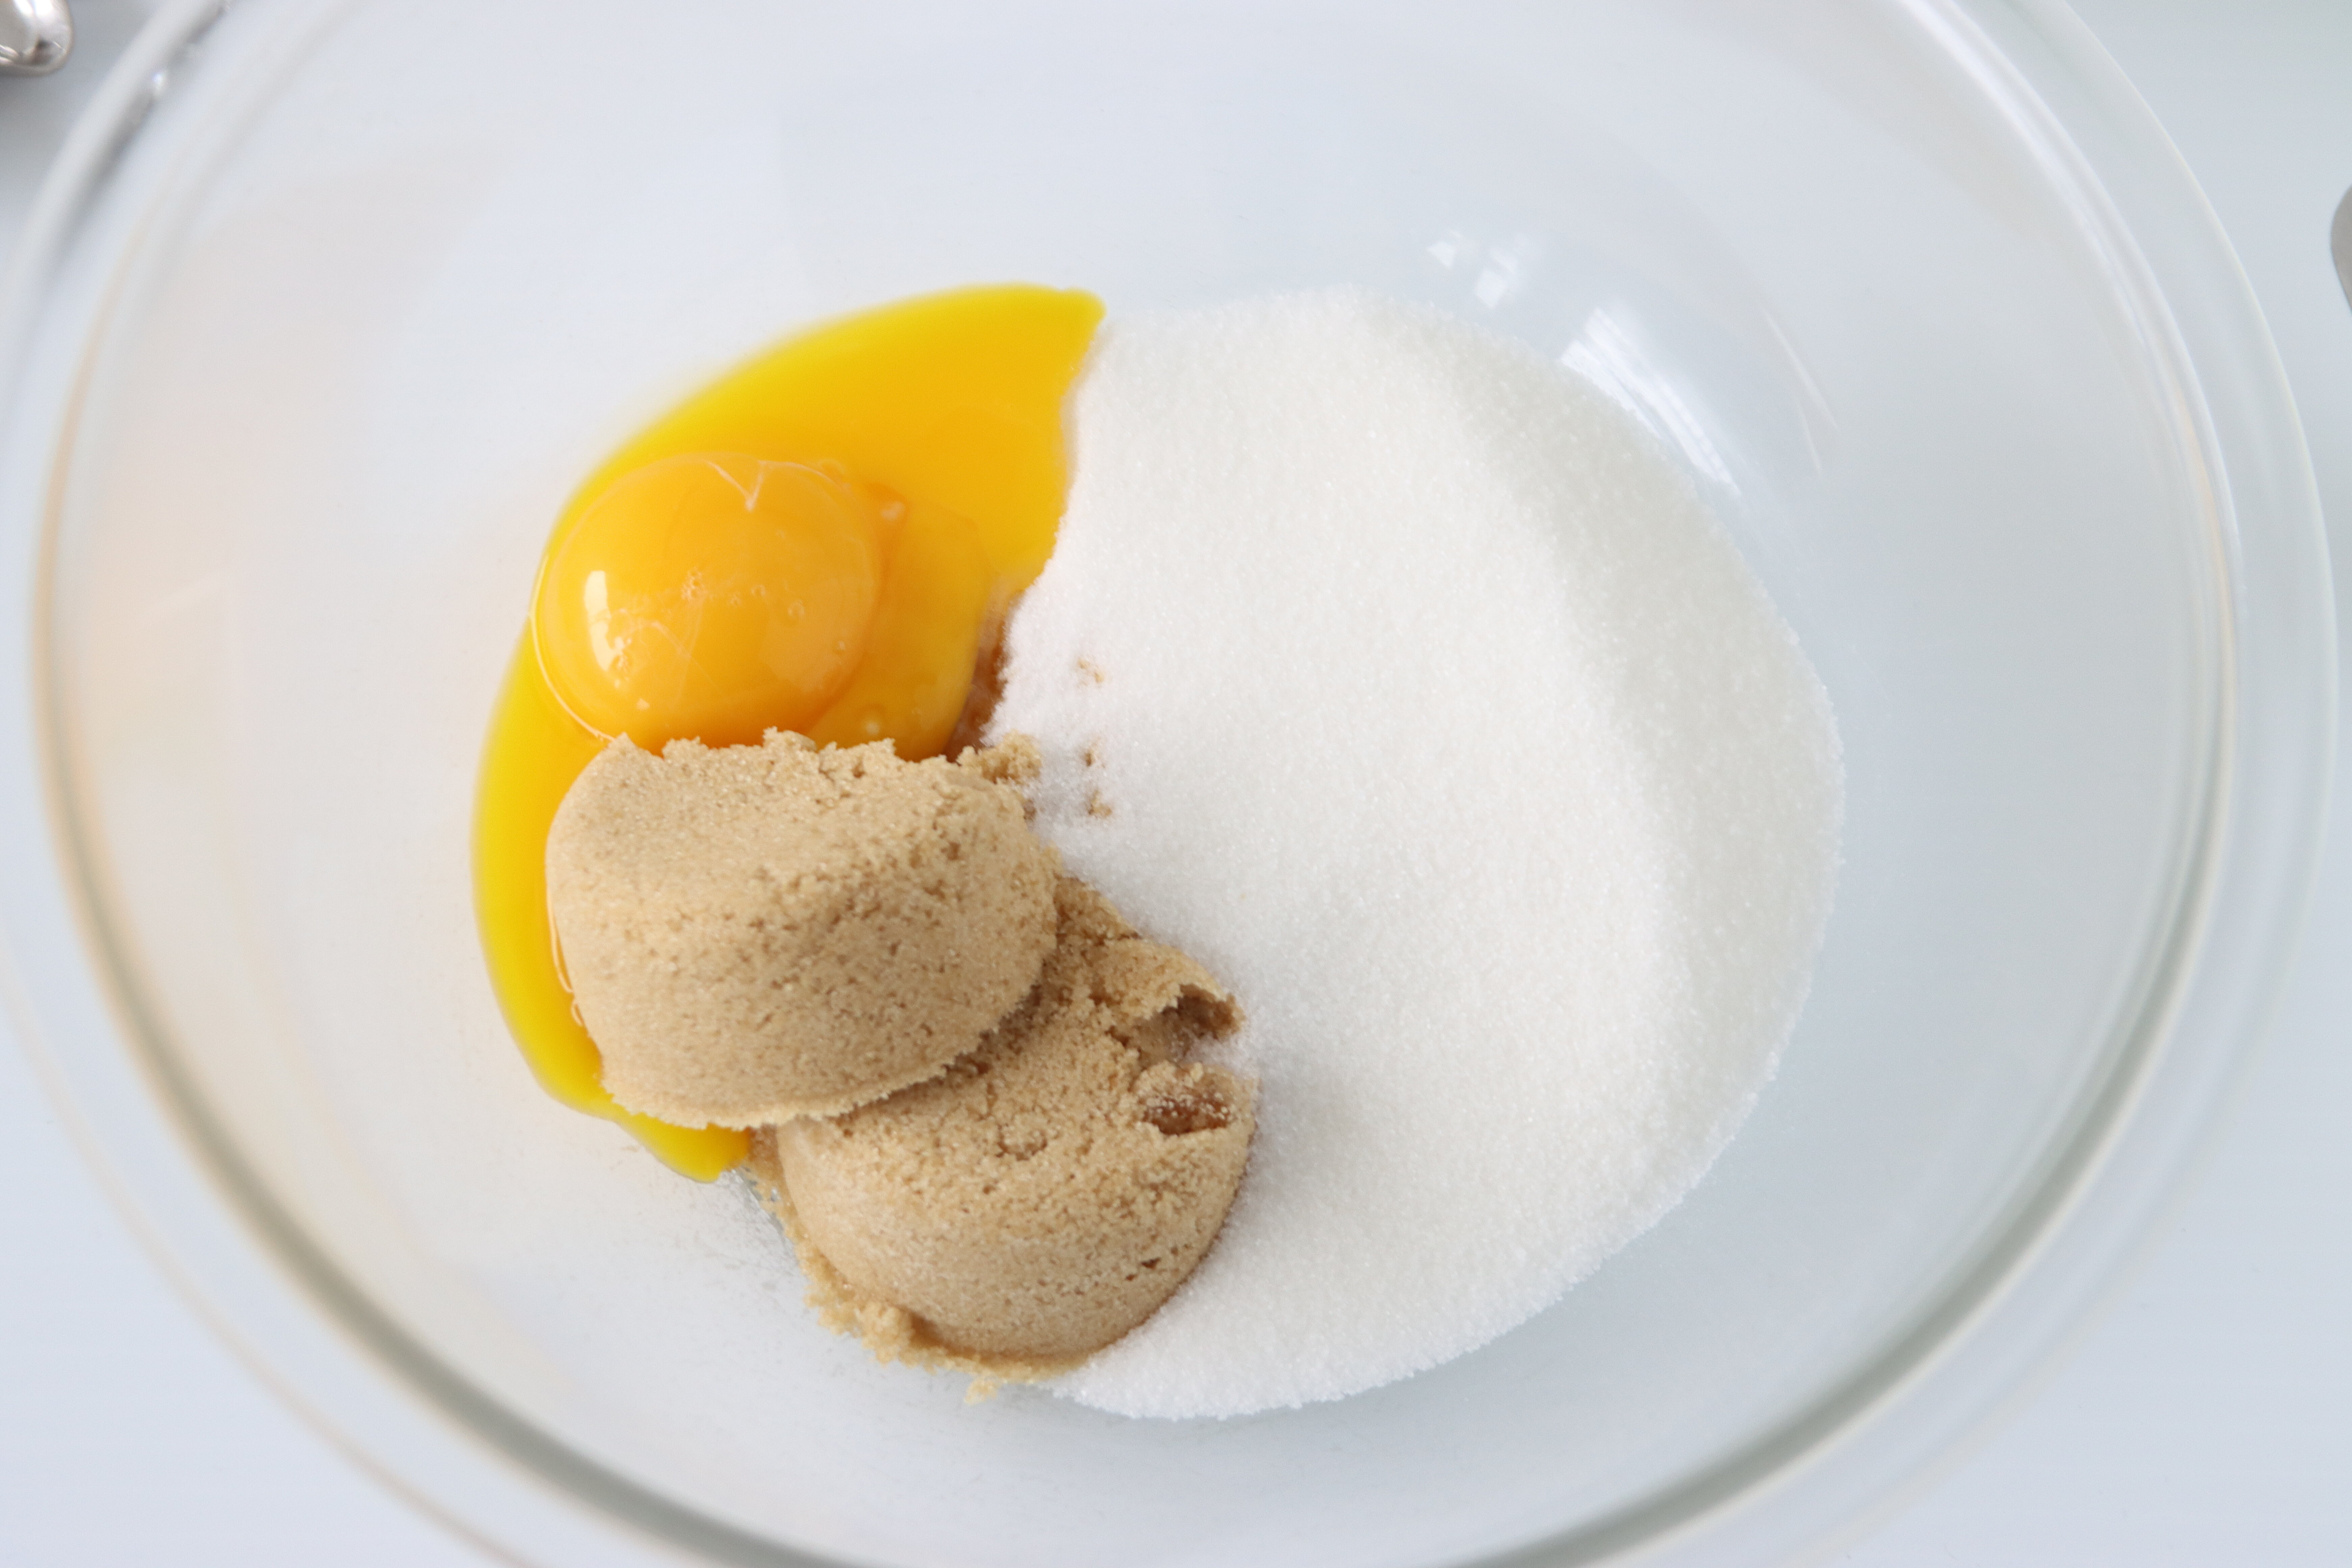
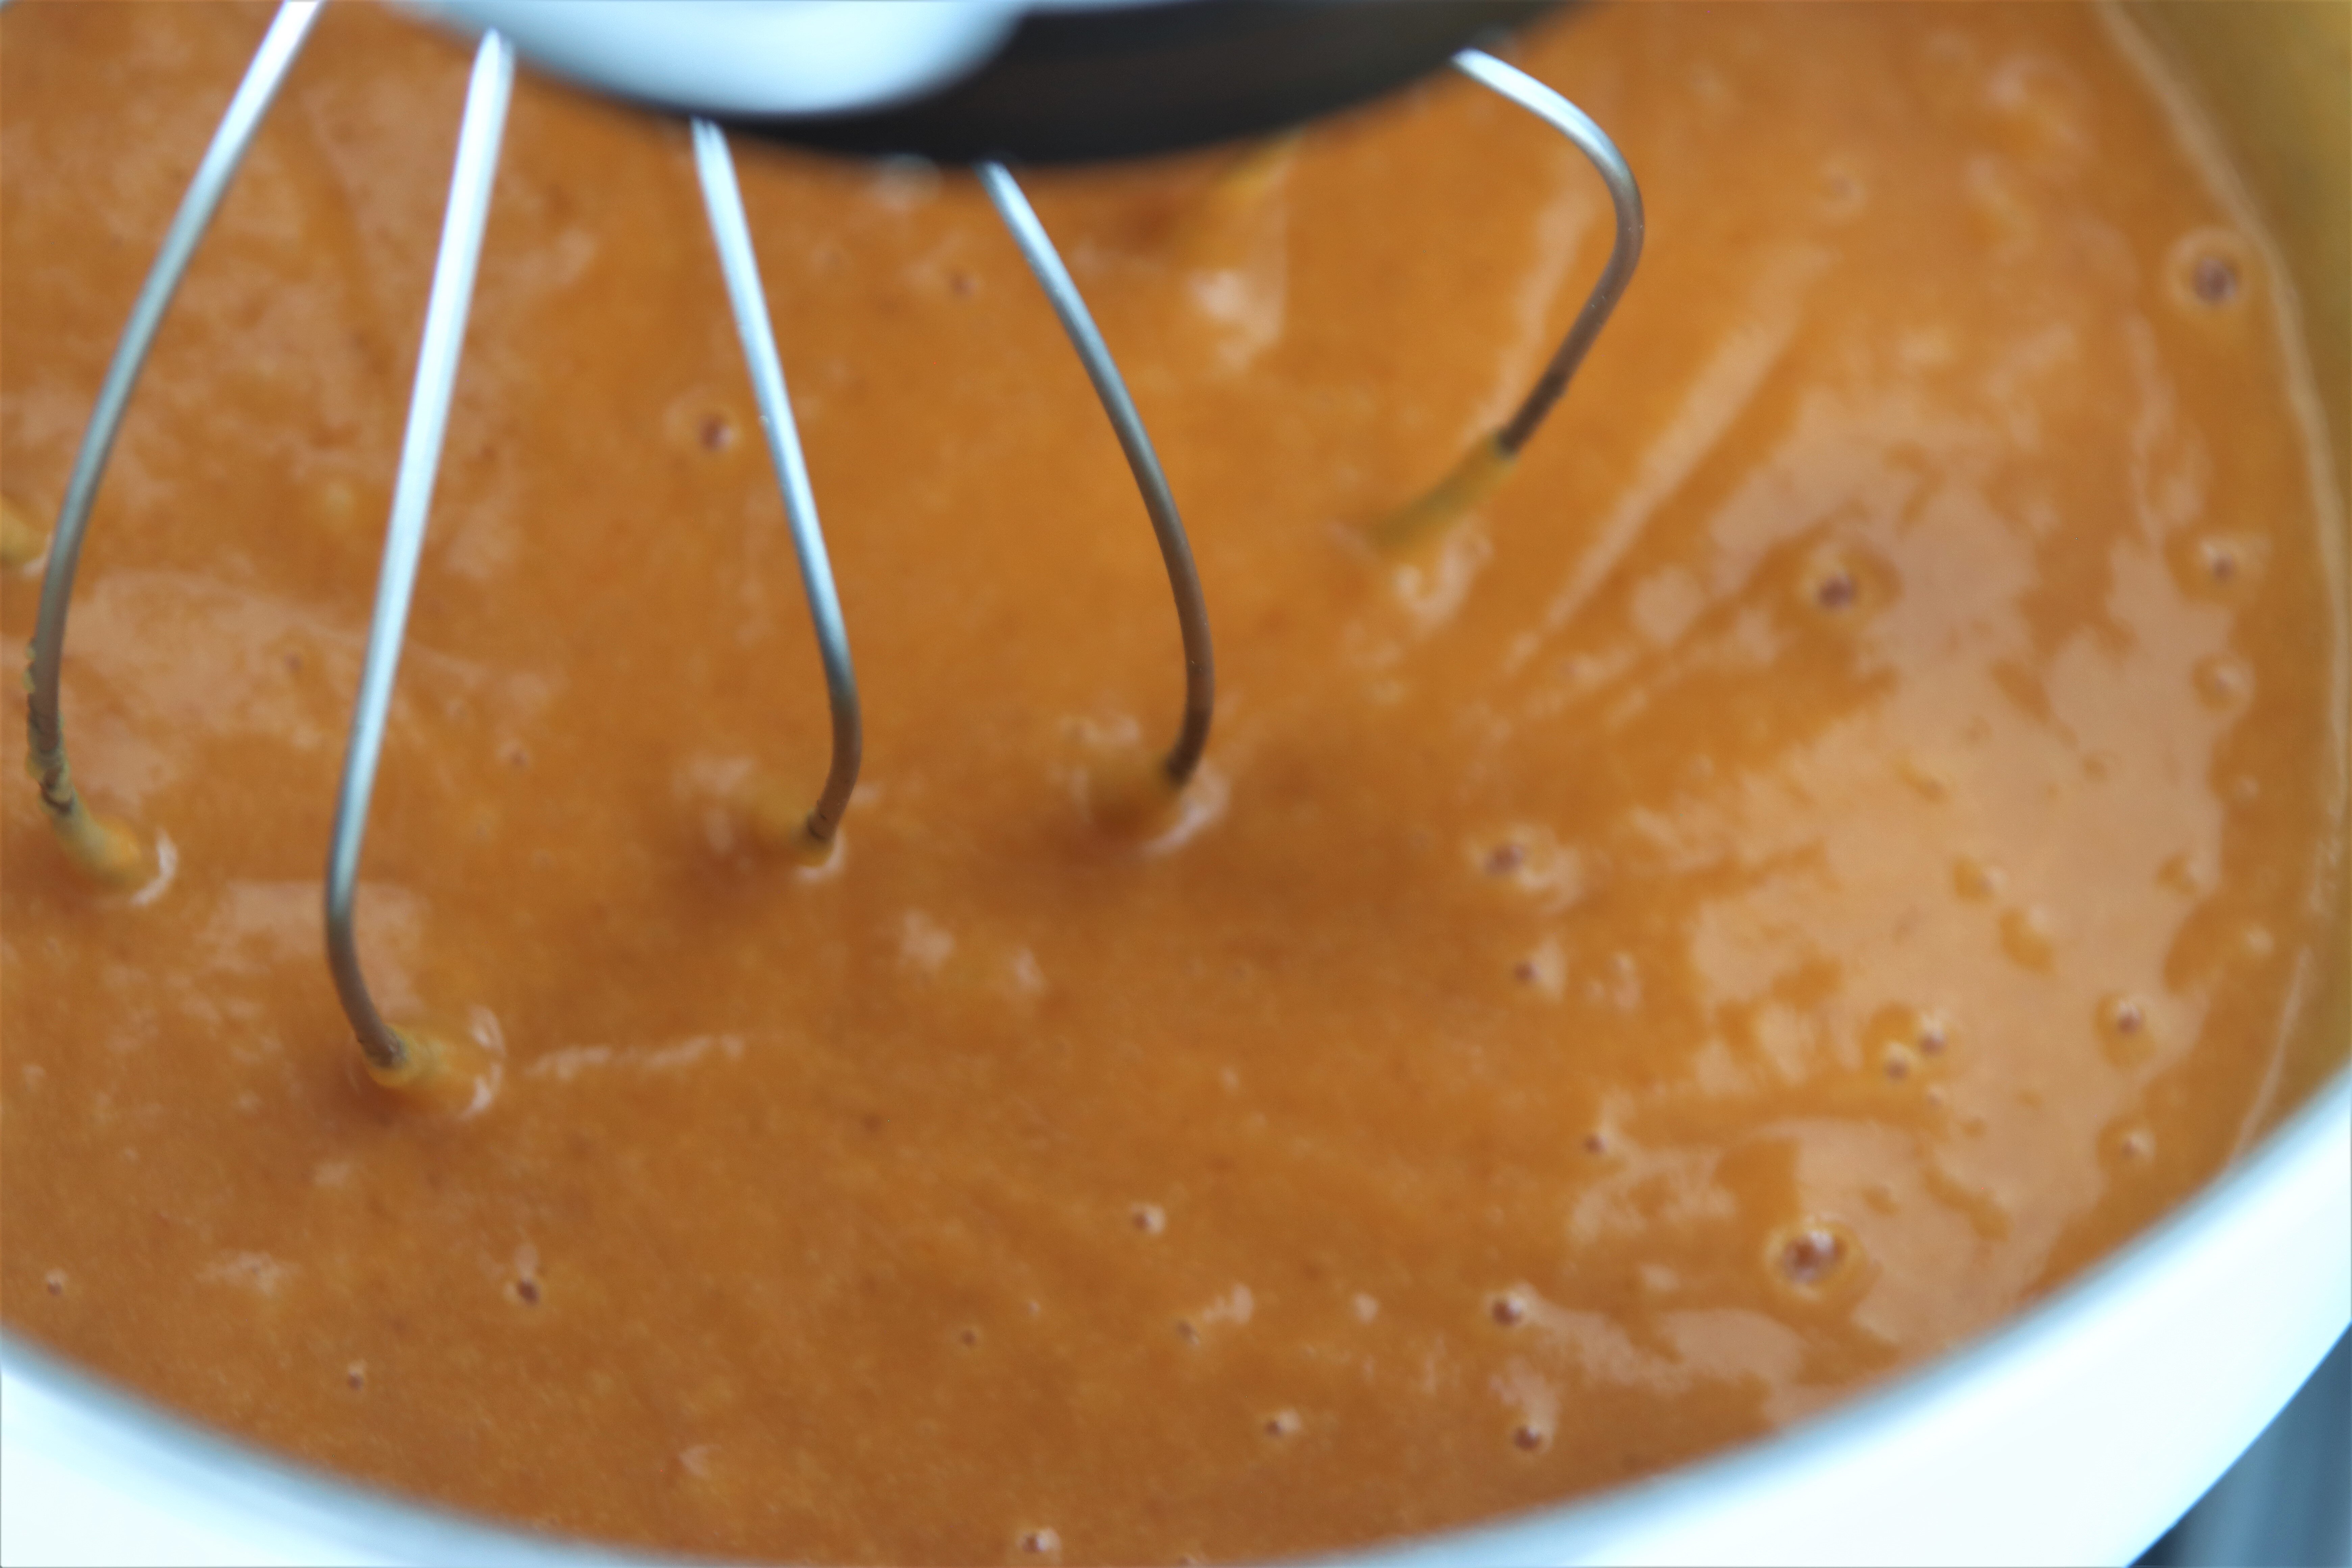
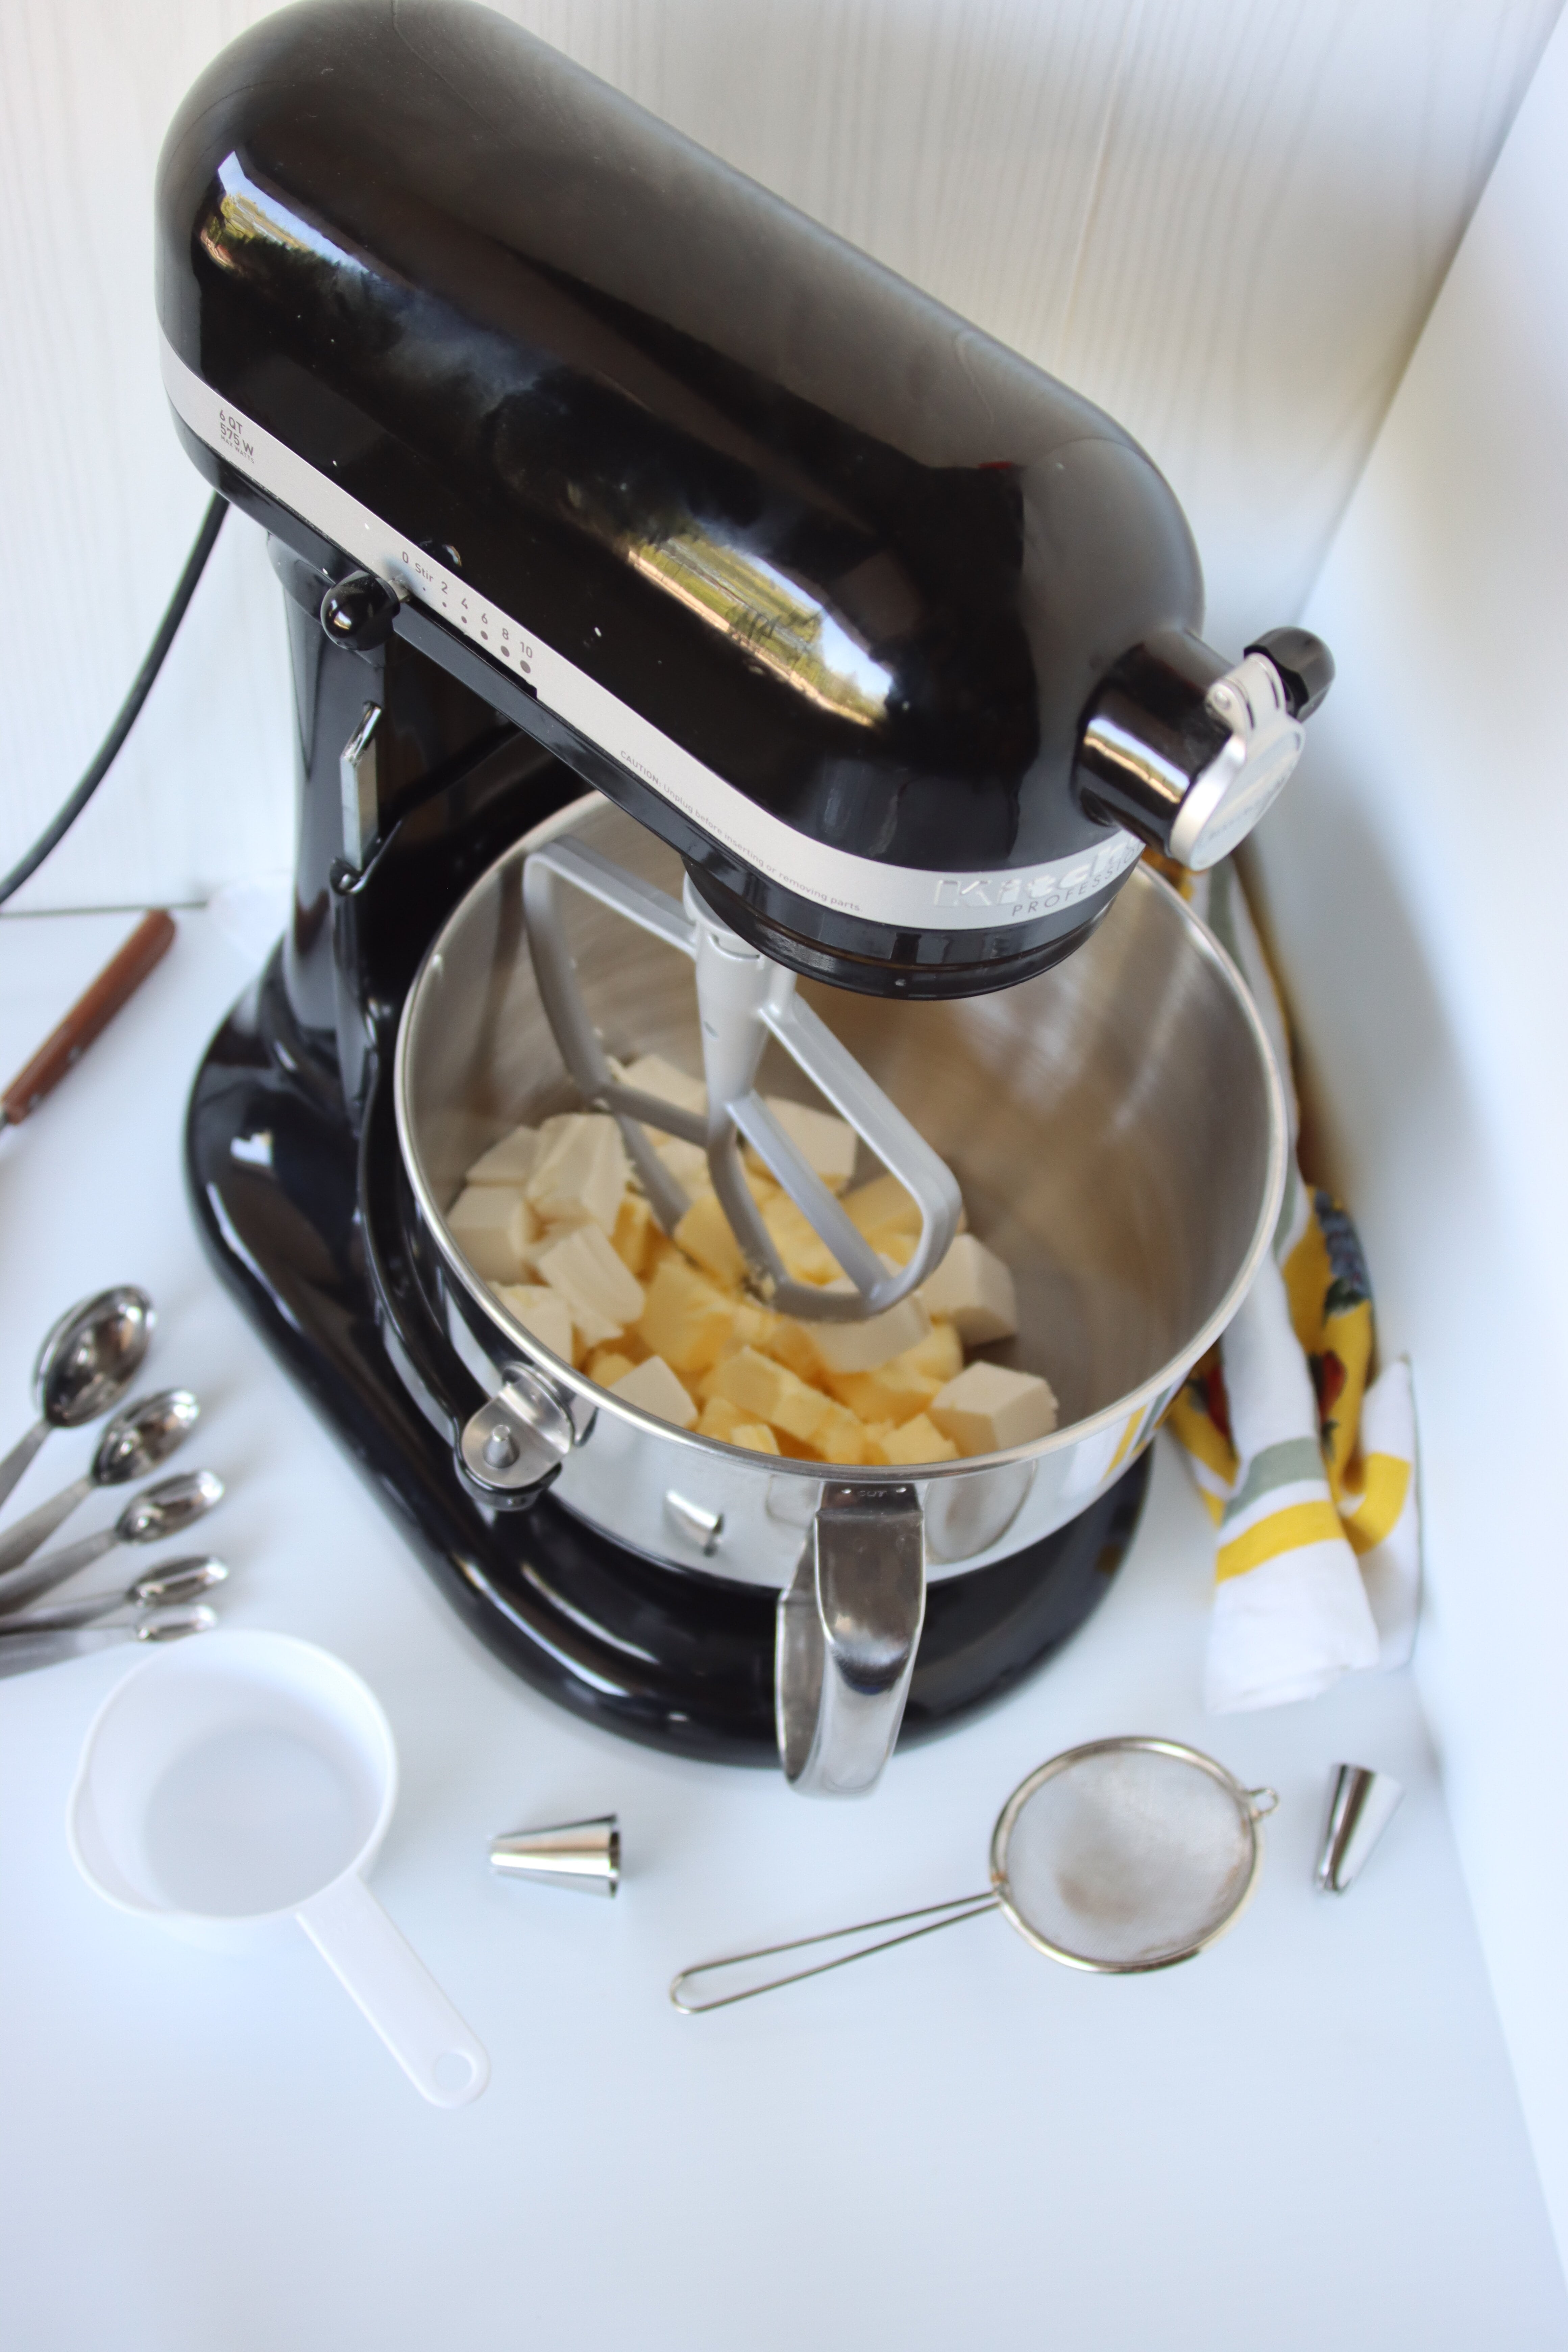
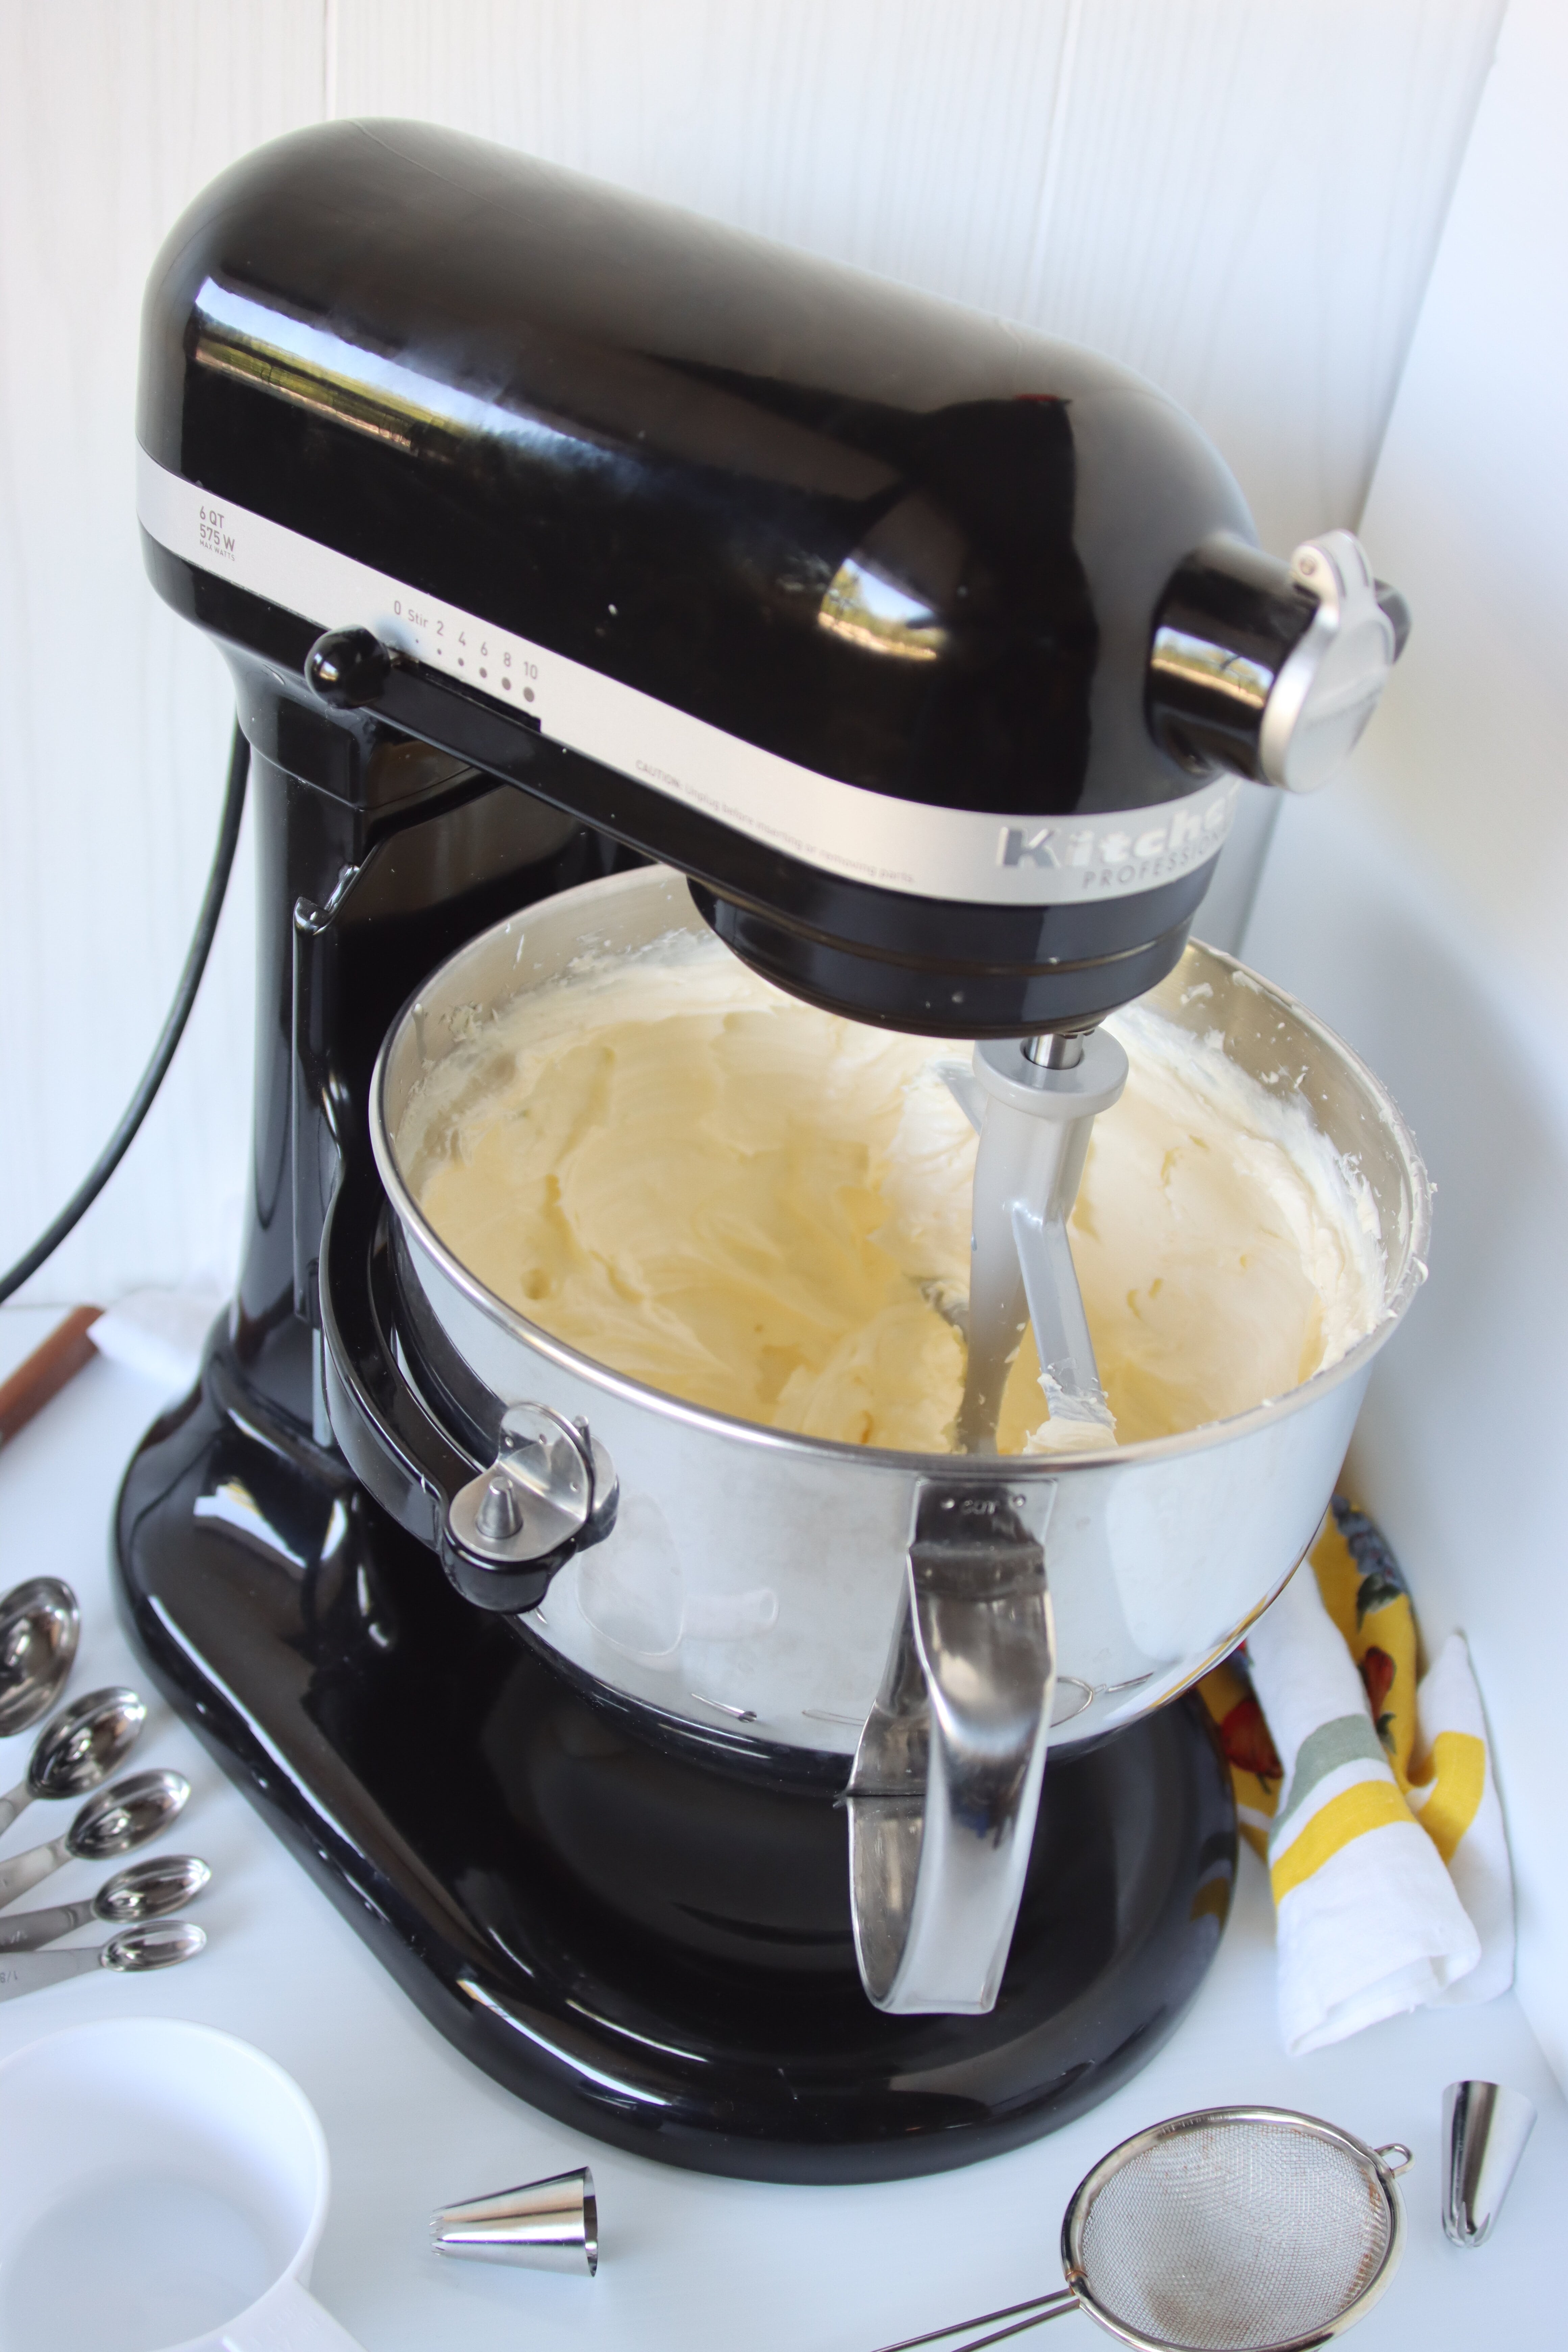
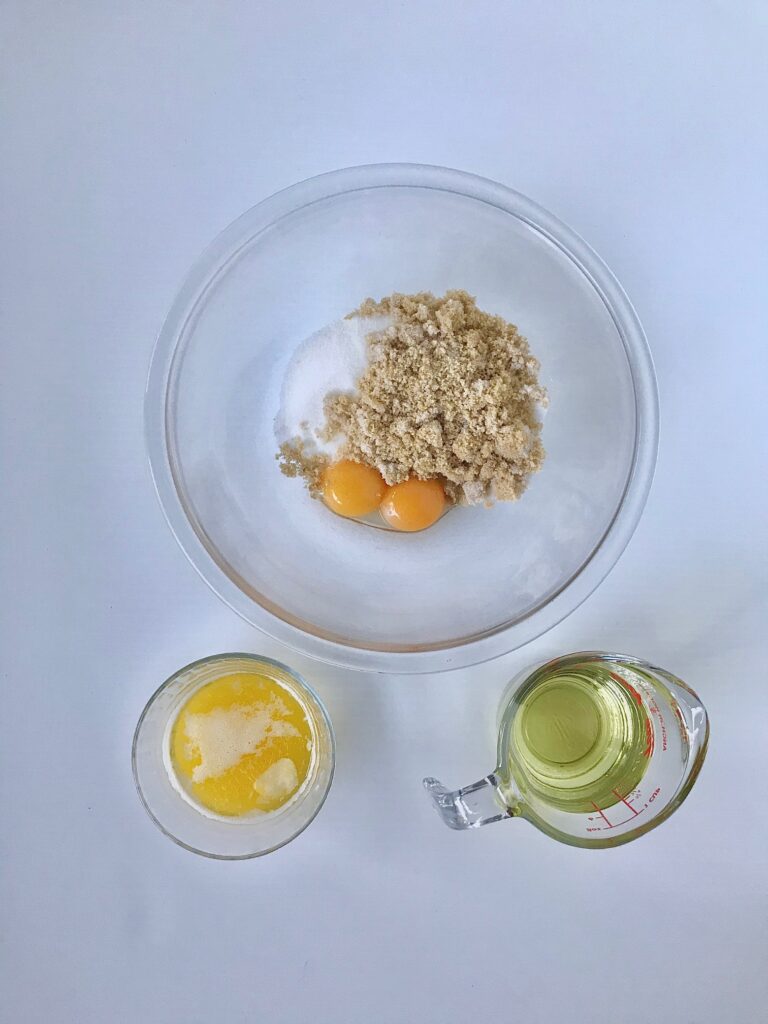
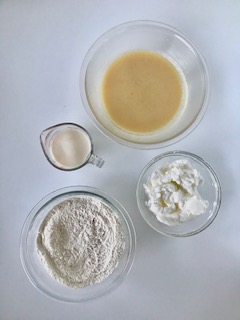
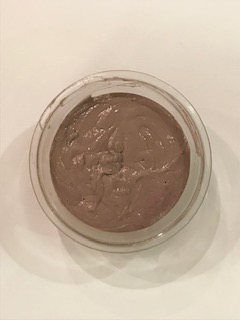
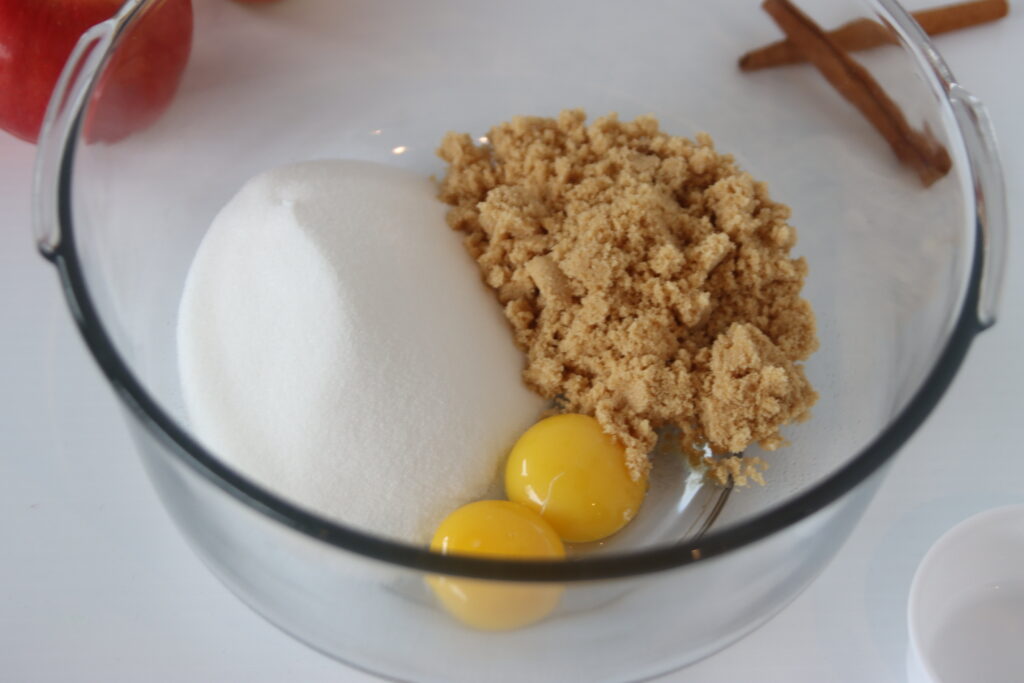
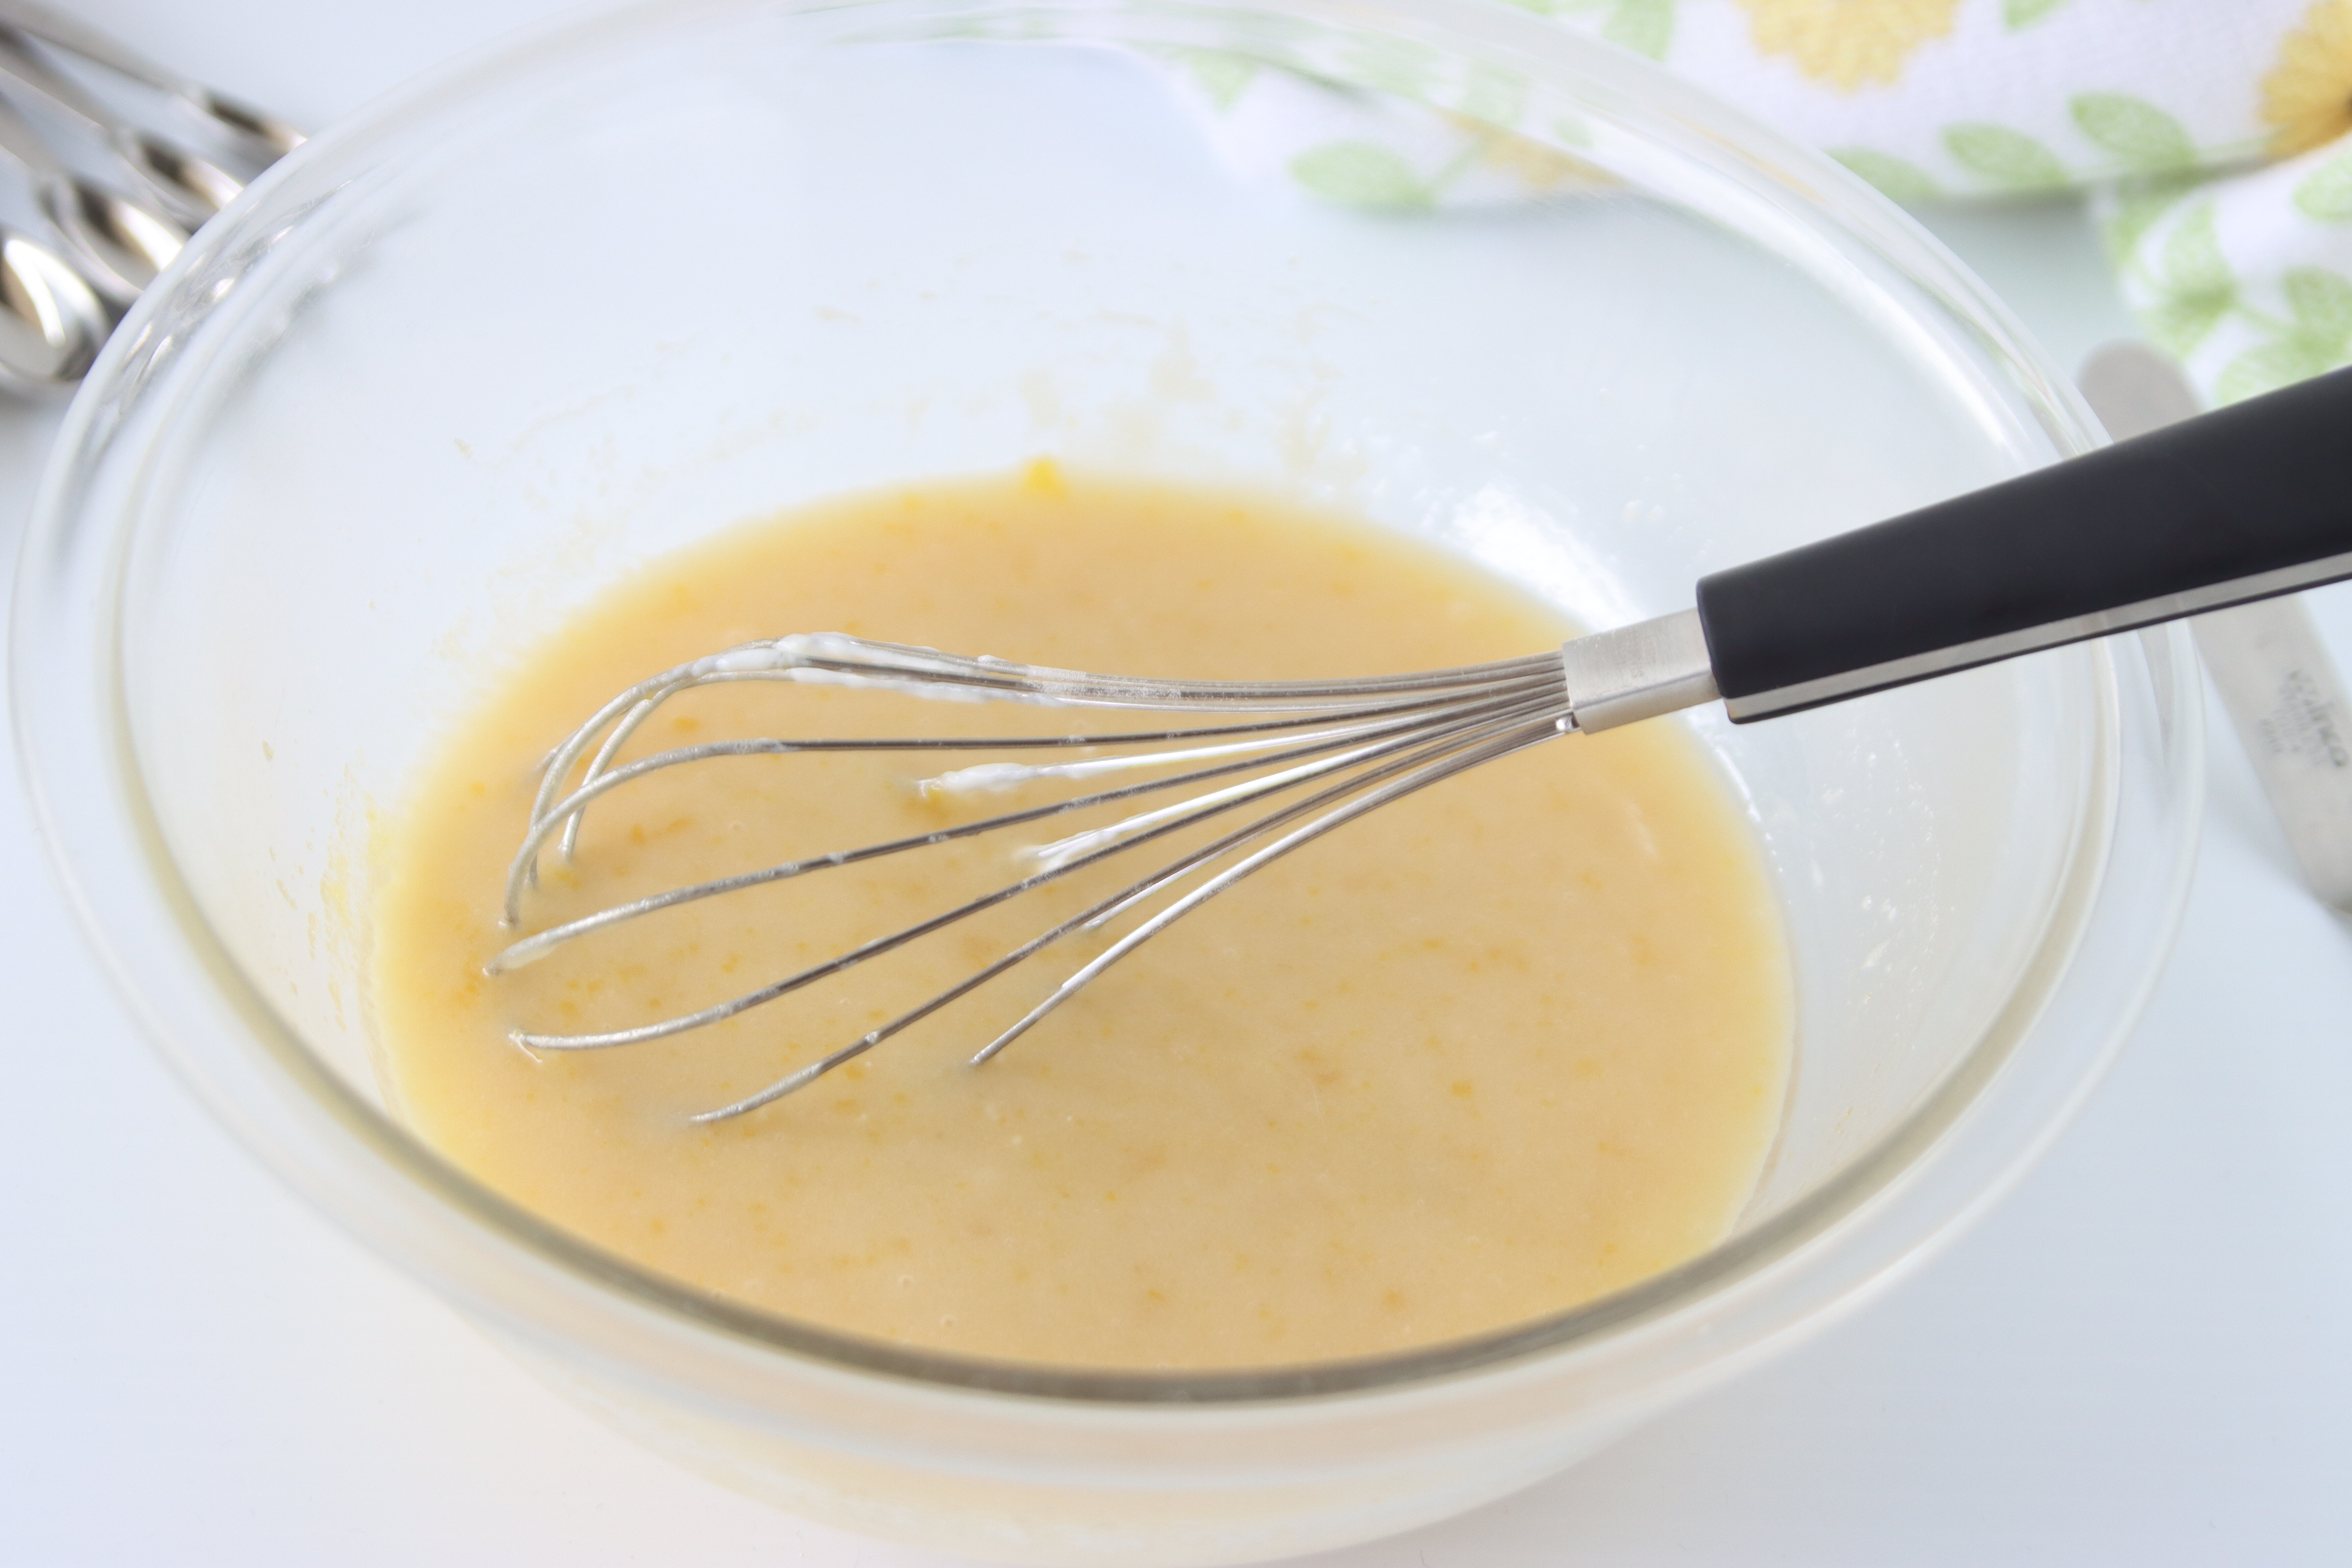
As this recipe follows my normal base recipe, it starts by mixing together the eggs, fats and sugars. Most cake recipes follow the creaming method, where you cream the butter and sugar until light and fluffy, then add the eggs. However, my recipe starts by mixing the eggs (but only the yolks as the whites are used at the end!), with the white and brown sugars.
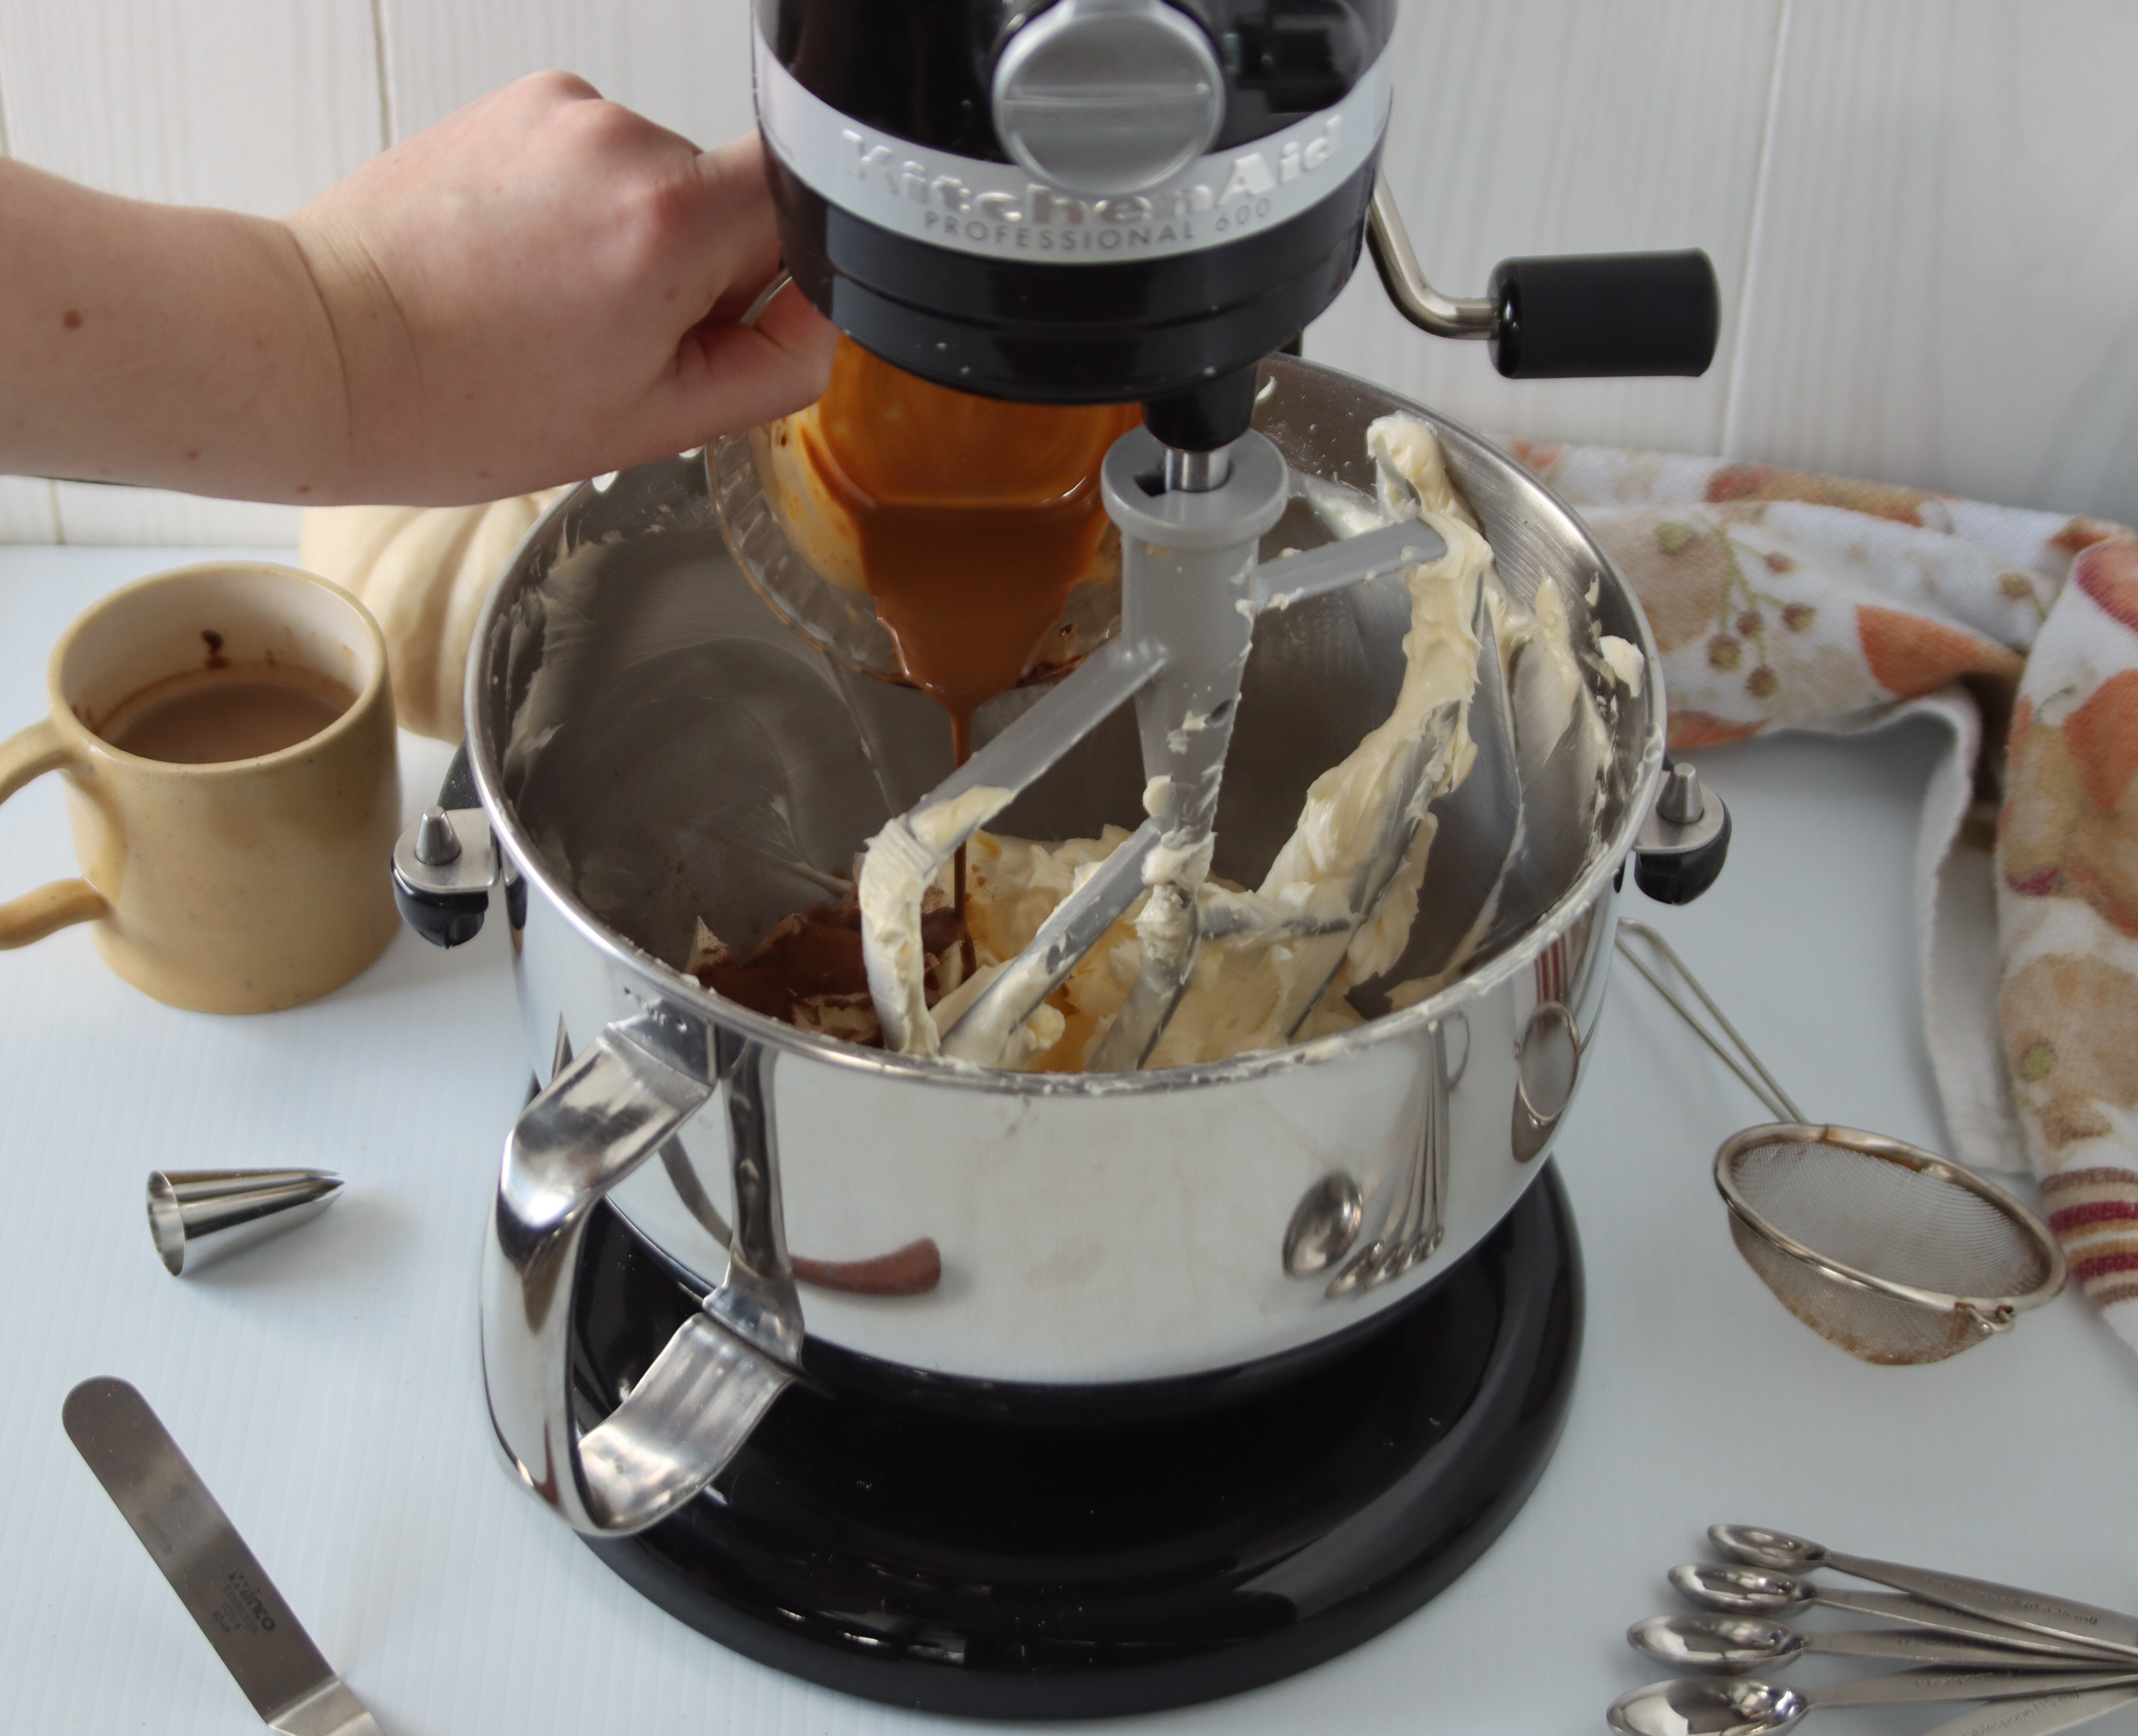
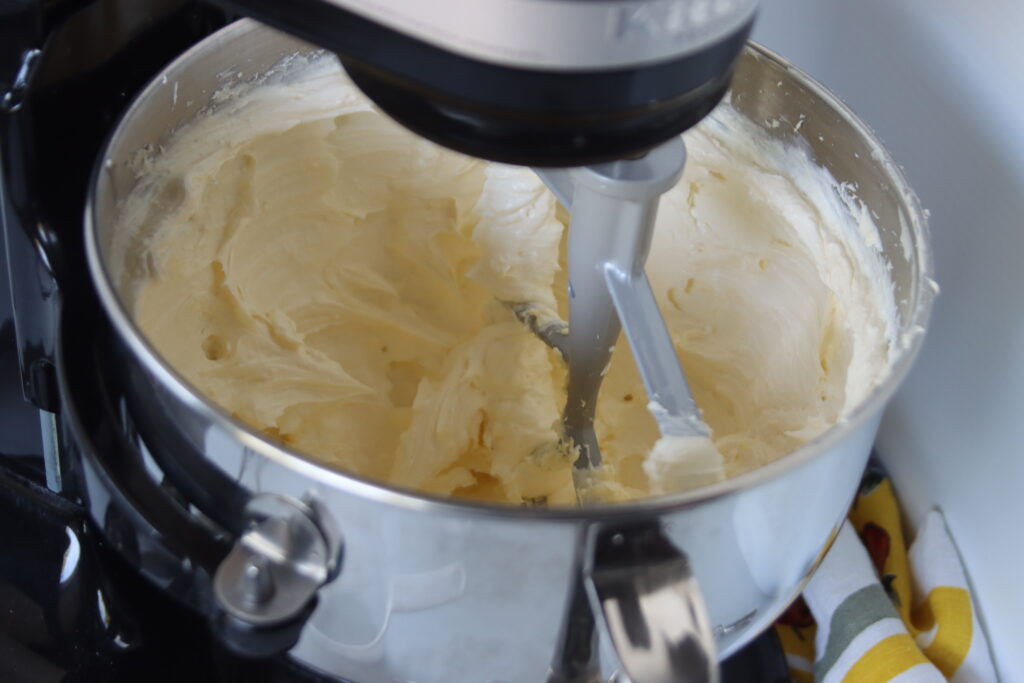
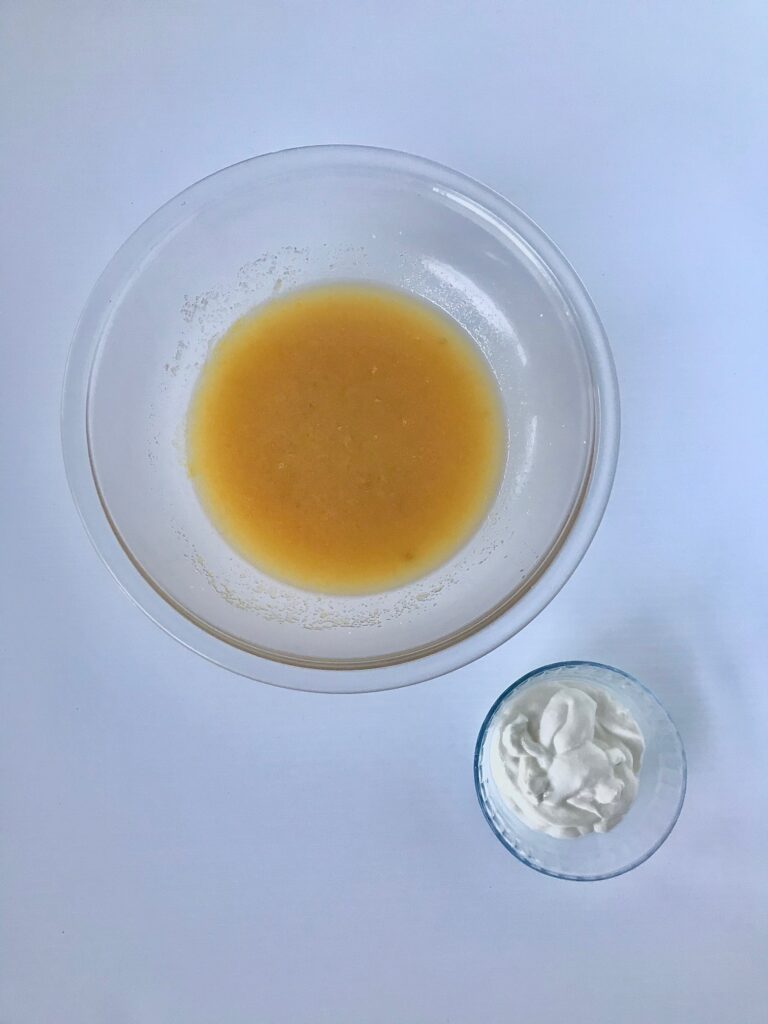
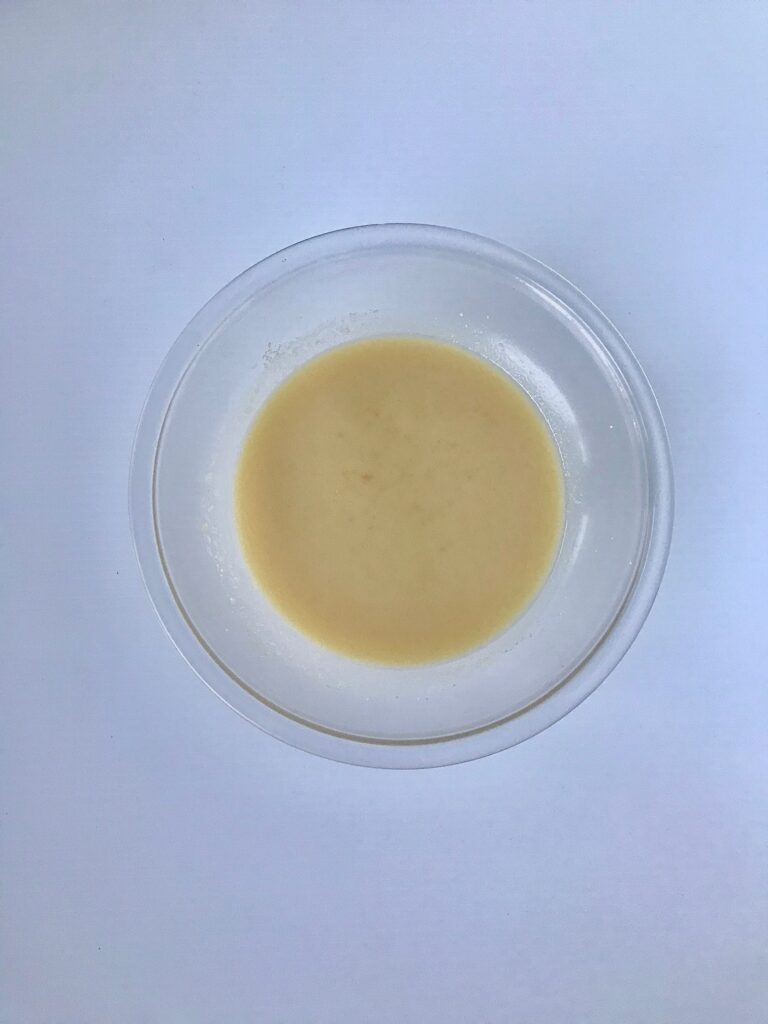
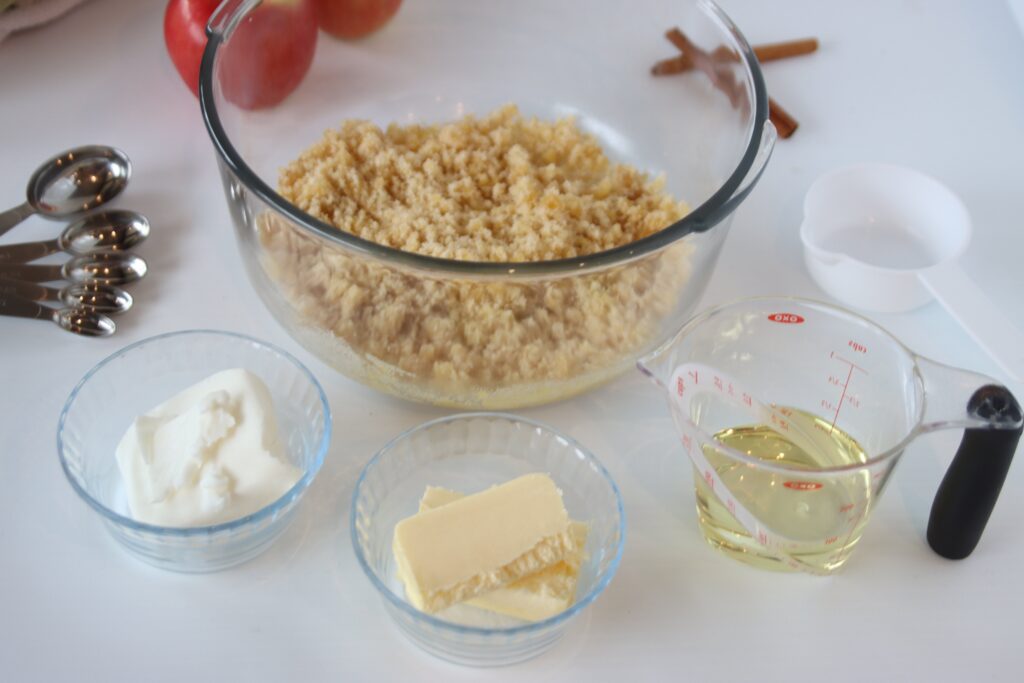
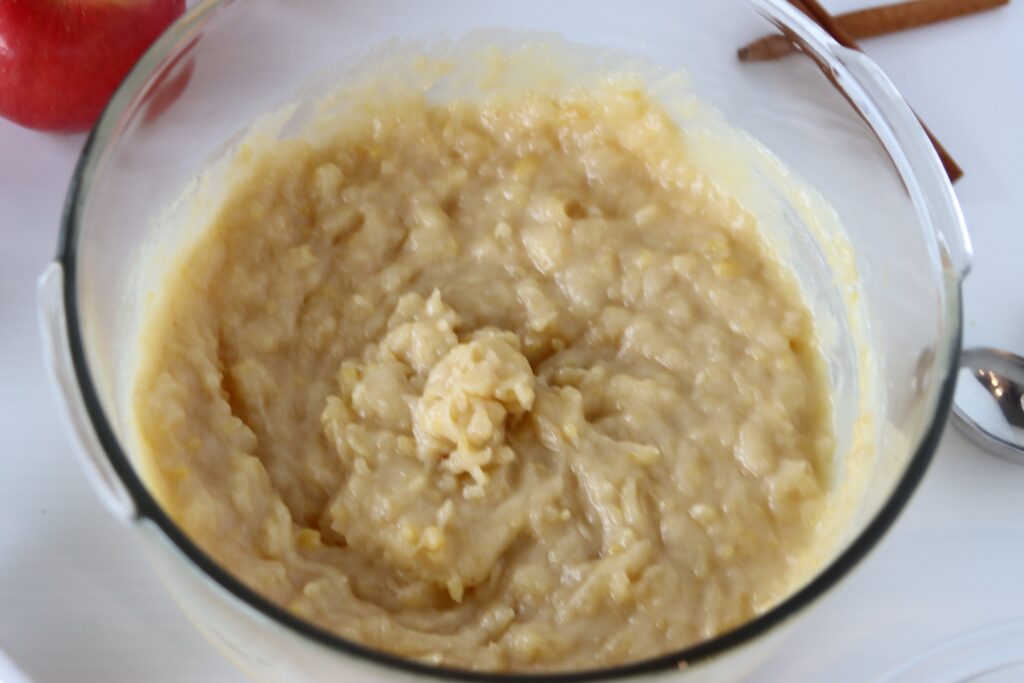
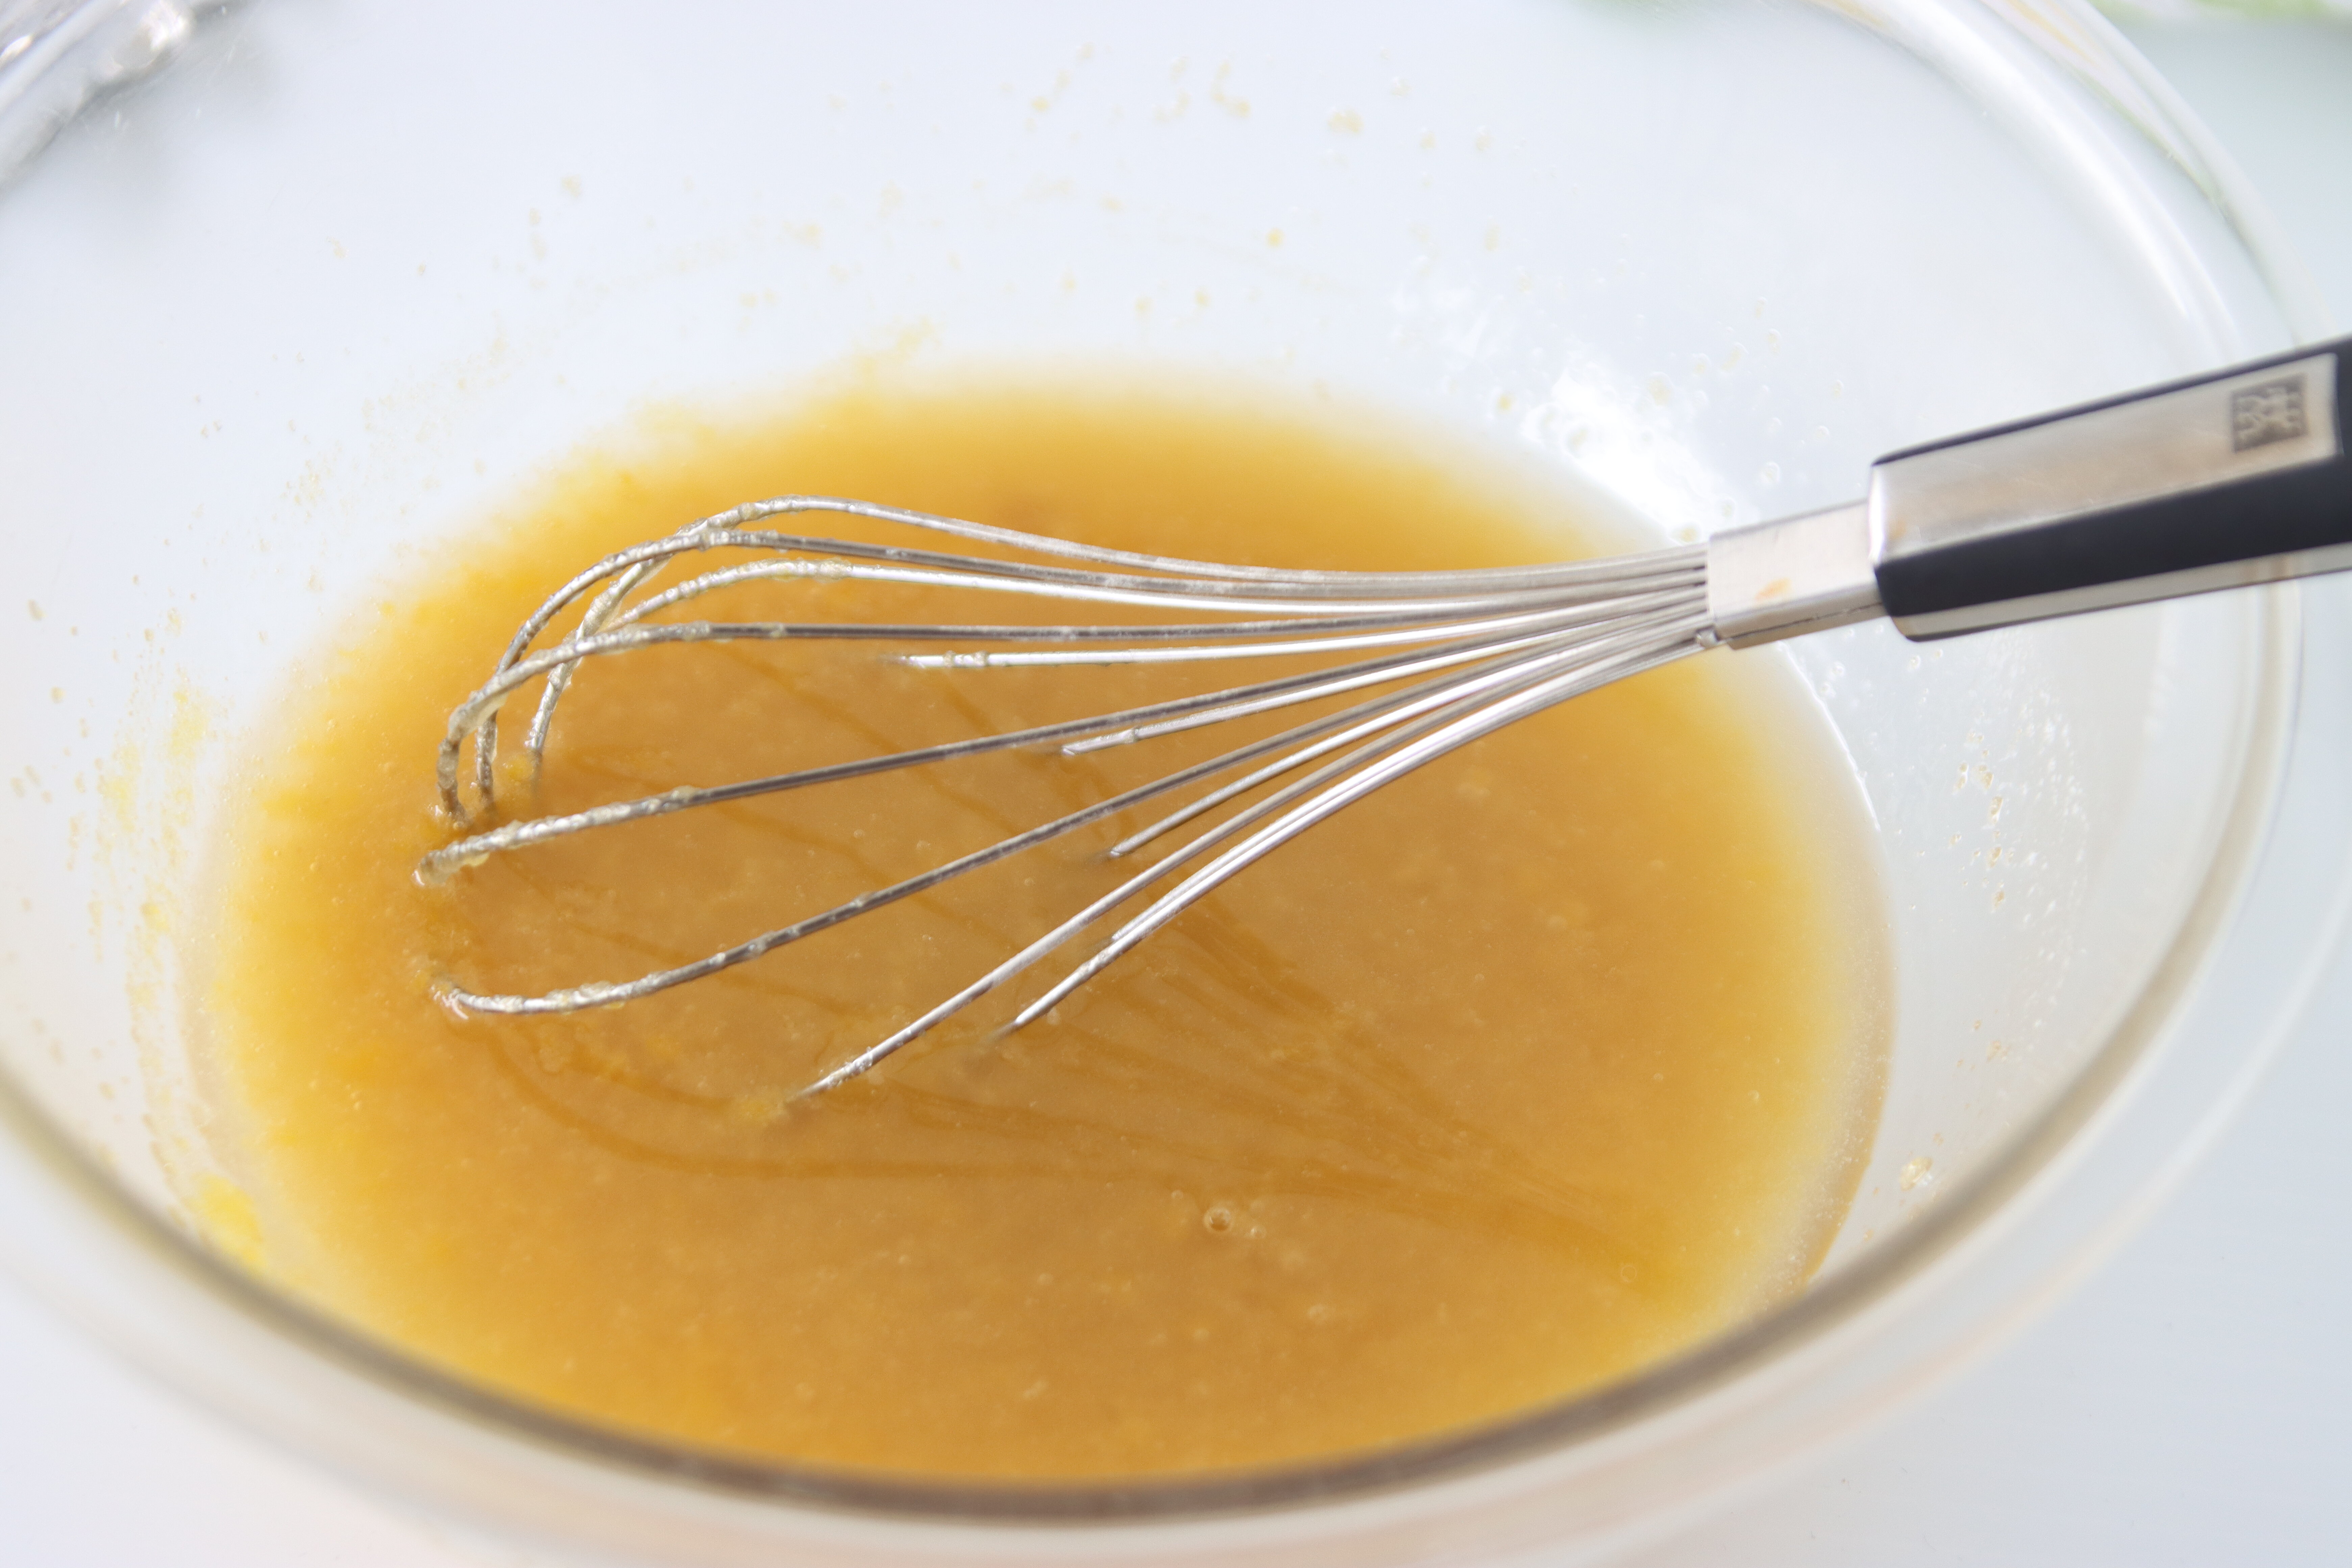
Afterwards, you add in liquid/melted fats, including butter and oil. To give the cake more moisture, you then also add some sour cream for a richer texture from the dairy.
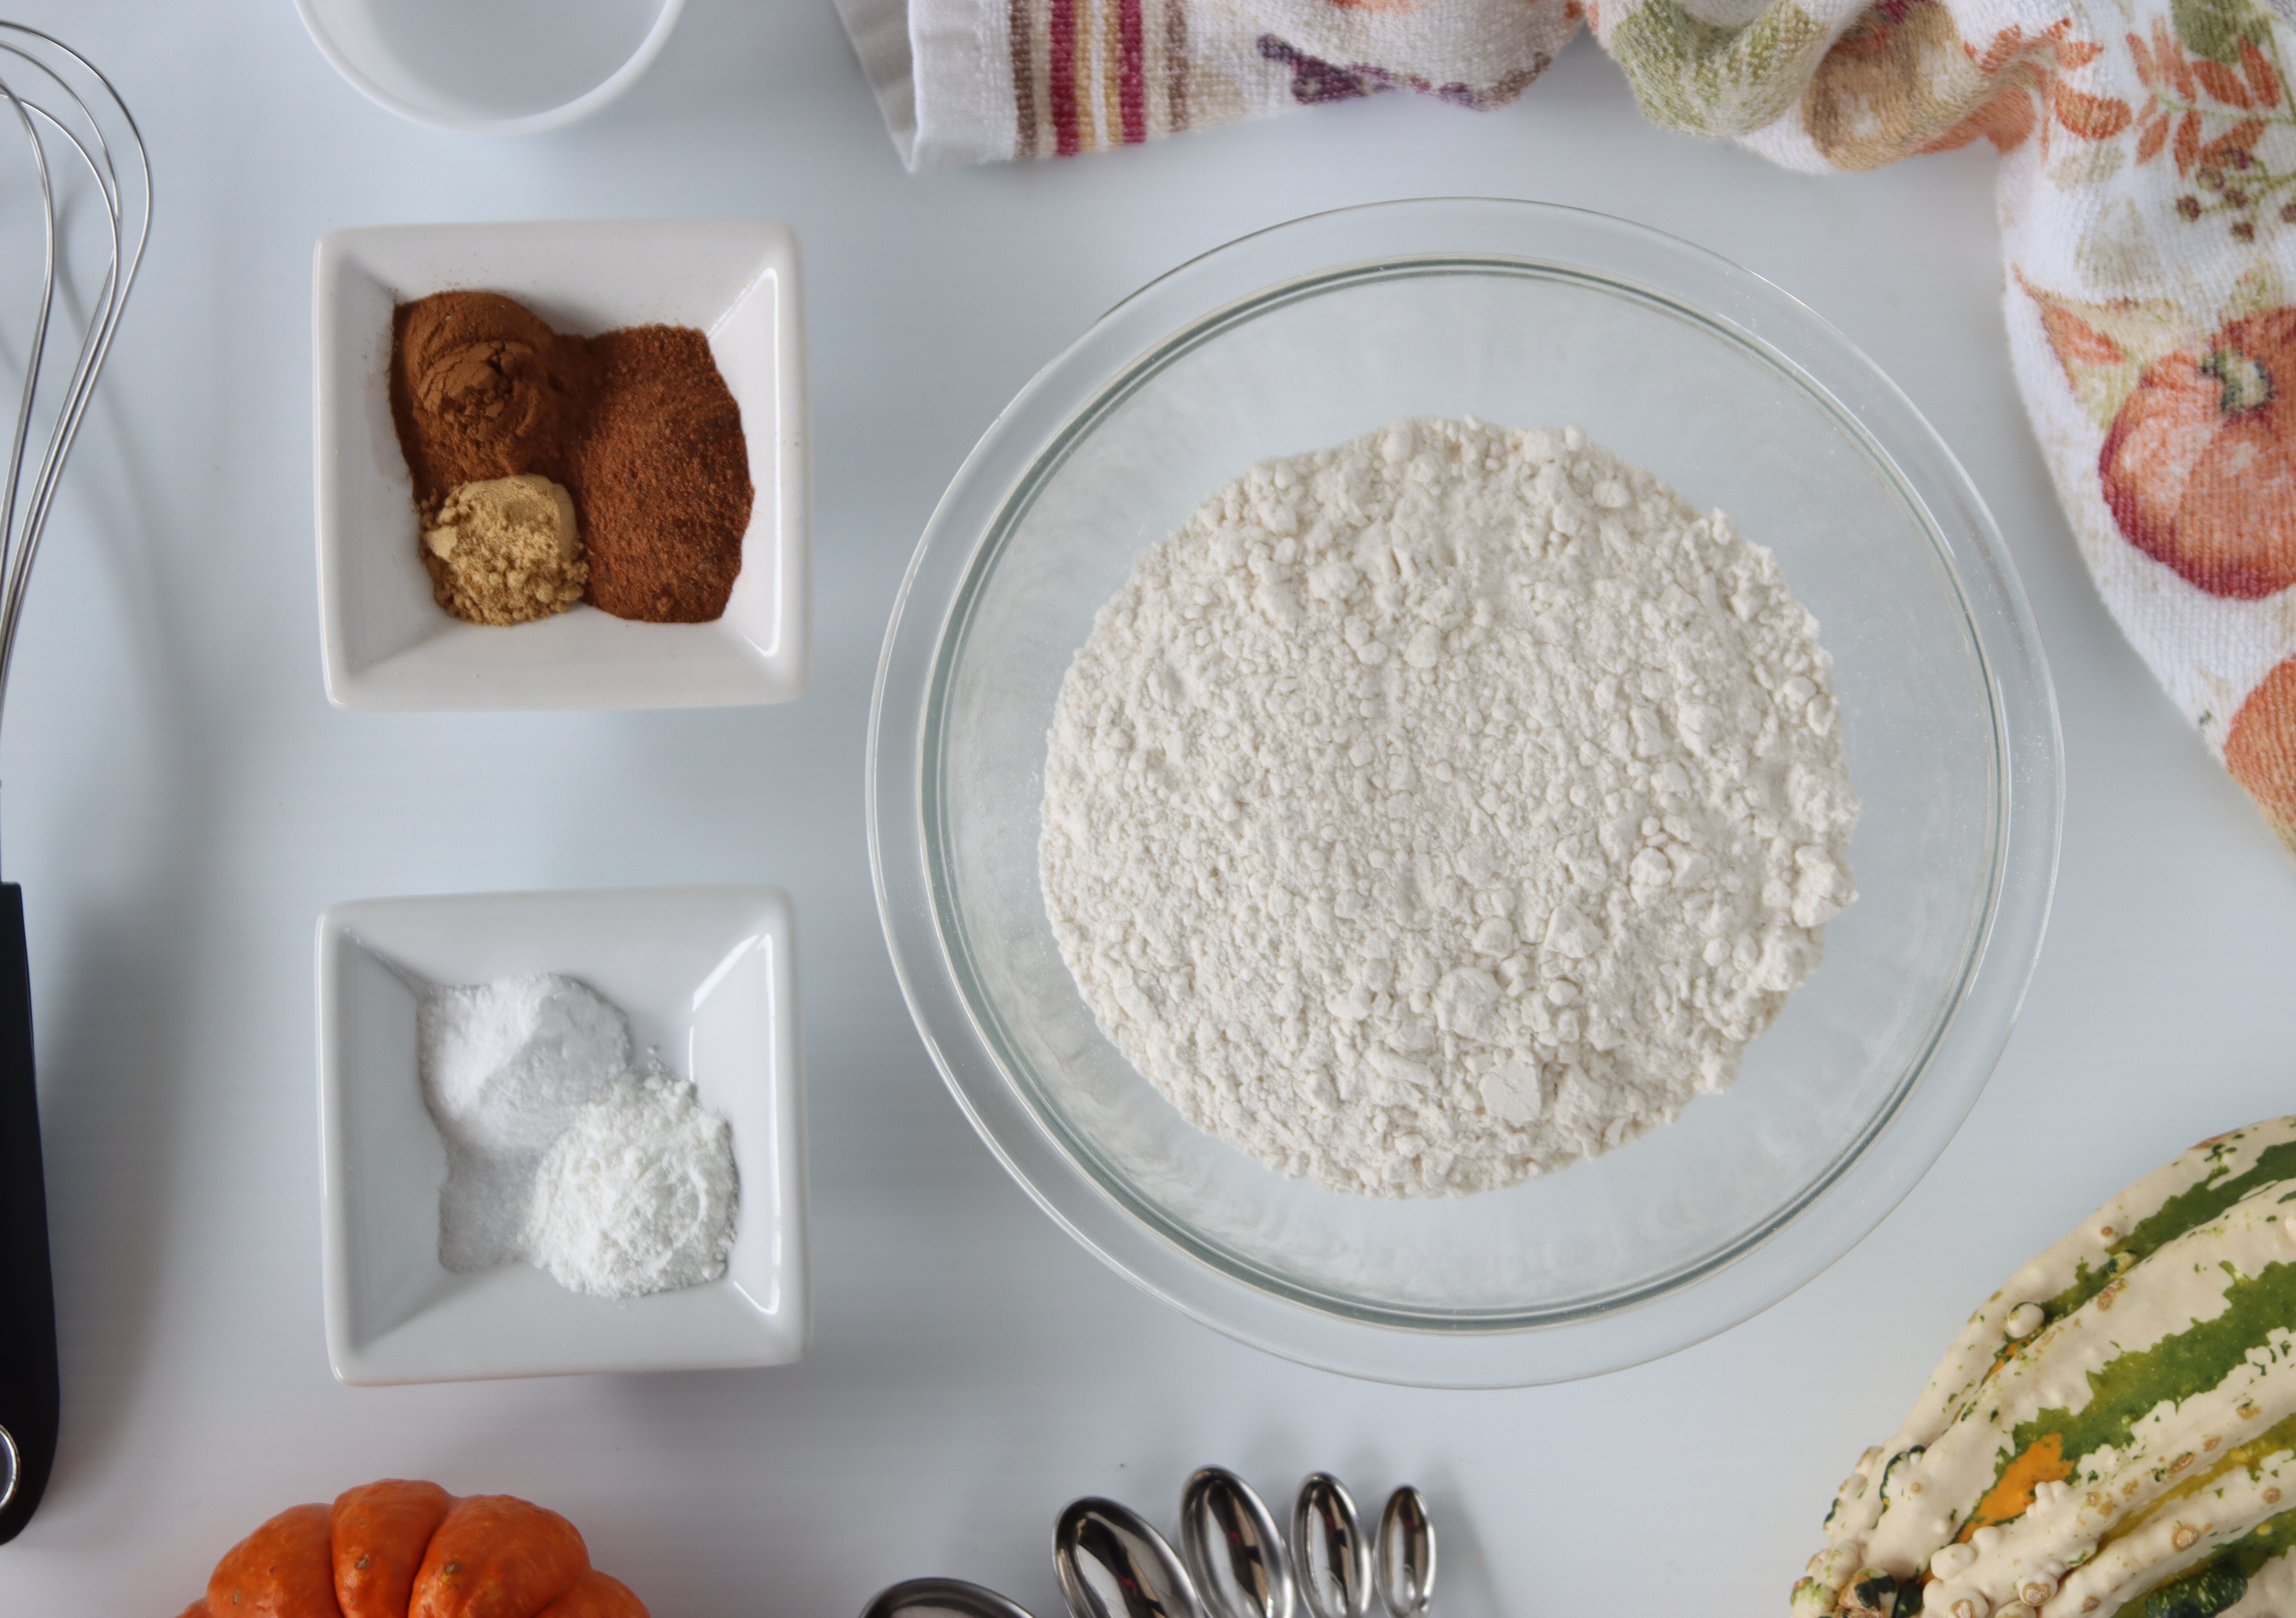
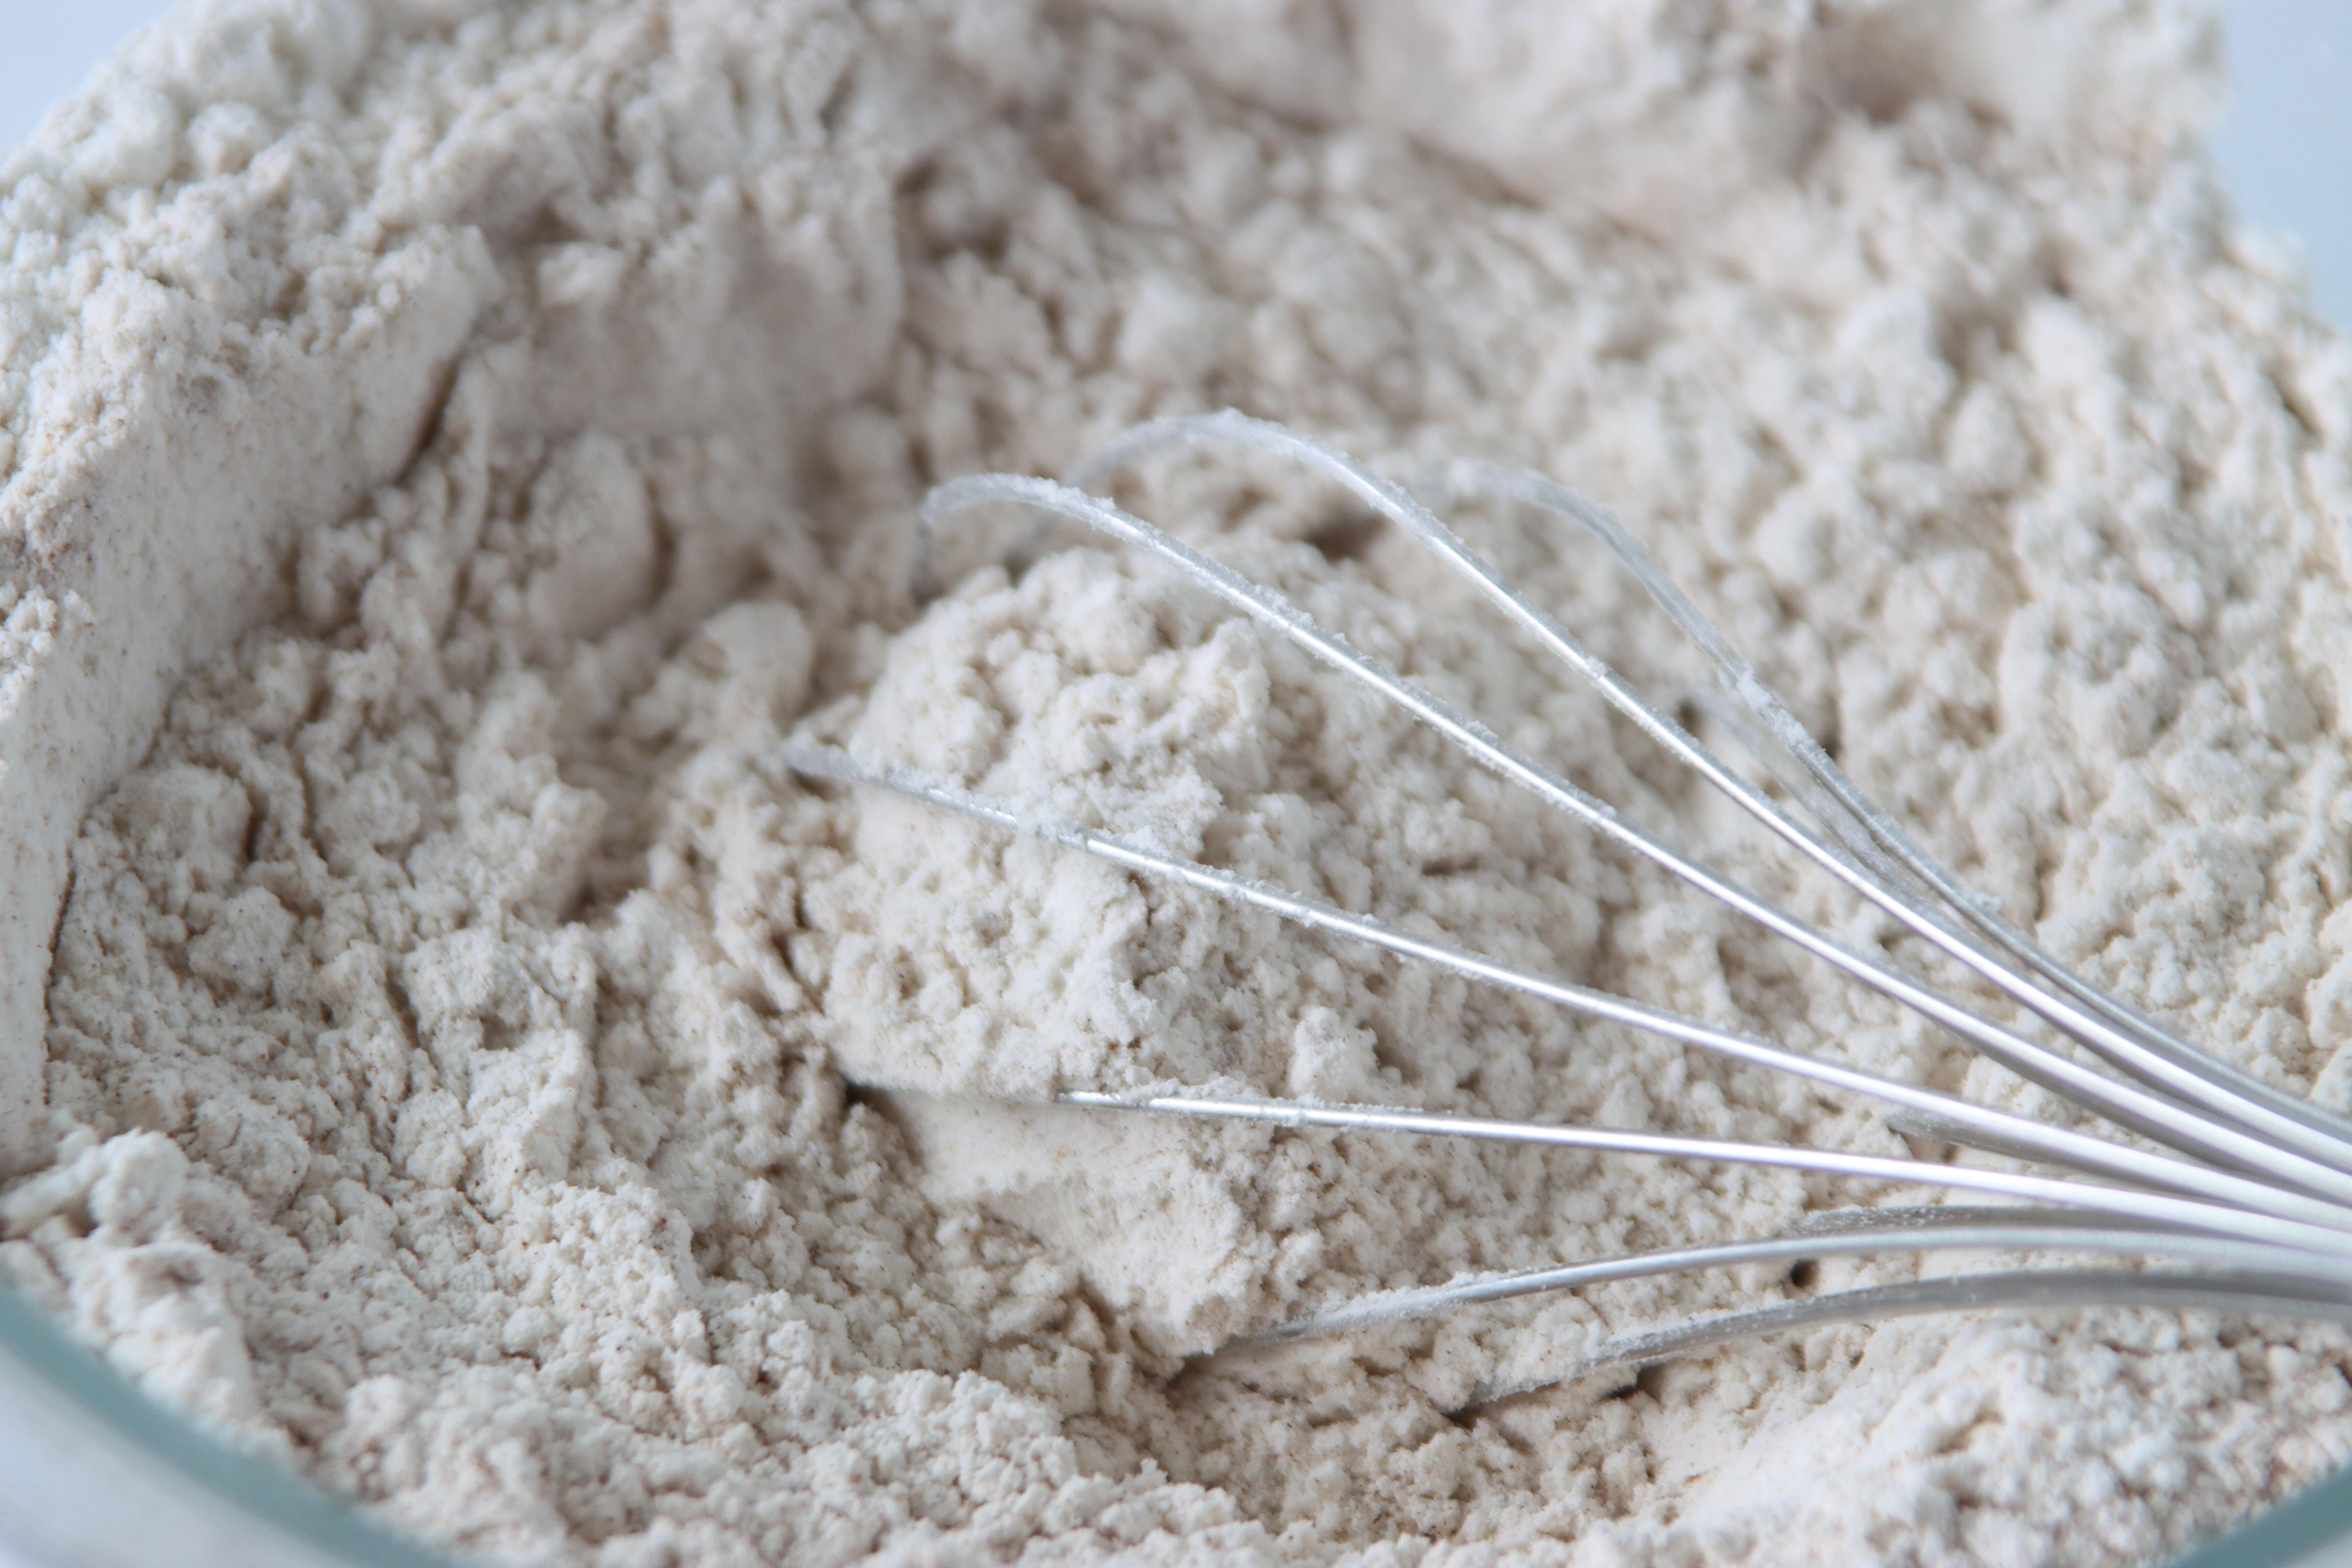
Dry Ingredients
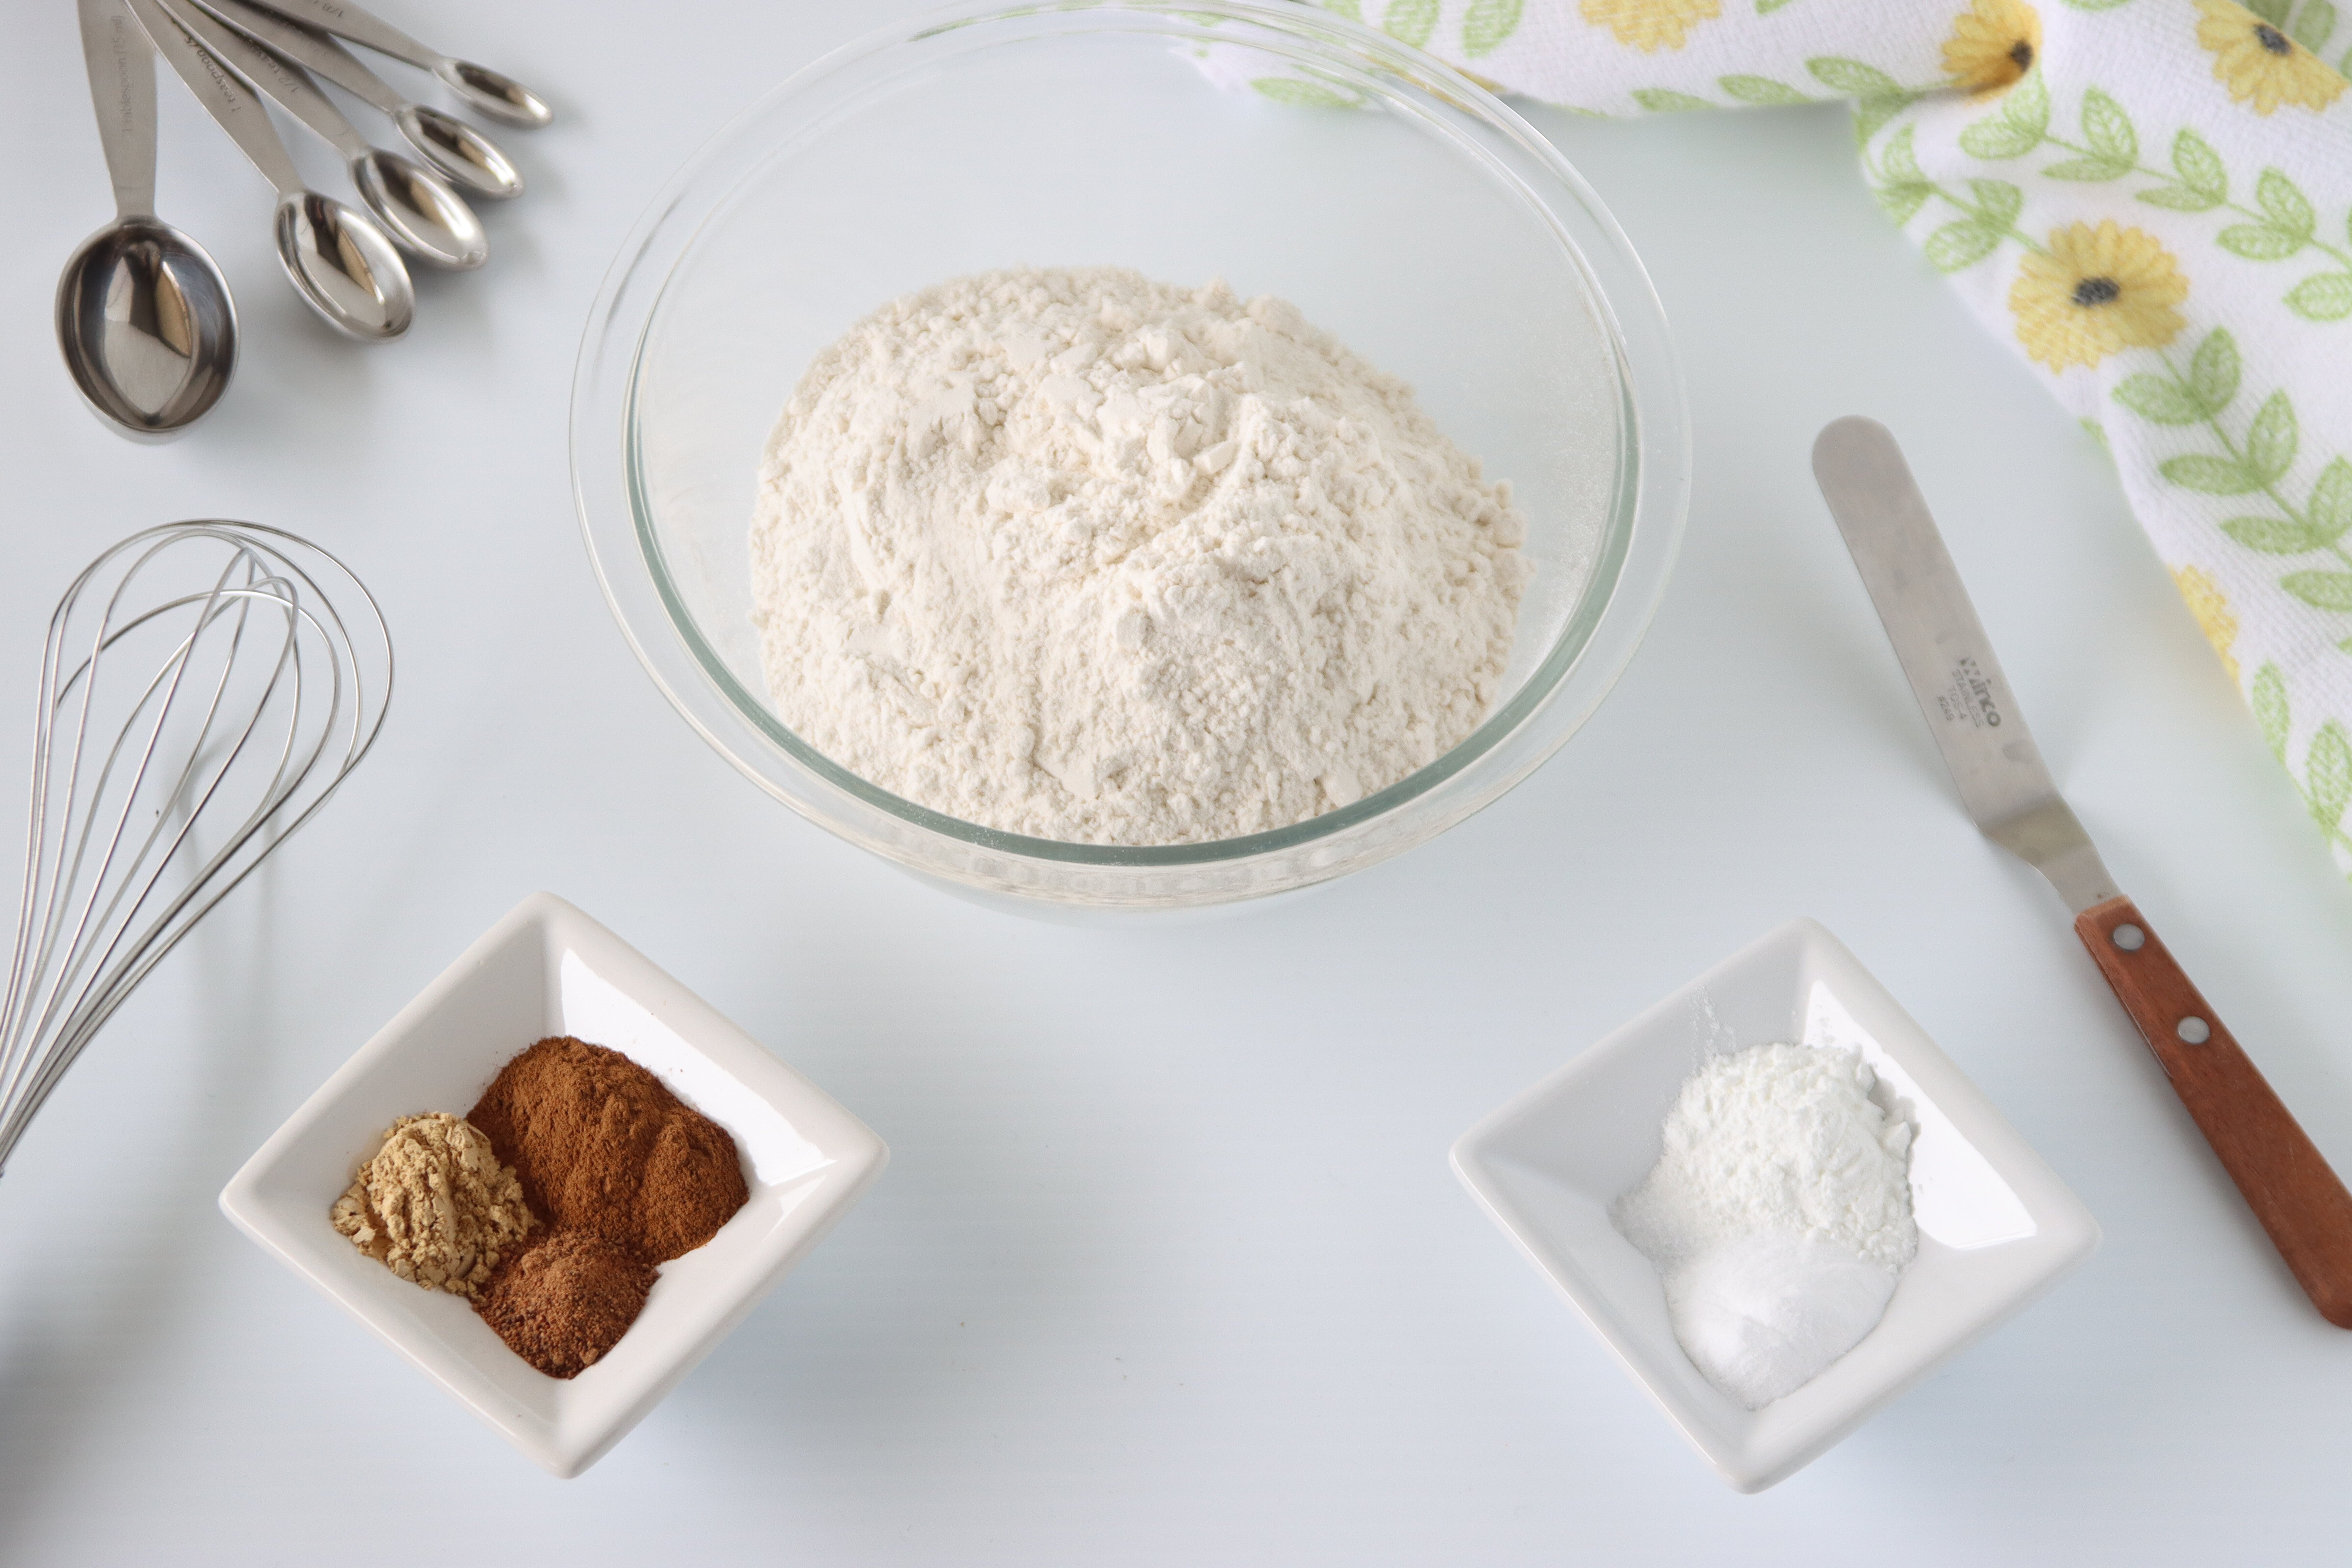
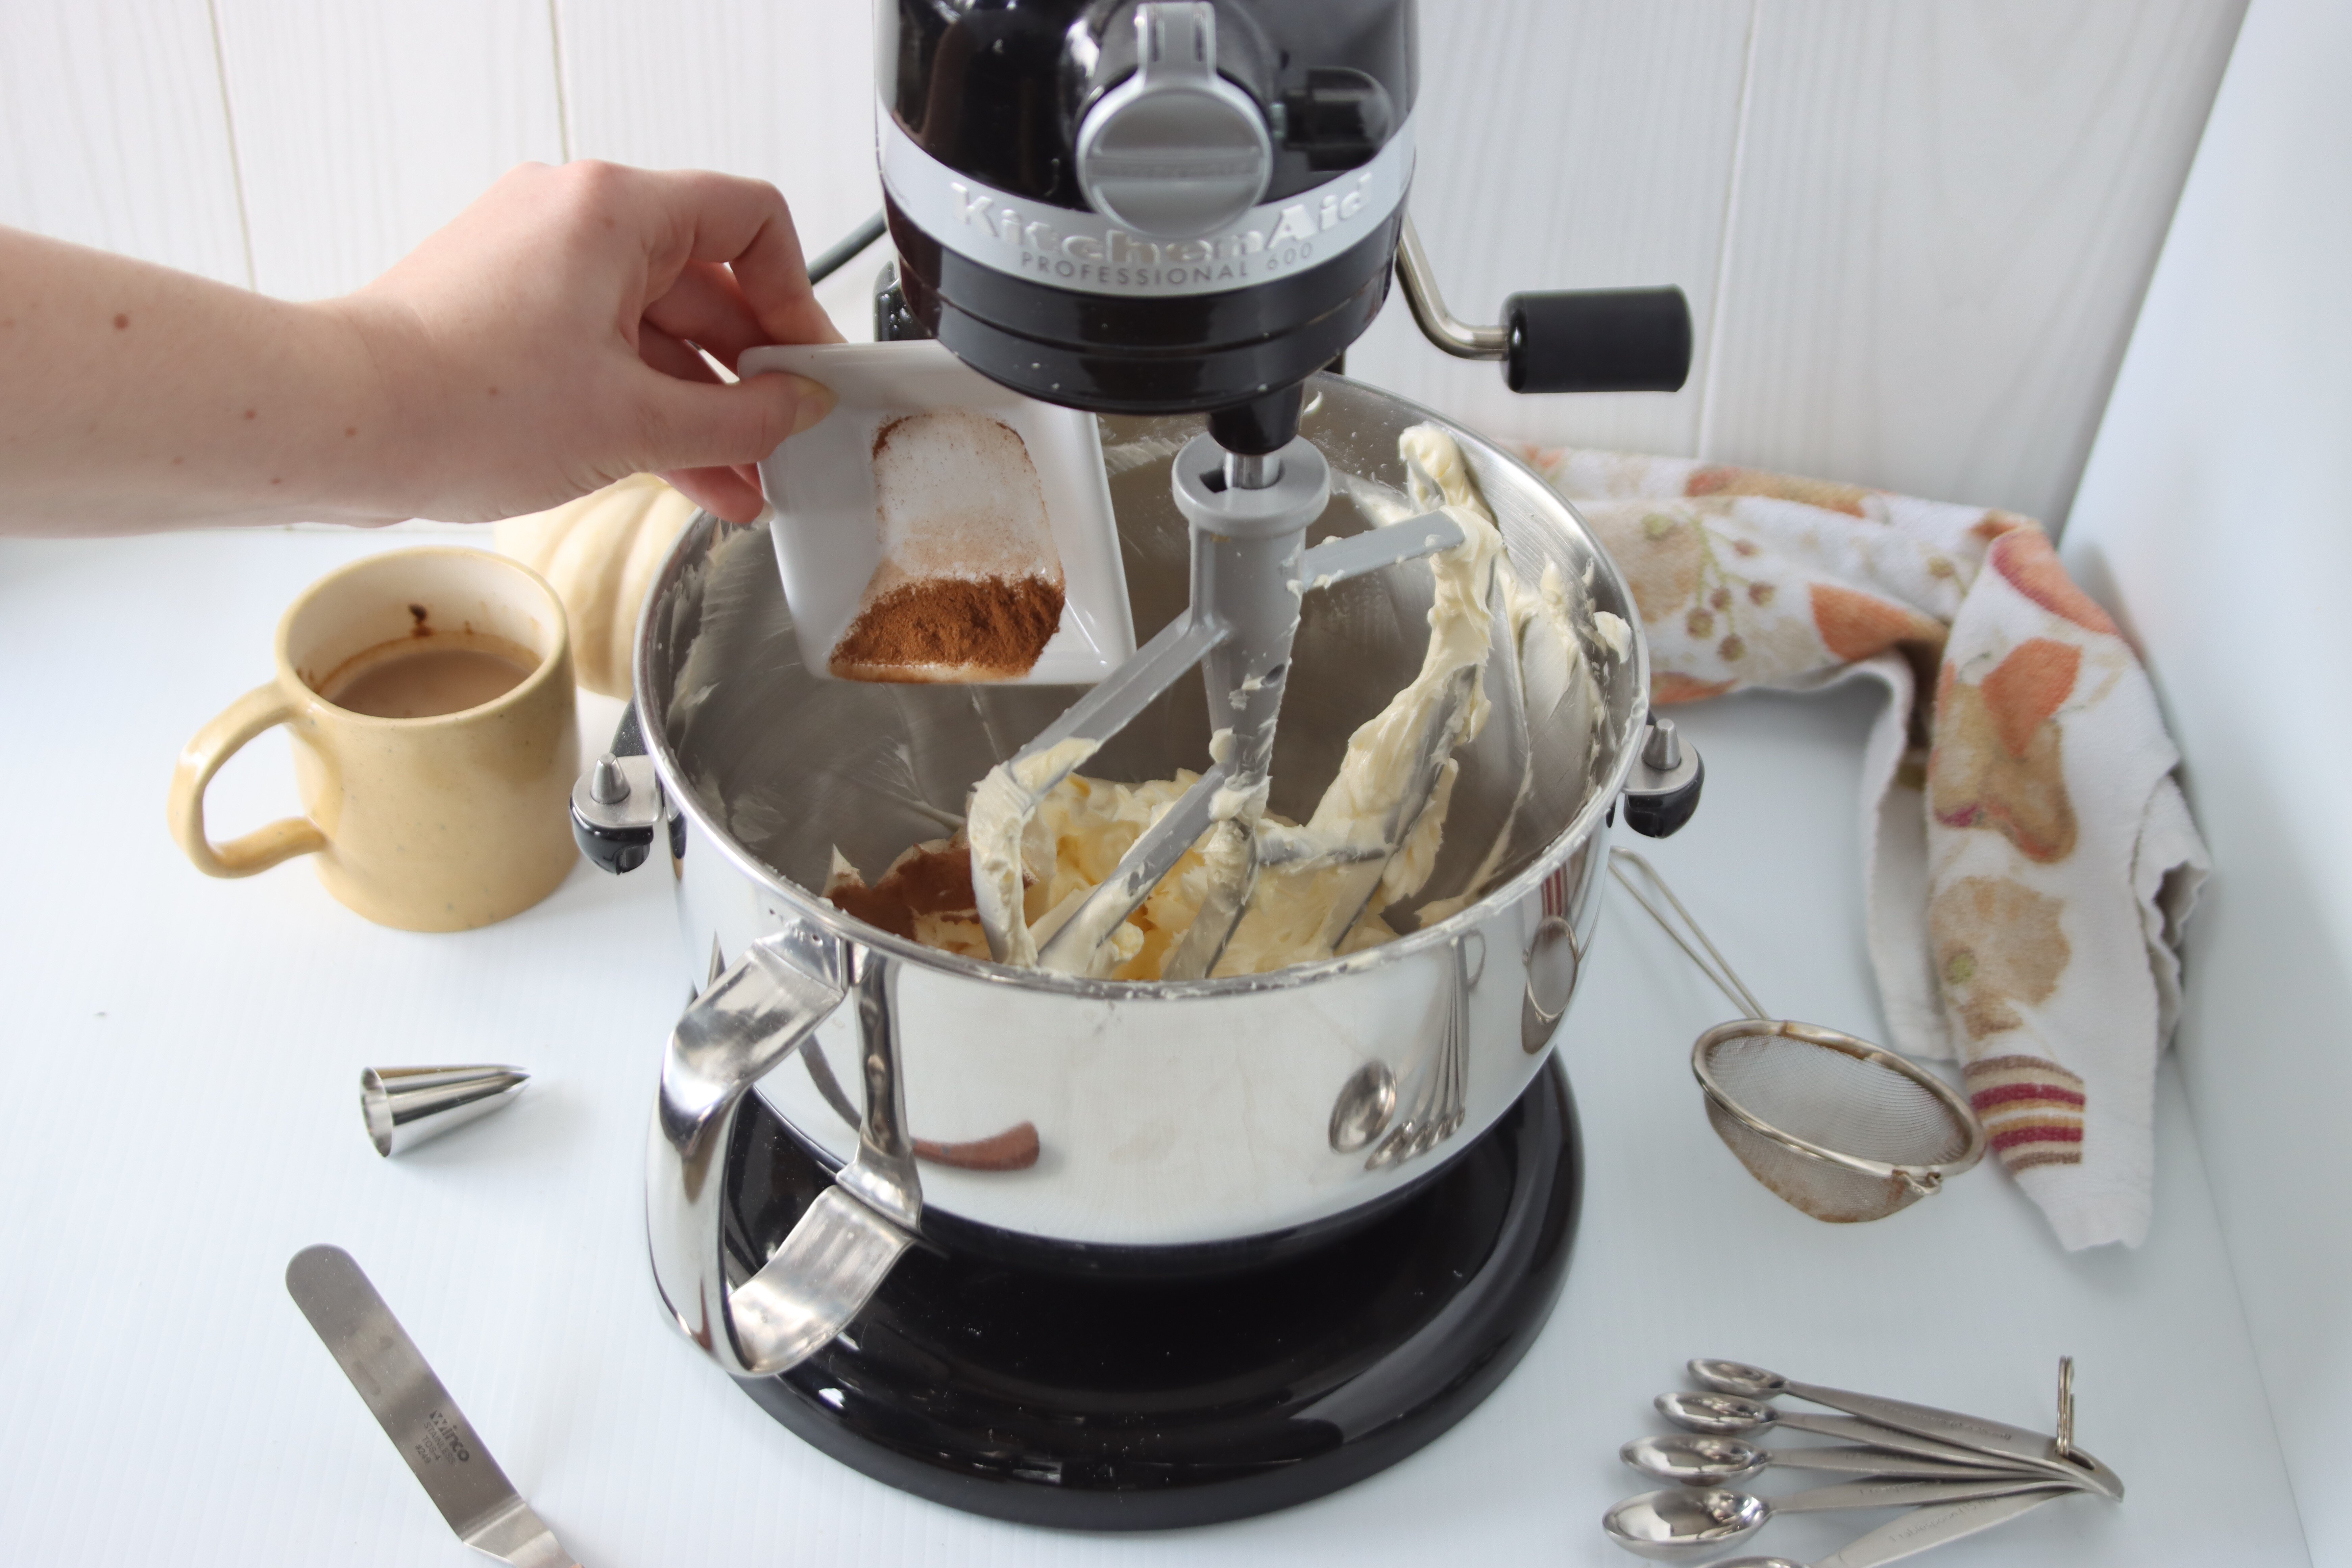
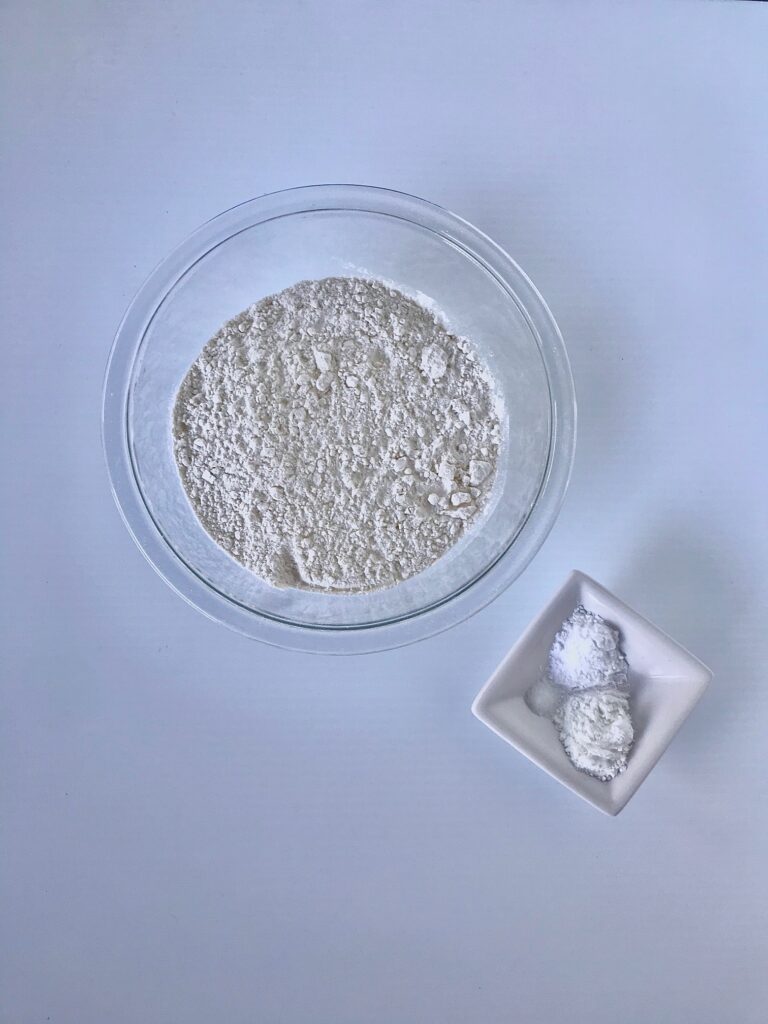
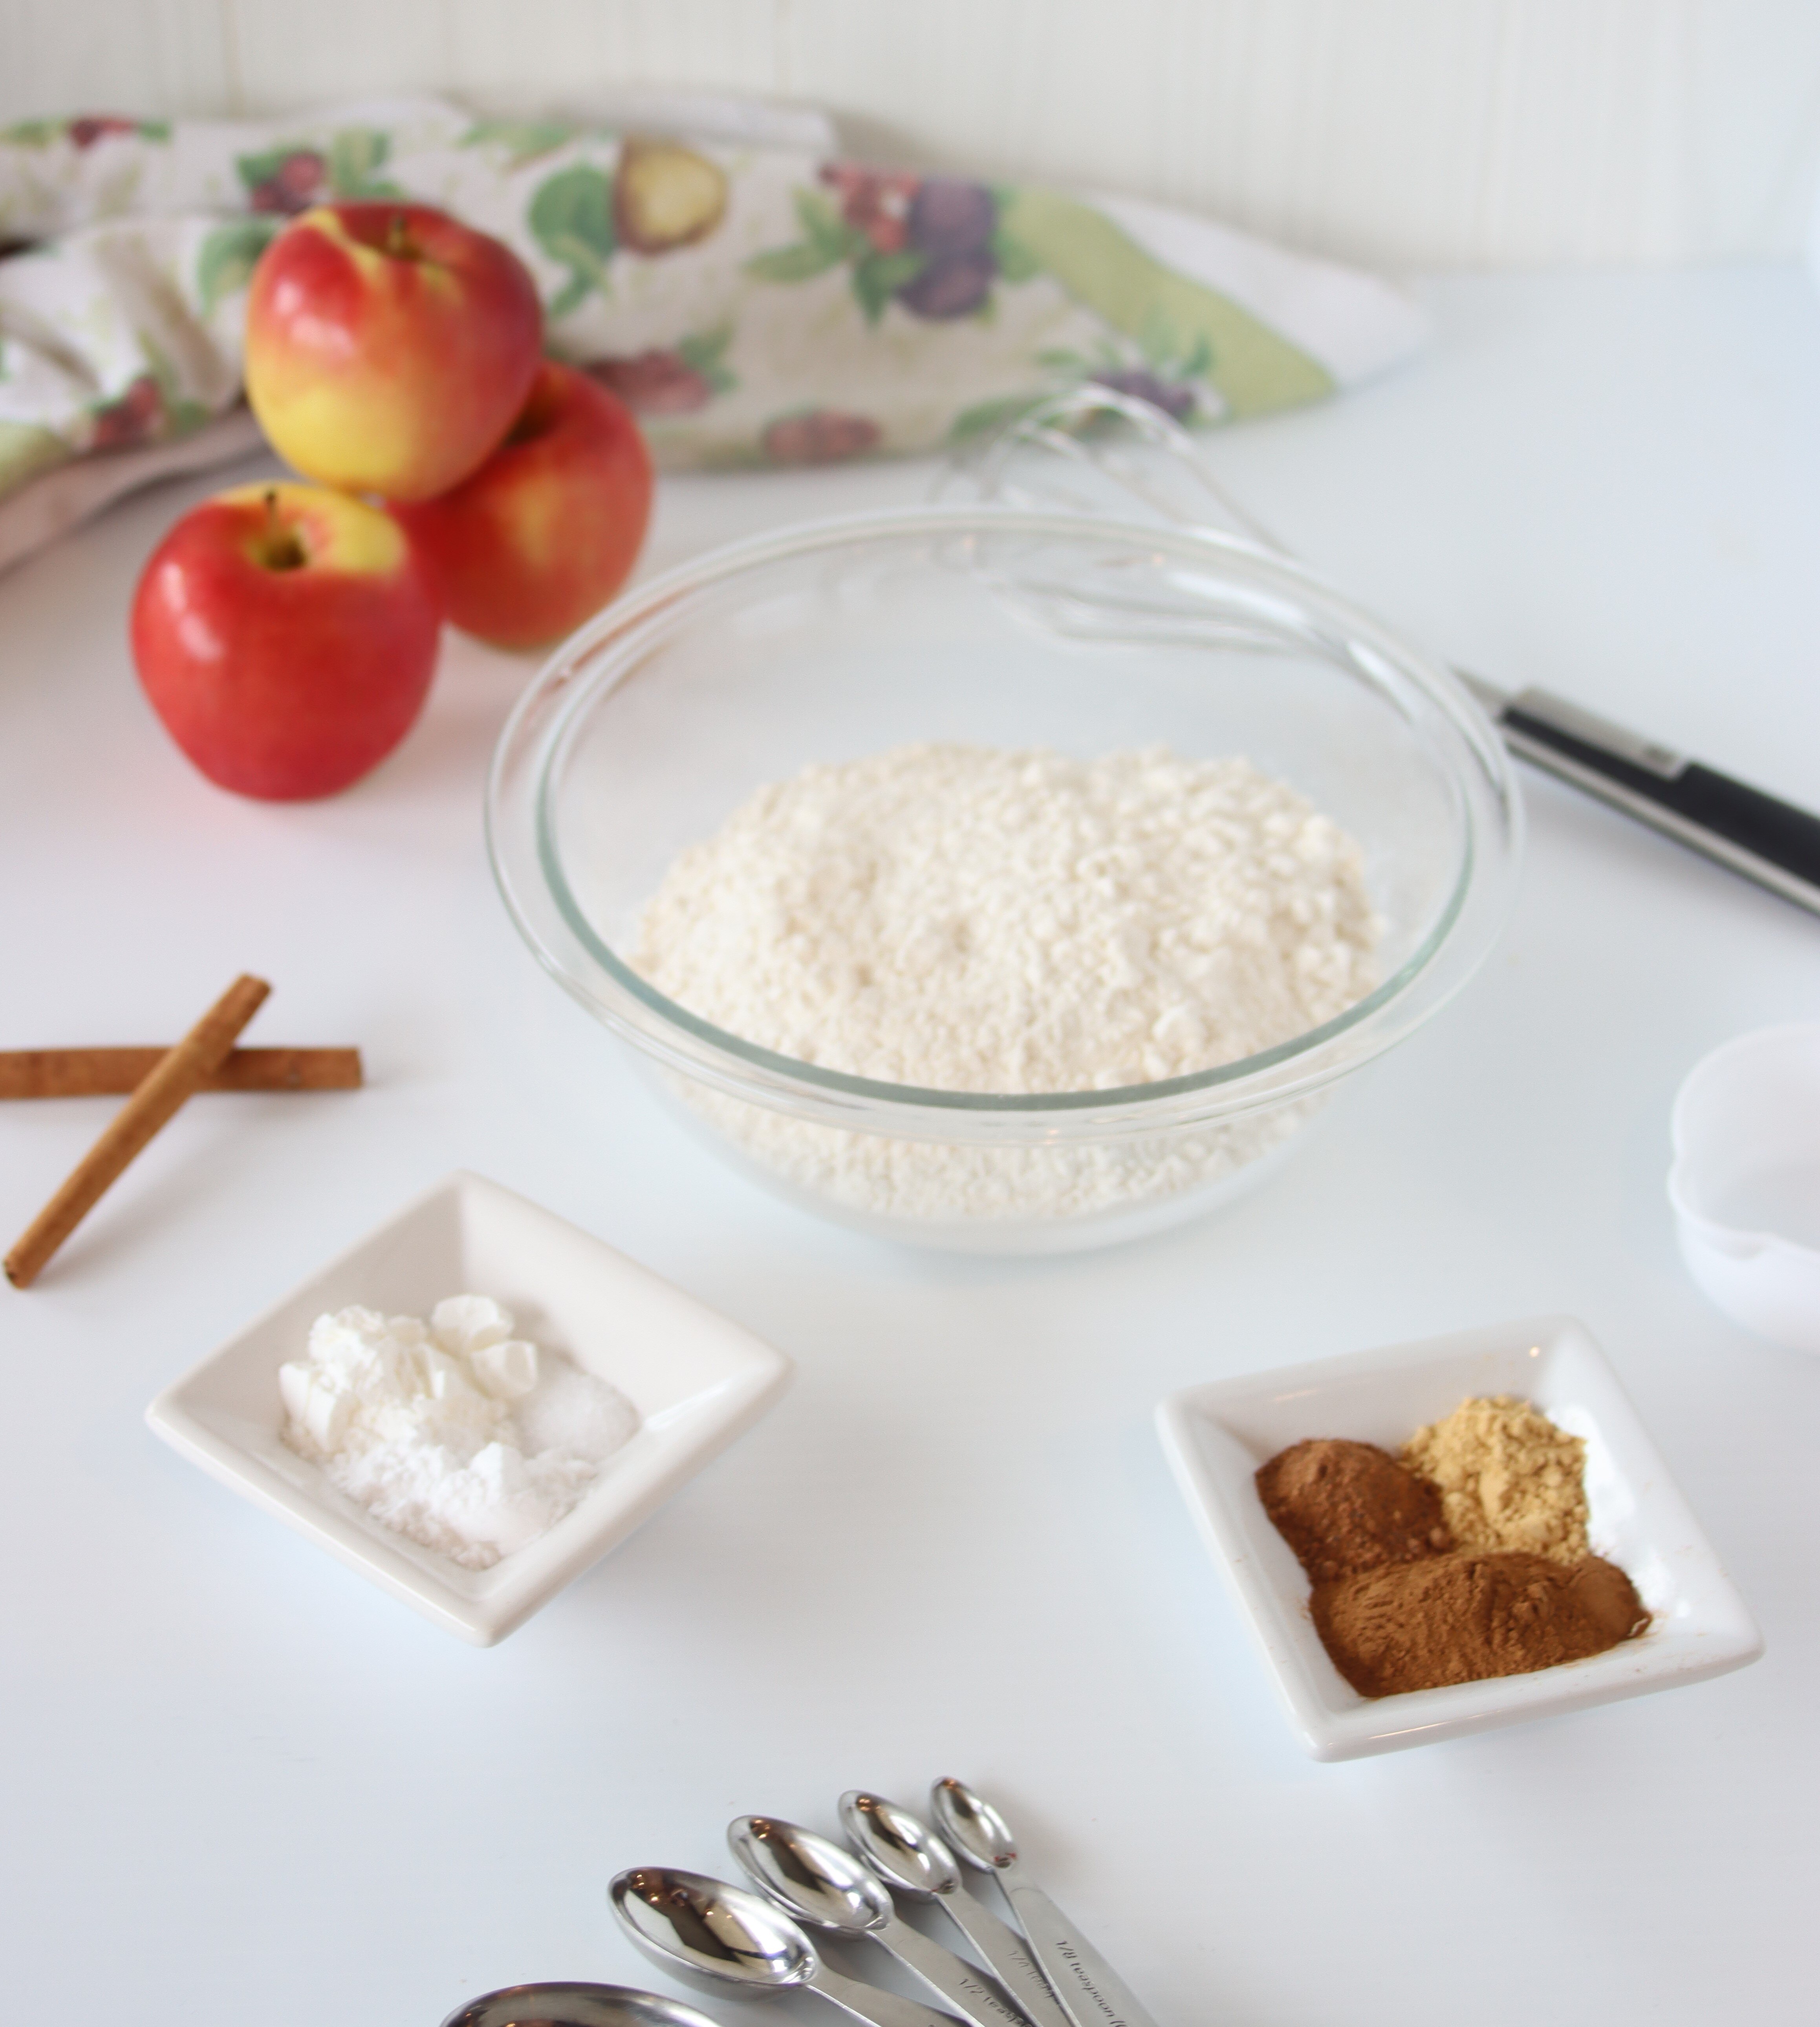
The dry ingredients for the cake are crucial for the structure. They include flour and leavening agents such as baking powder and baking soda. To add great flavour, there’s also some warm spices that complement the carrot flavour perfectly: cinnamon, nutmeg and ginger.
Wet Ingredients
To give the cake a richer, but not overly rich since there’s already sour cream, this recipe uses both milk and water to thin the batter. And, as always, vanilla extract. I’d say it’s the most common use of the teaspoon measuring spoon, but does anyone really measure vanilla? I know I don’t!
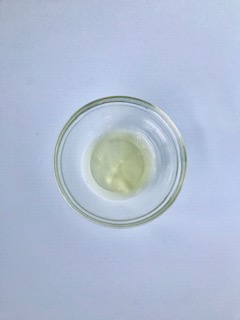
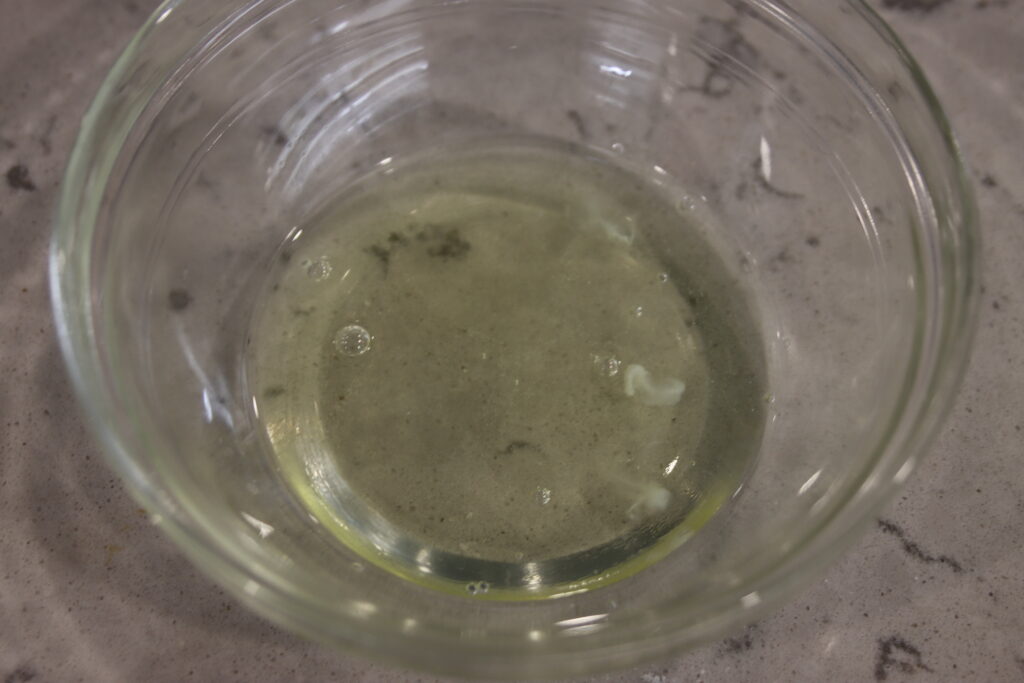
Egg Whites: Stiff Peaks
One of the last steps before we’re able to put together and finish off our batter is to deal with the egg whites we left out in the first step. We will be whipping them to stiff peaks to get as much air in them as possible, which helps the cake rise even more.
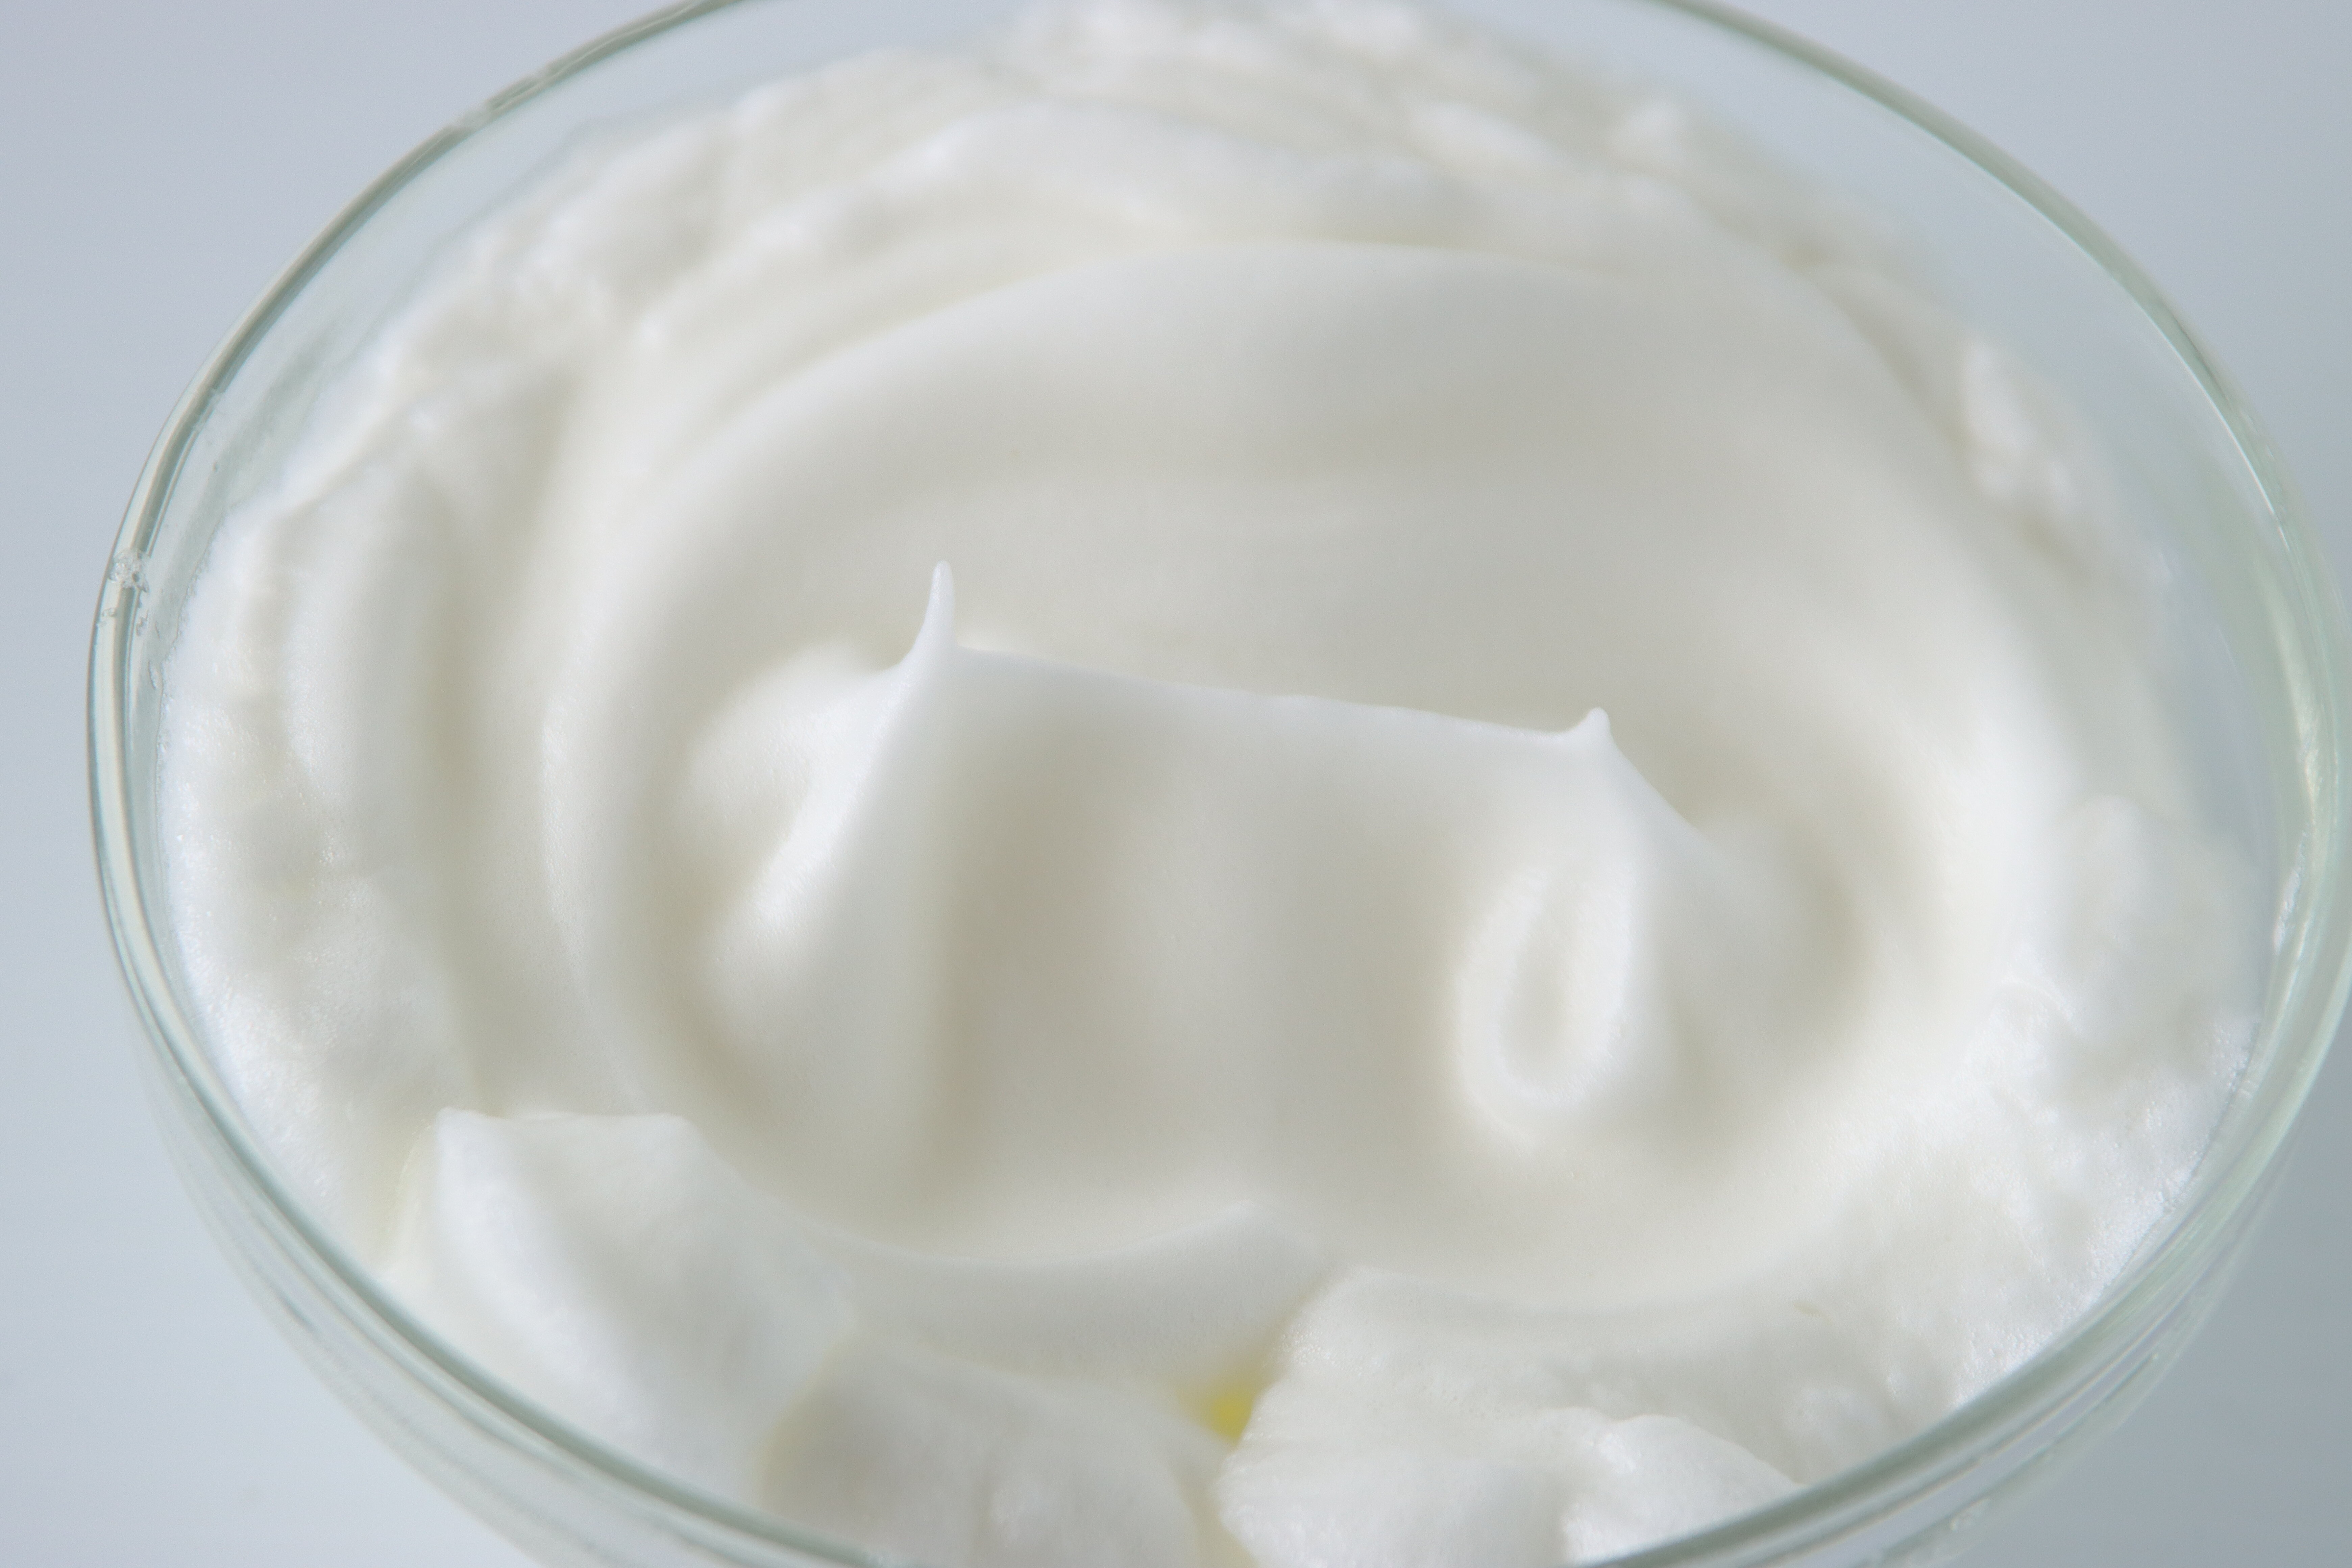
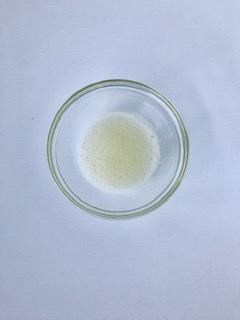
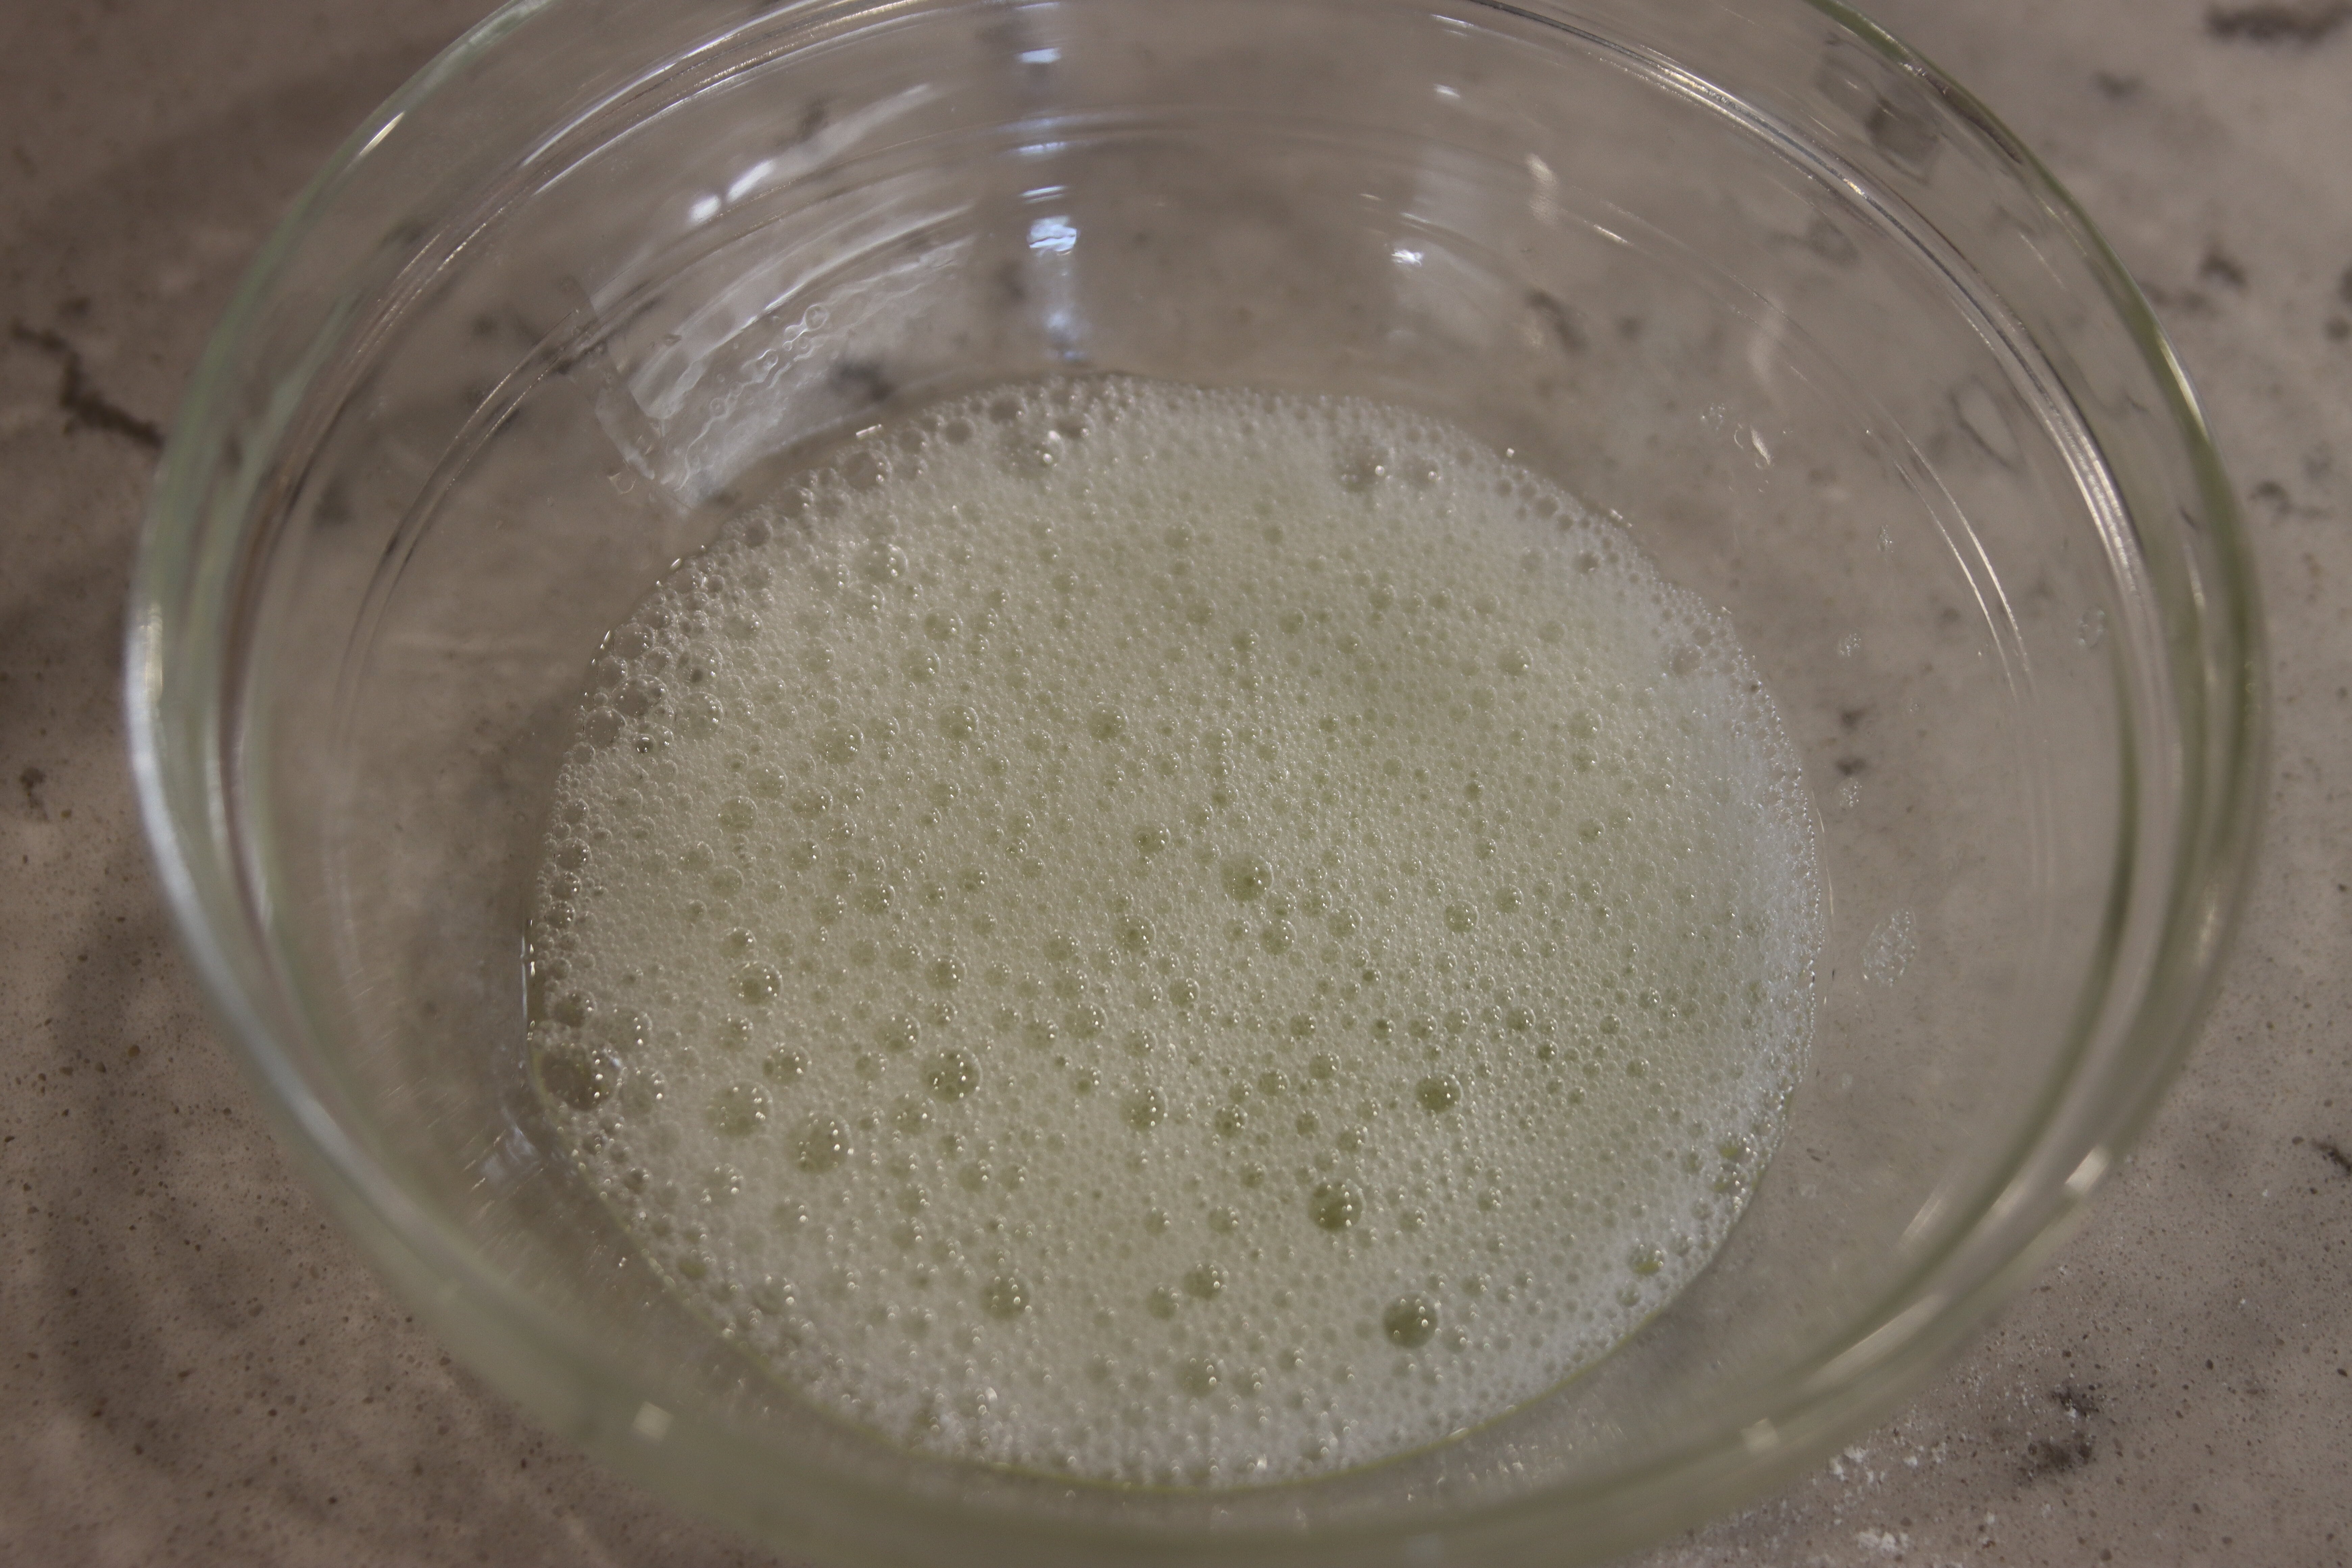
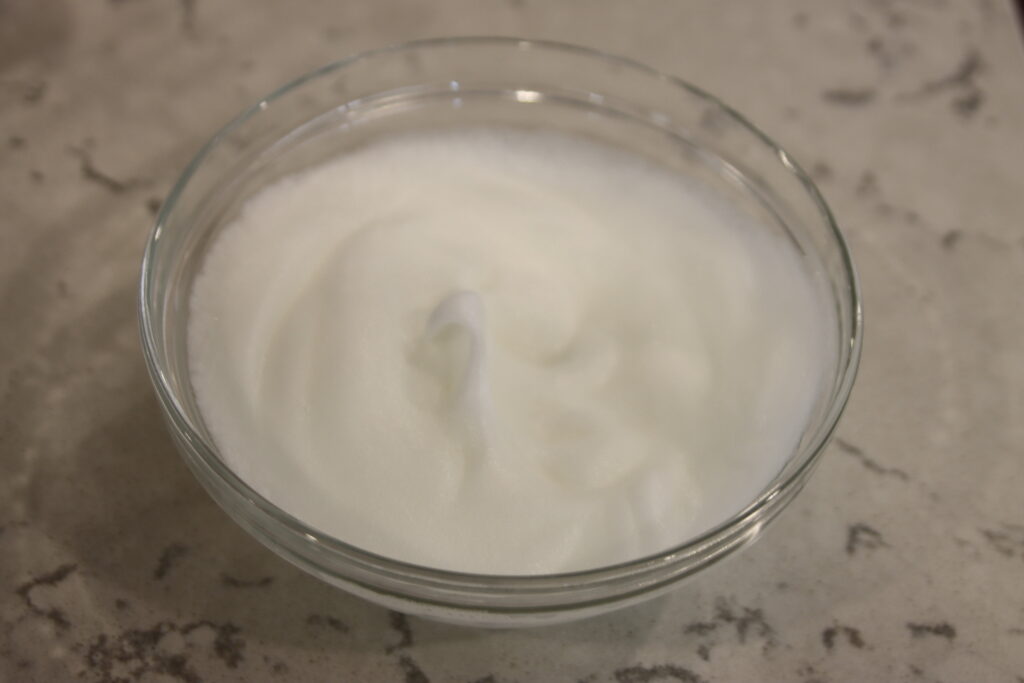
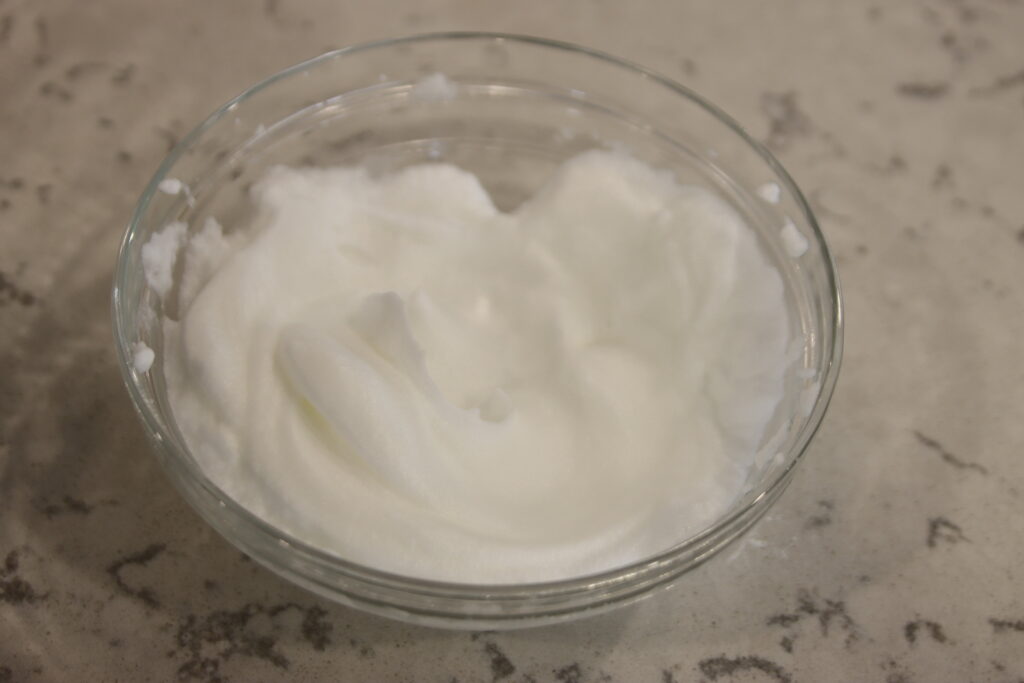
To do this, get out your trusty mixer (I recommend a hand mixer since most stand mixers are too big for only 2 egg whites), and start whipping the whites. It will begin by getting bubbly and foamy, then the clearness of the whites will disappear and be replaced by a white fluffy cloud! When the cloud has streaks running through it, it’s getting near the peaks stage so this is when you need to test.

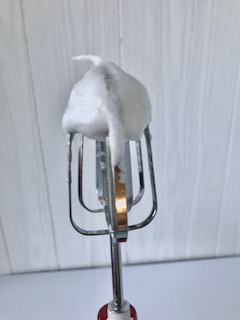
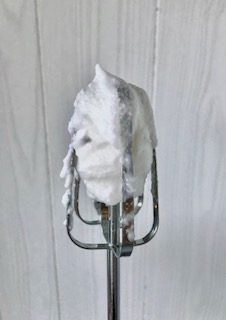
Lift your beater out and look at the tip that formed on the end of the beater and in the bowl. If they are standing mostly straight up without curling or bending much when the beater is flipped upside down, you’ve reached stiff peaks! If the peak is very droopy, you’ve only reached soft peaks. At the soft peaks stage, you need to keep beating for another minute or so, until the peaks are nice and stiff.
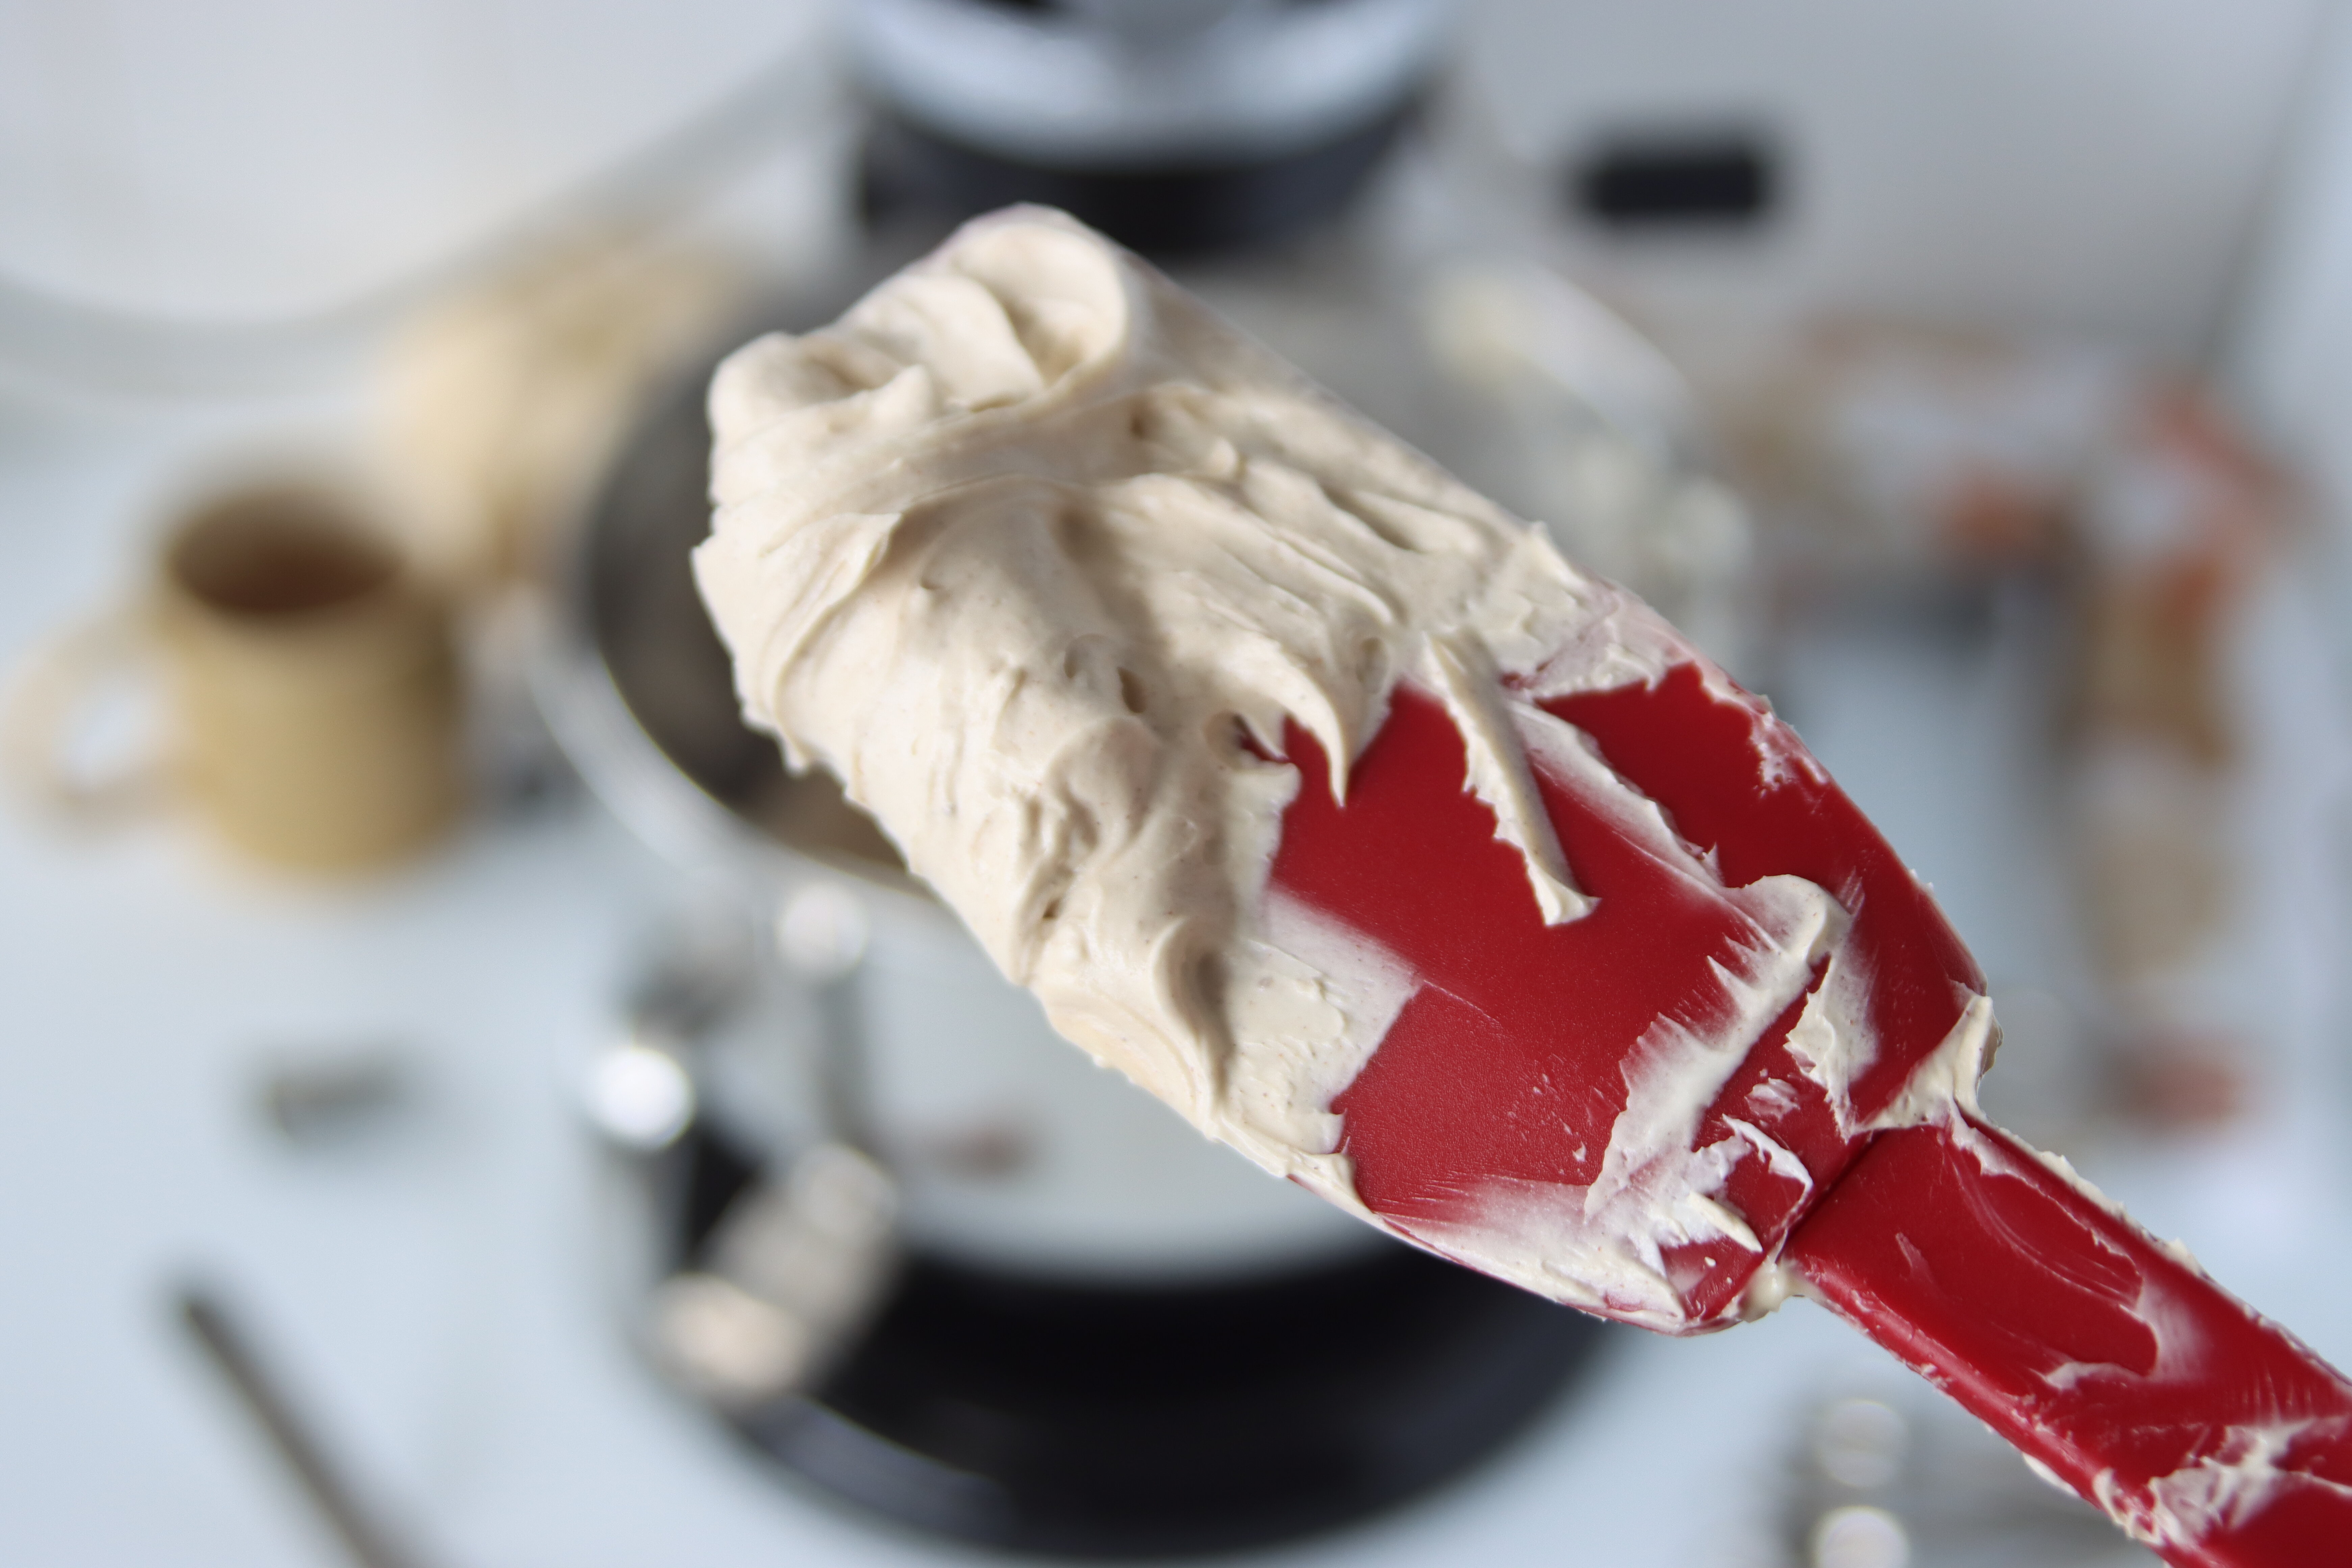
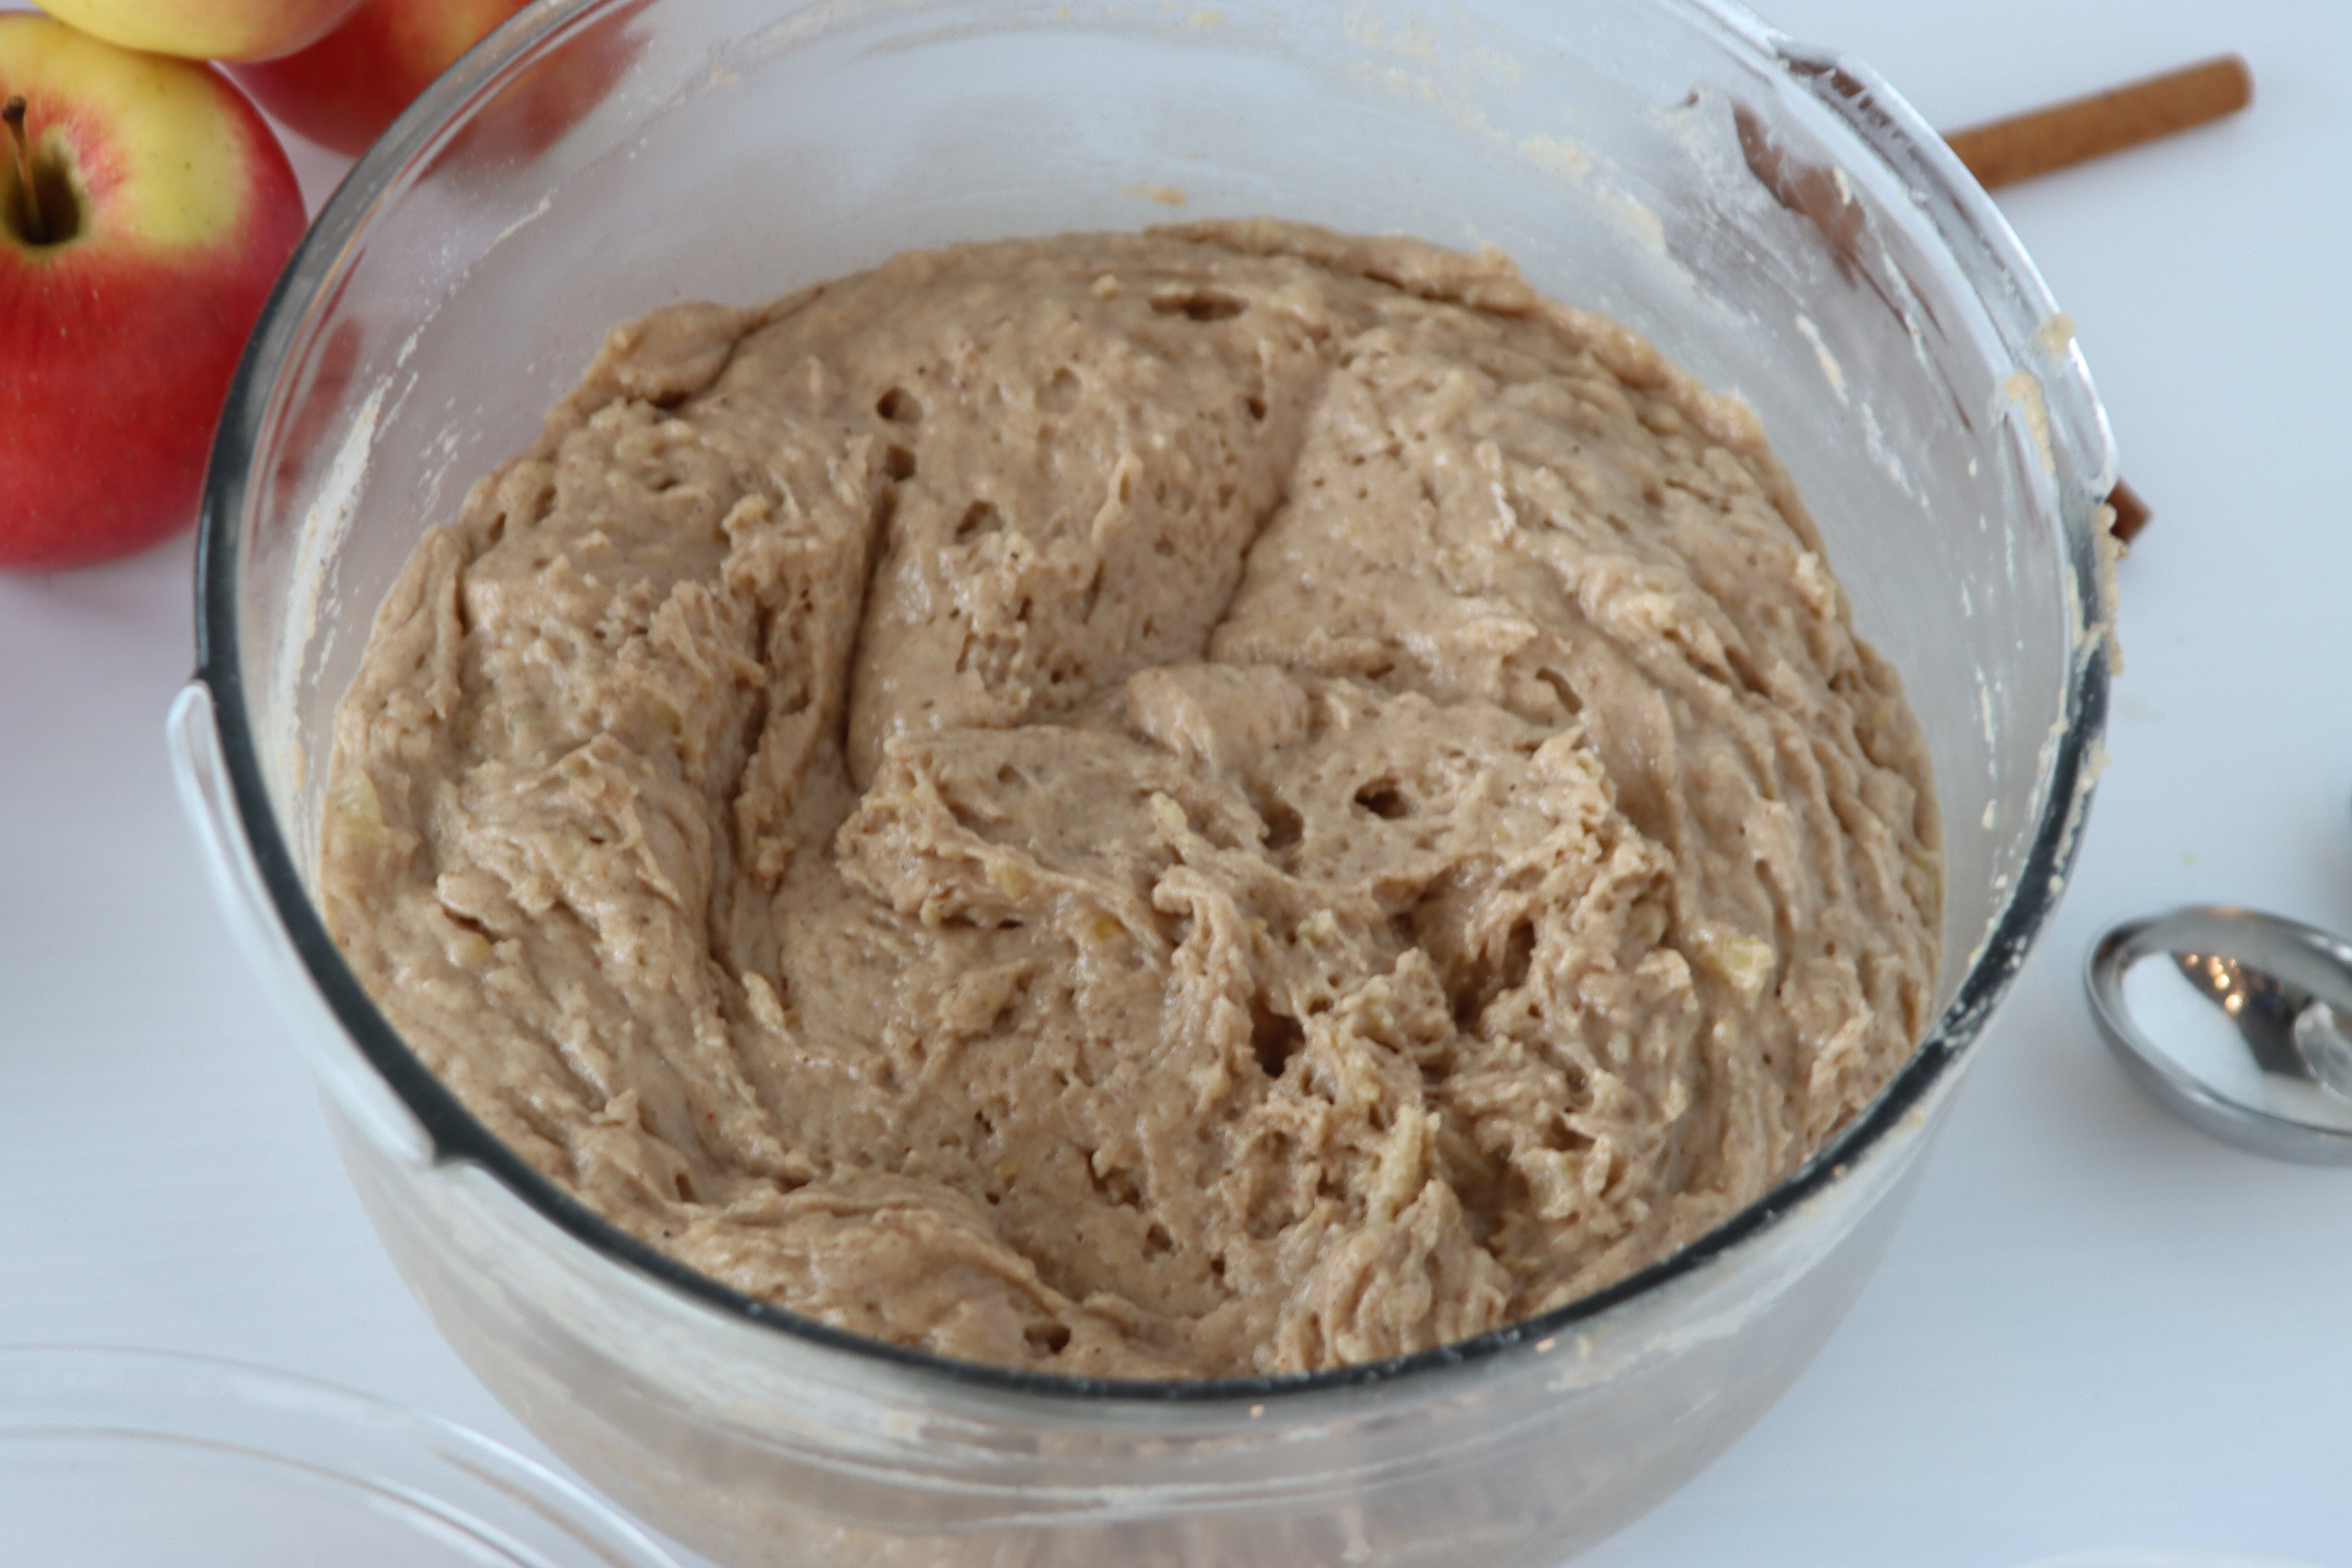
Mixing Together the Carrot Cake Batter
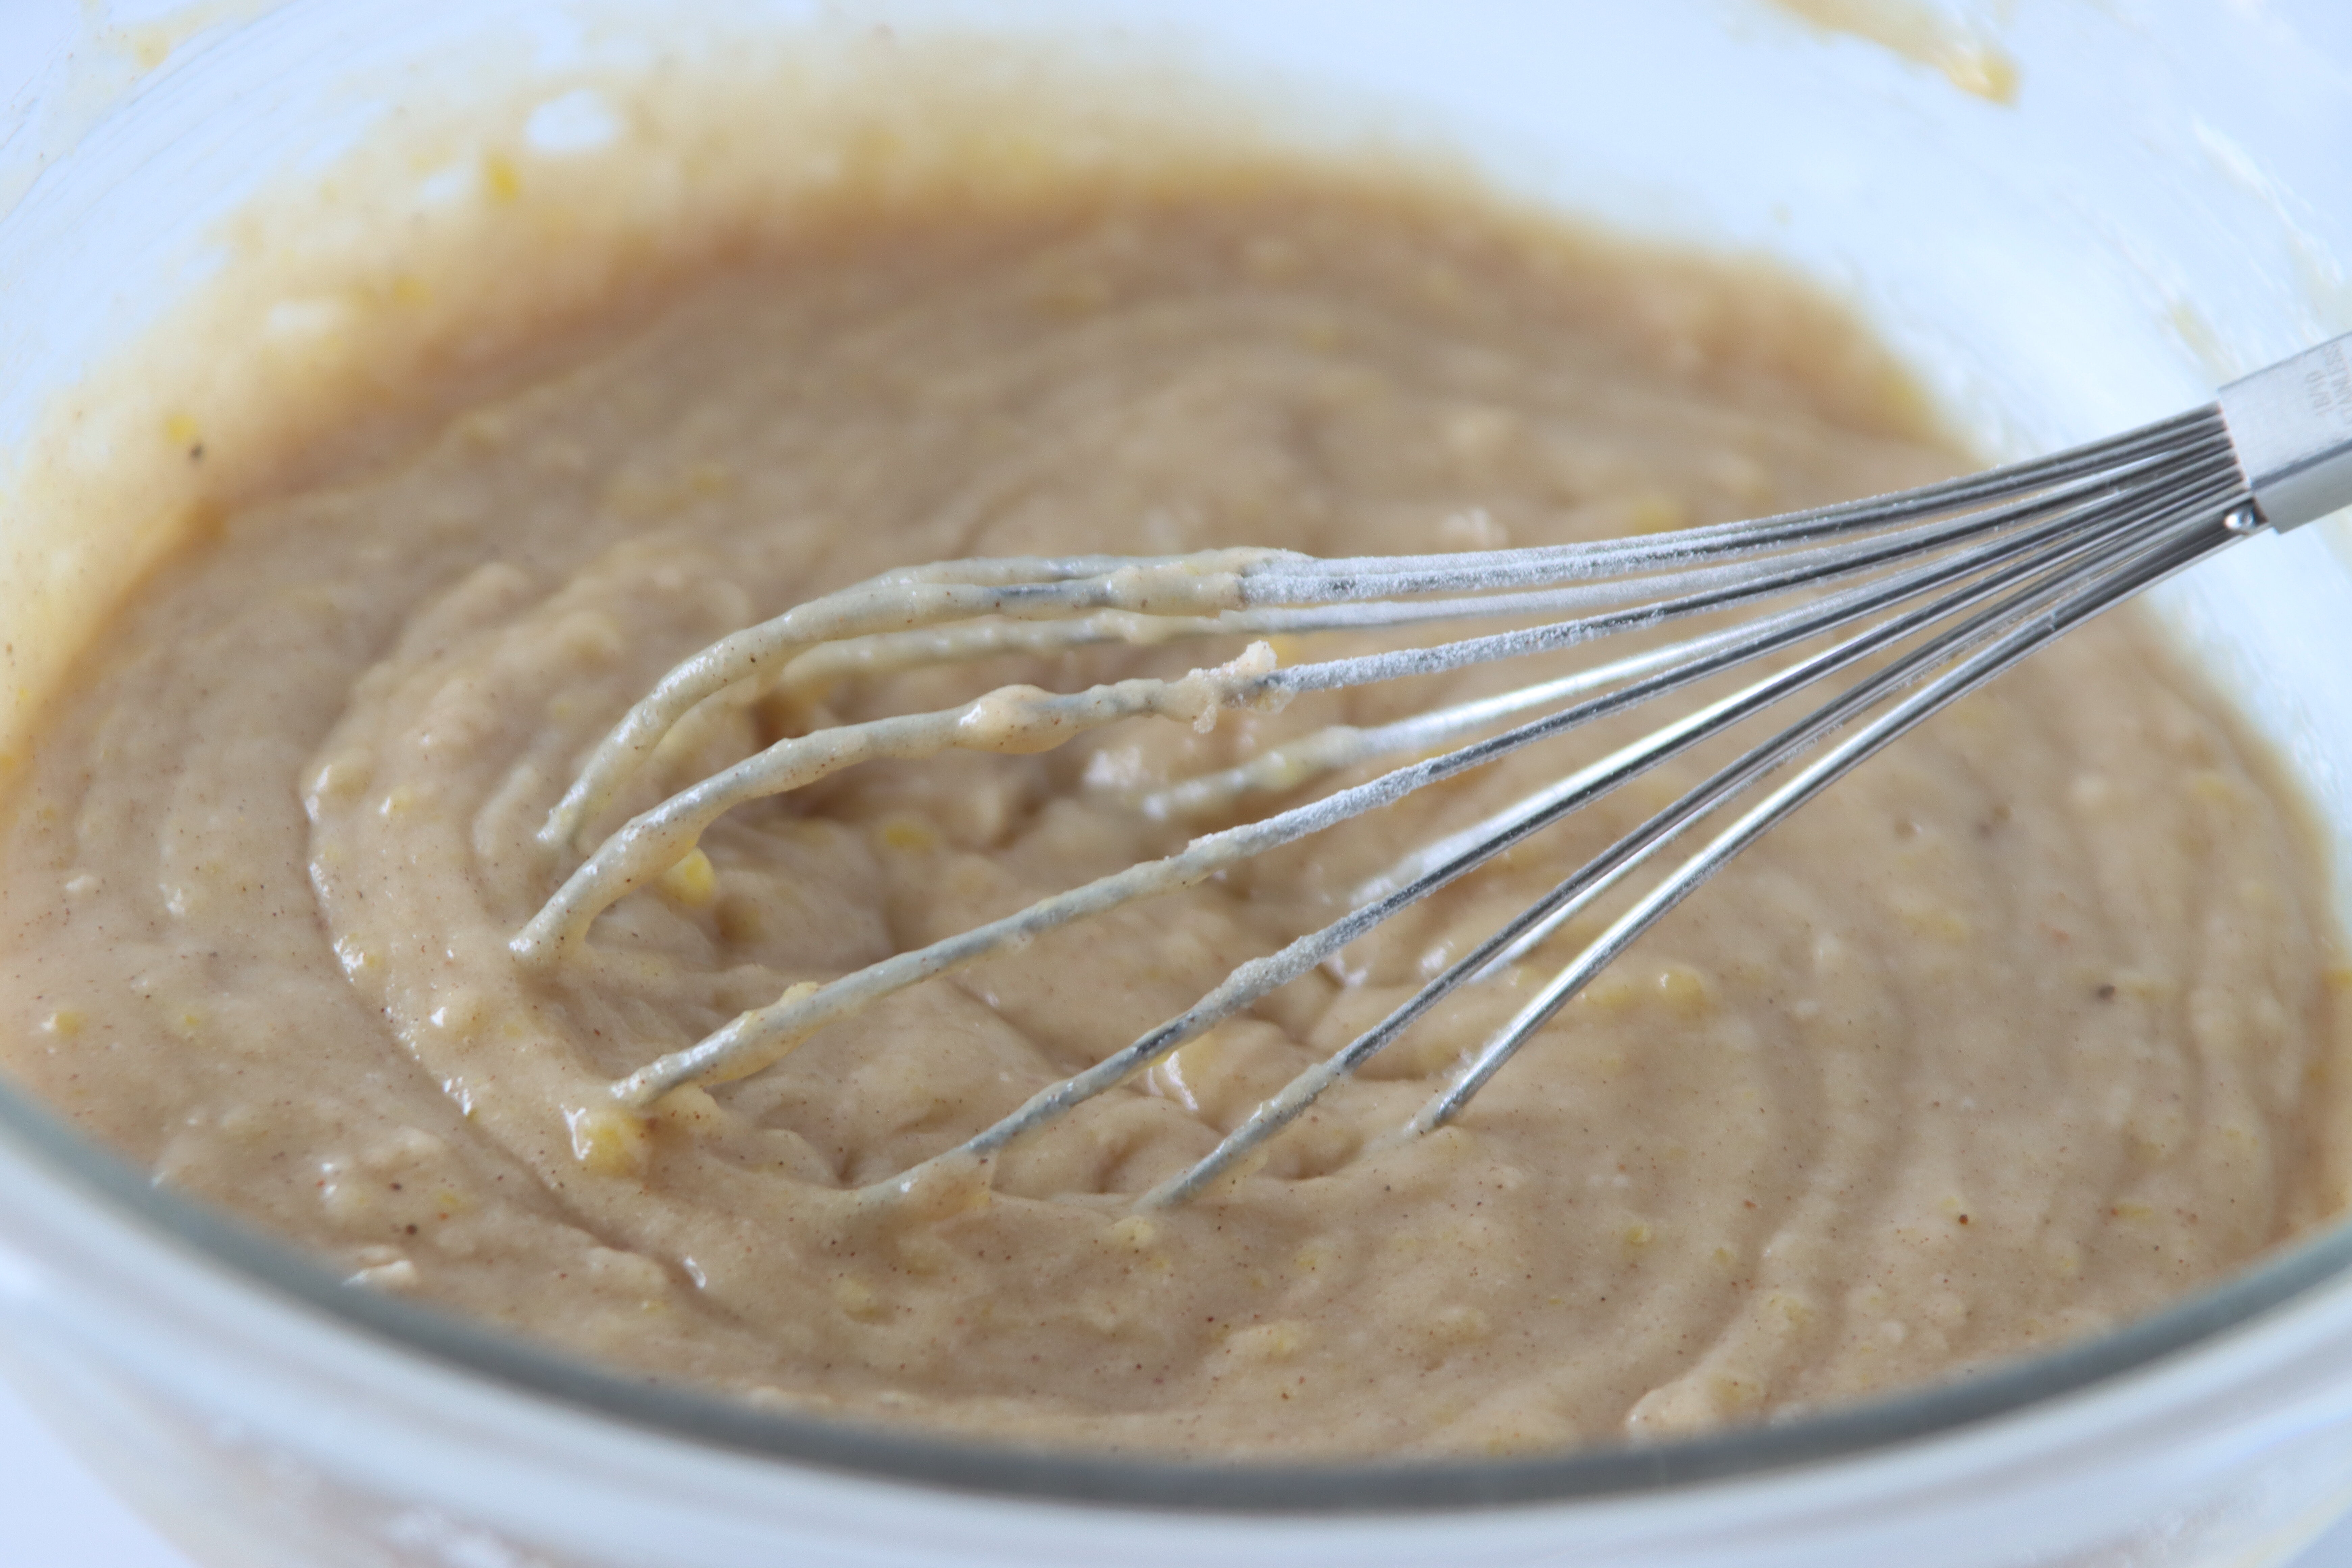
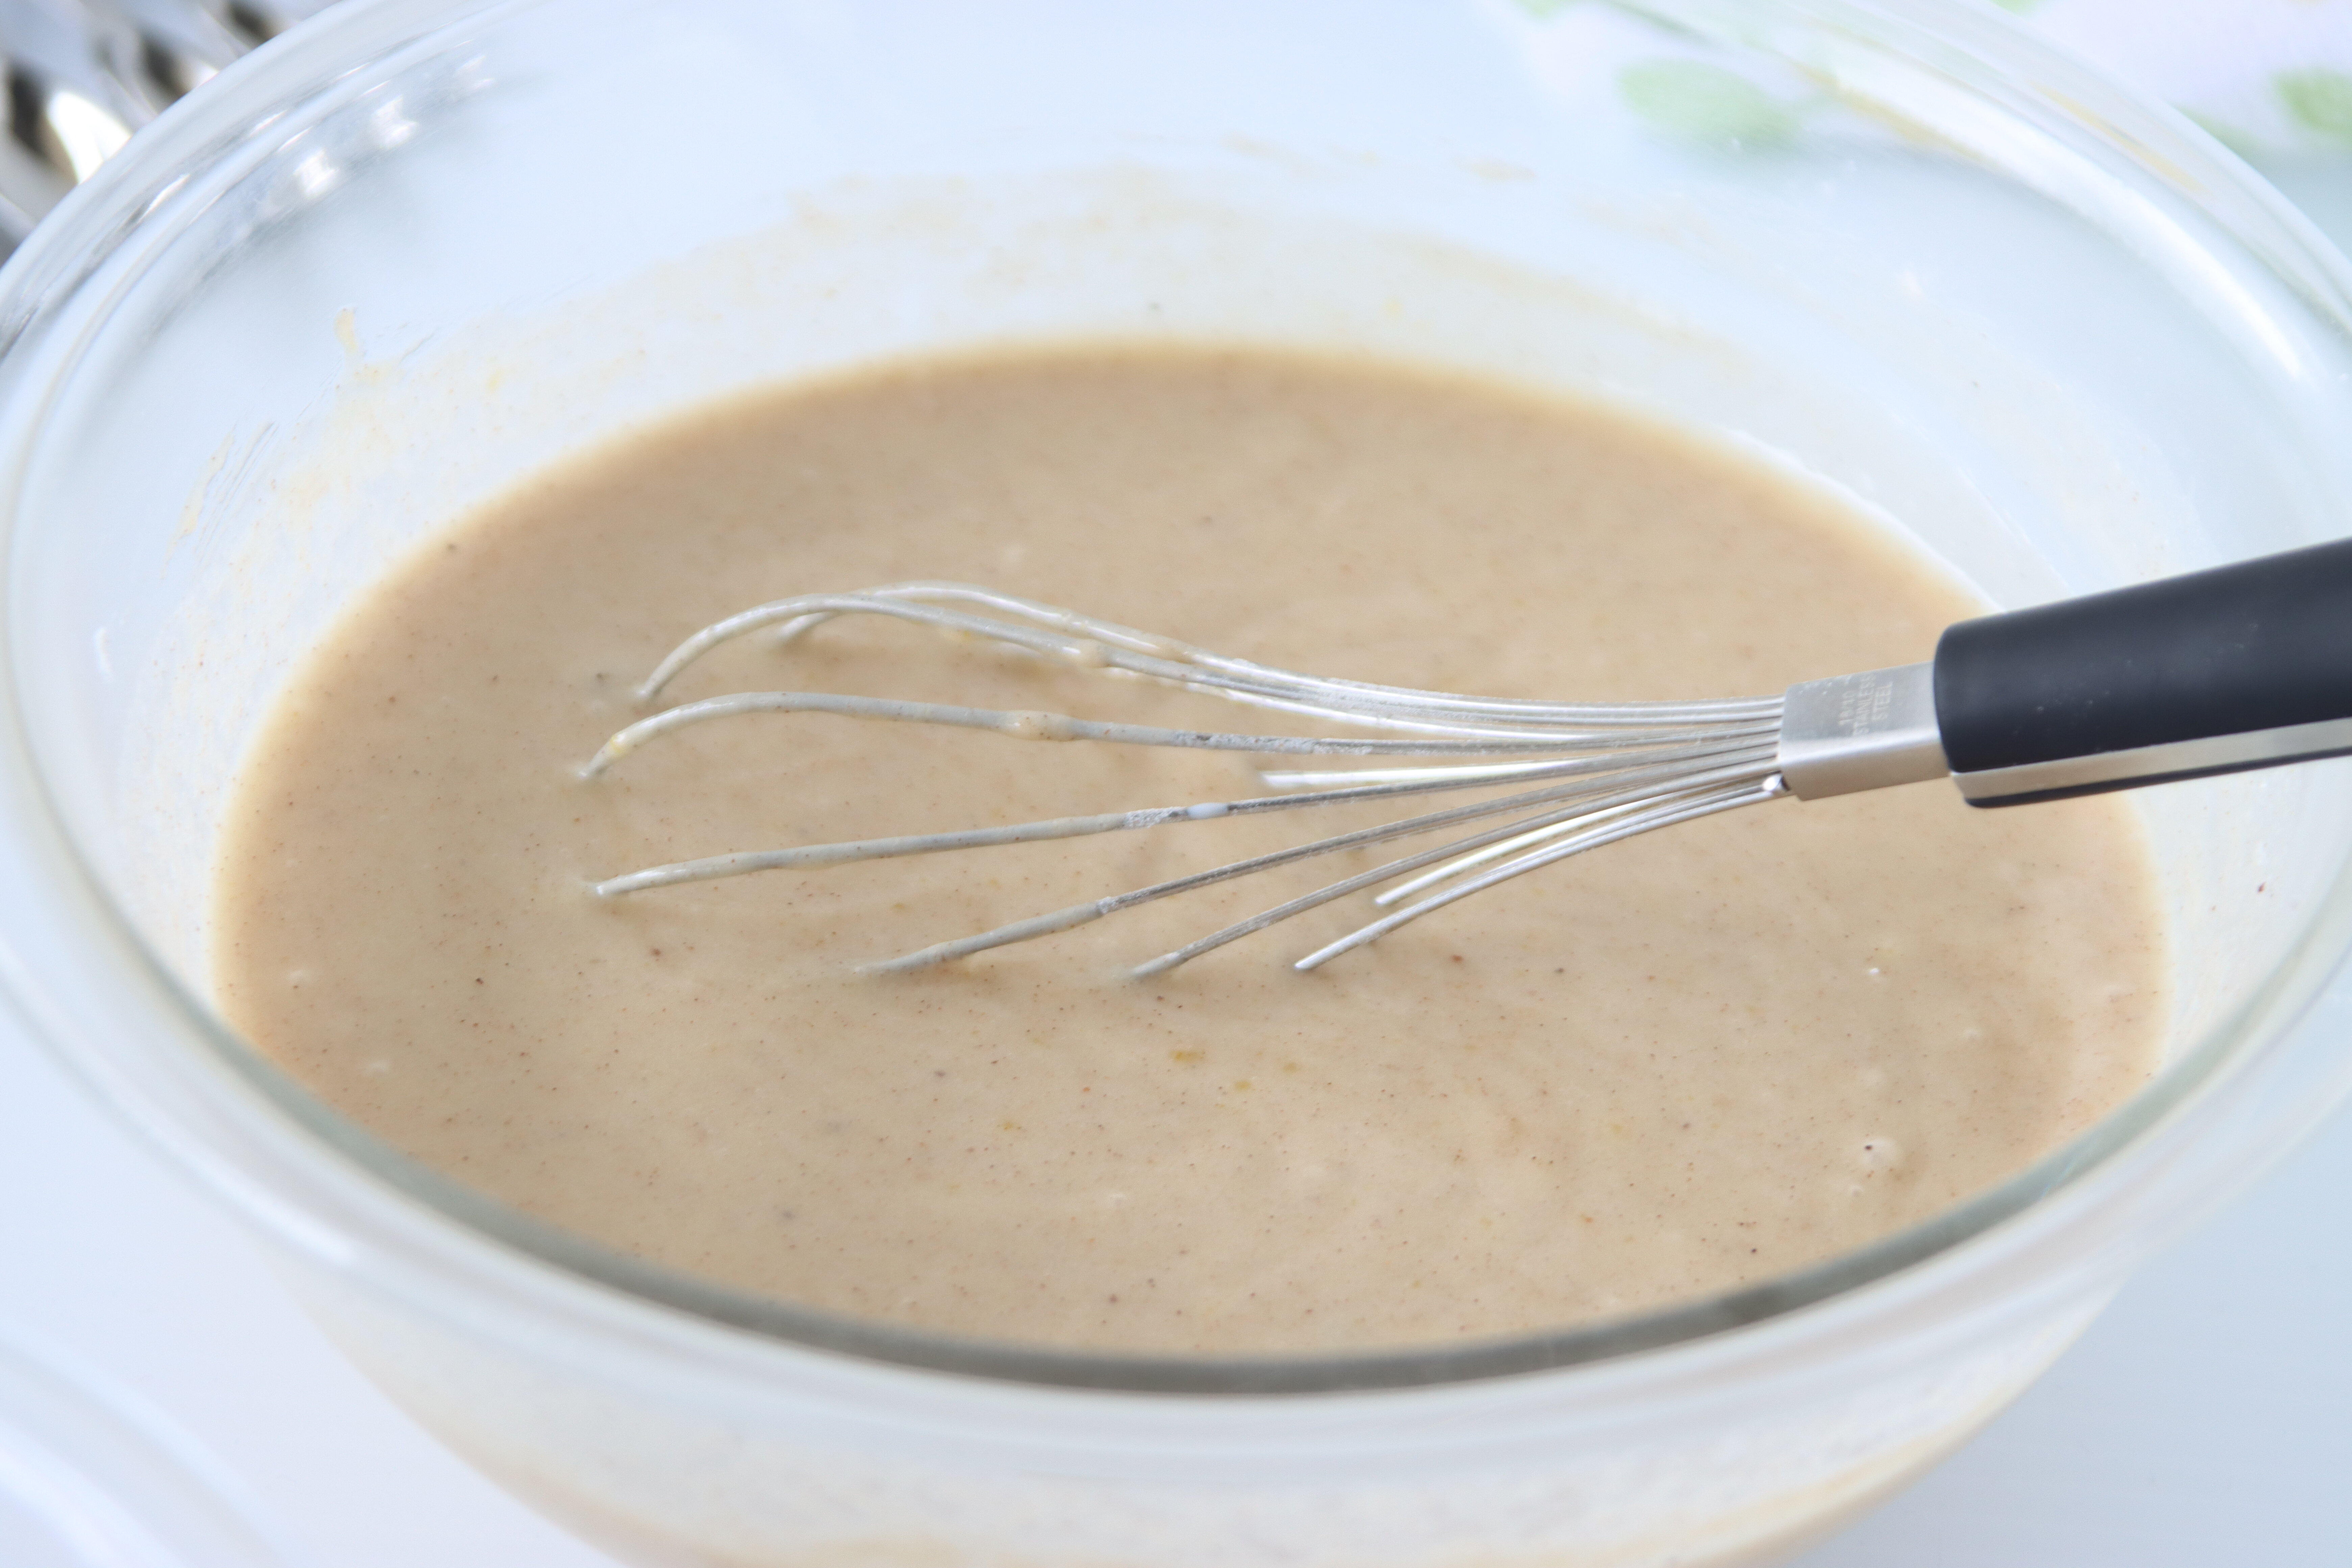
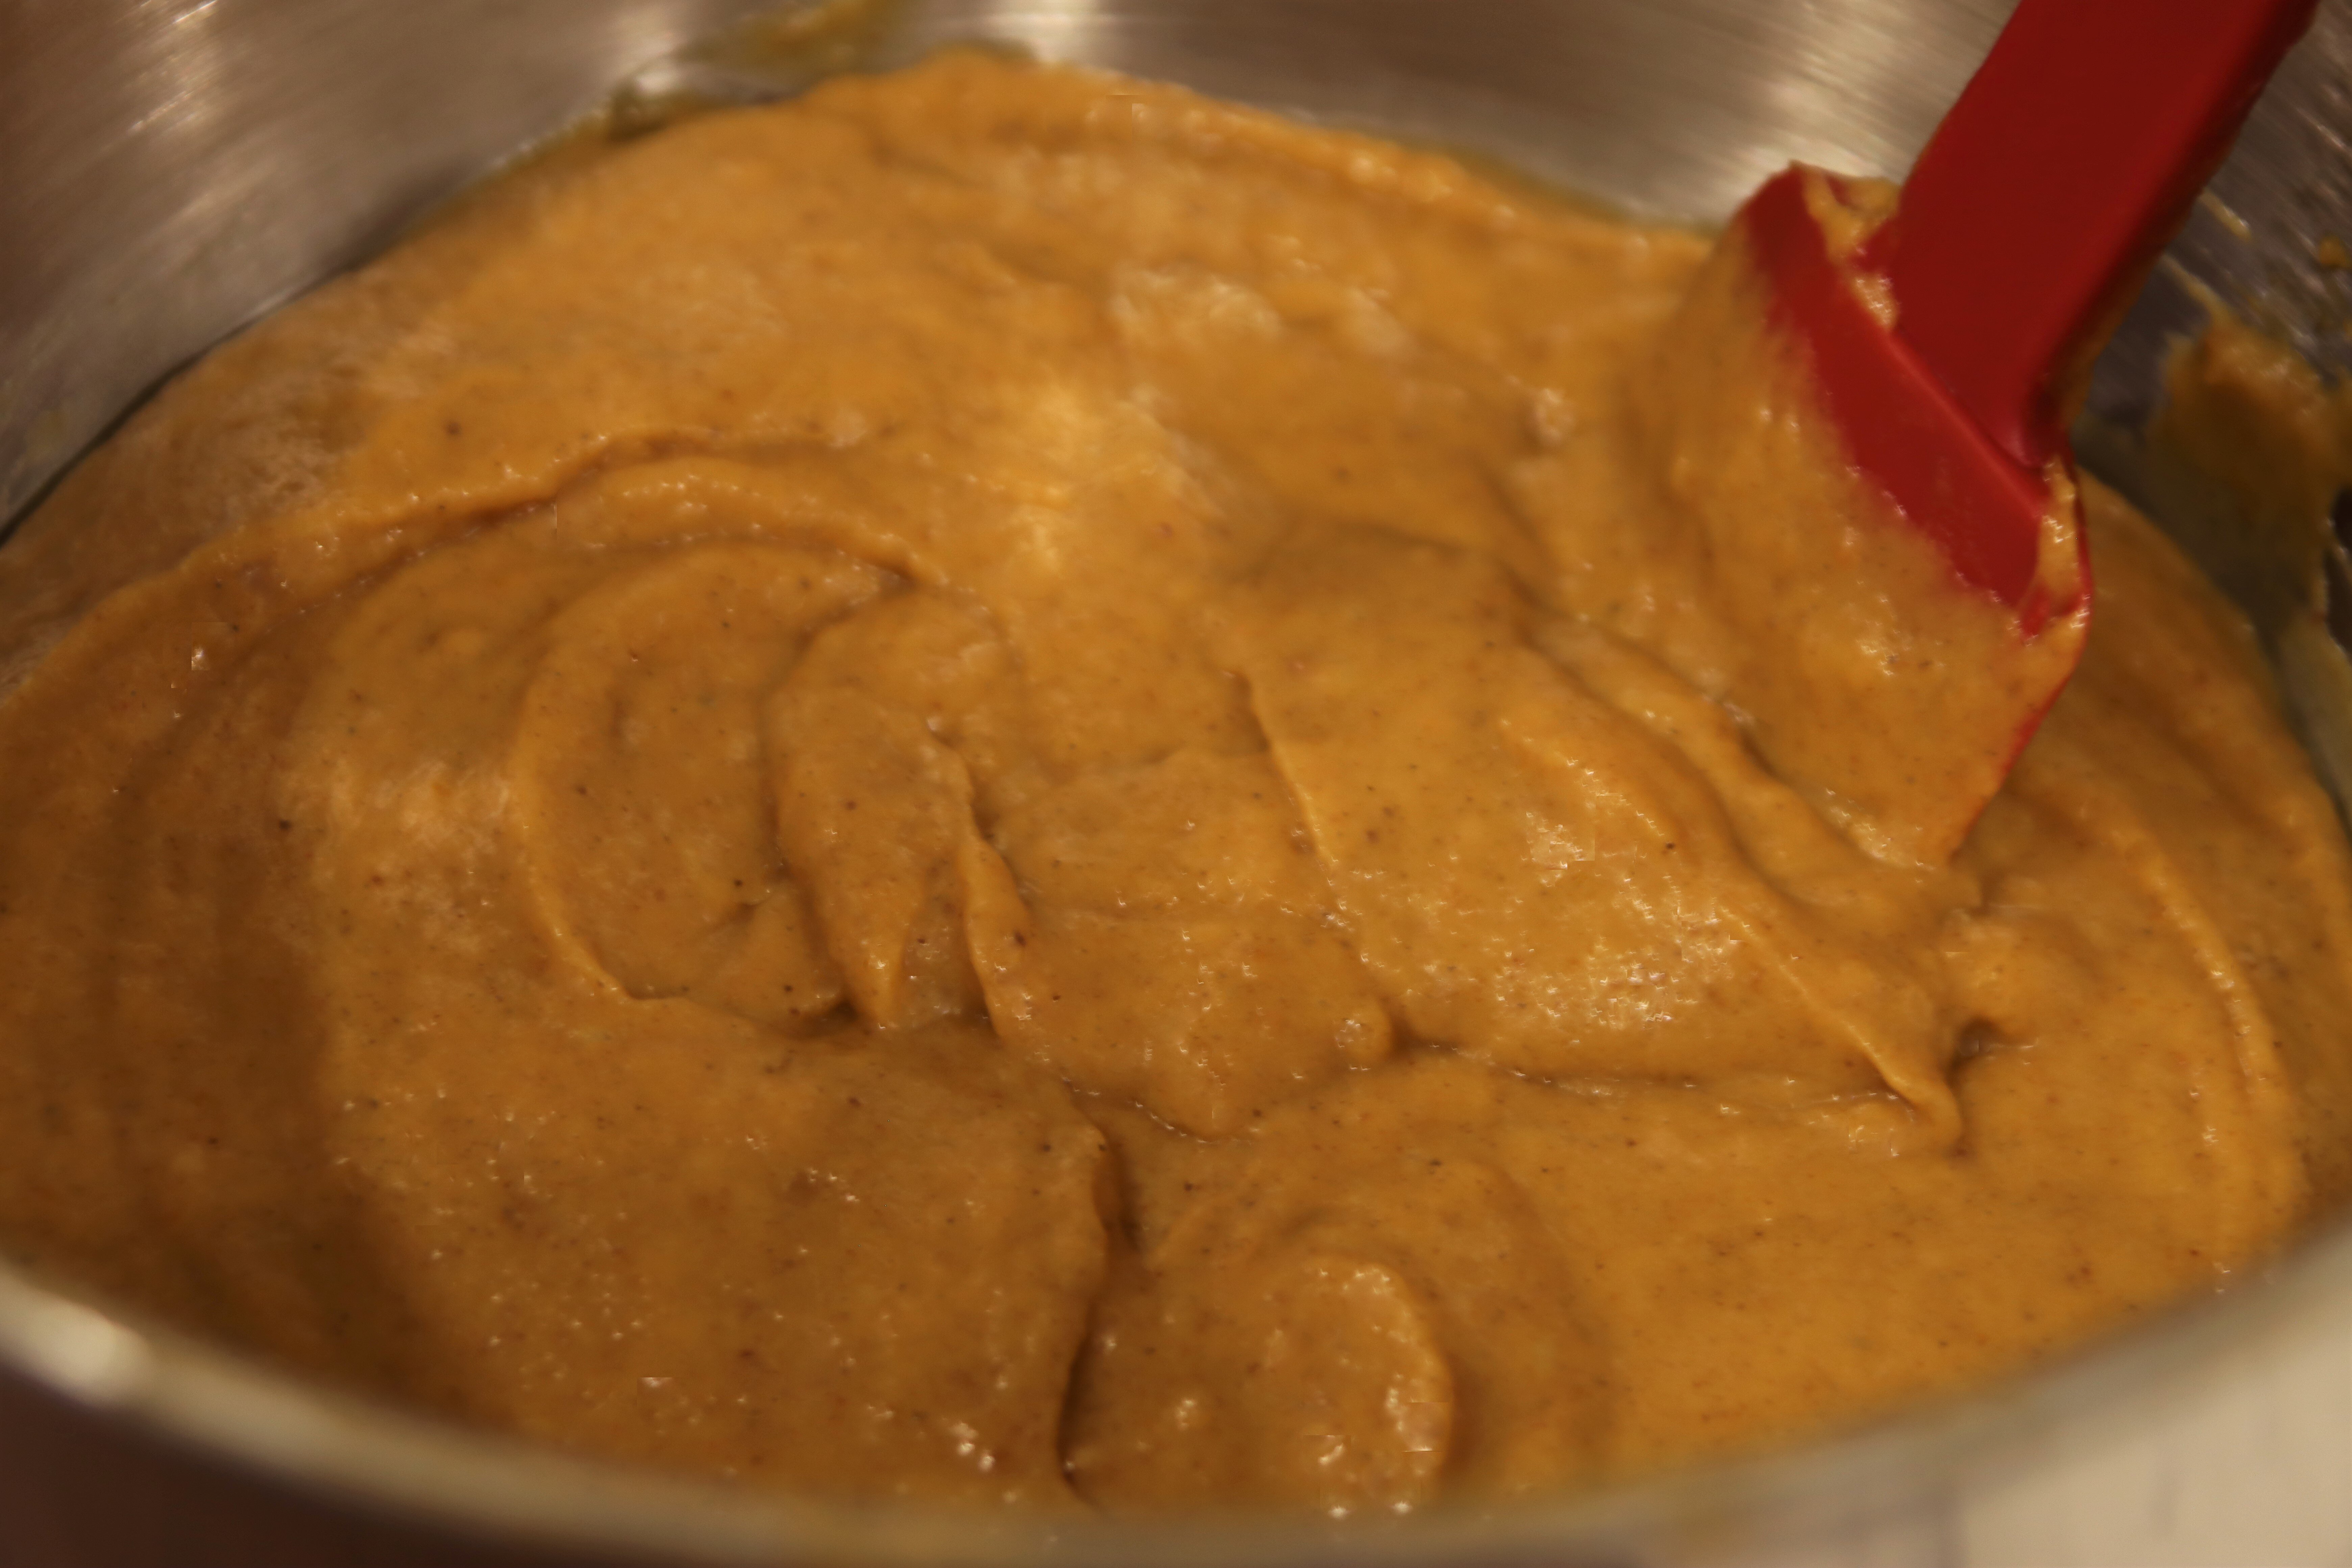
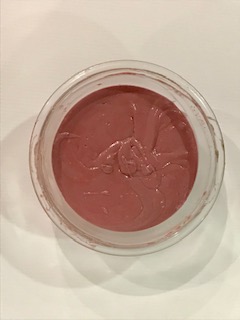
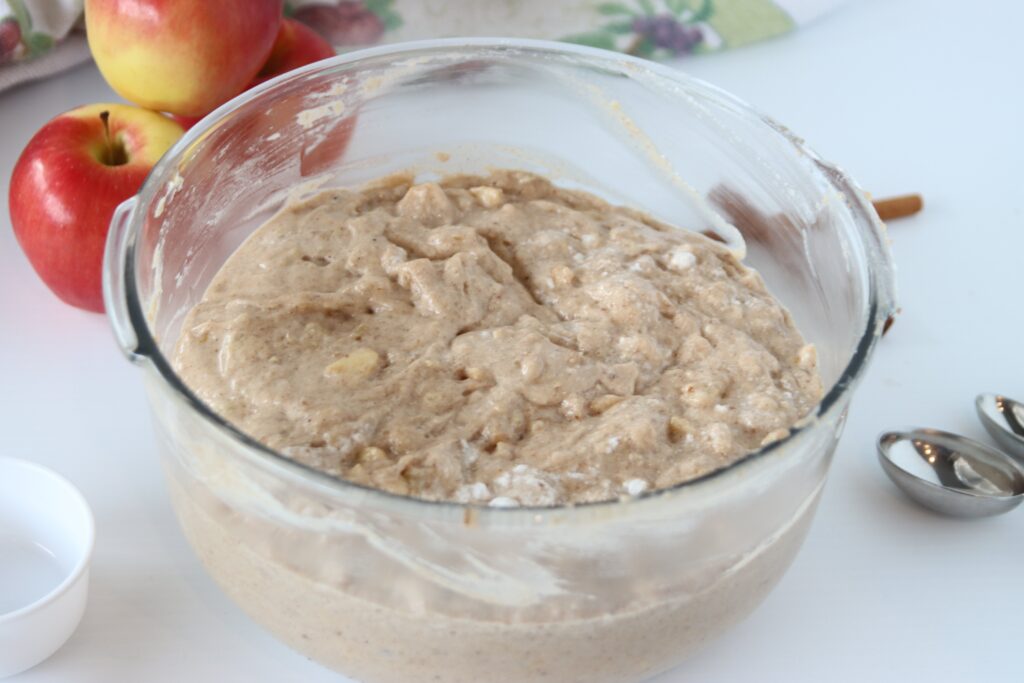
Despite beginning this recipe differently to the creaming method, we finish it off pretty similarly. Start by whisking together half of your dry ingredients into the egg, fat and sugar mixture, then follow up with all of the wet ingredients. Finally, finish it off with the rest of the dry ingredients.
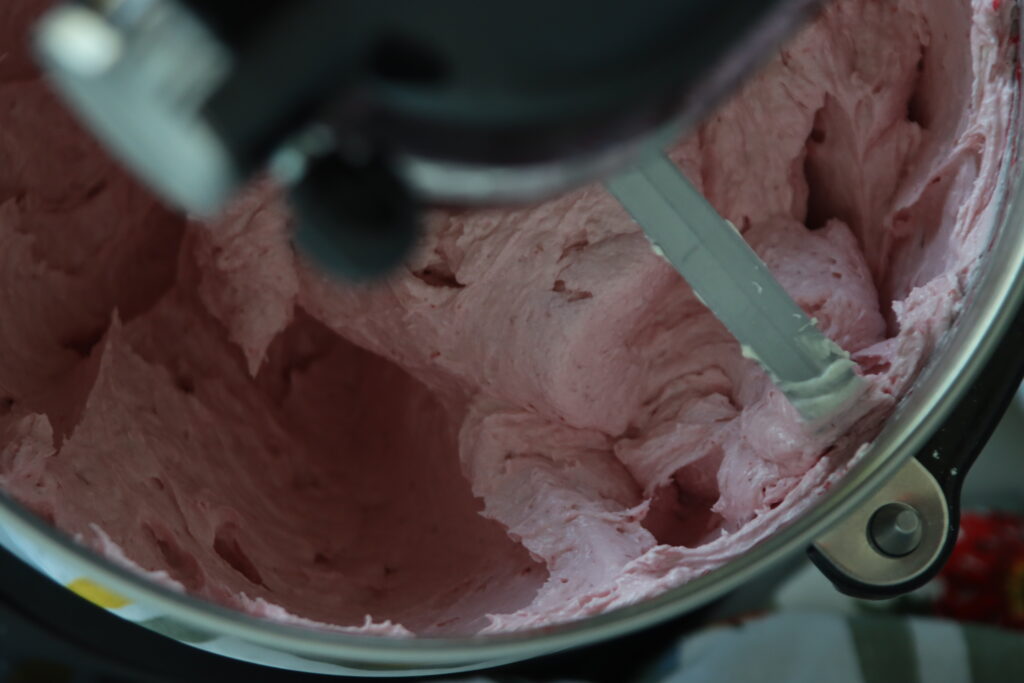
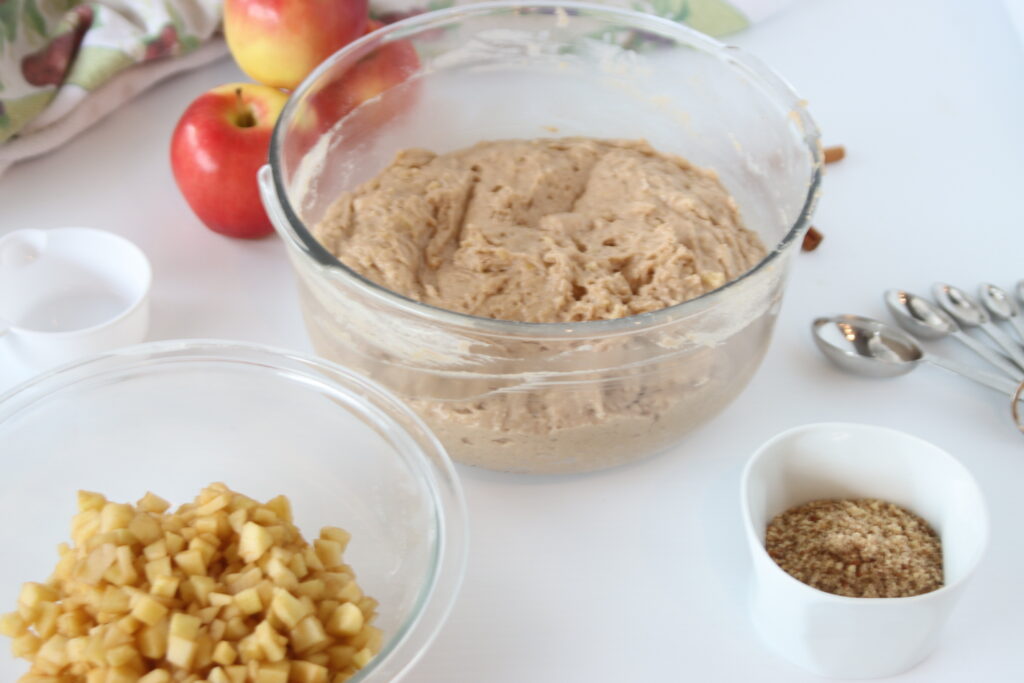
Next, fold in the grated carrots and ground nuts (the nuts are optional: you can even add in your own toppings if you’d prefer, like raisins!).
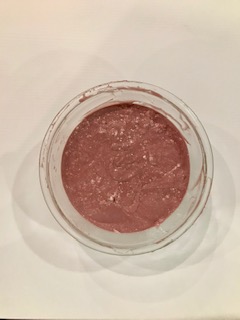
Finally, lightly fold in those egg whites at stiff peaks, being careful not to entirely deflate them as we need the air for the nice cake lift.
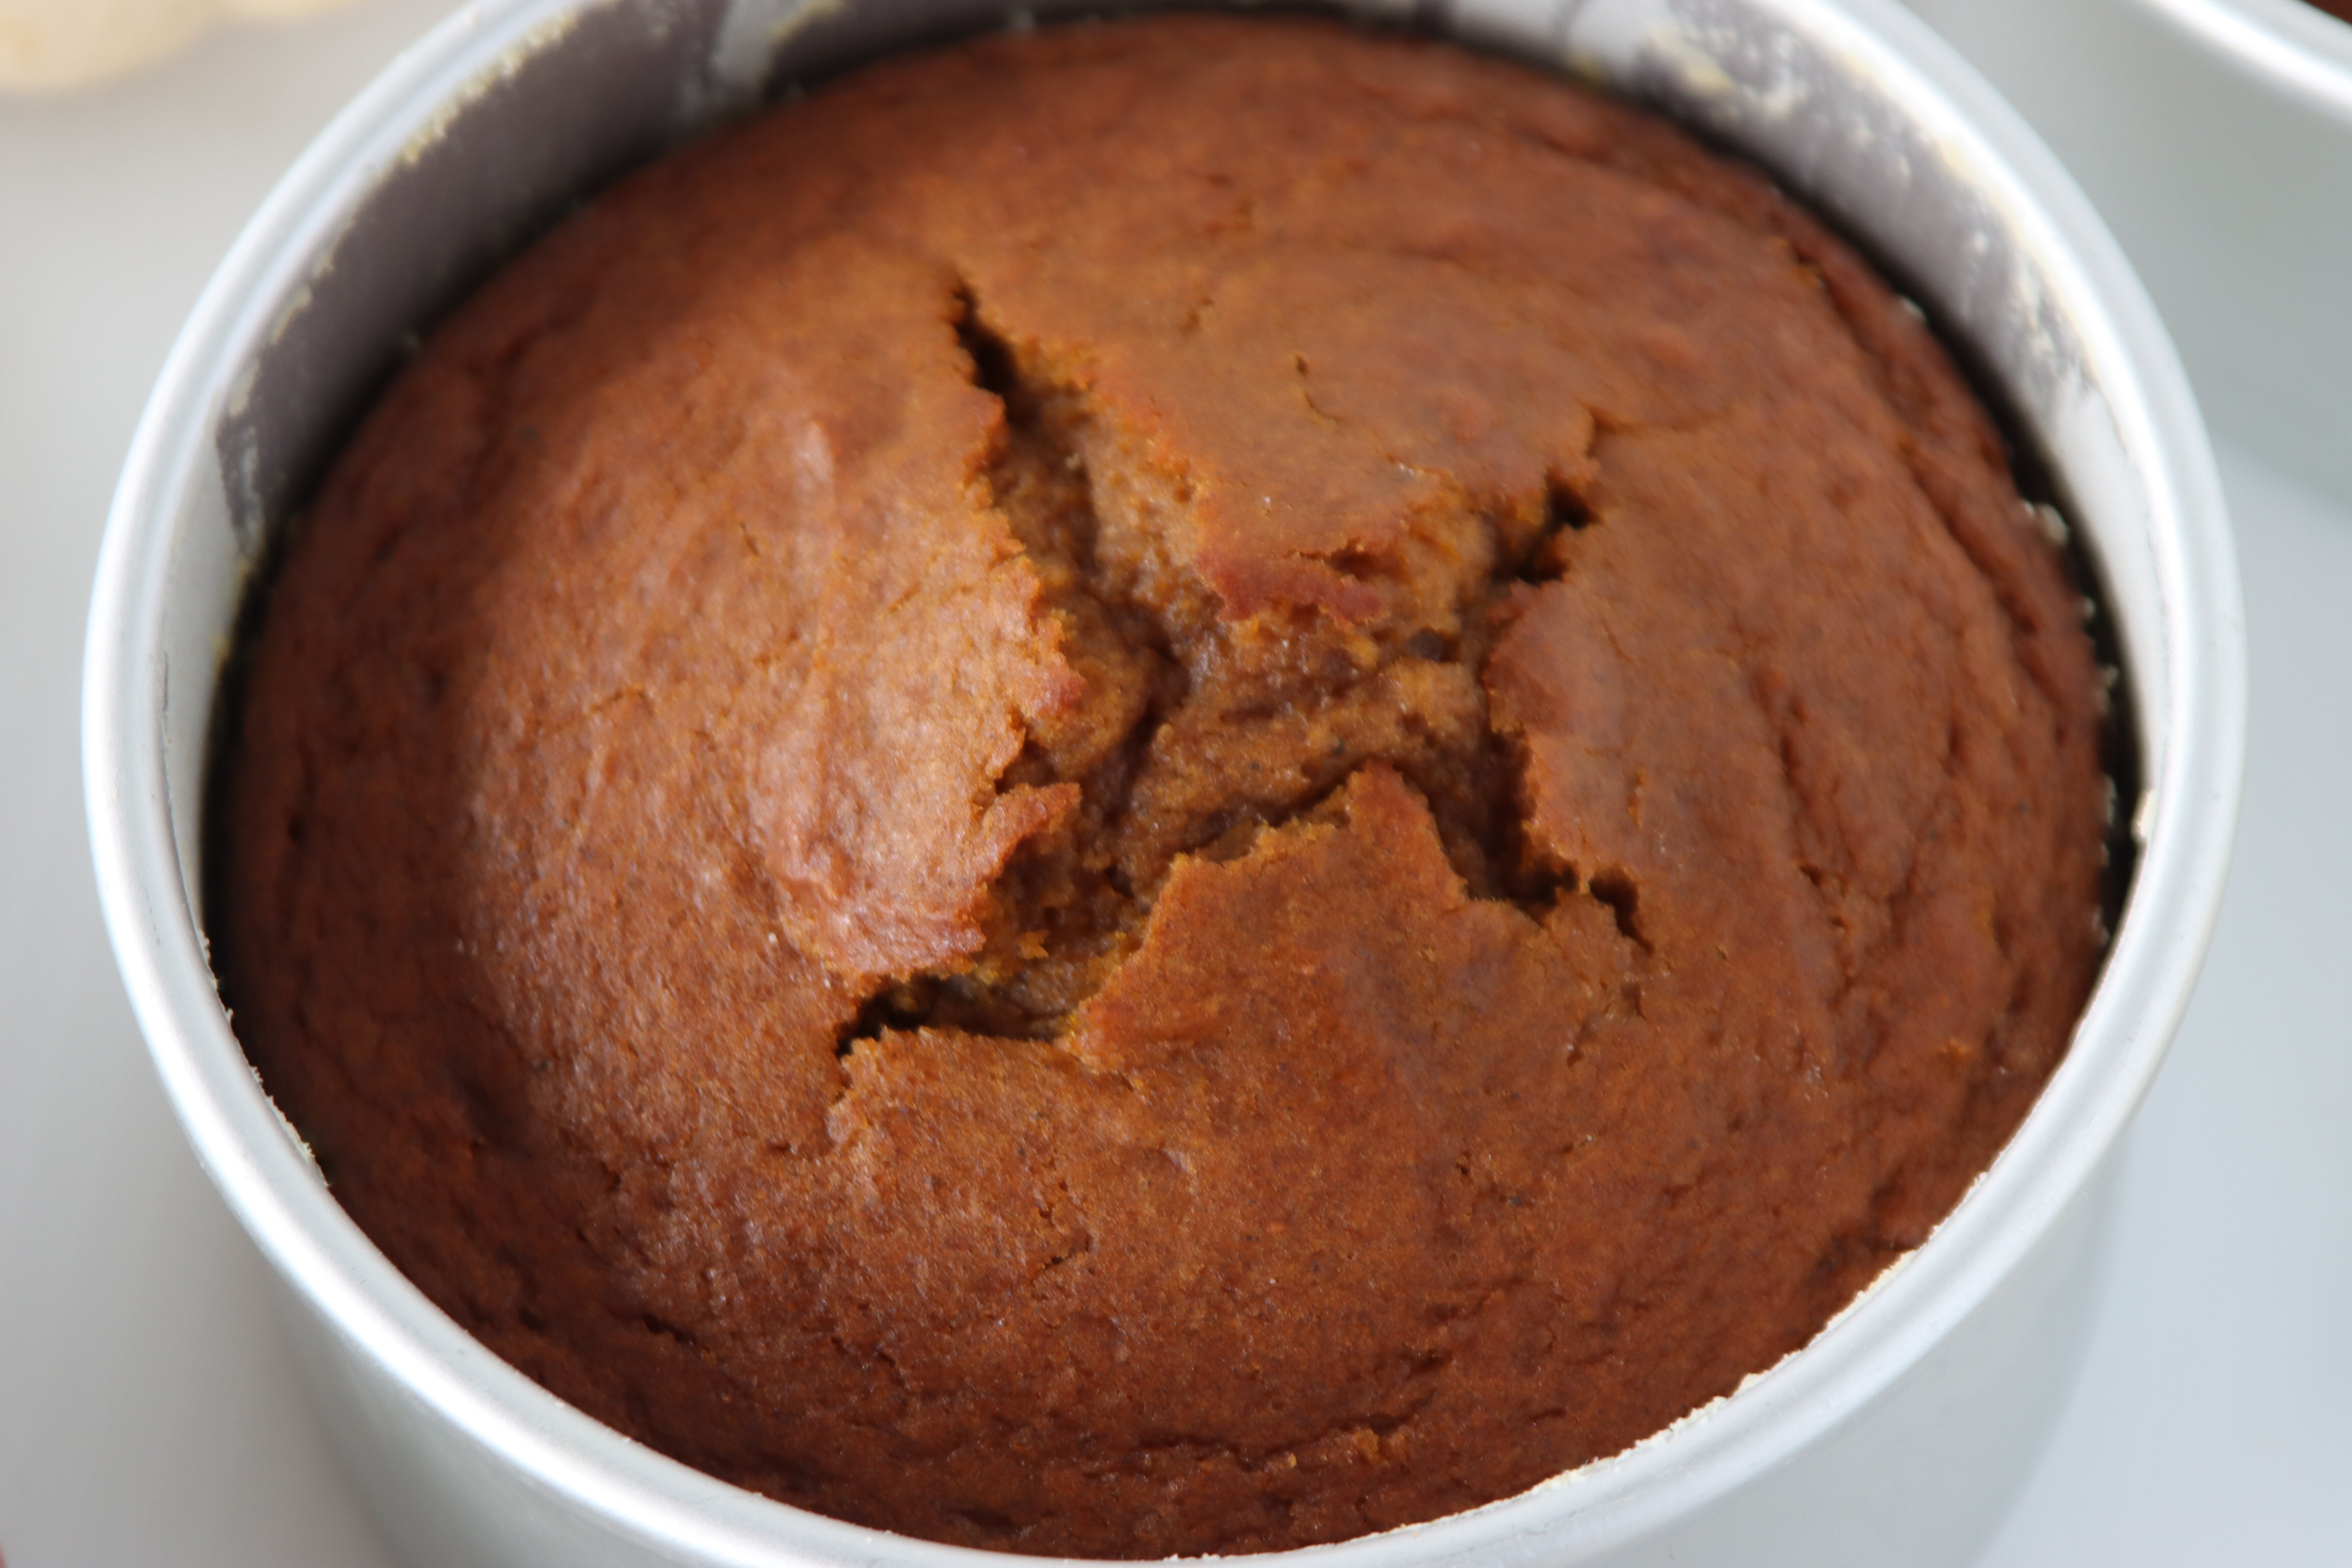
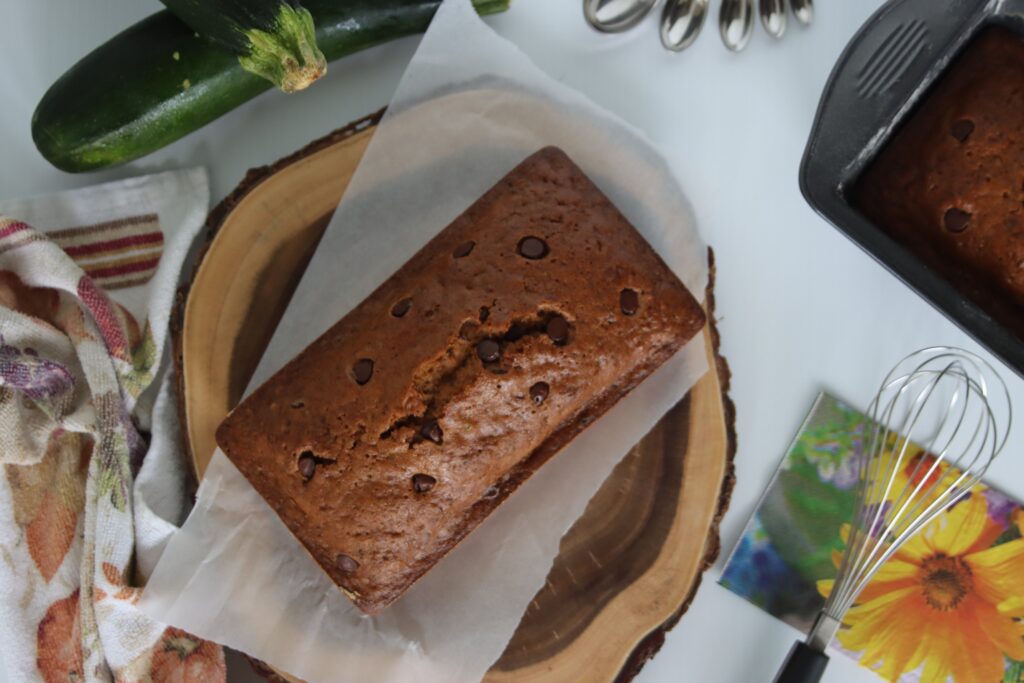
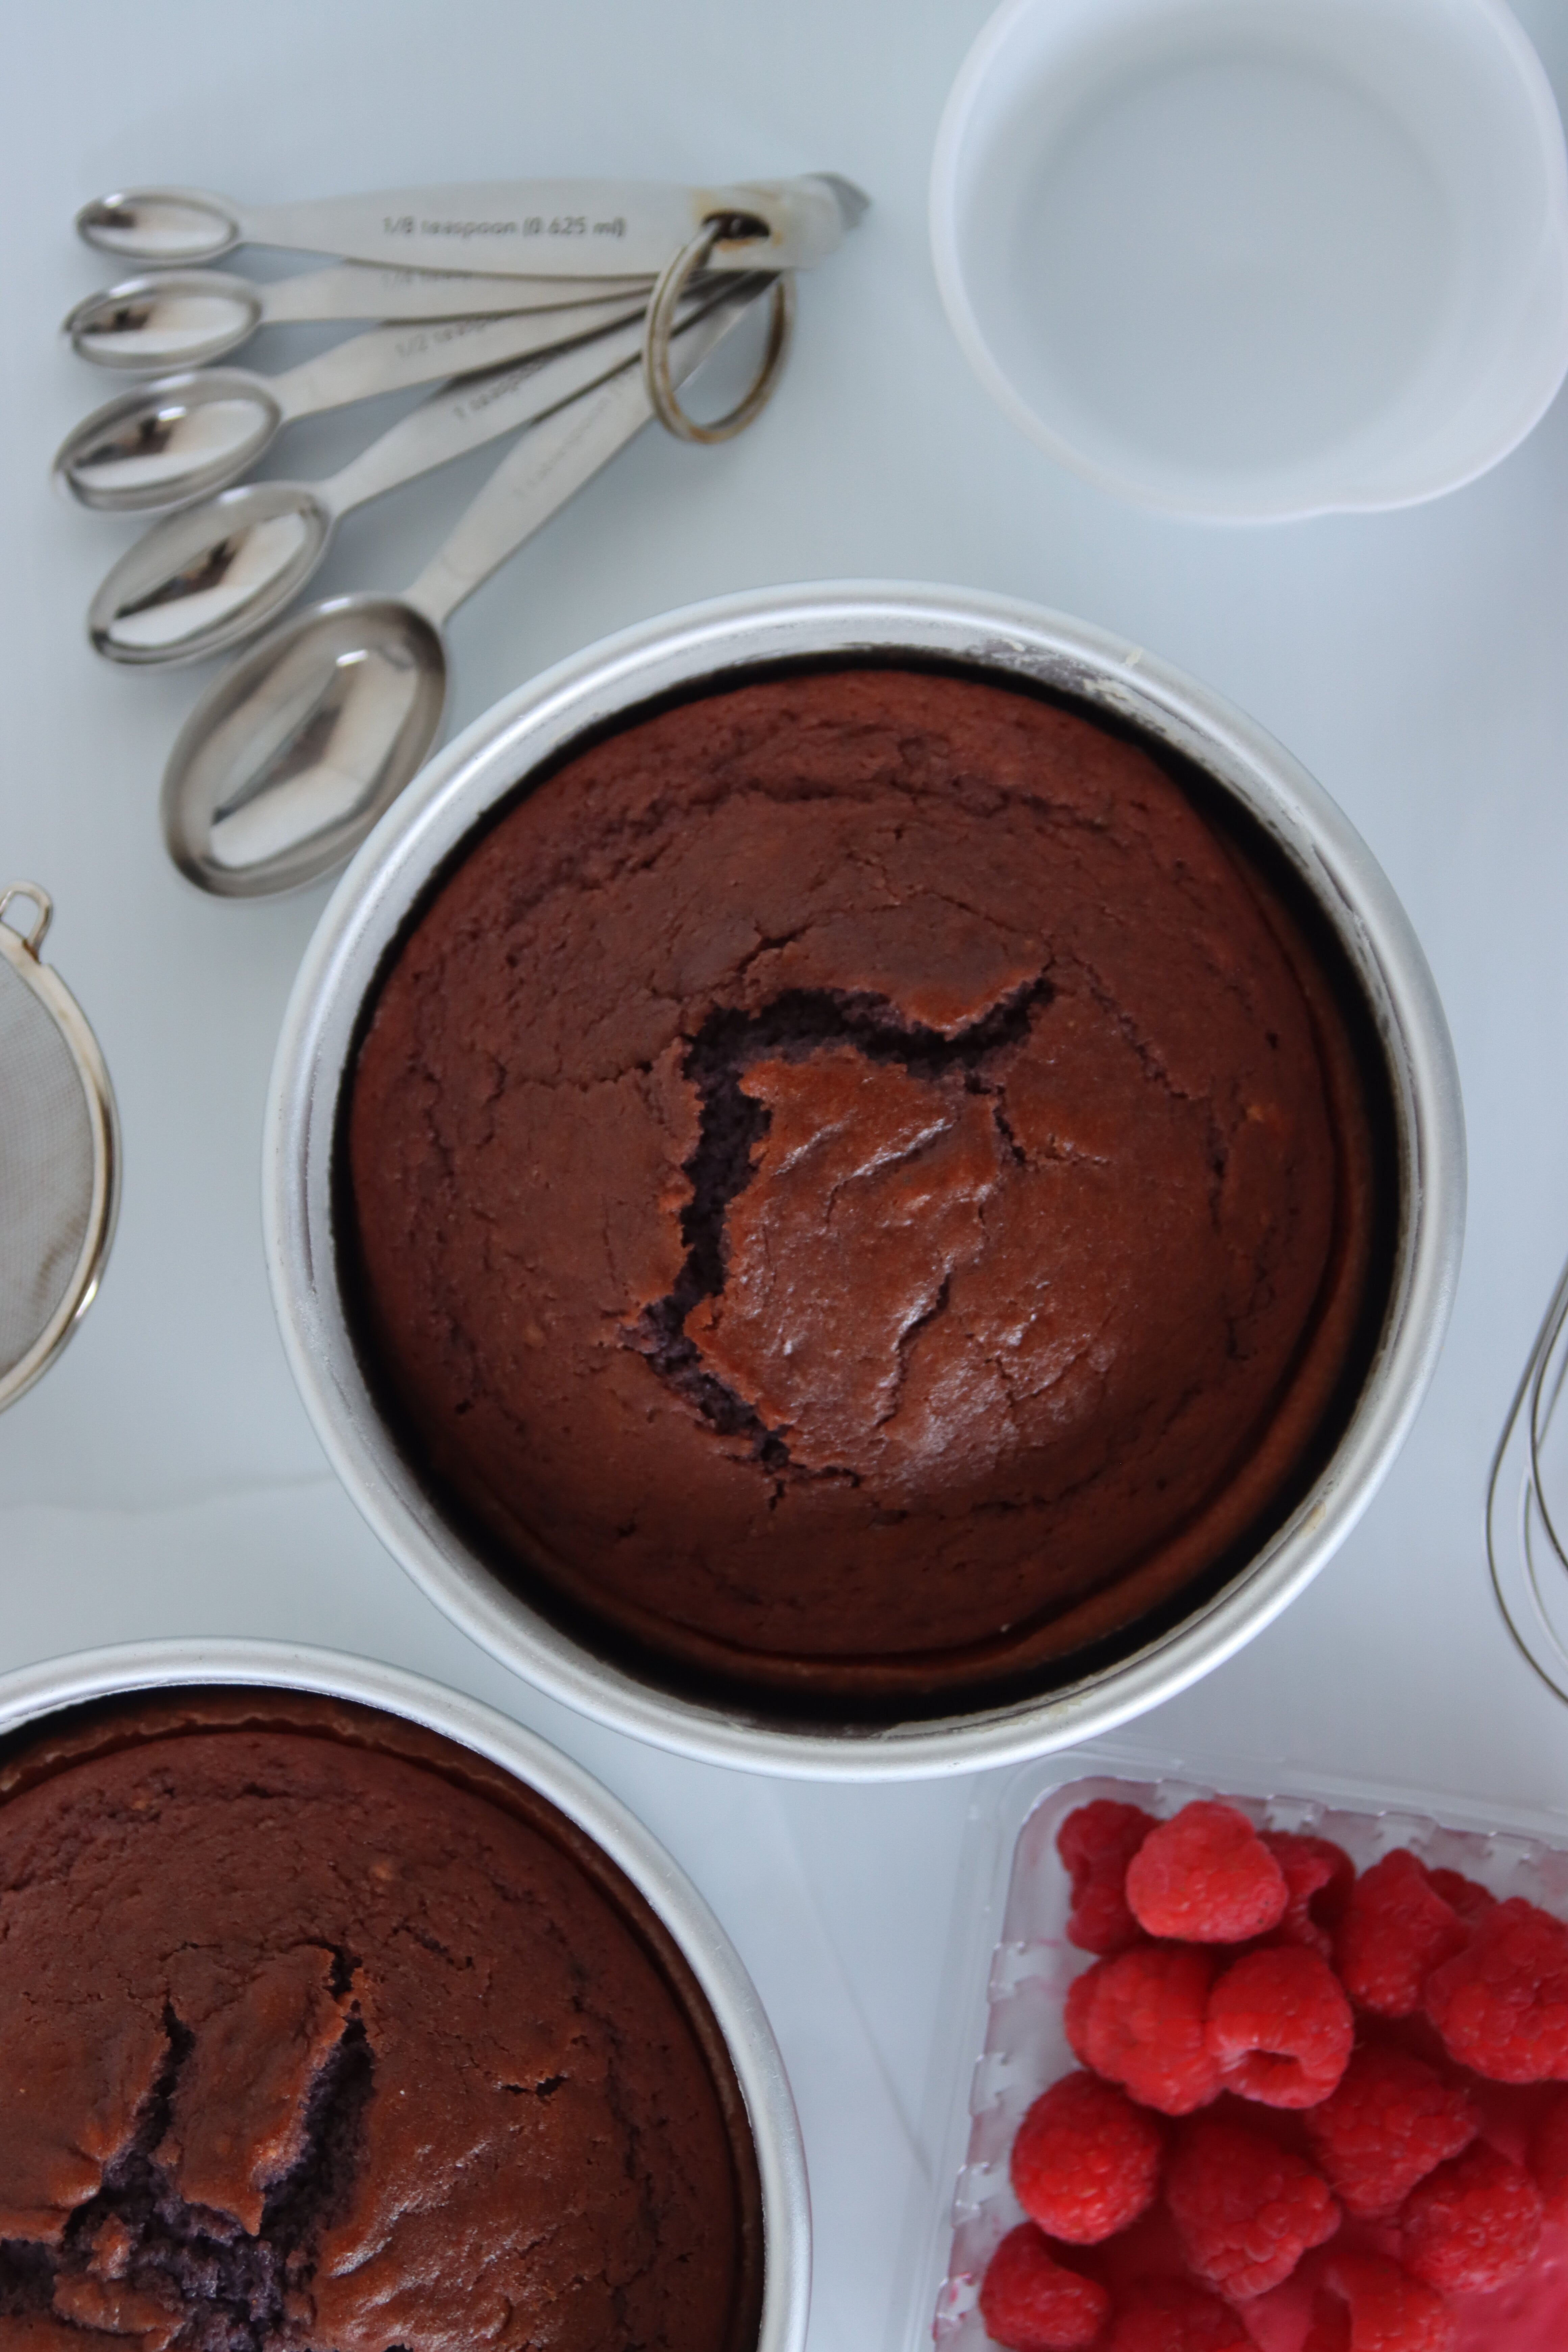
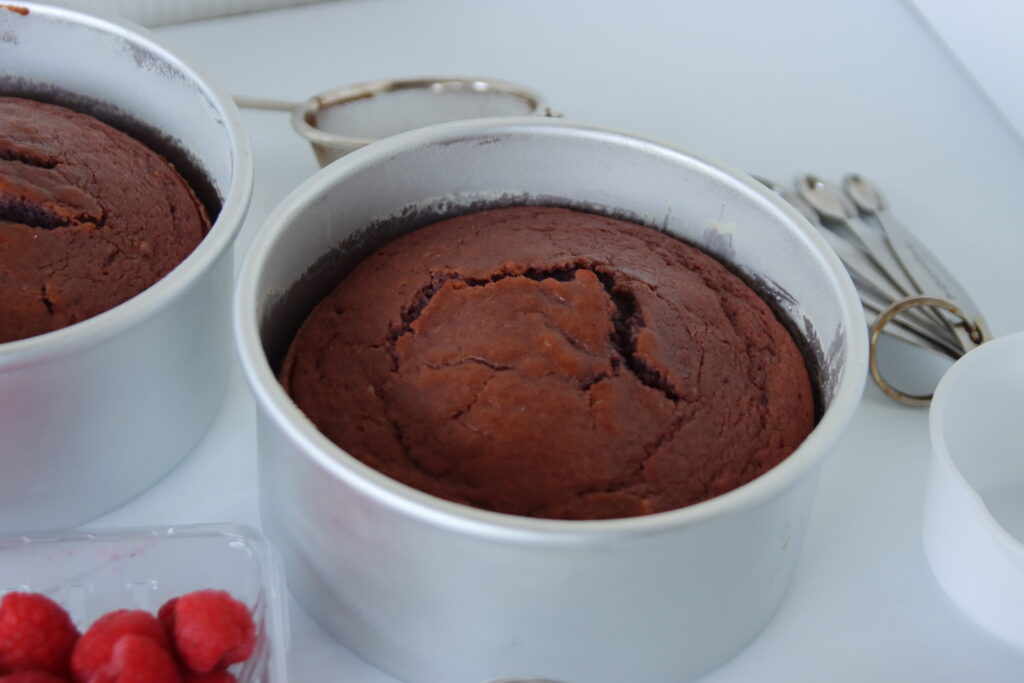
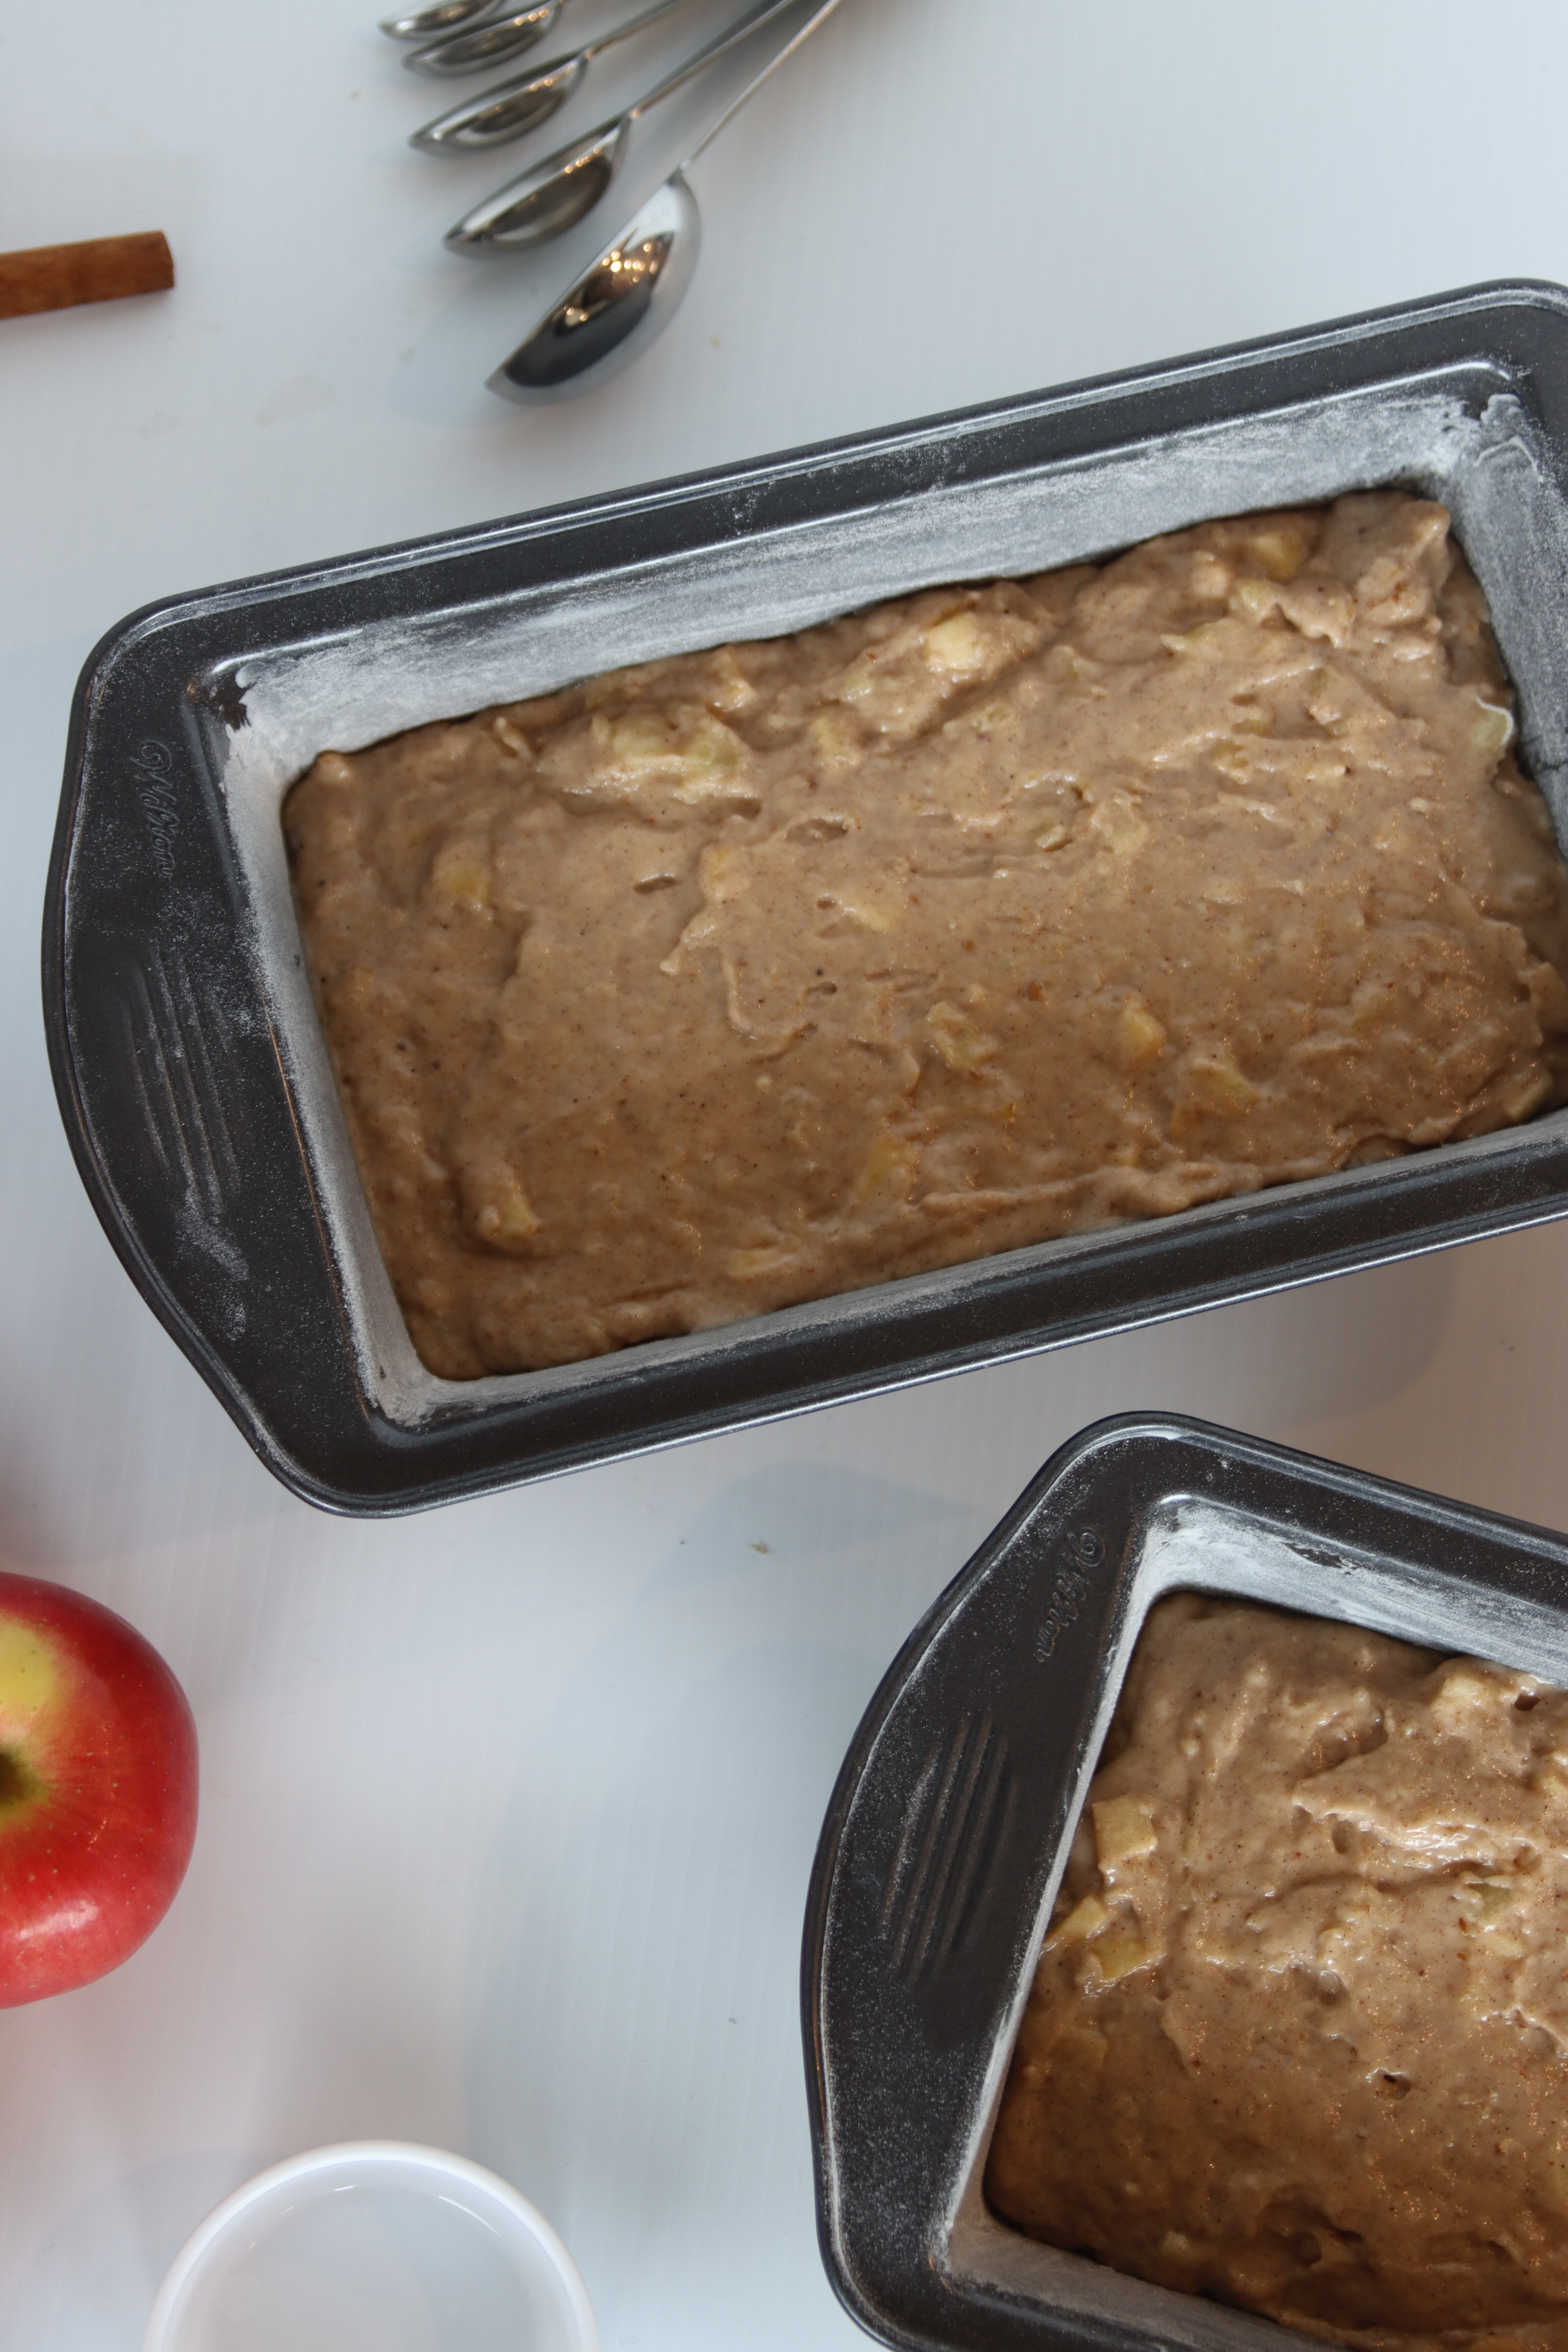
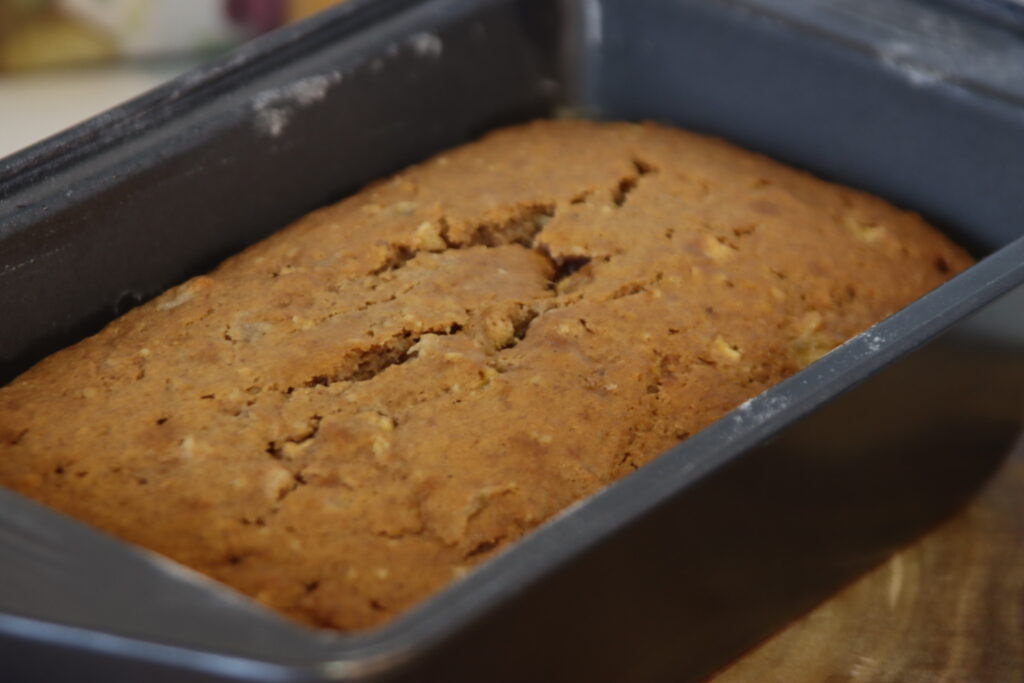
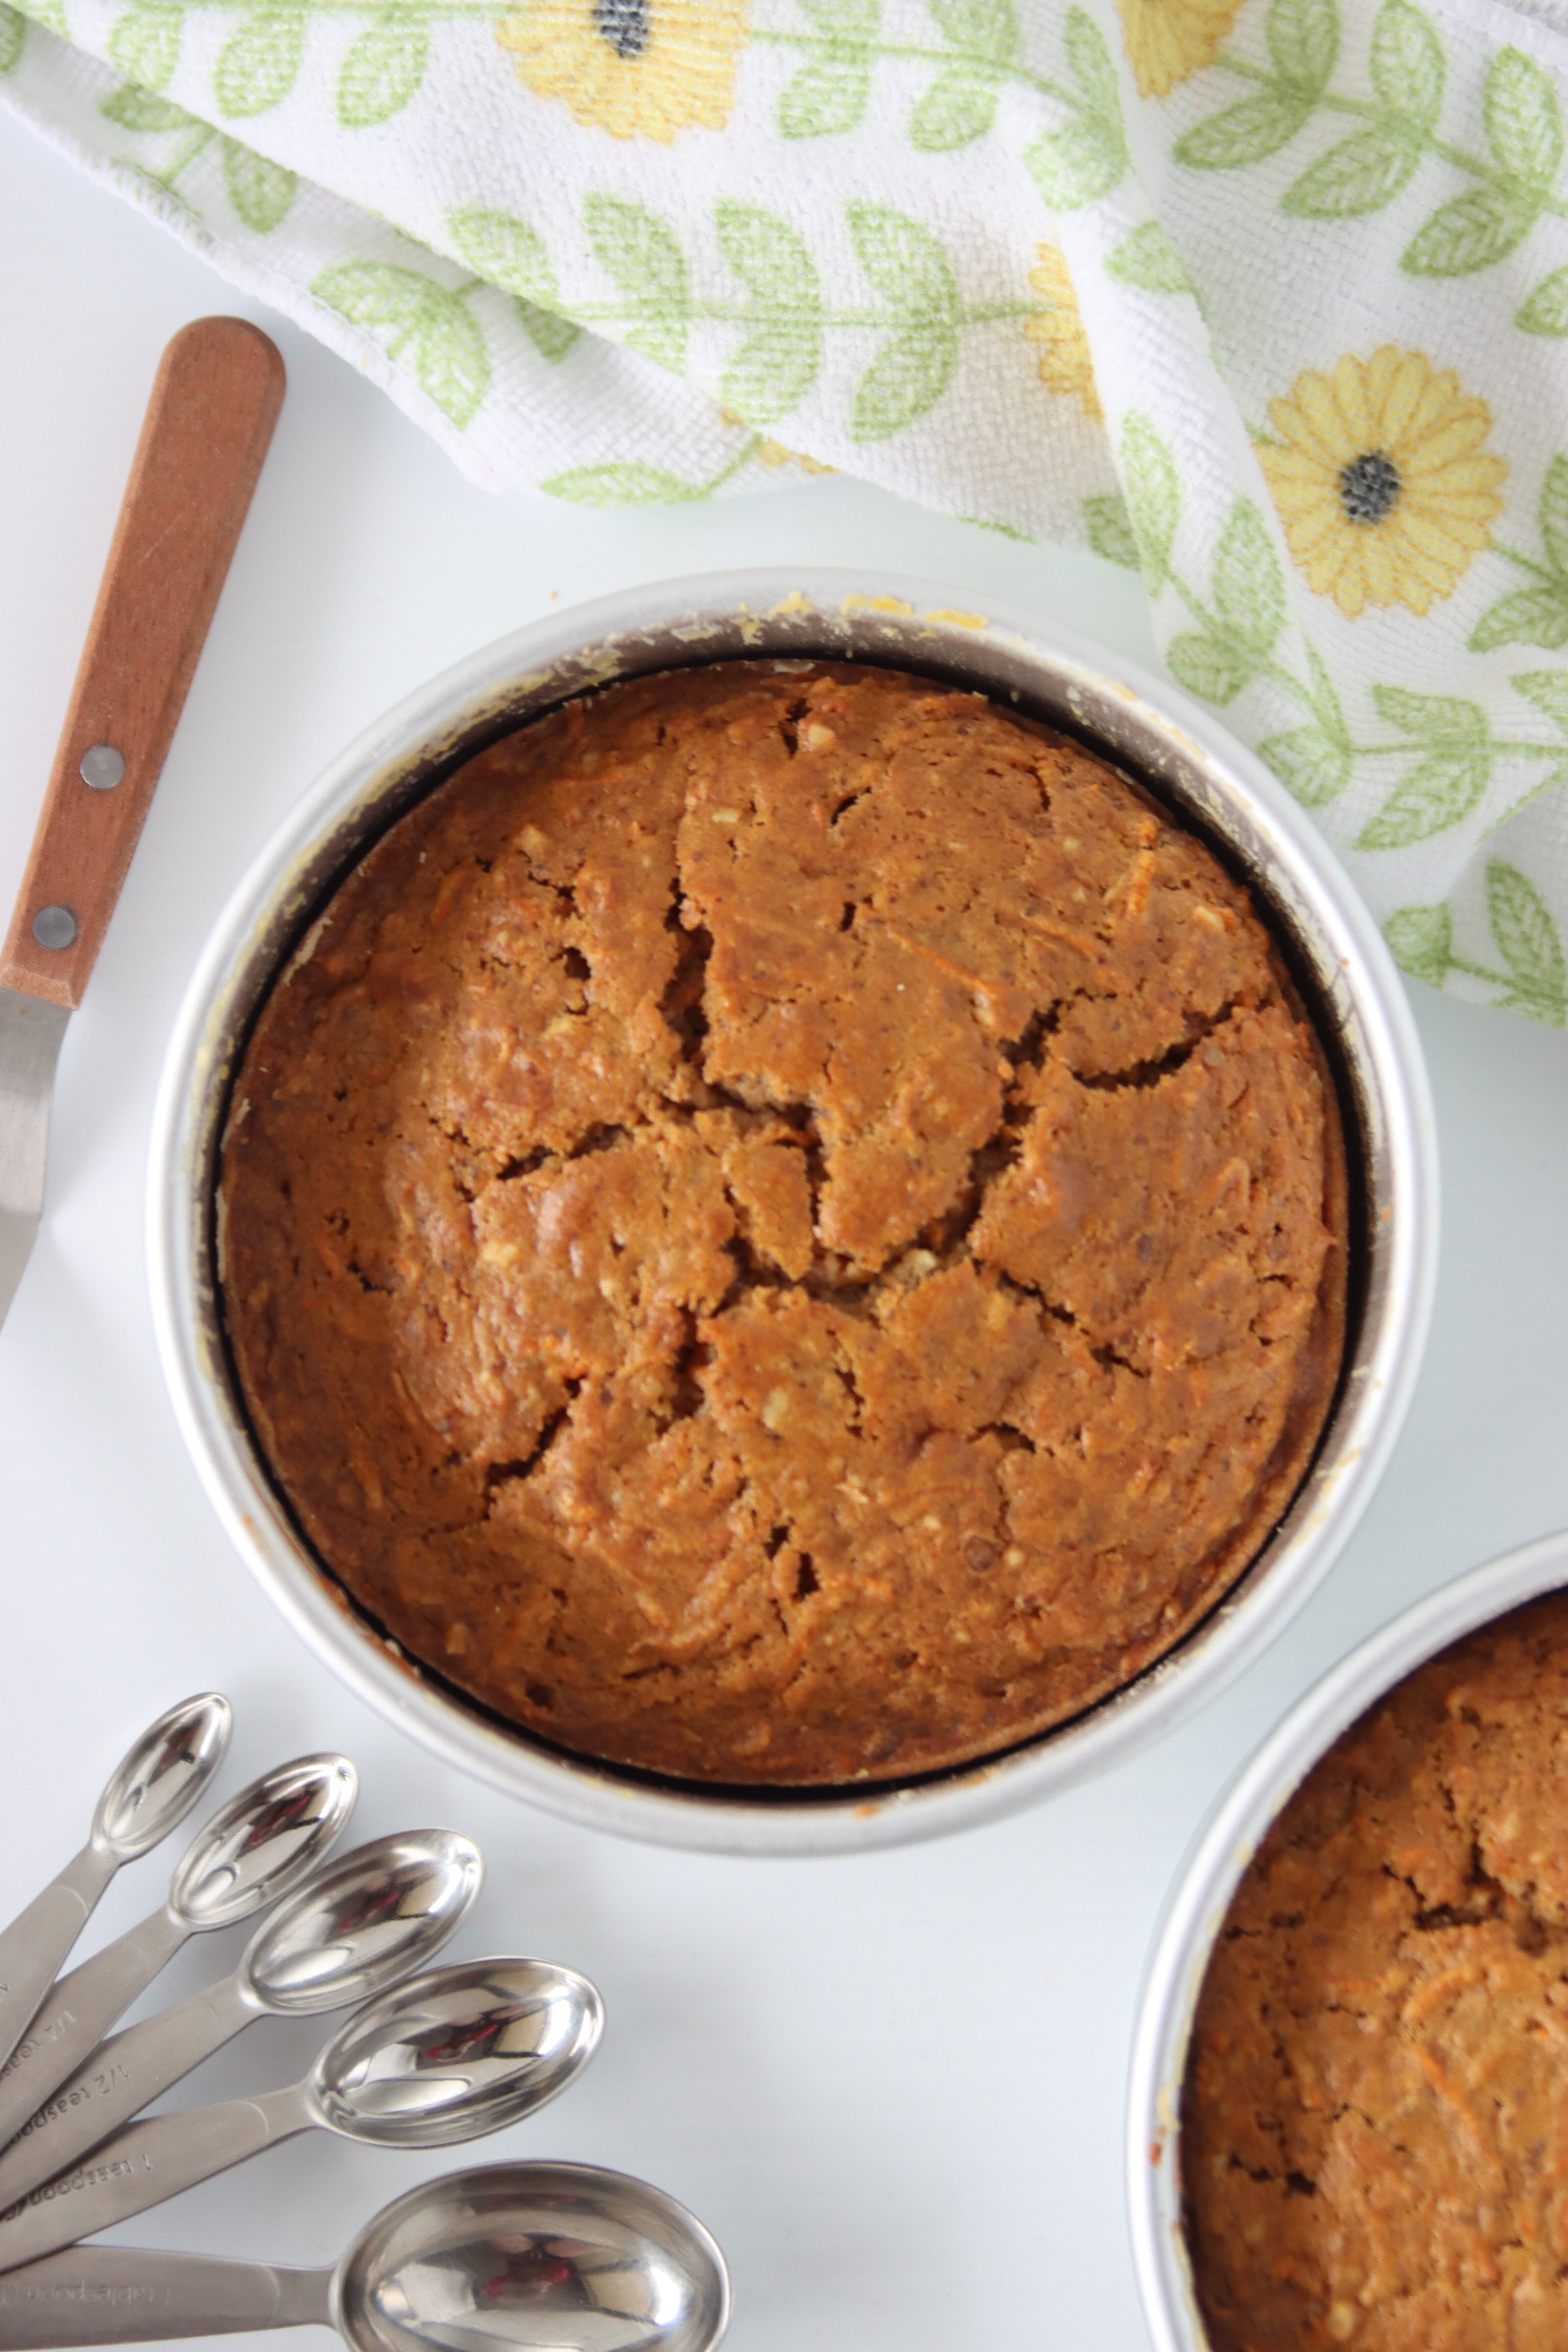
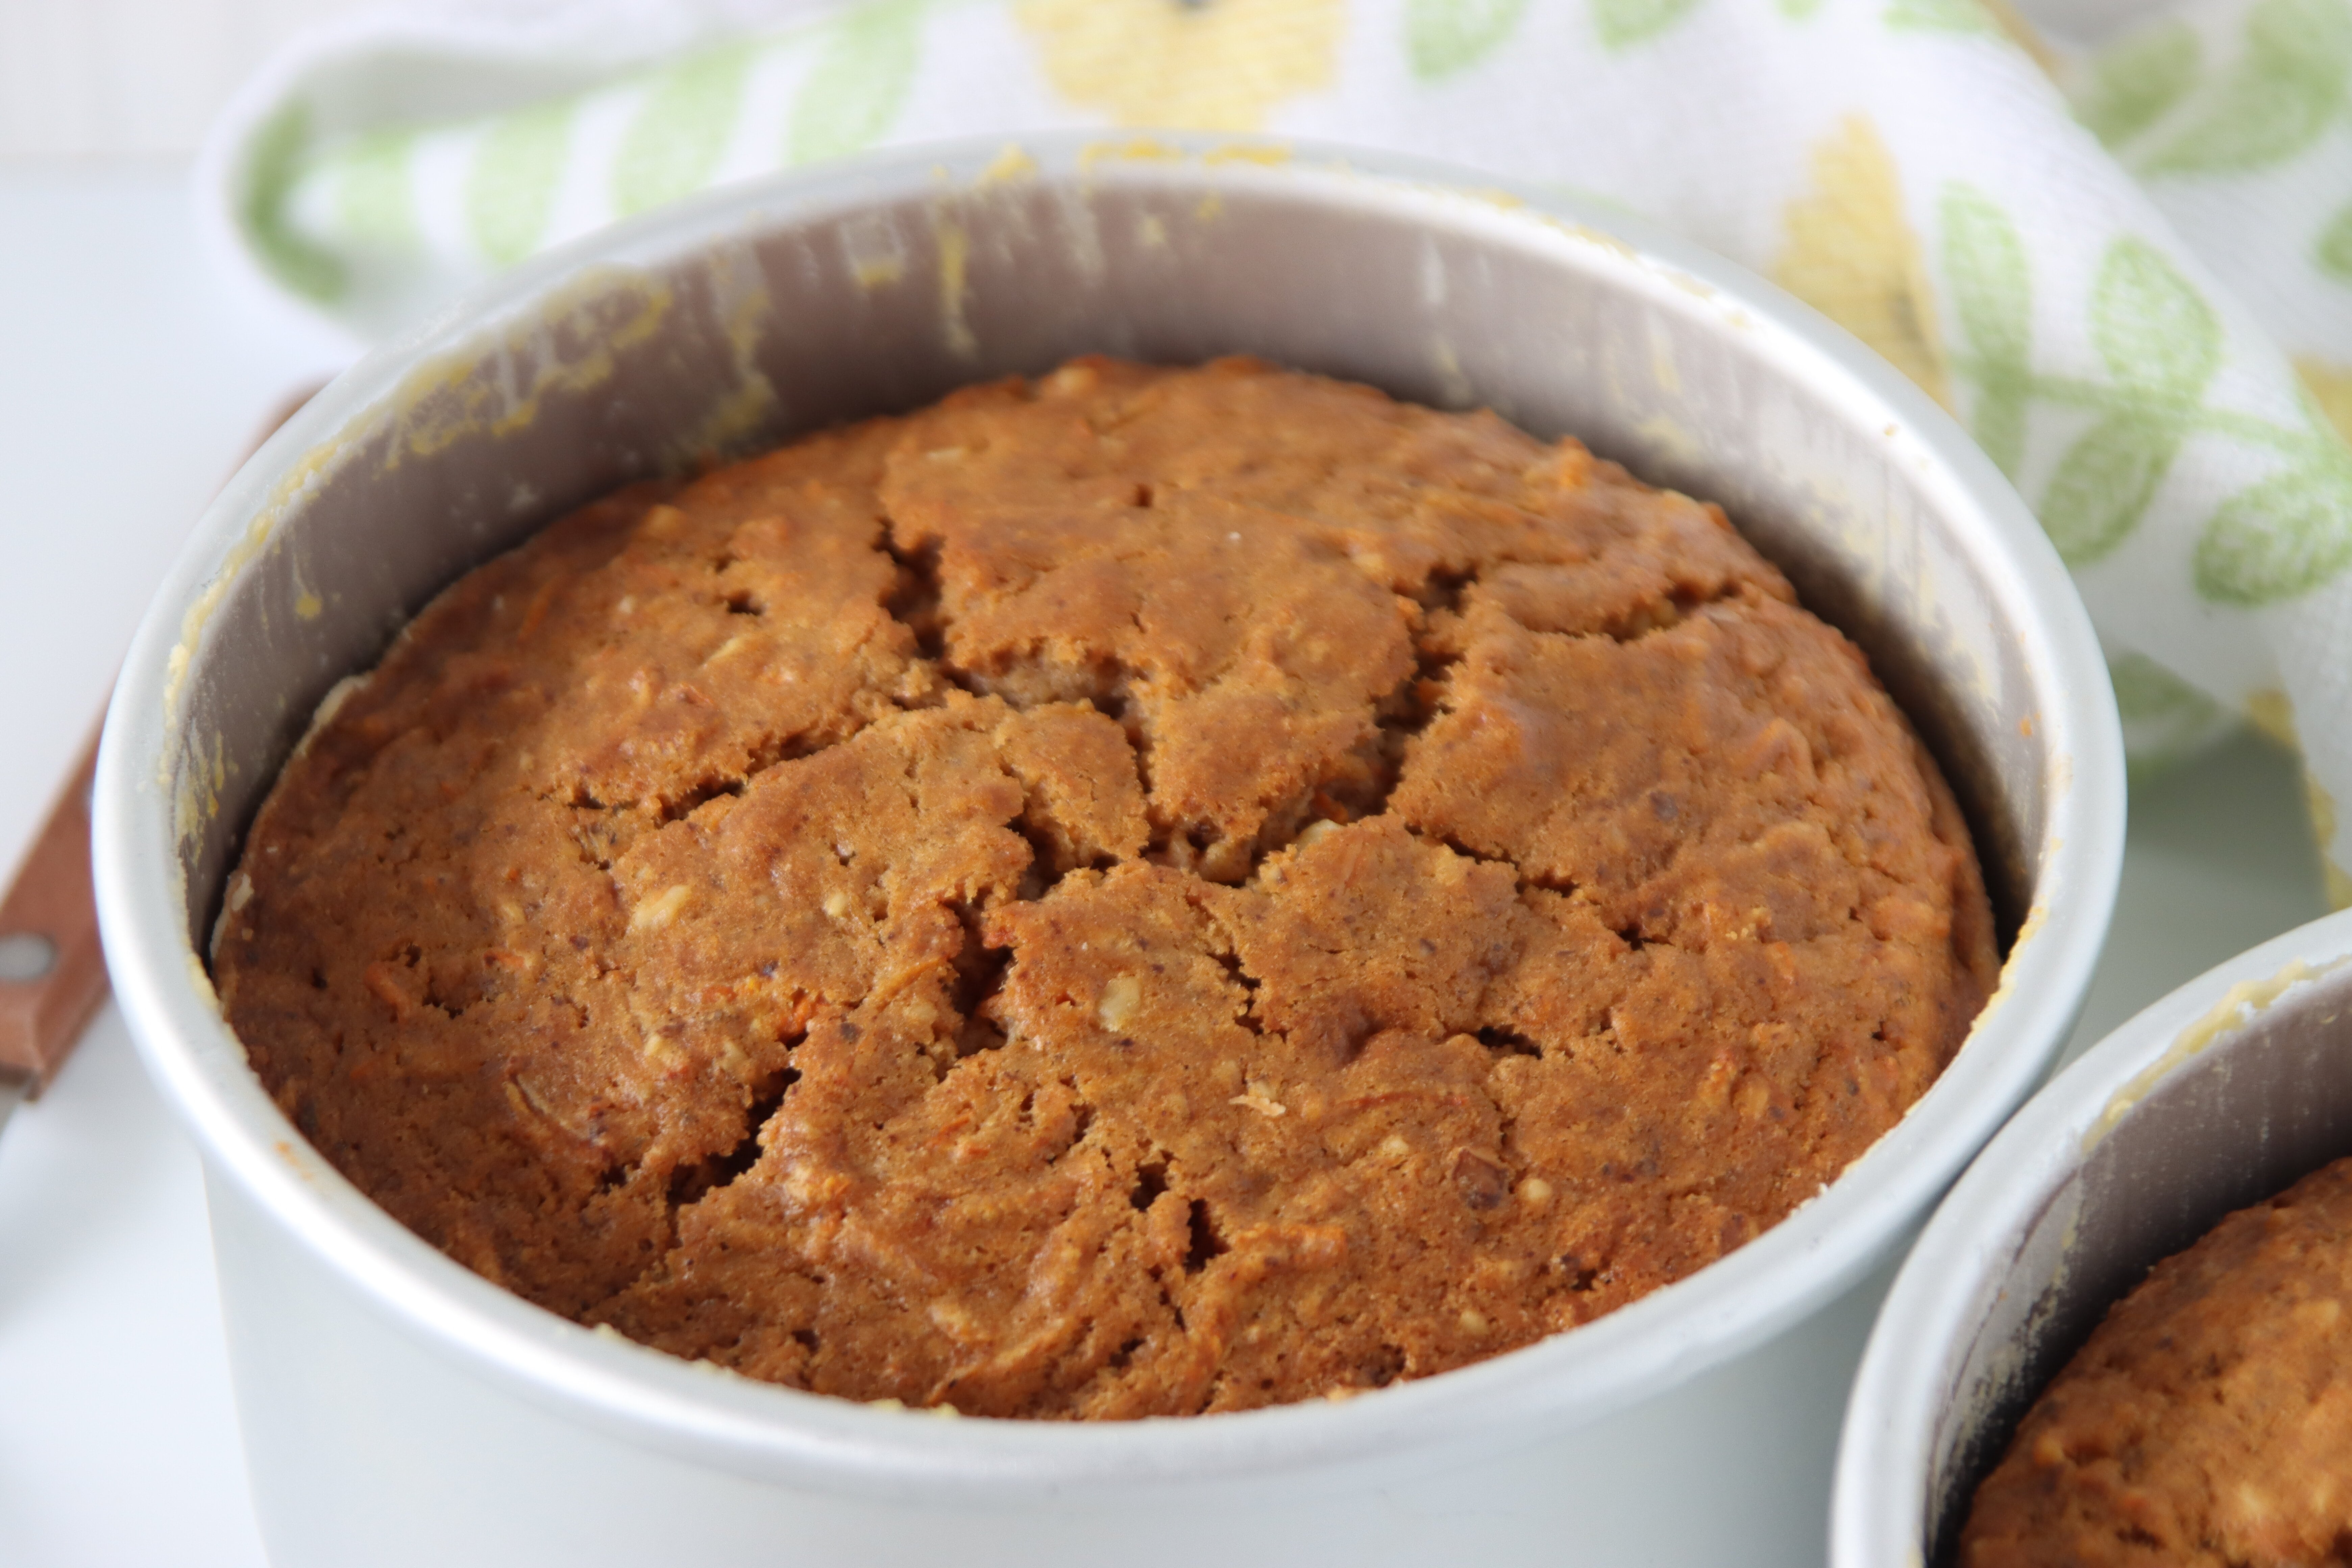
Bake in a 335 oven for about an hour or until a toothpick comes out clean. I choose to bake at 335 most times since 350 can make the outside cook much faster than the inside resulting in a hard exterior. Read the recipe notes for helpful tips on how to know when it’s done!
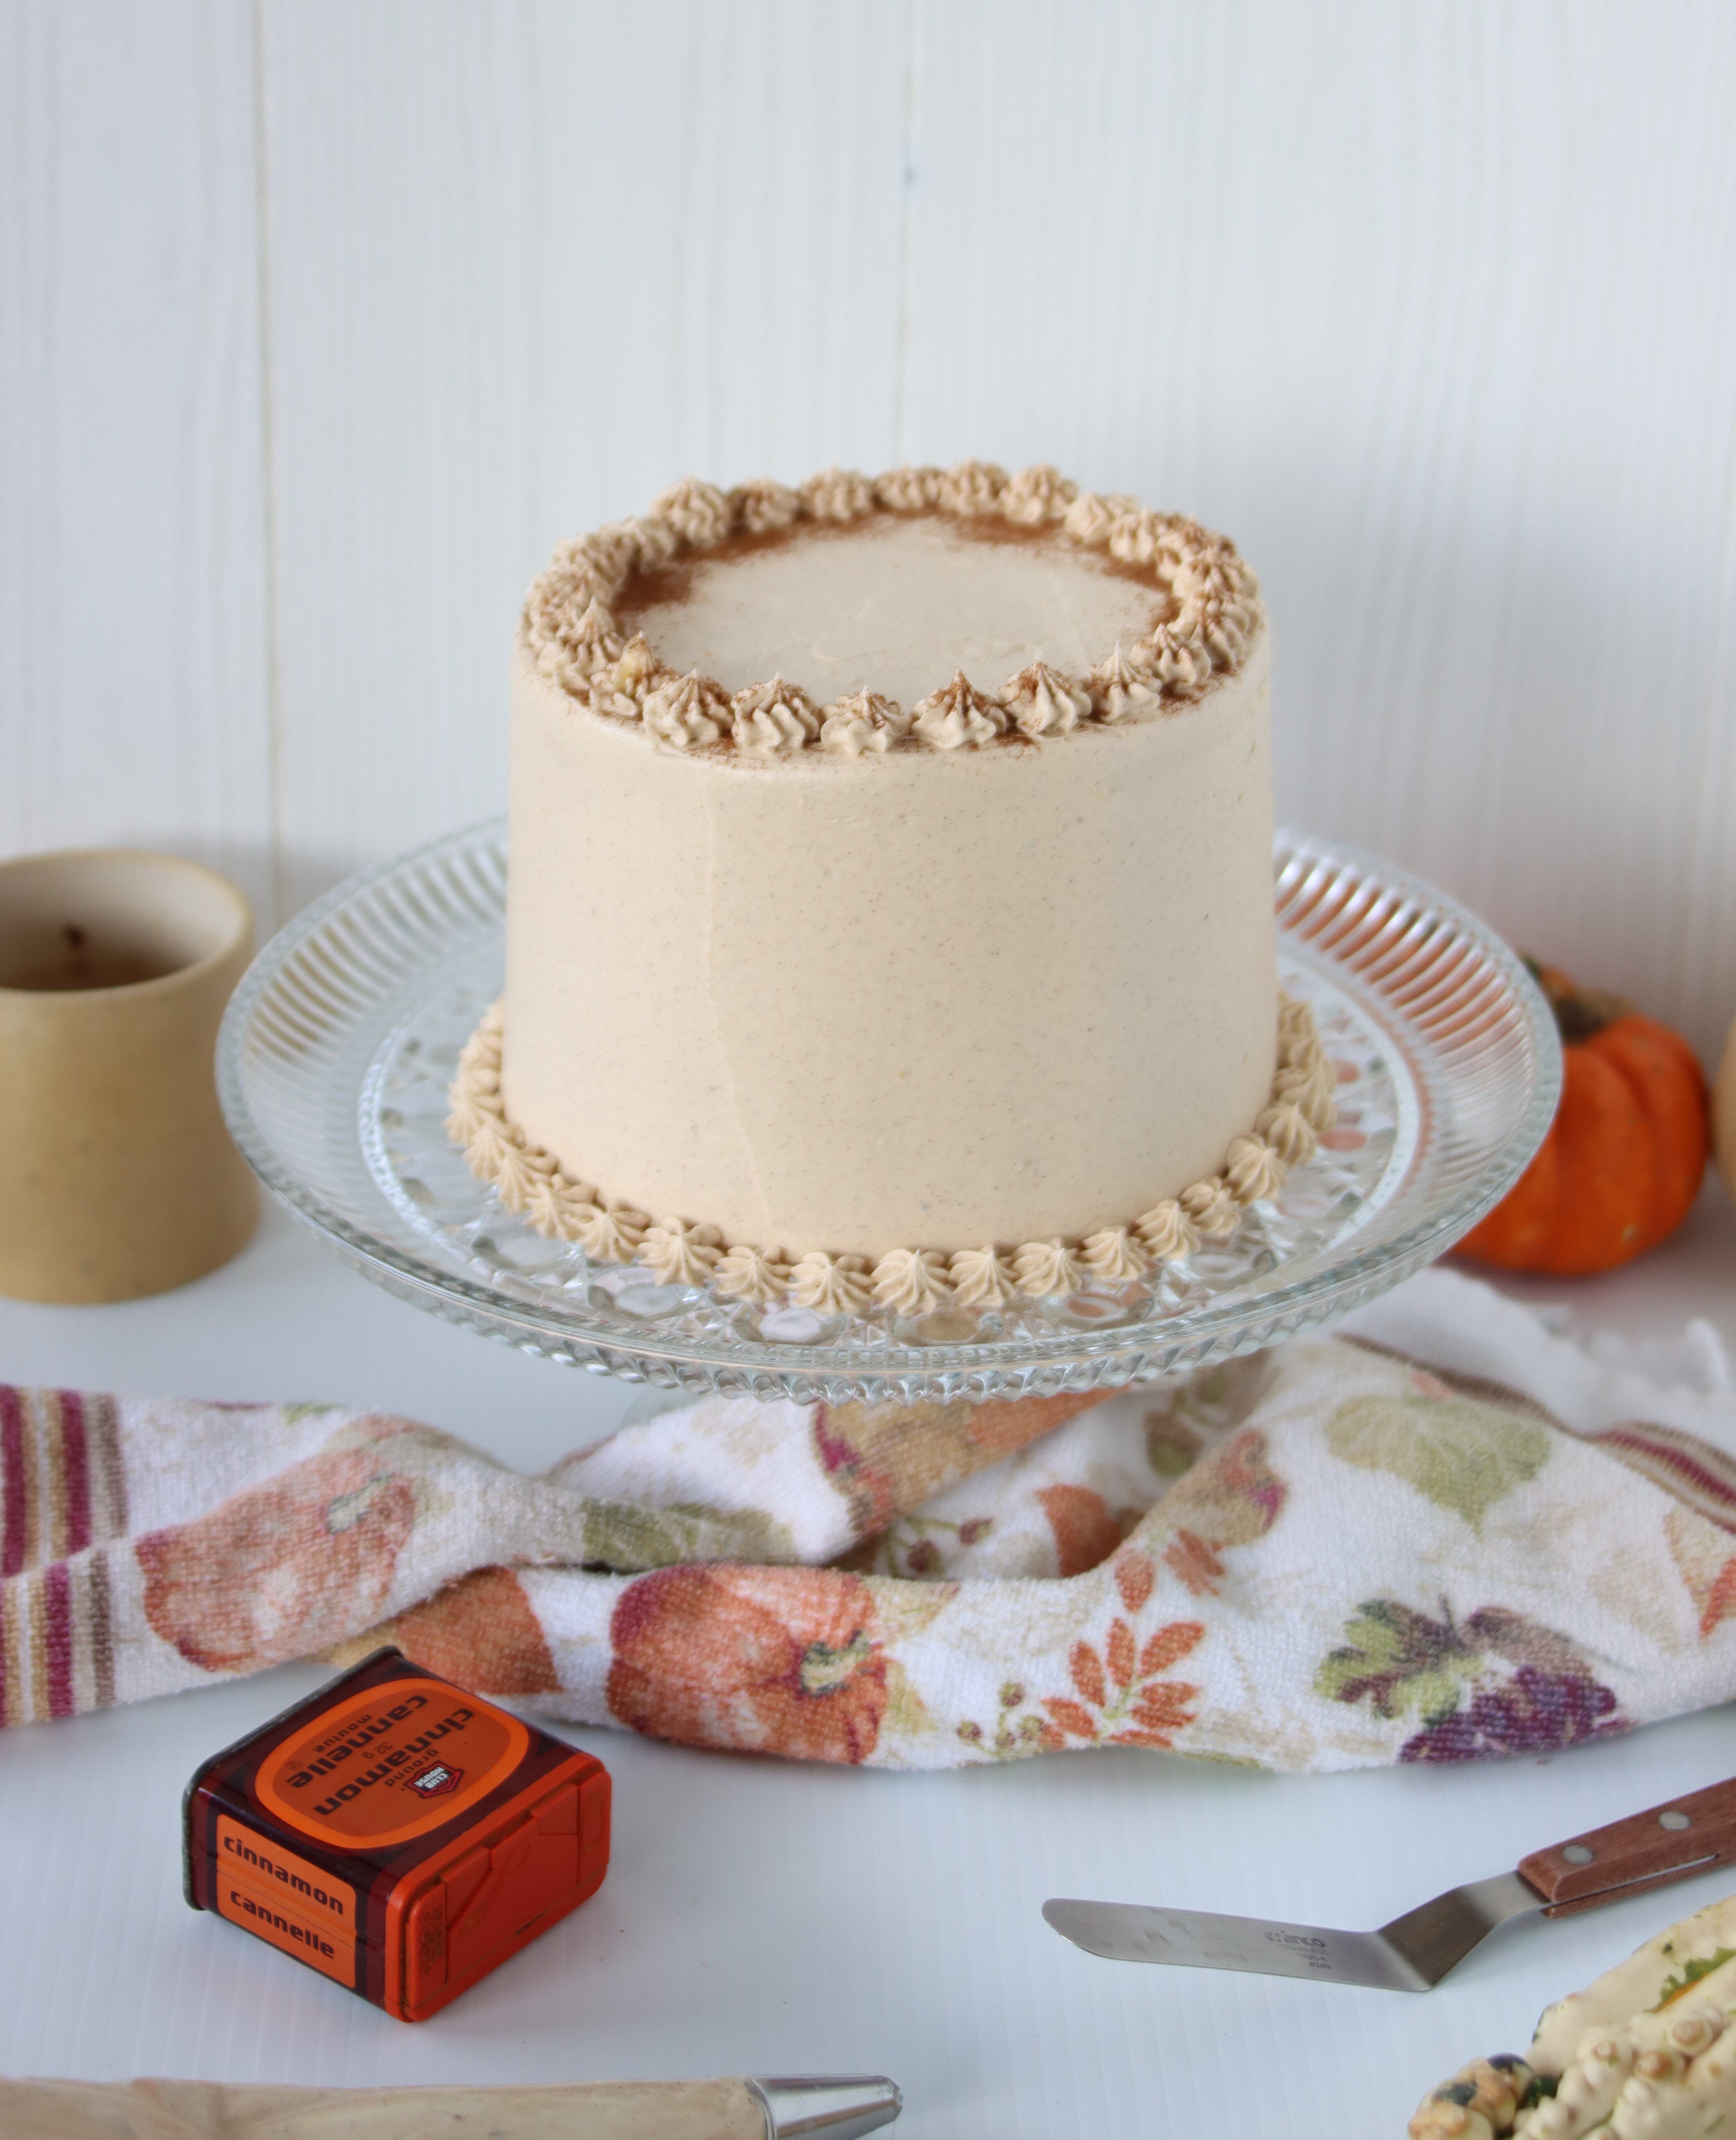
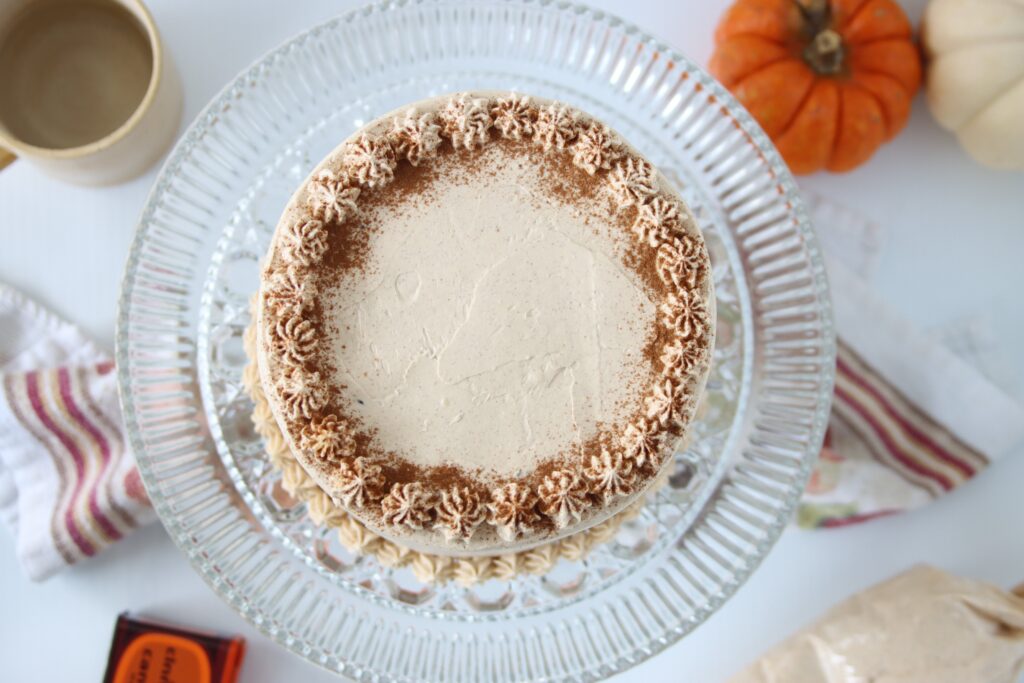
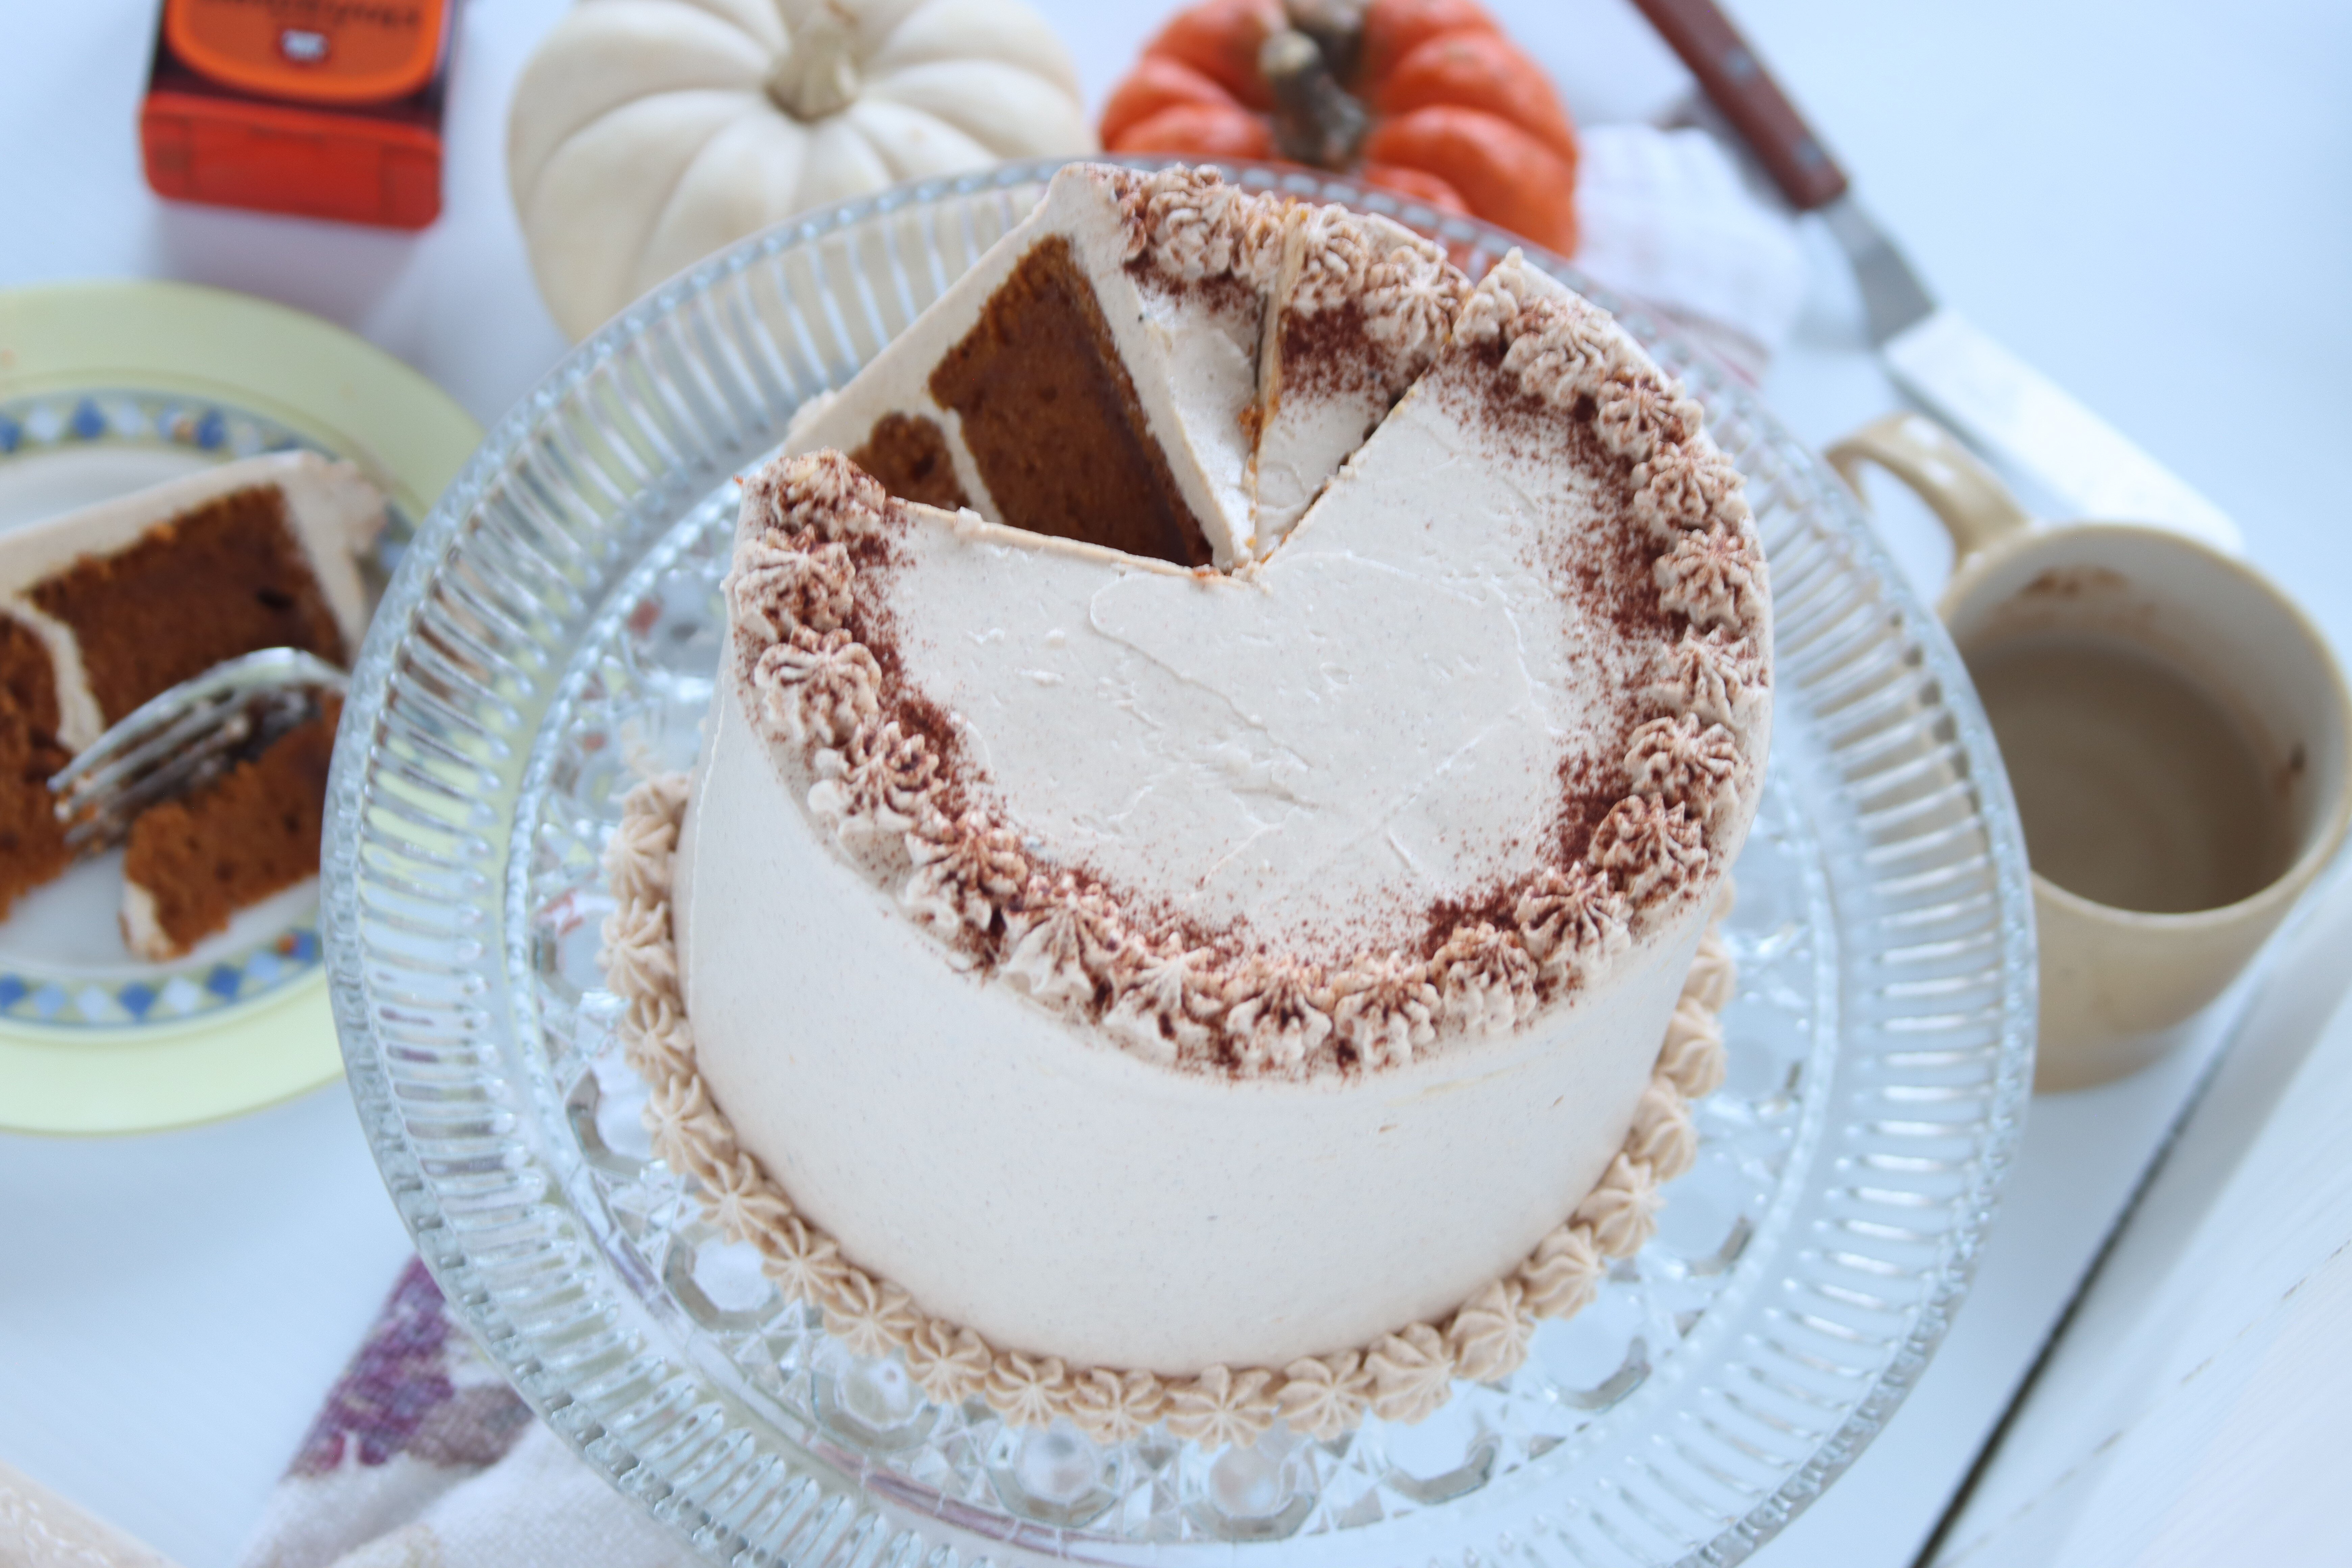
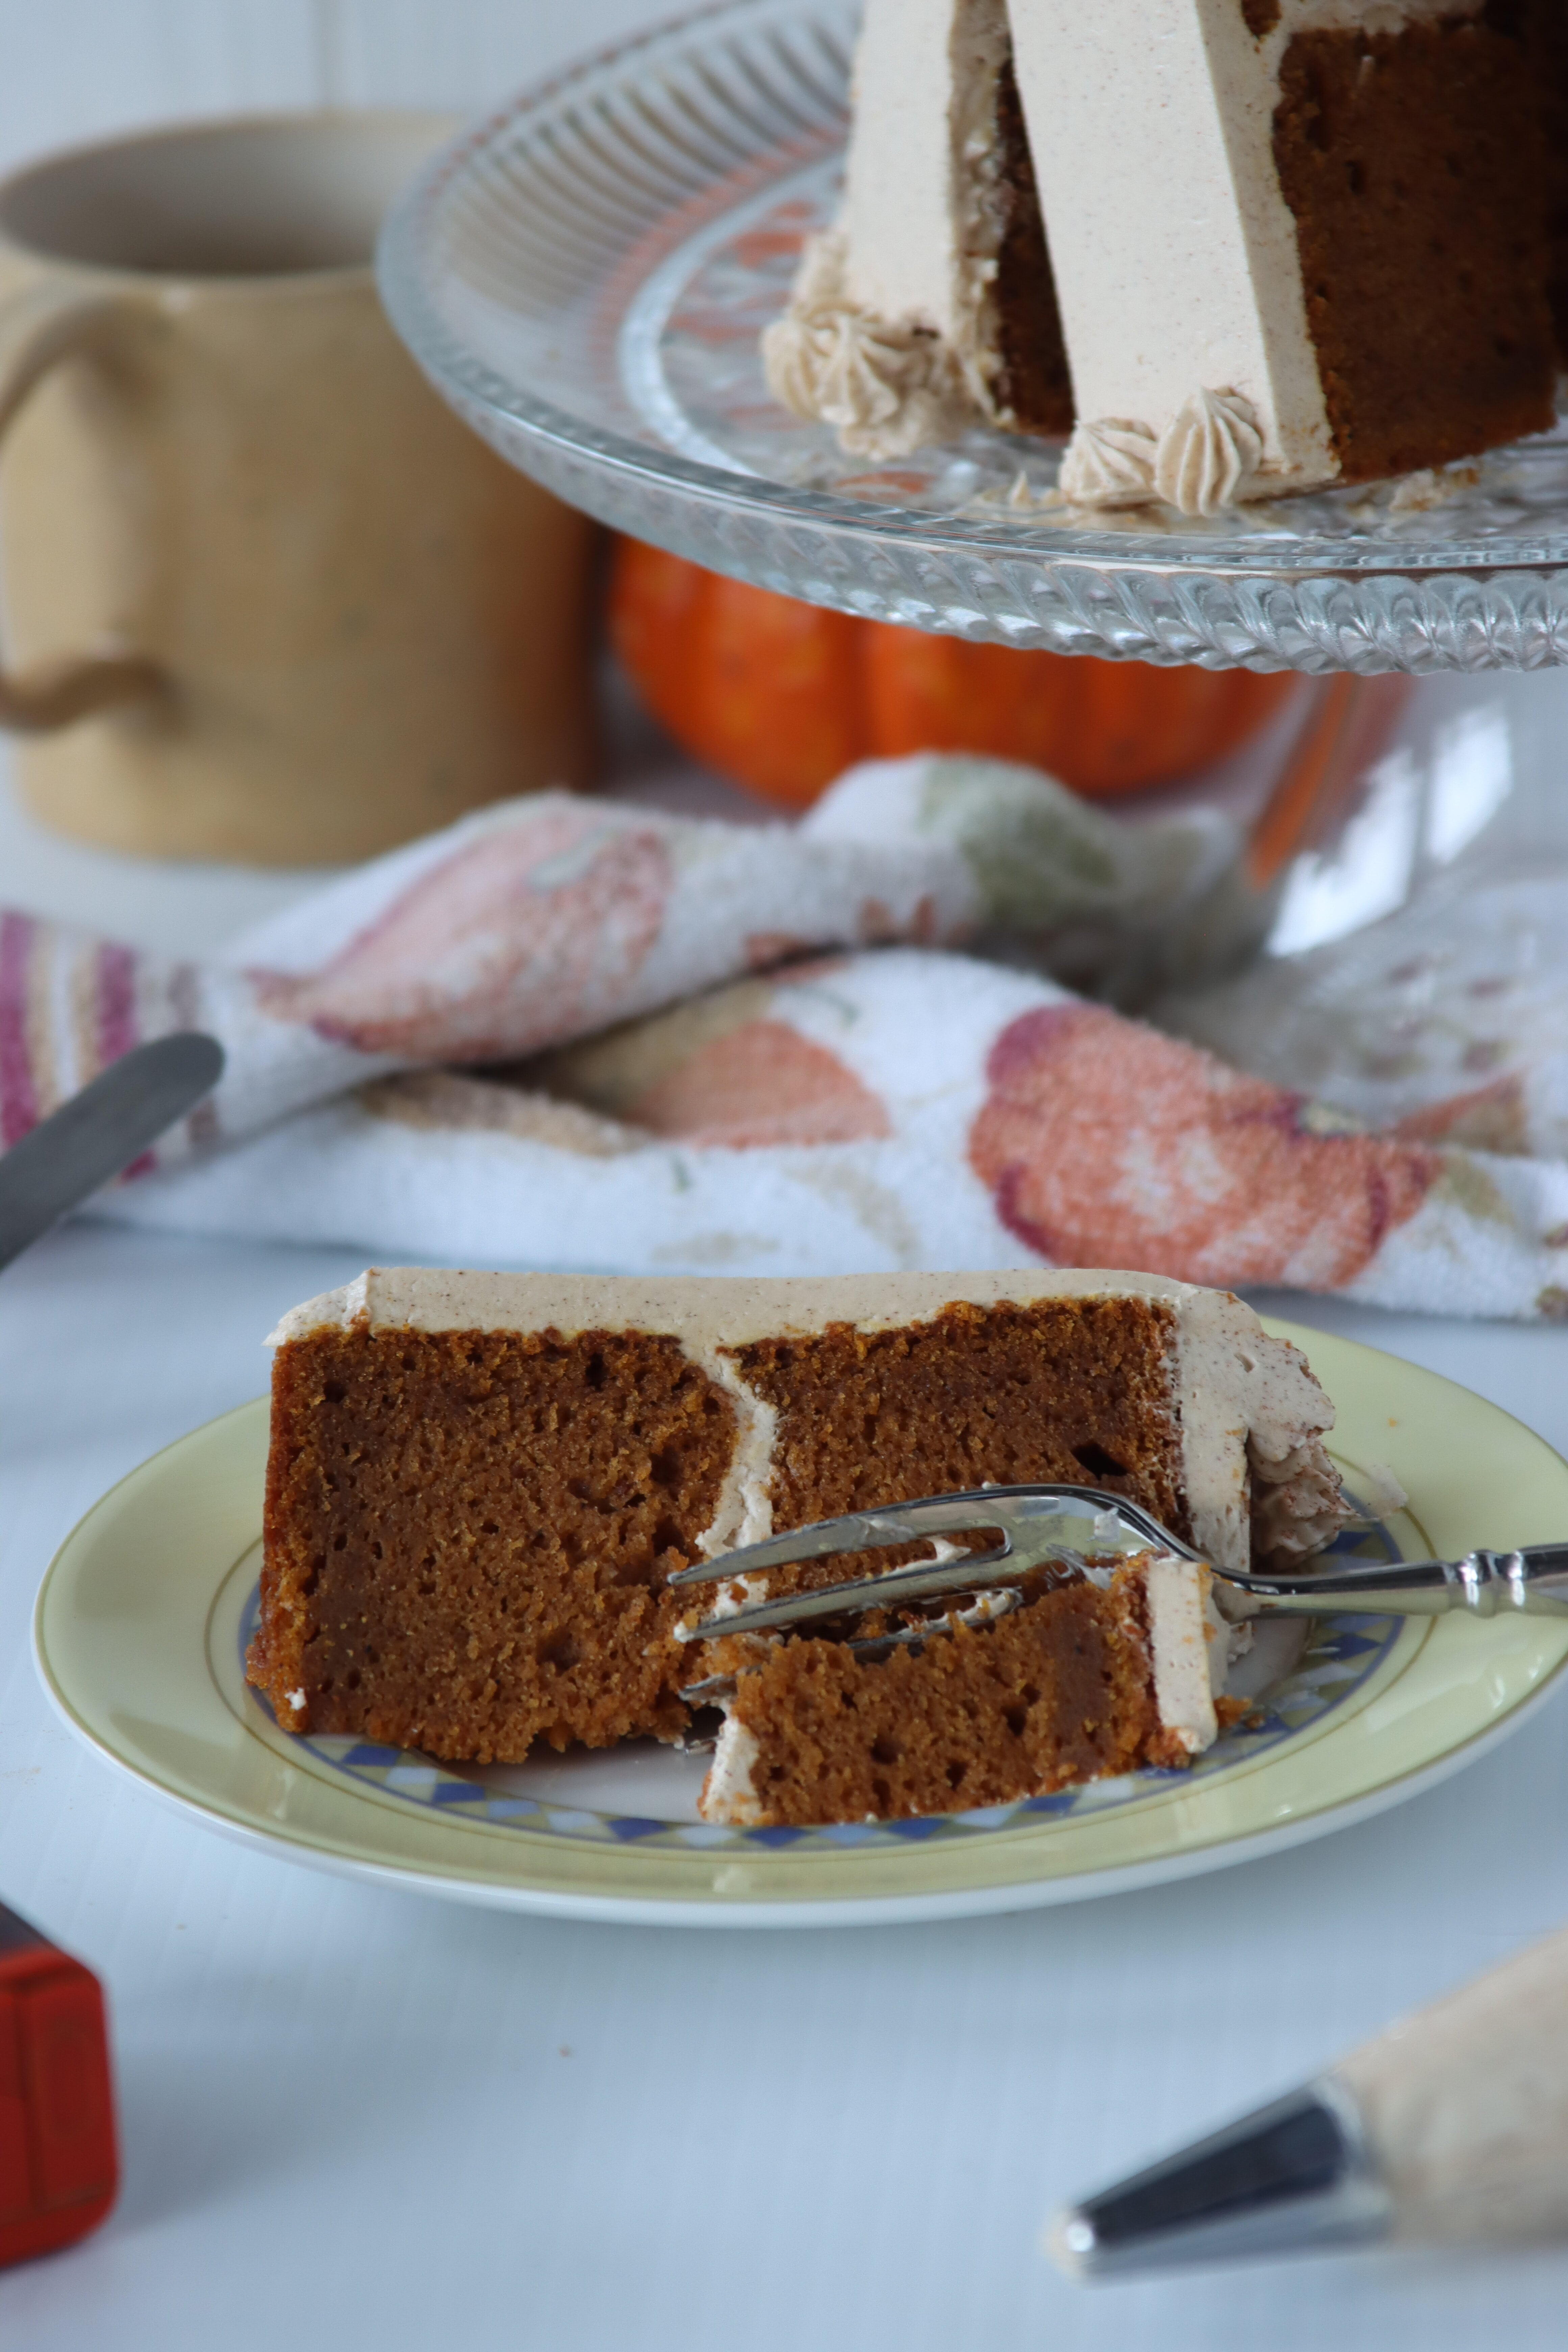
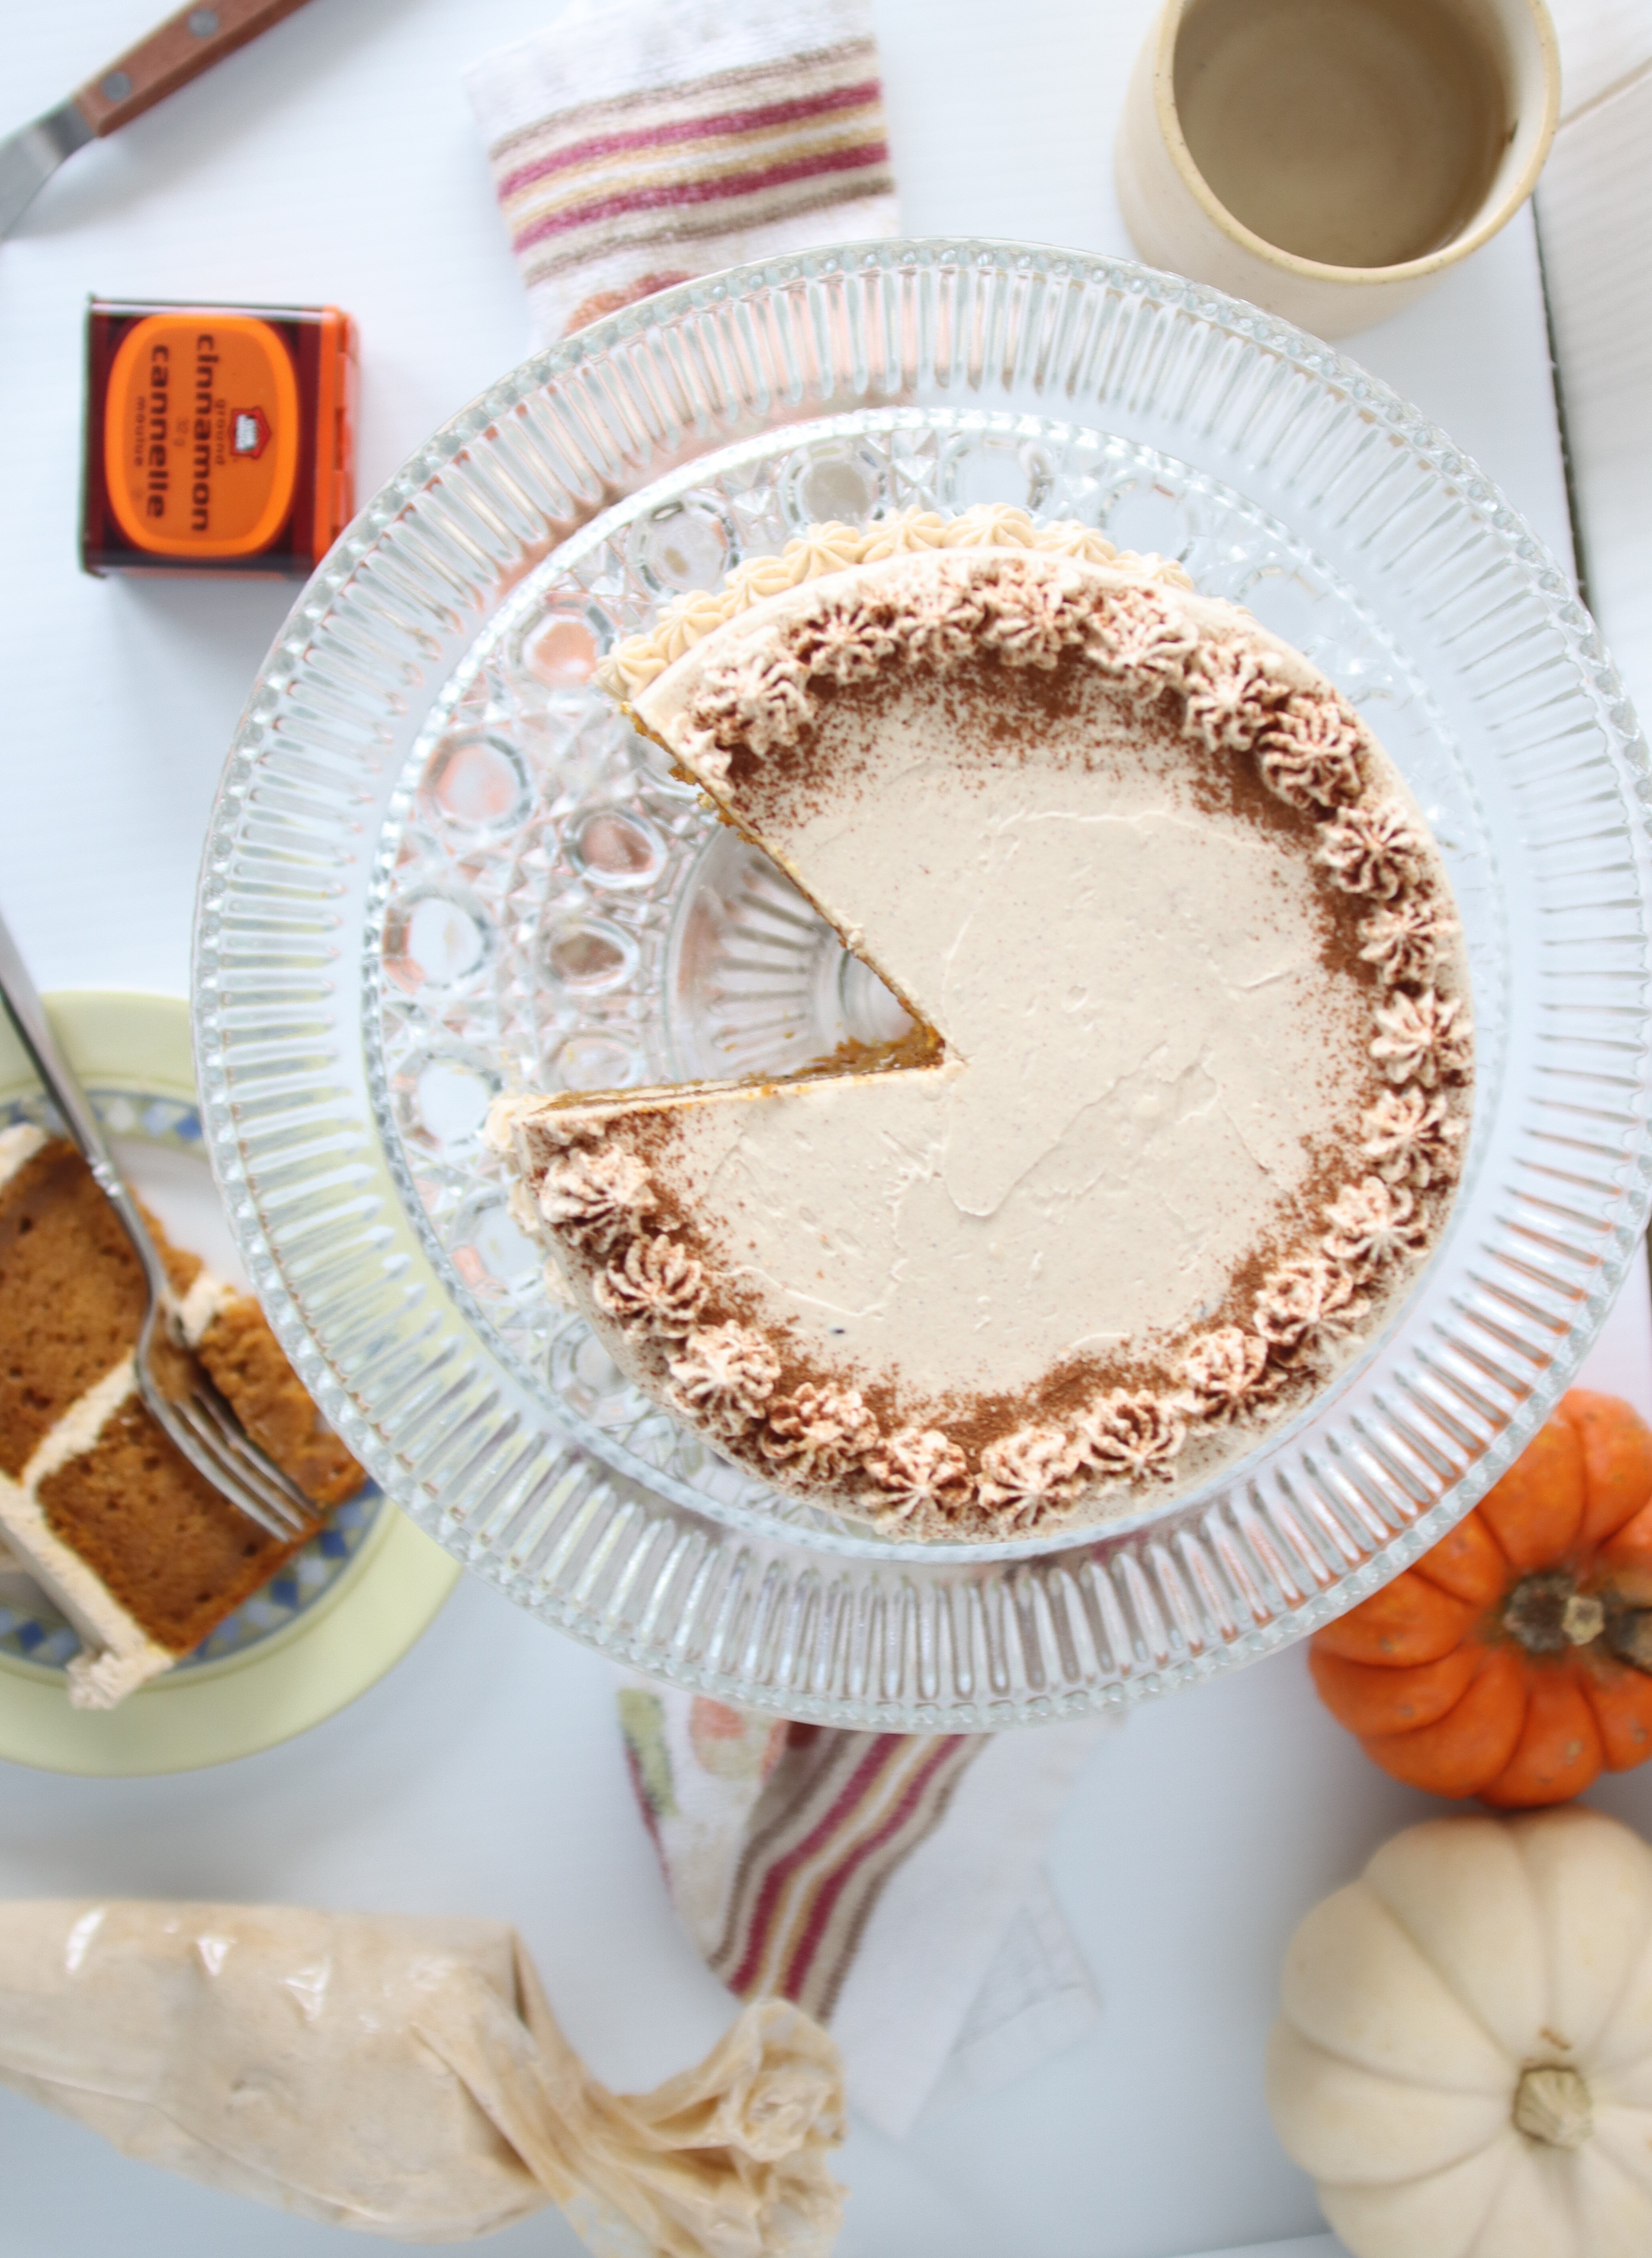
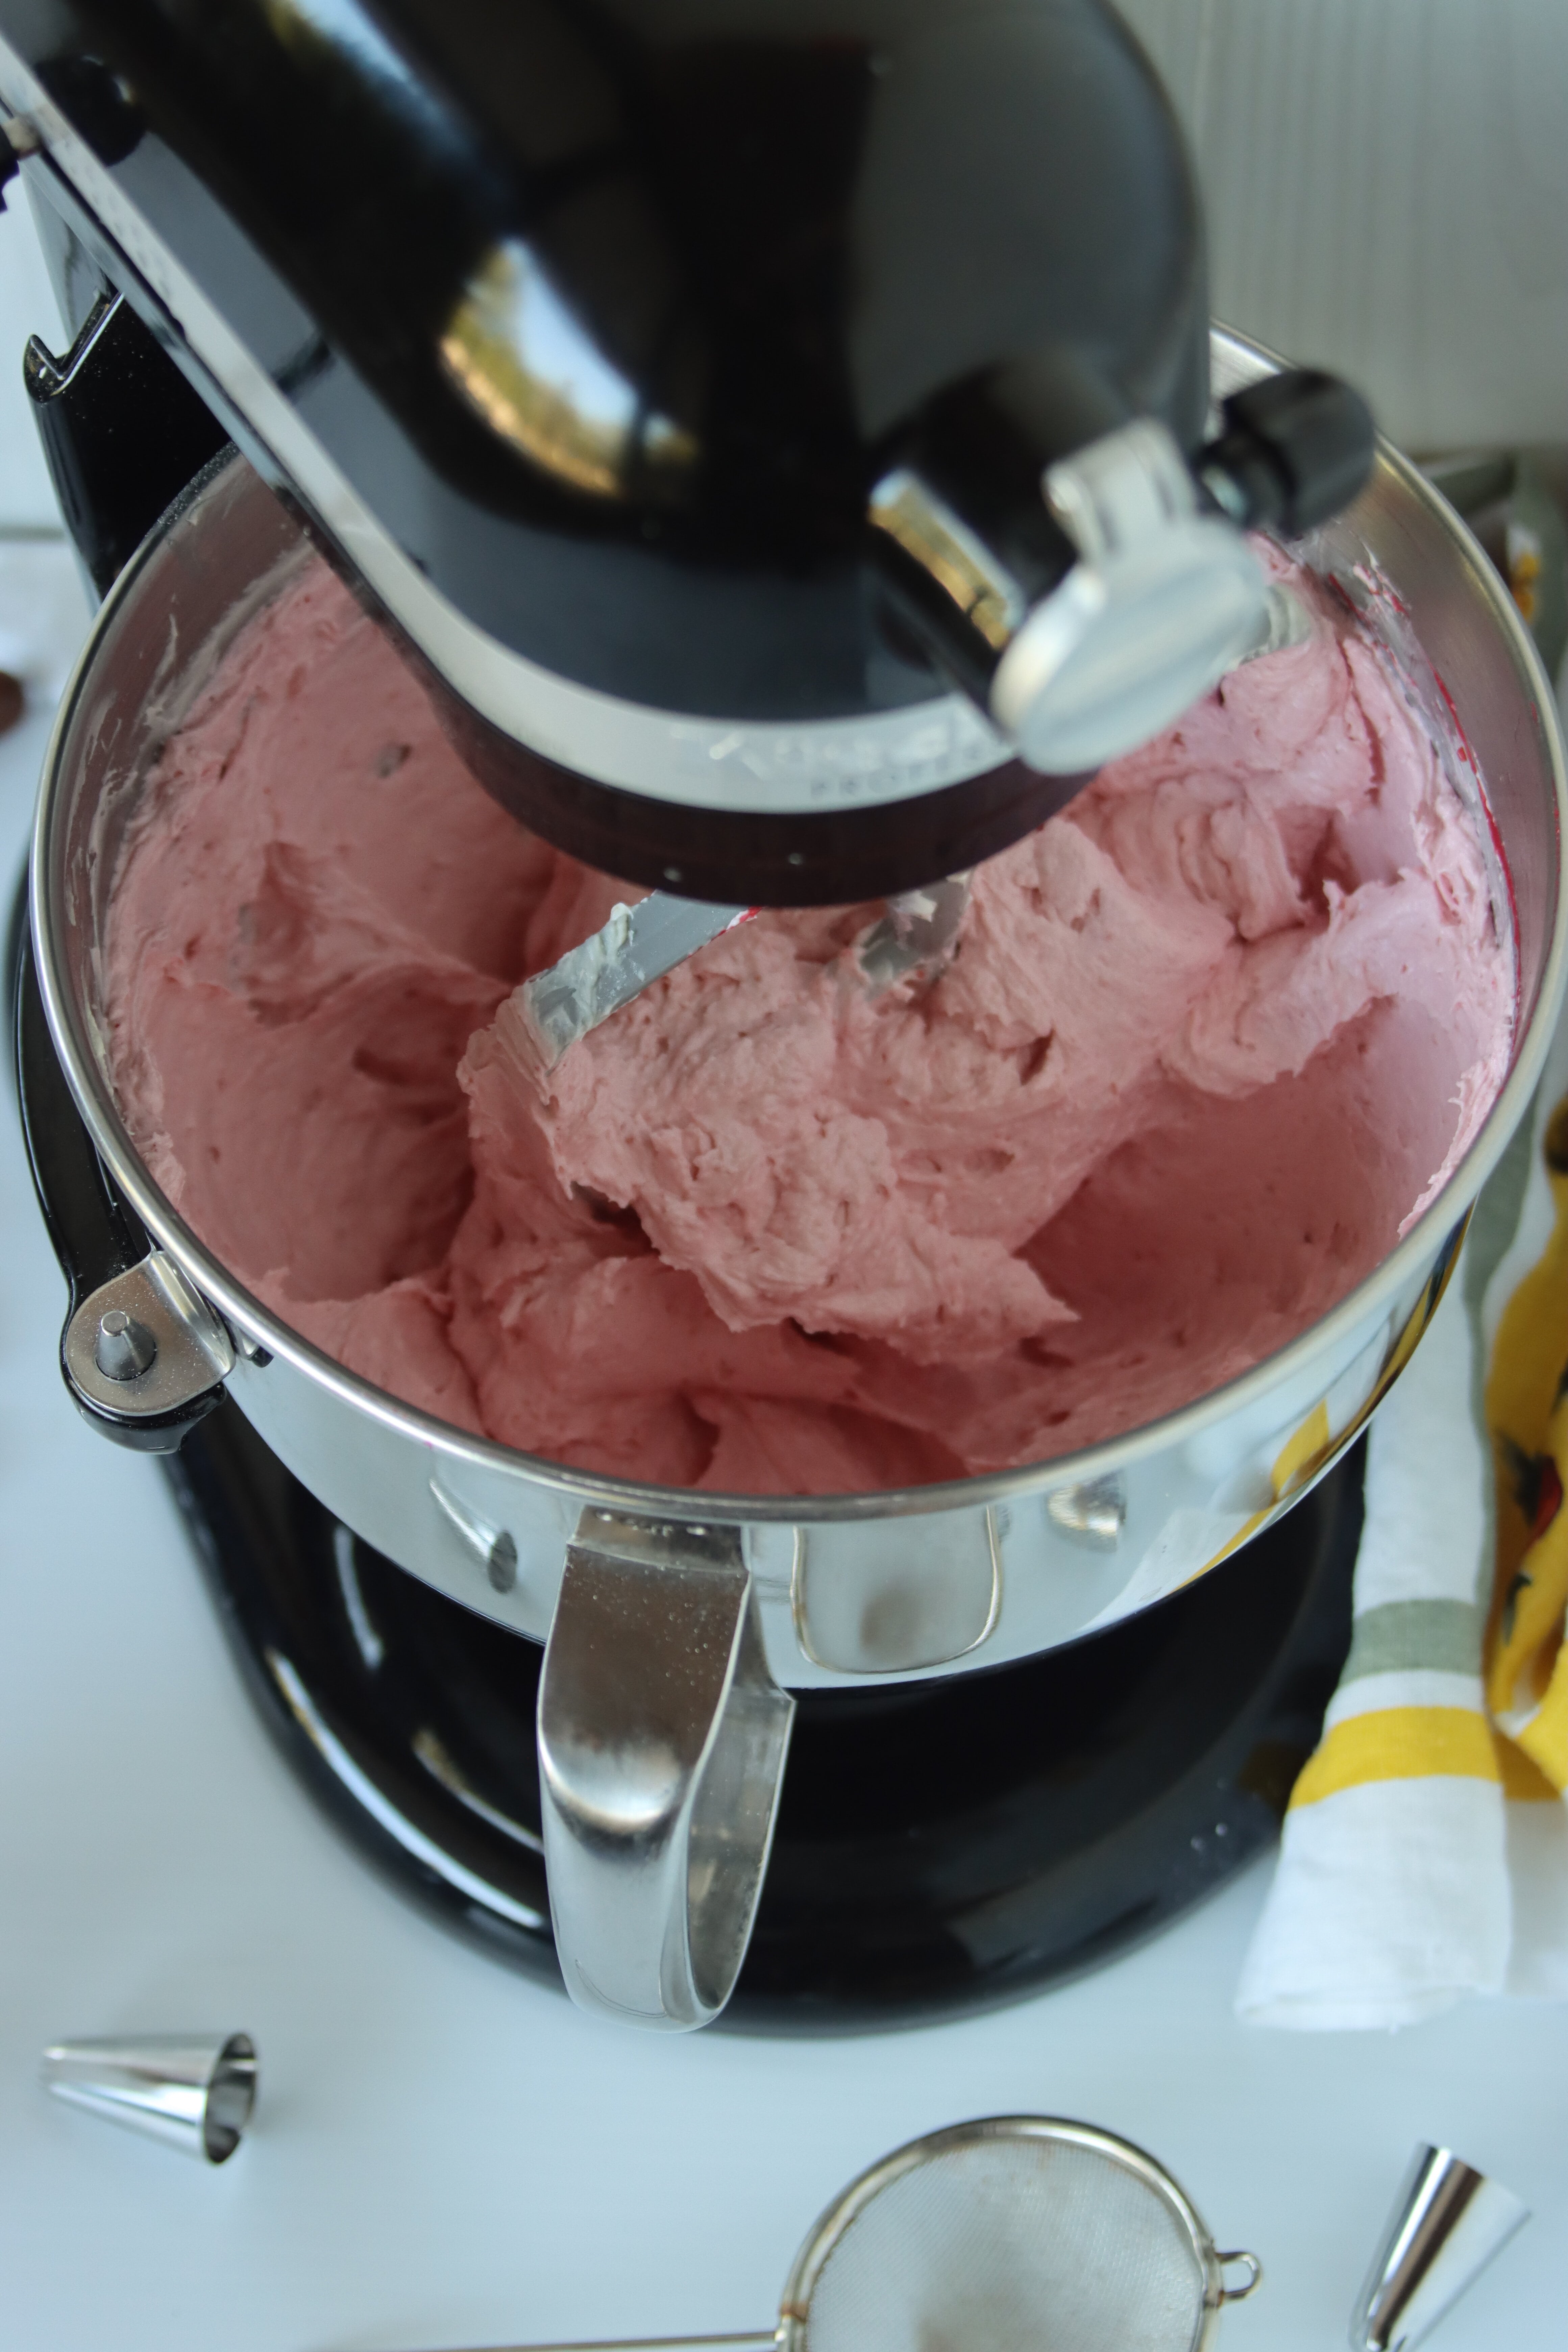
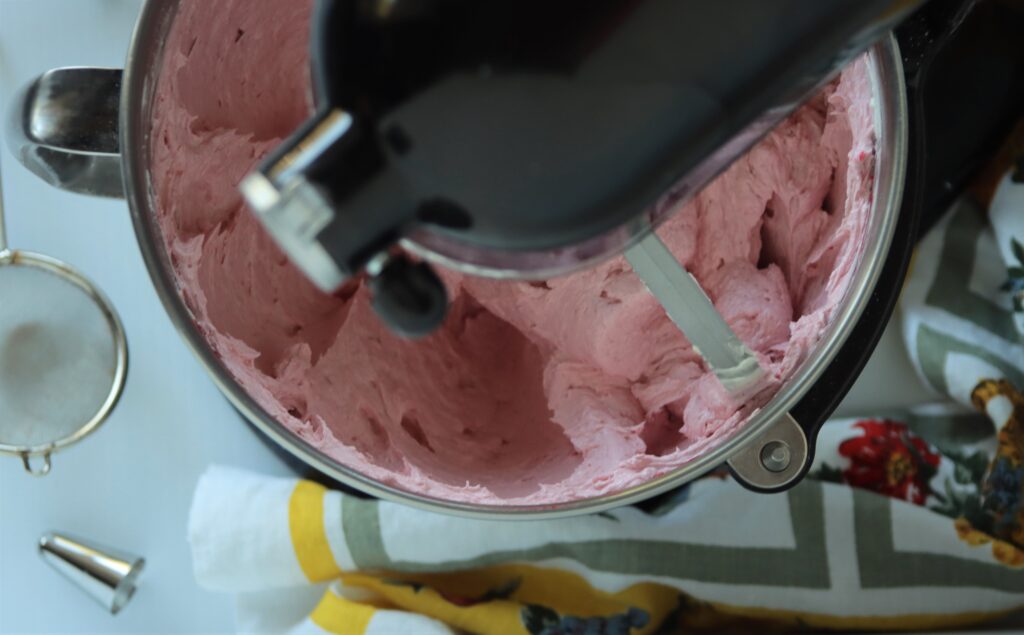
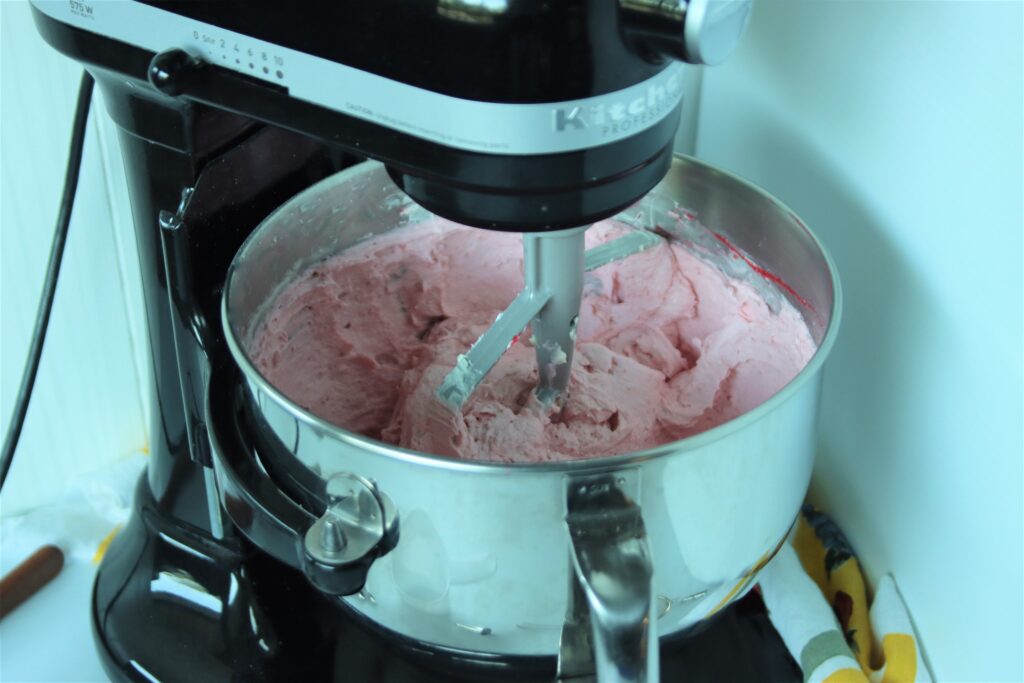
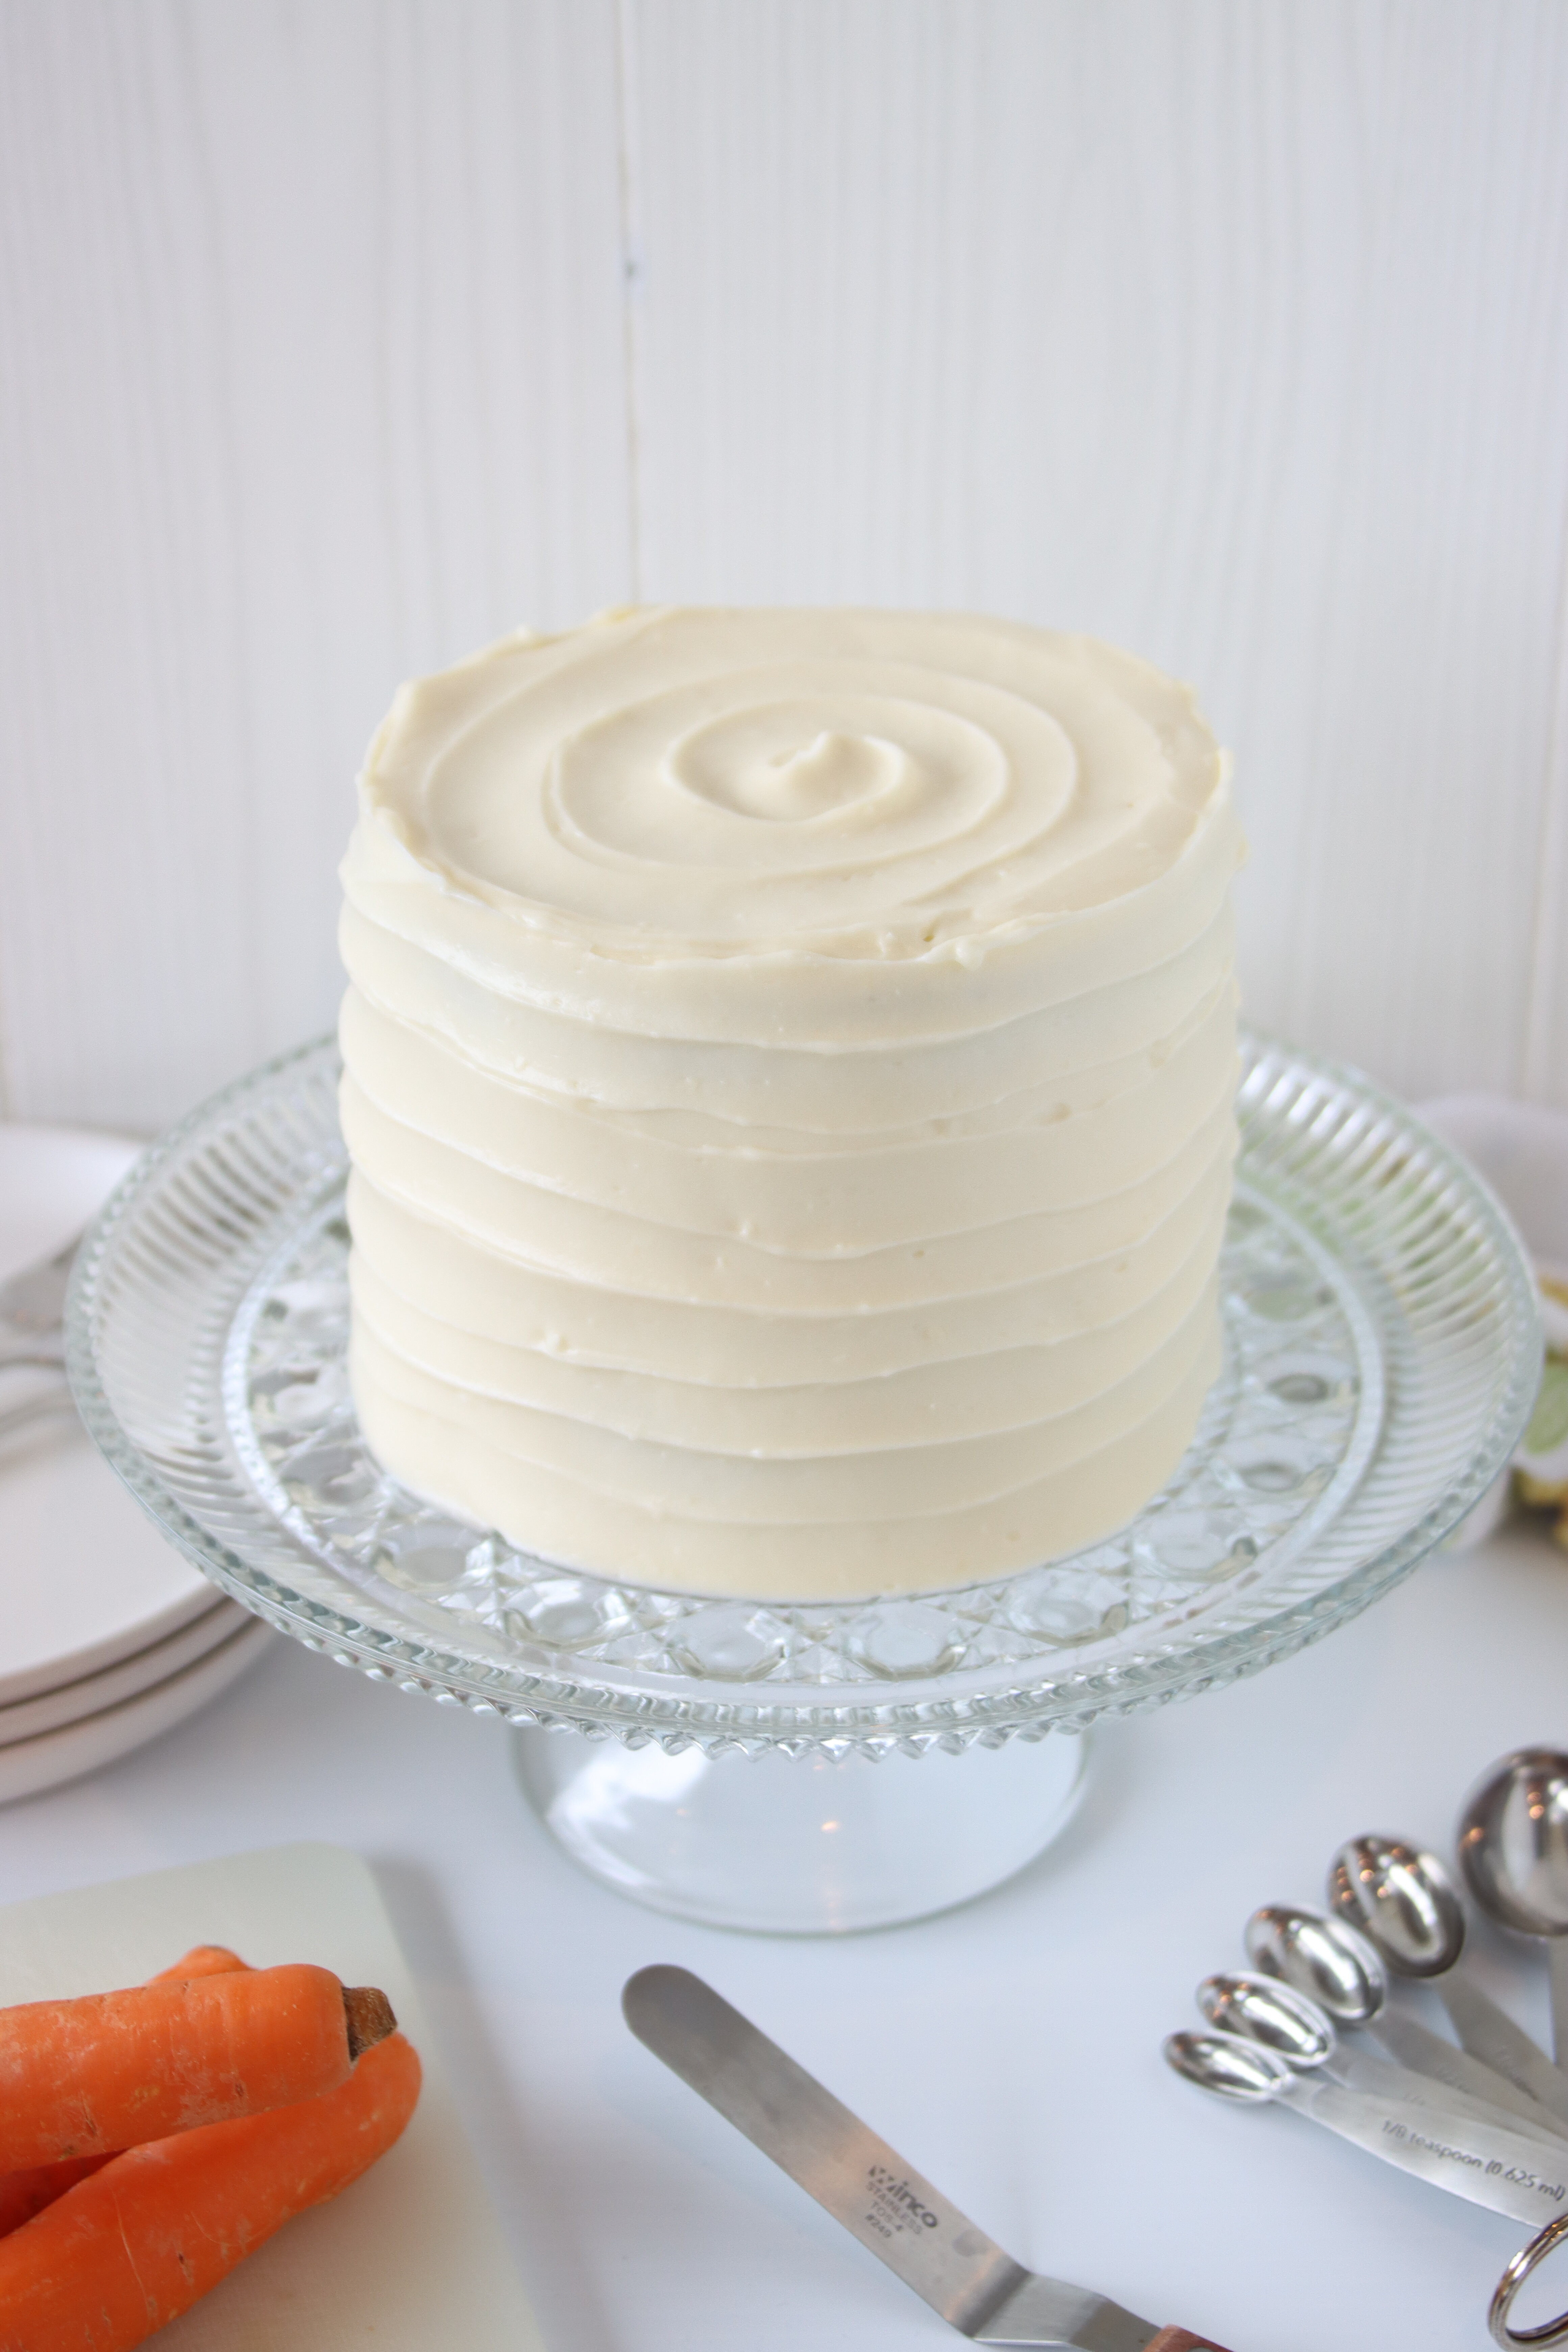
Pairing the Best Carrot Cake
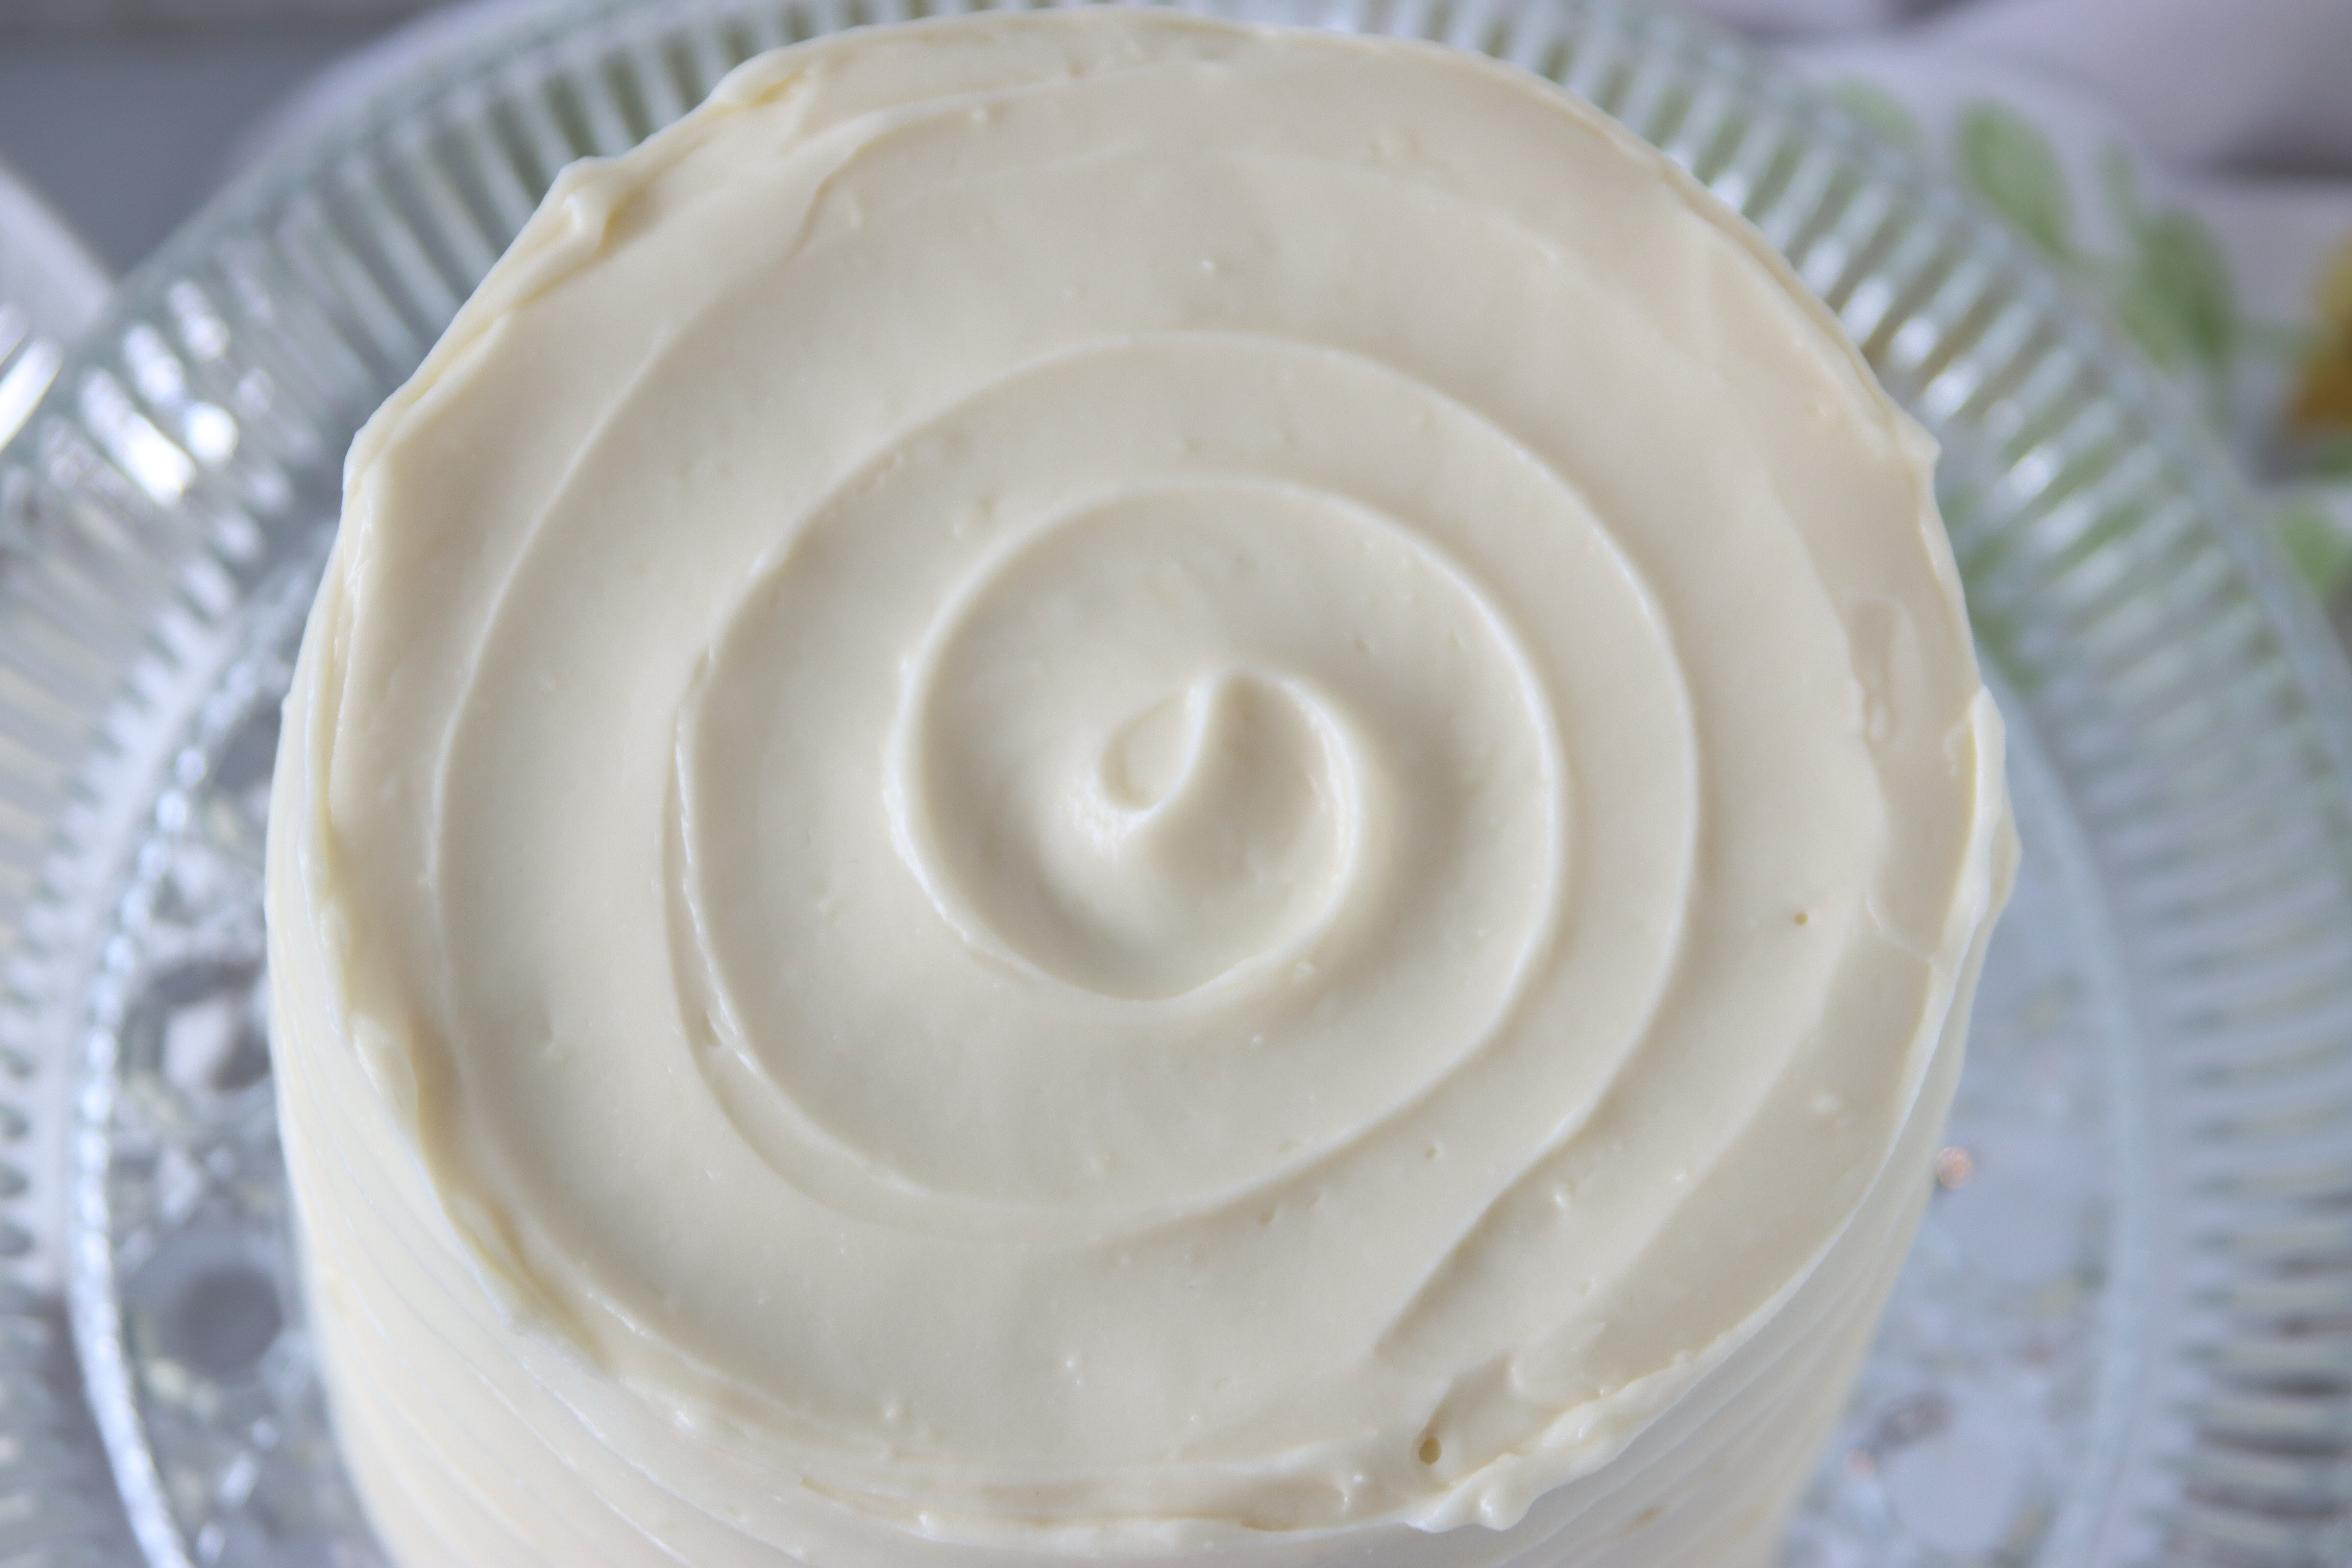
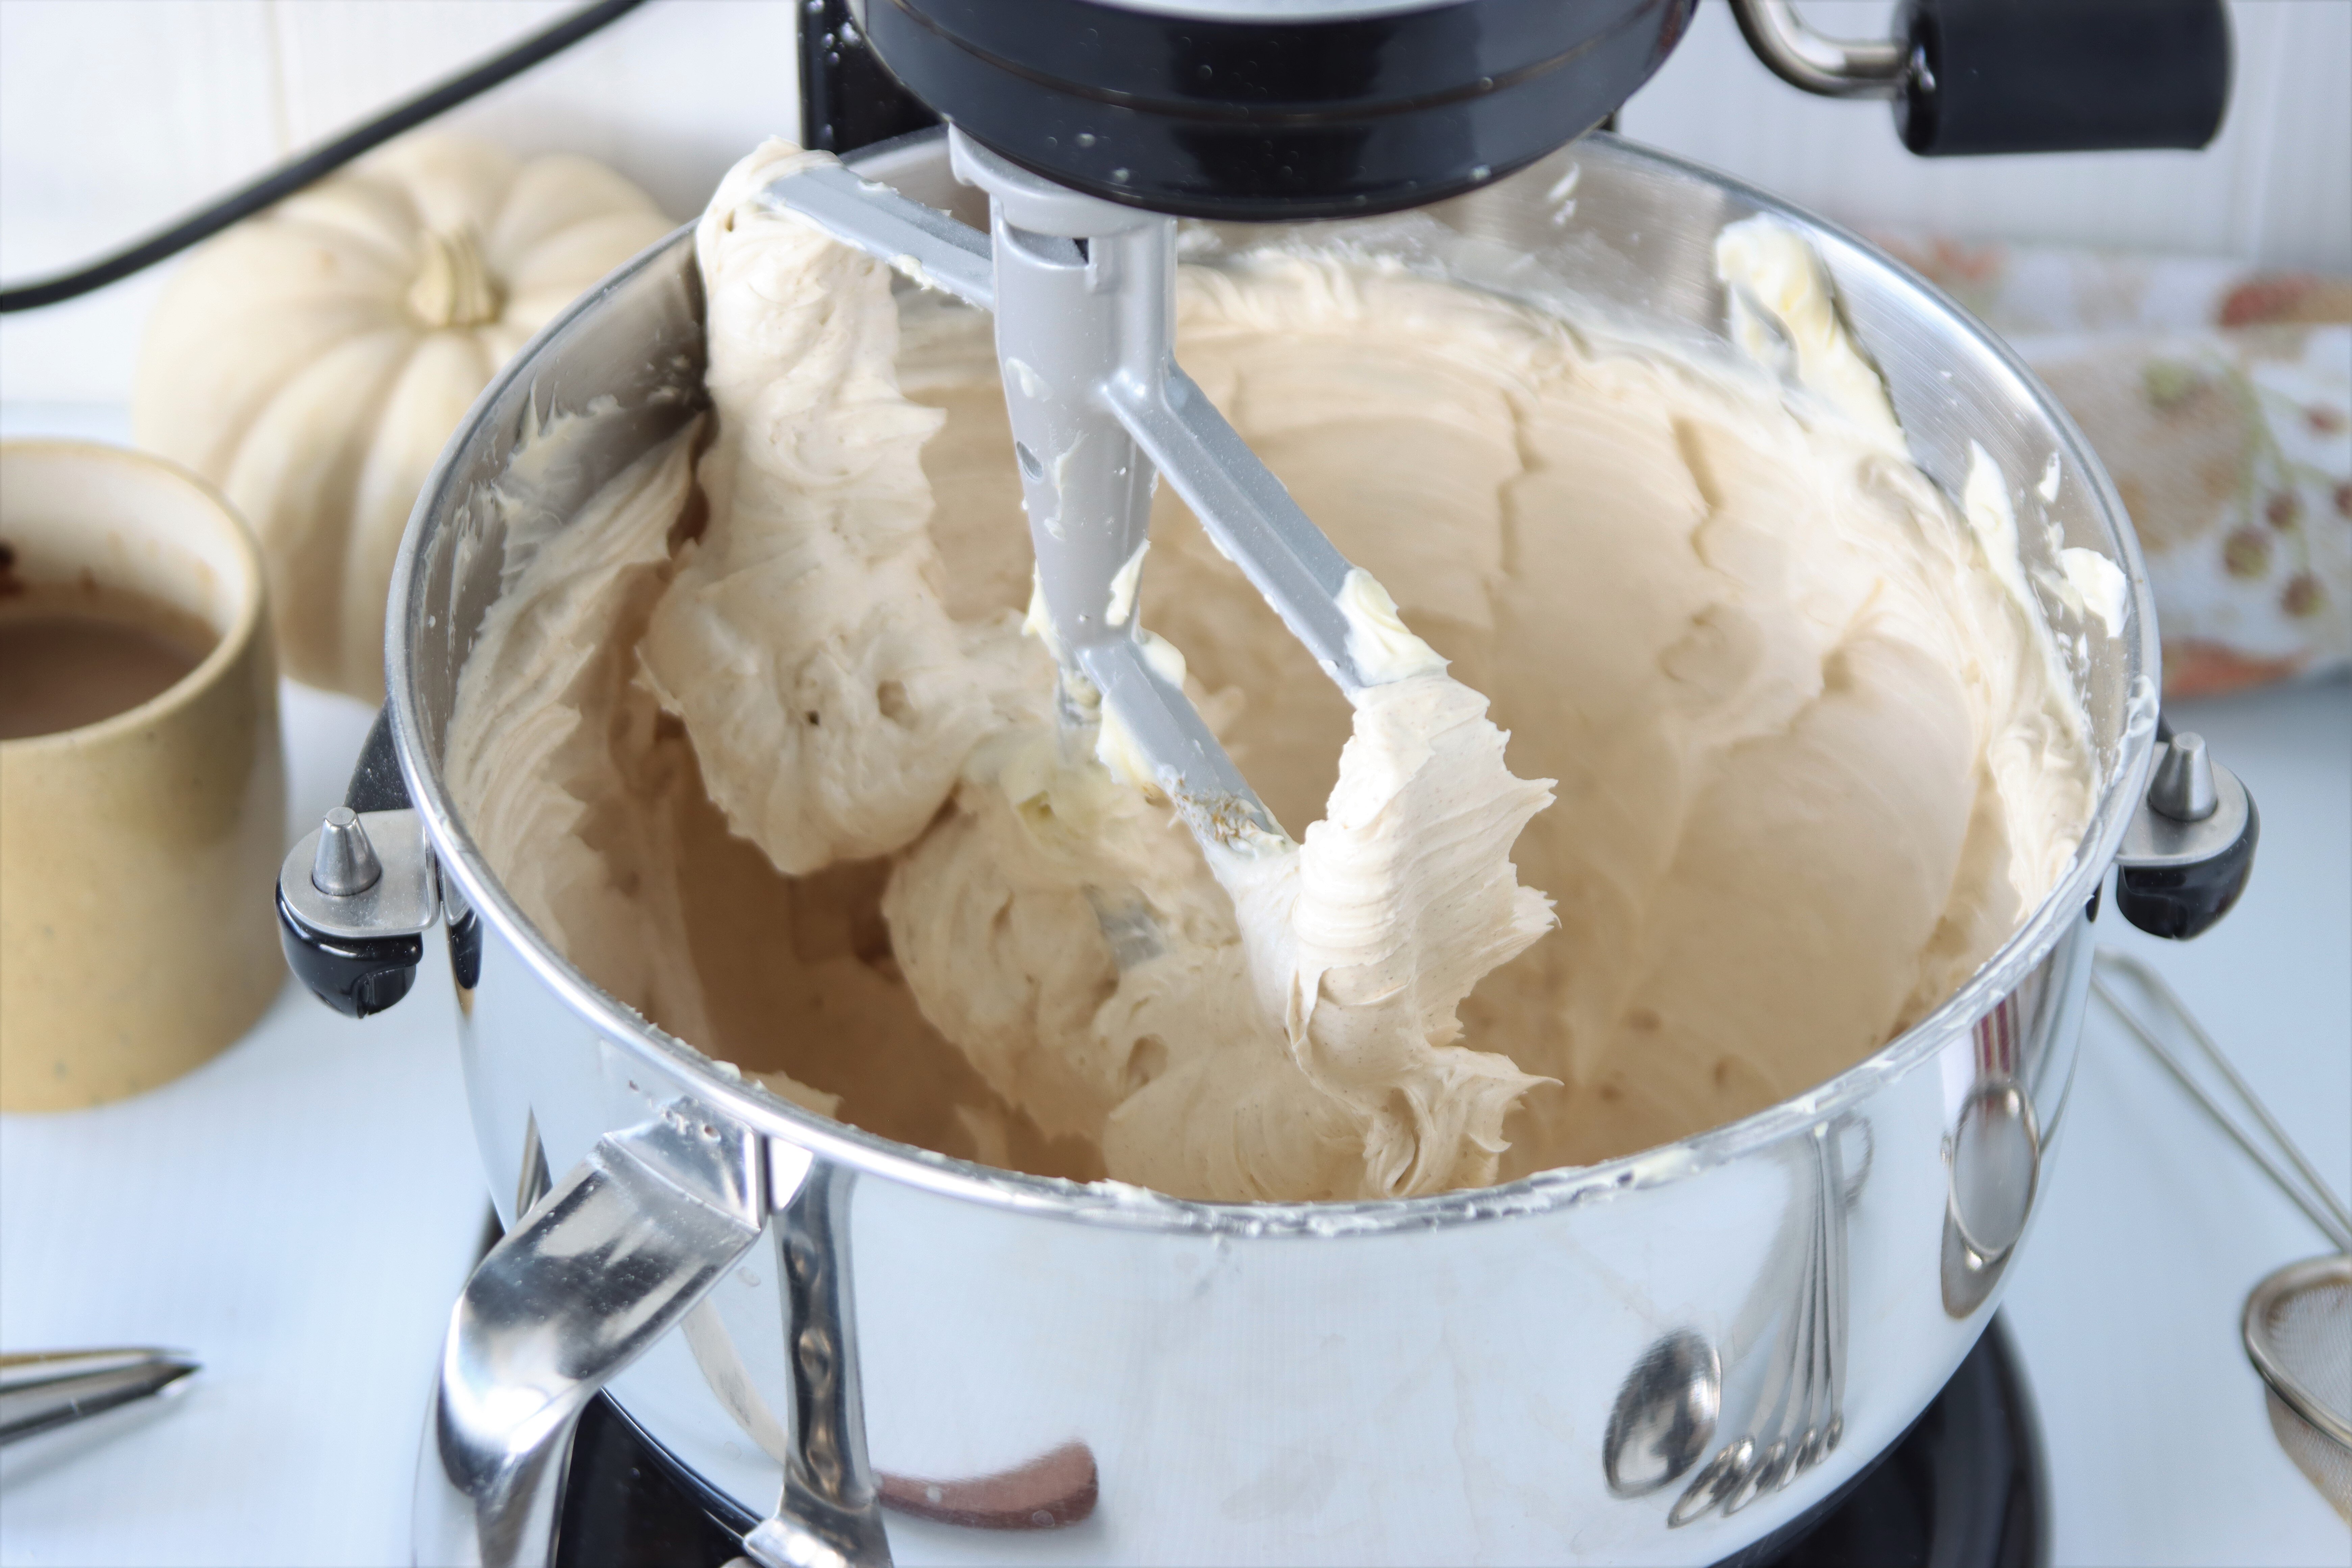
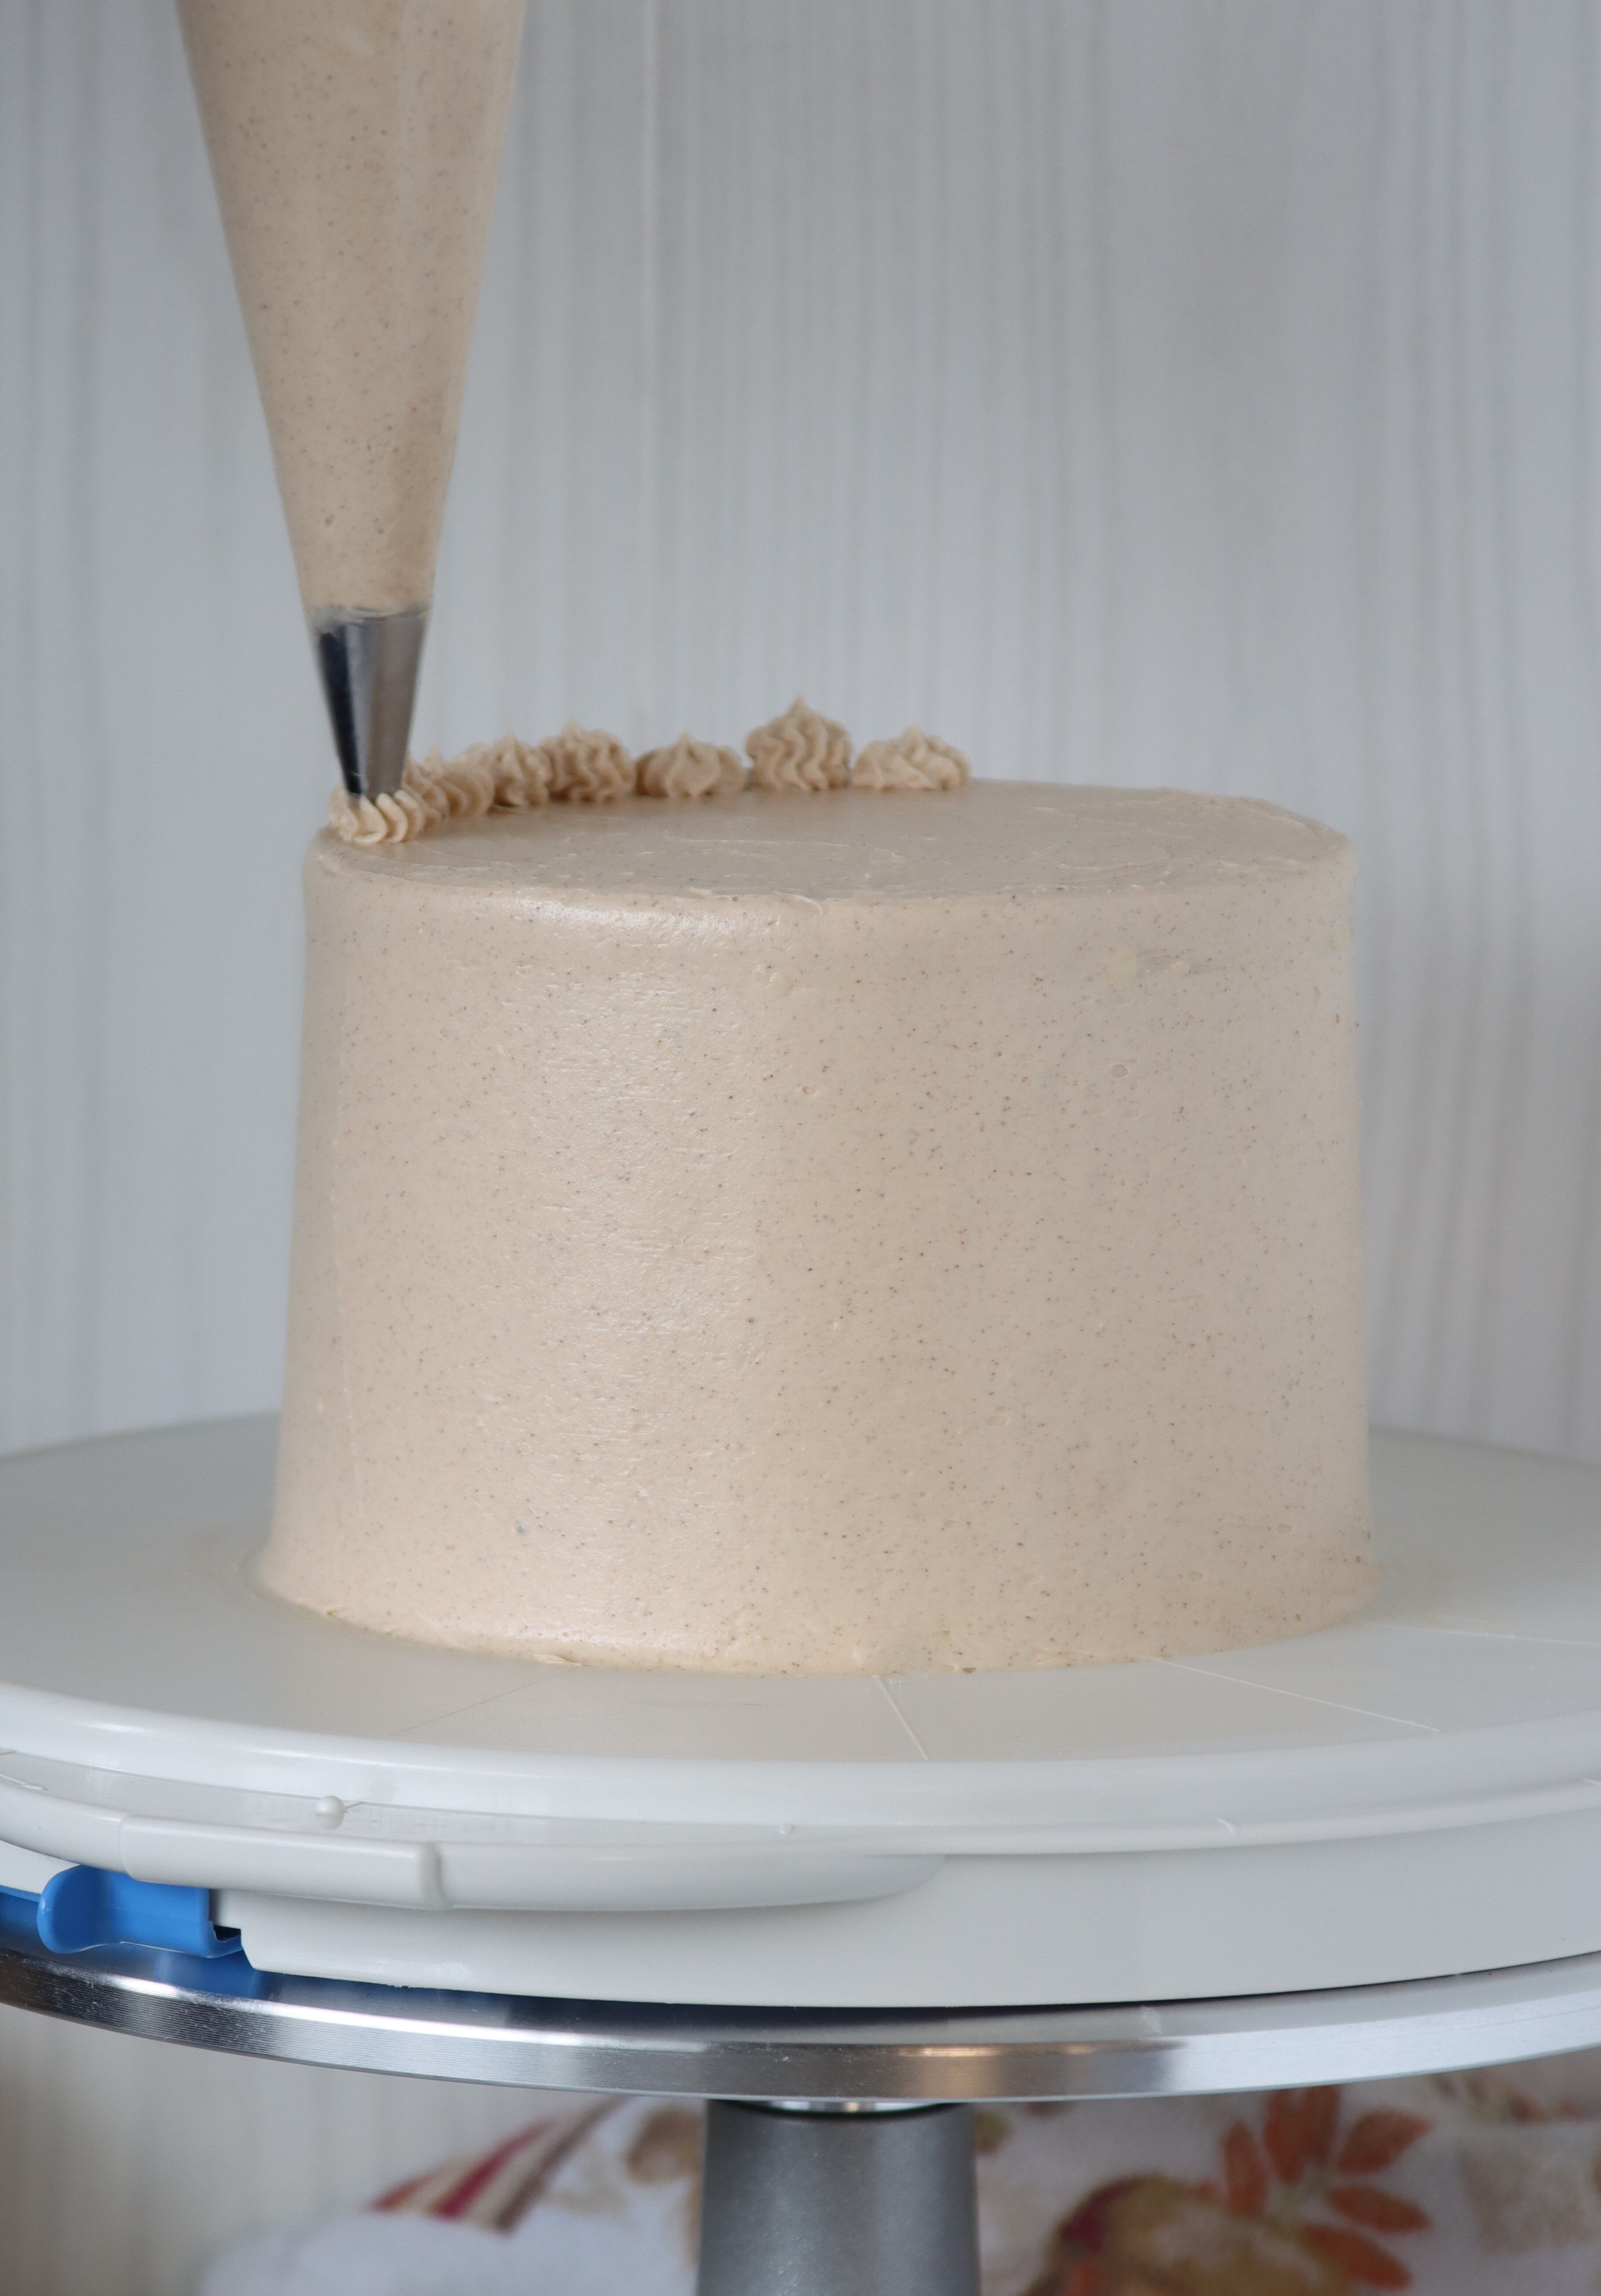
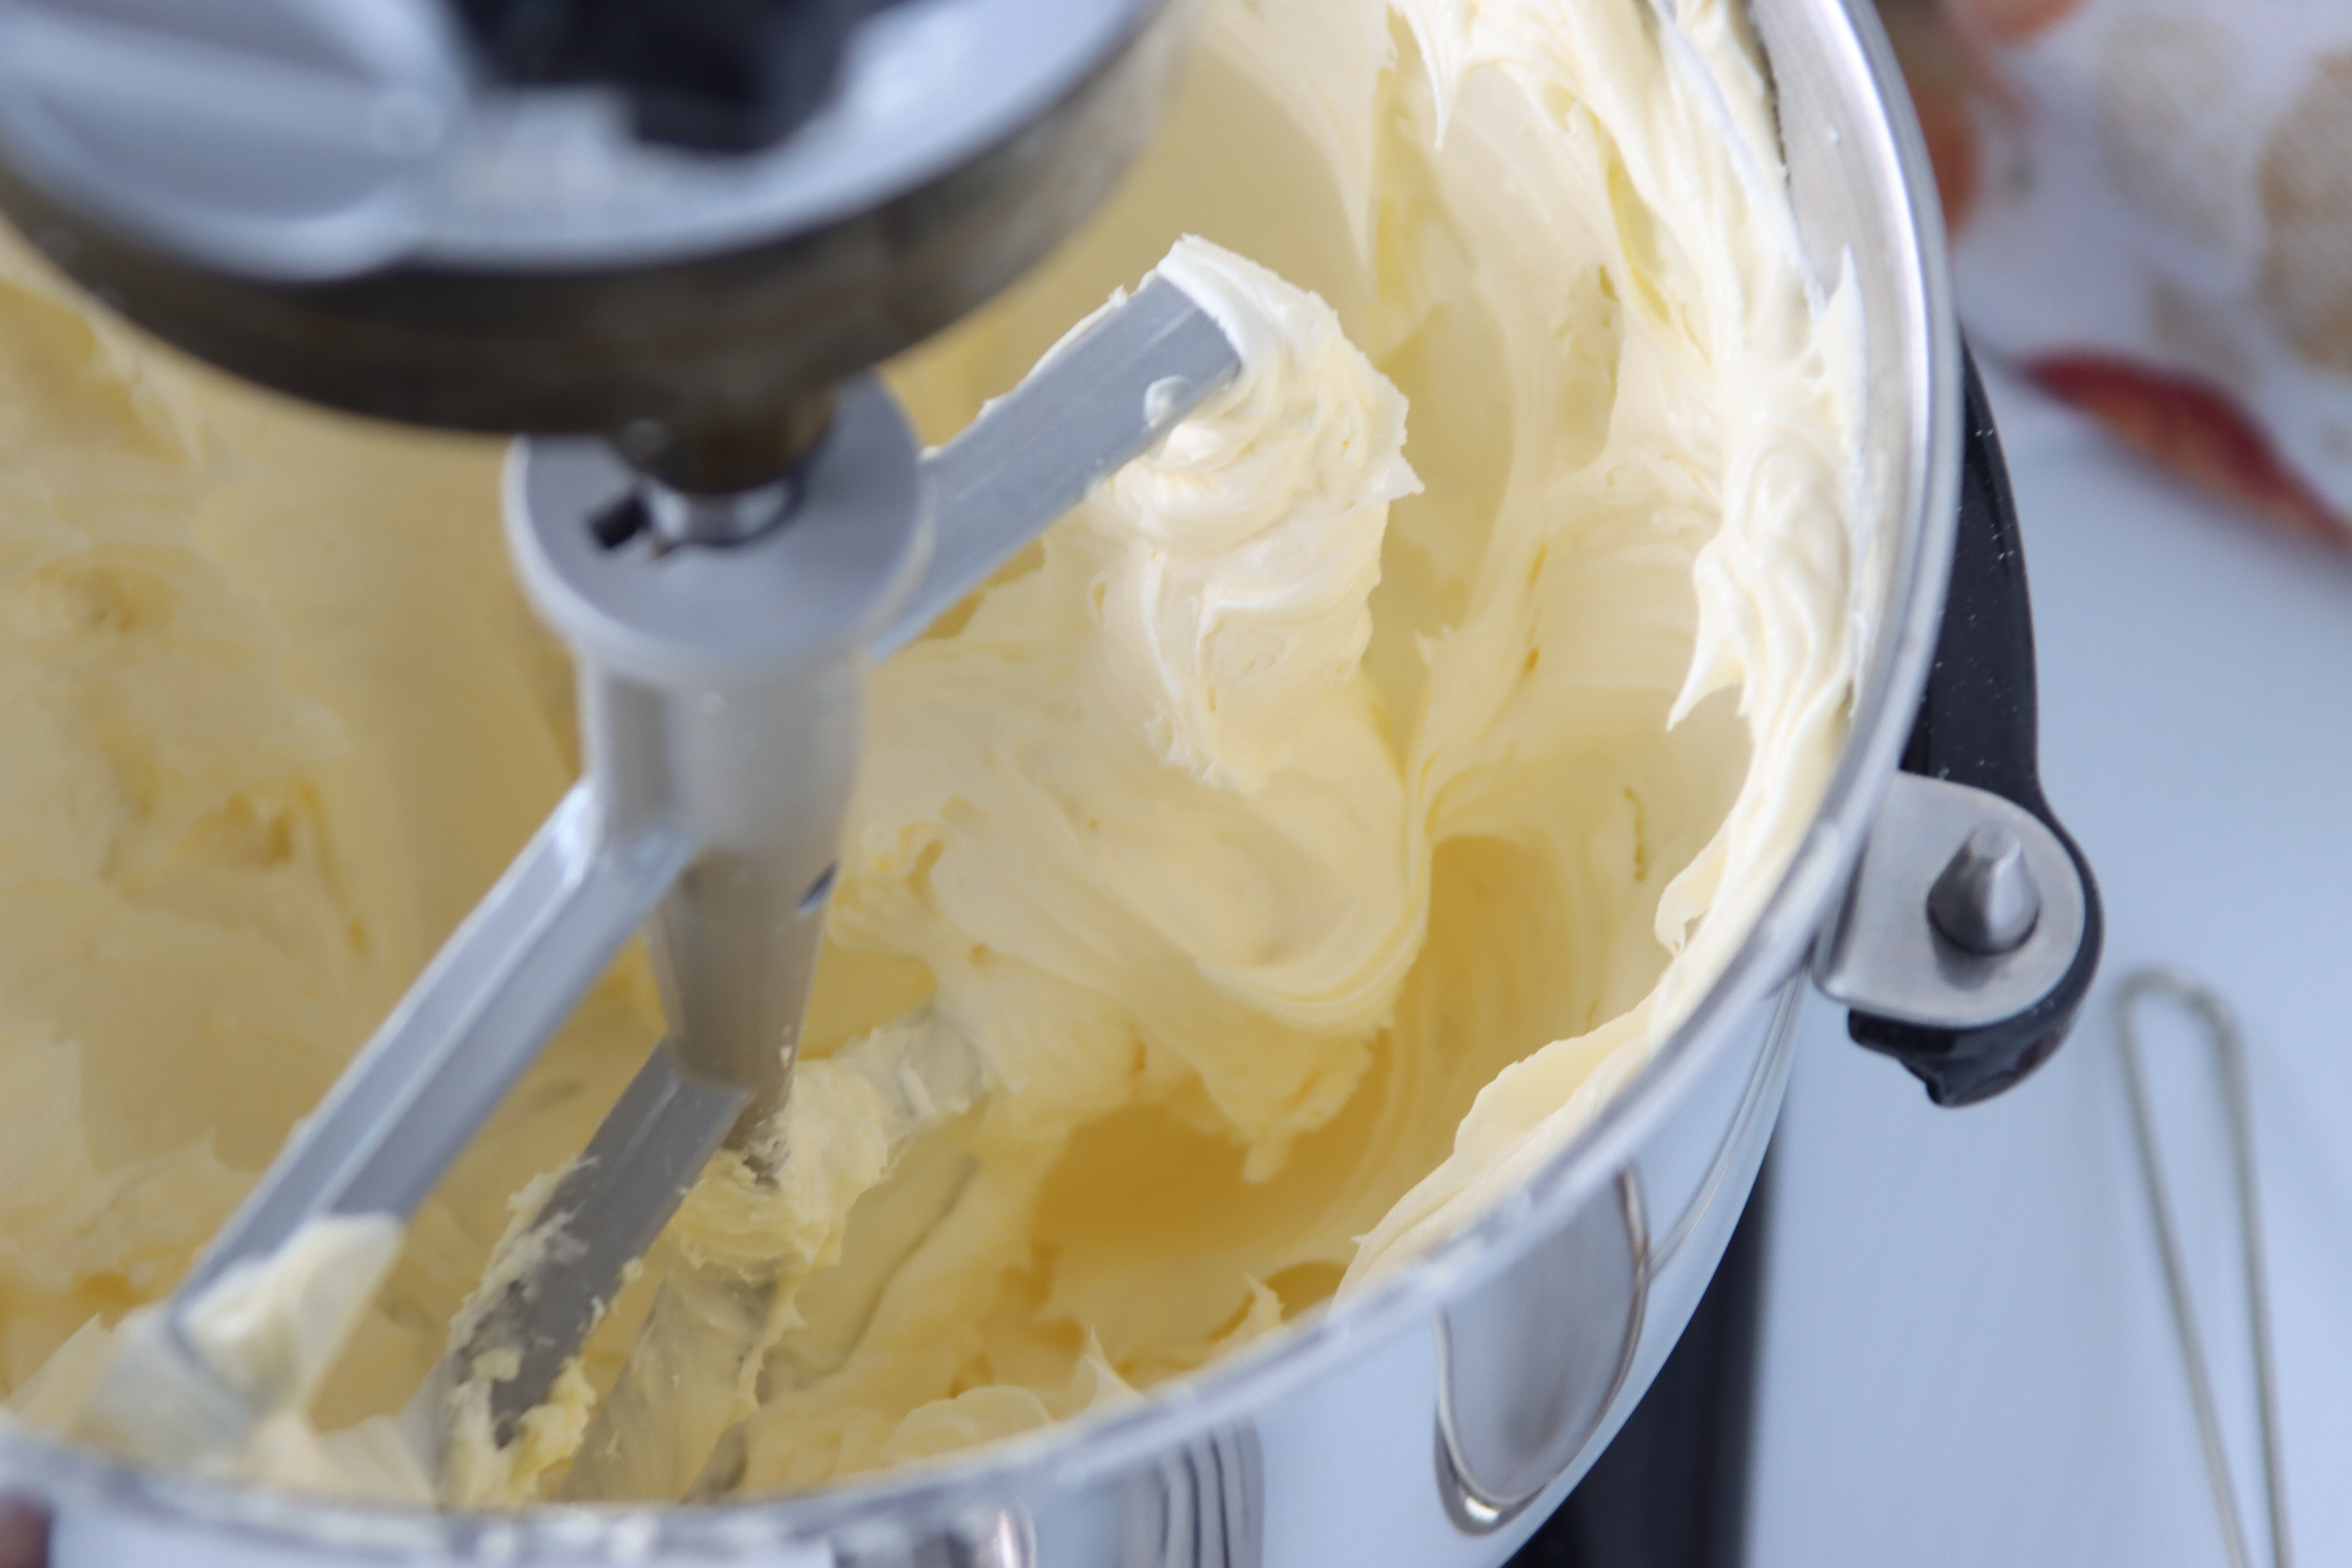
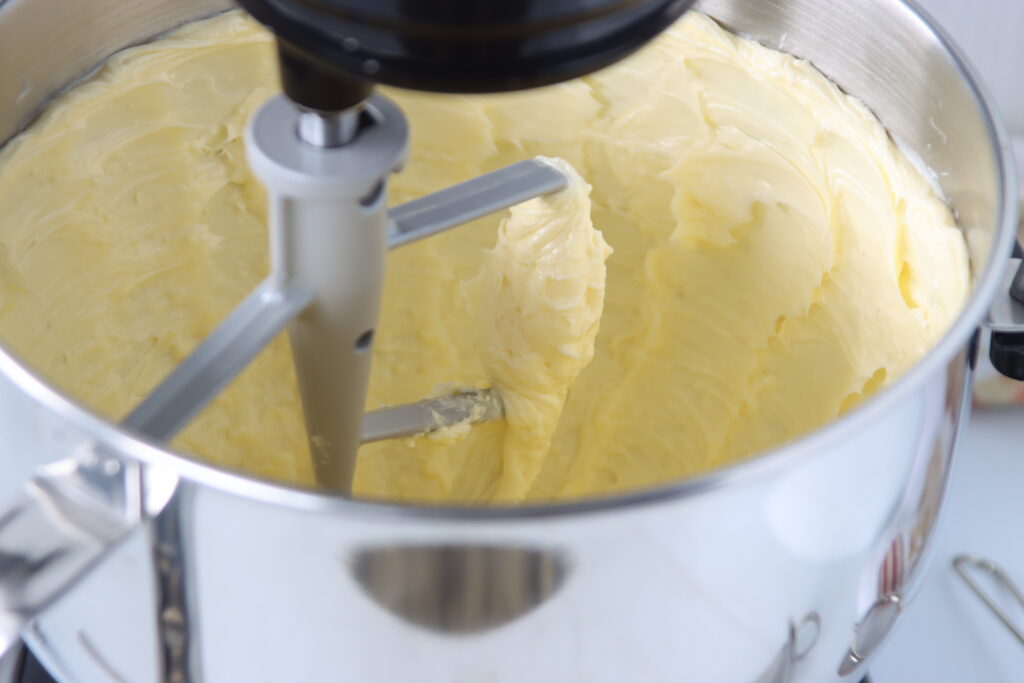
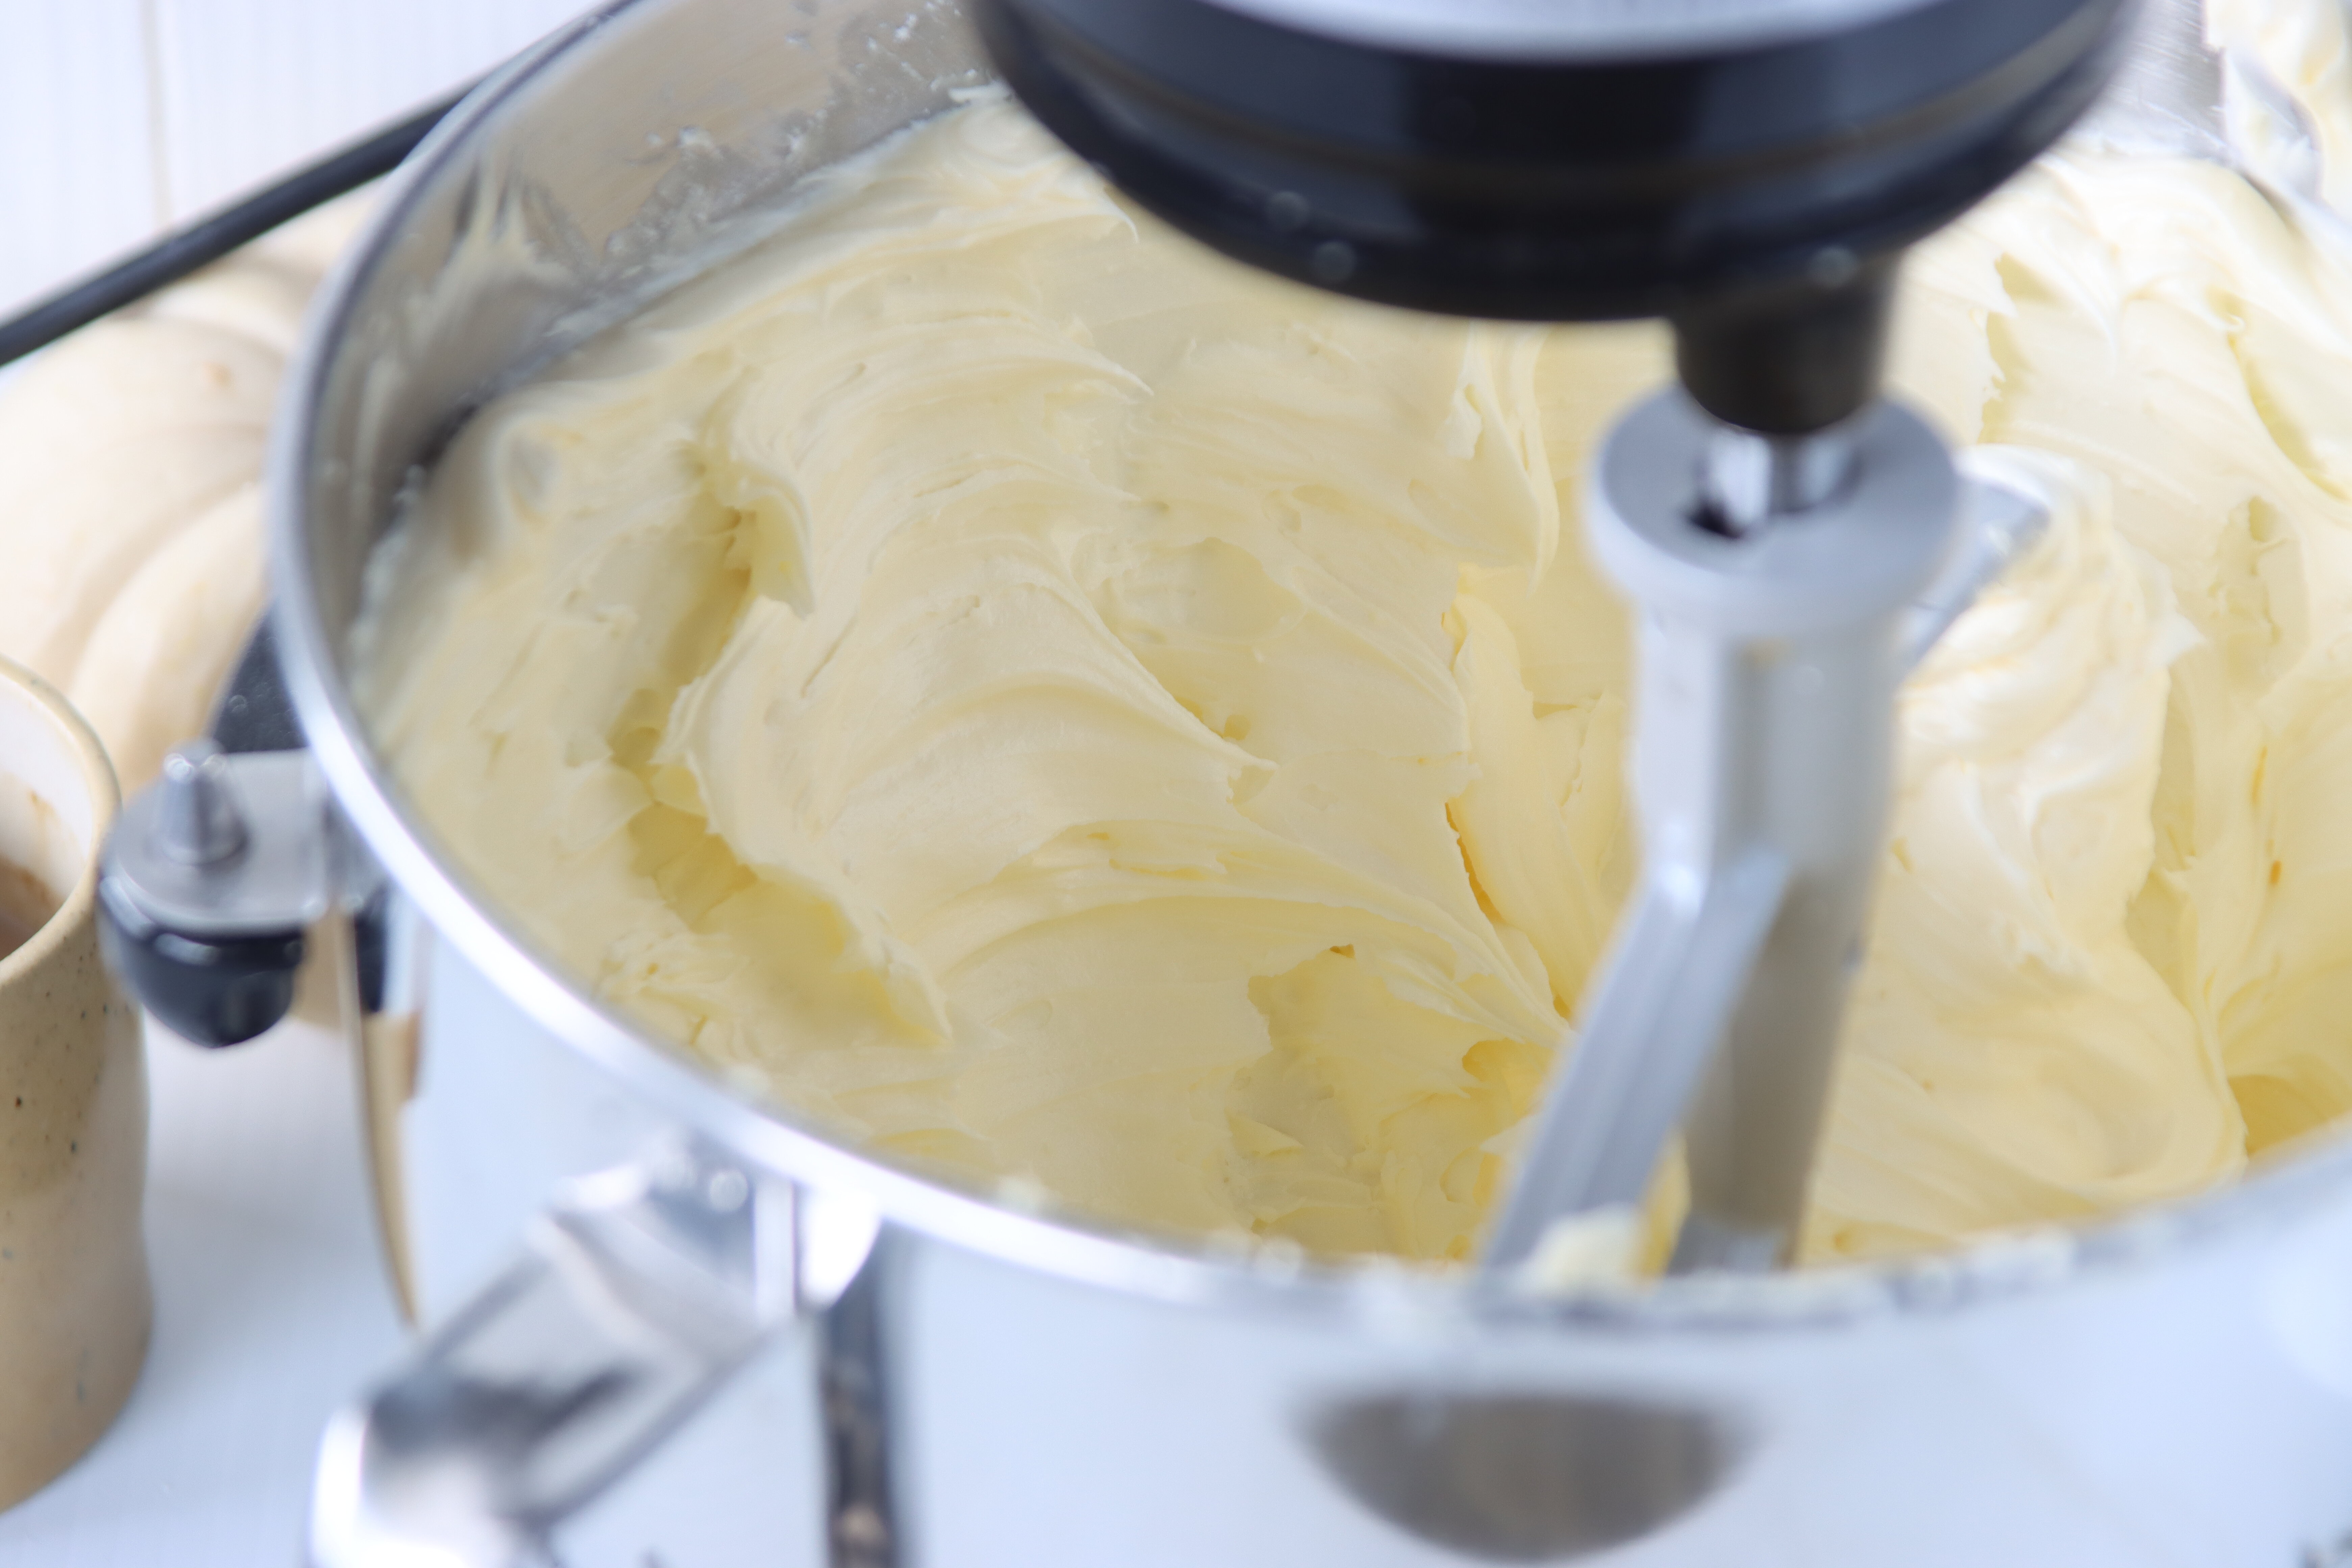
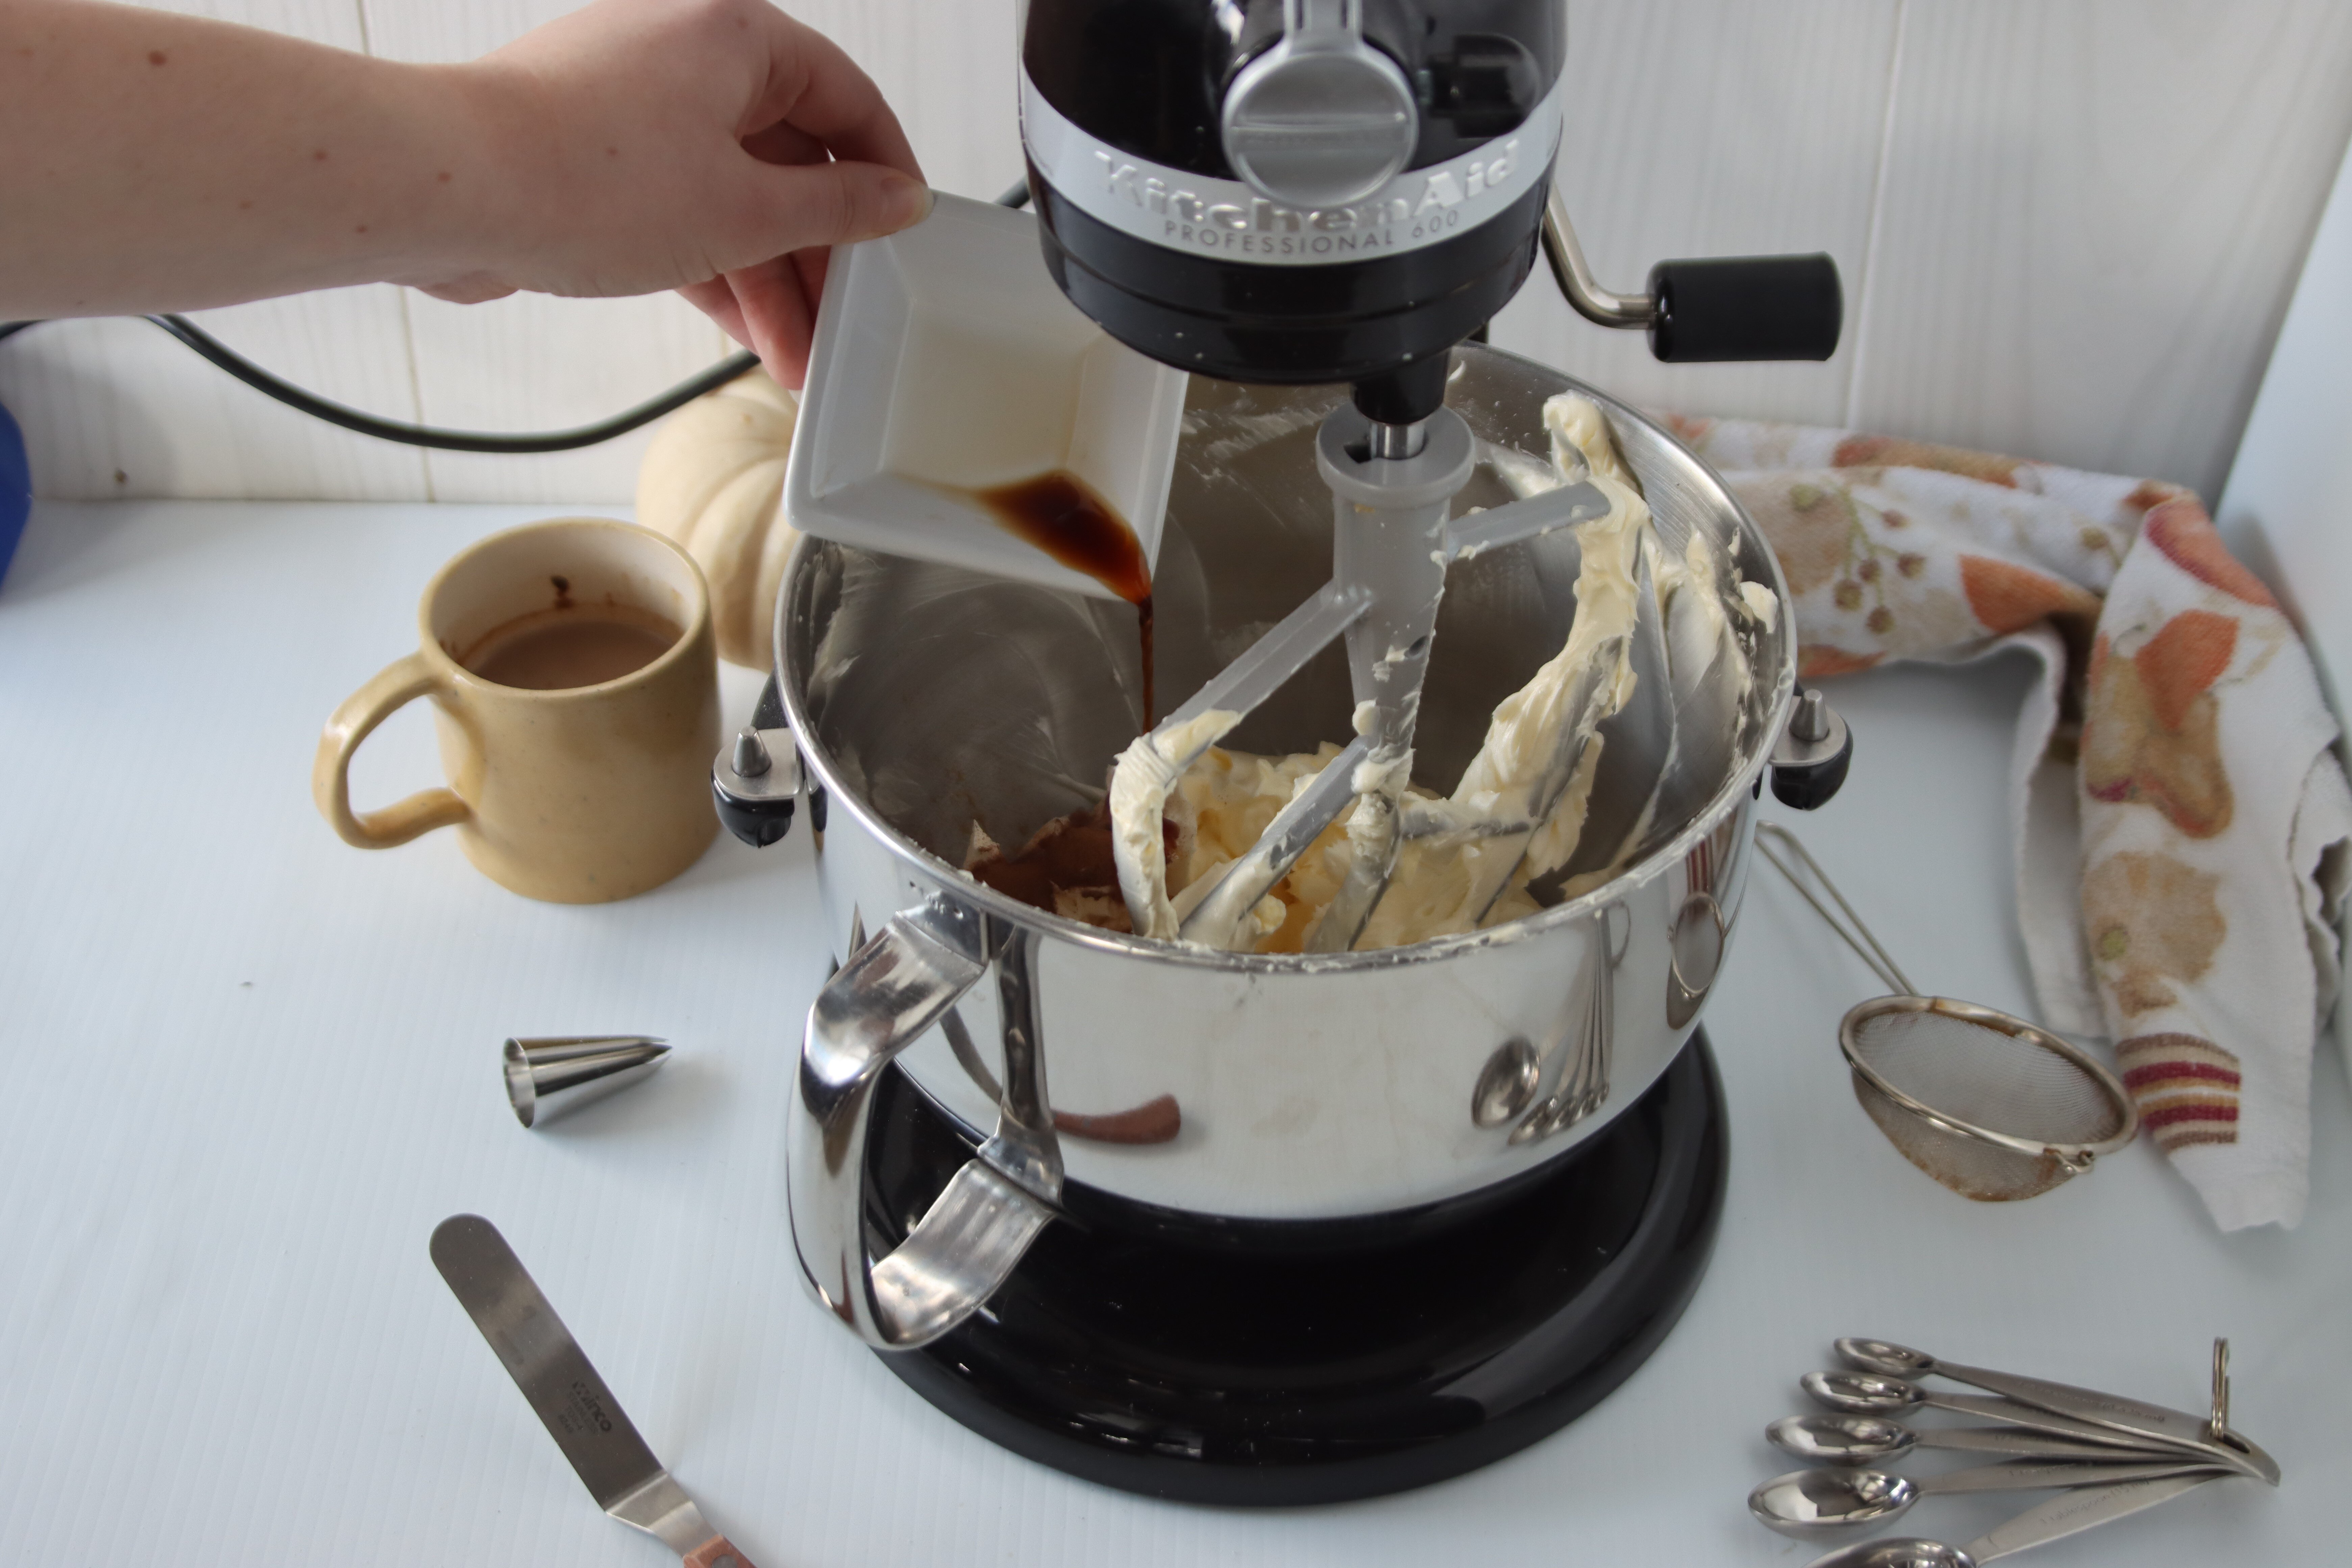
To me, carrot cake ALWAYS goes with cream cheese frosting, so check out this link for a great Cream Cheese Frosting recipe. It’s perfectly sweet yet tangy, and delightfully creamy and smooth! However, if that’s not your thing, you can always top this carrot cake with an American Buttercream or any other frosting or flavour you’d like. Maybe you could even top it with this Espresso Spice Buttercream?
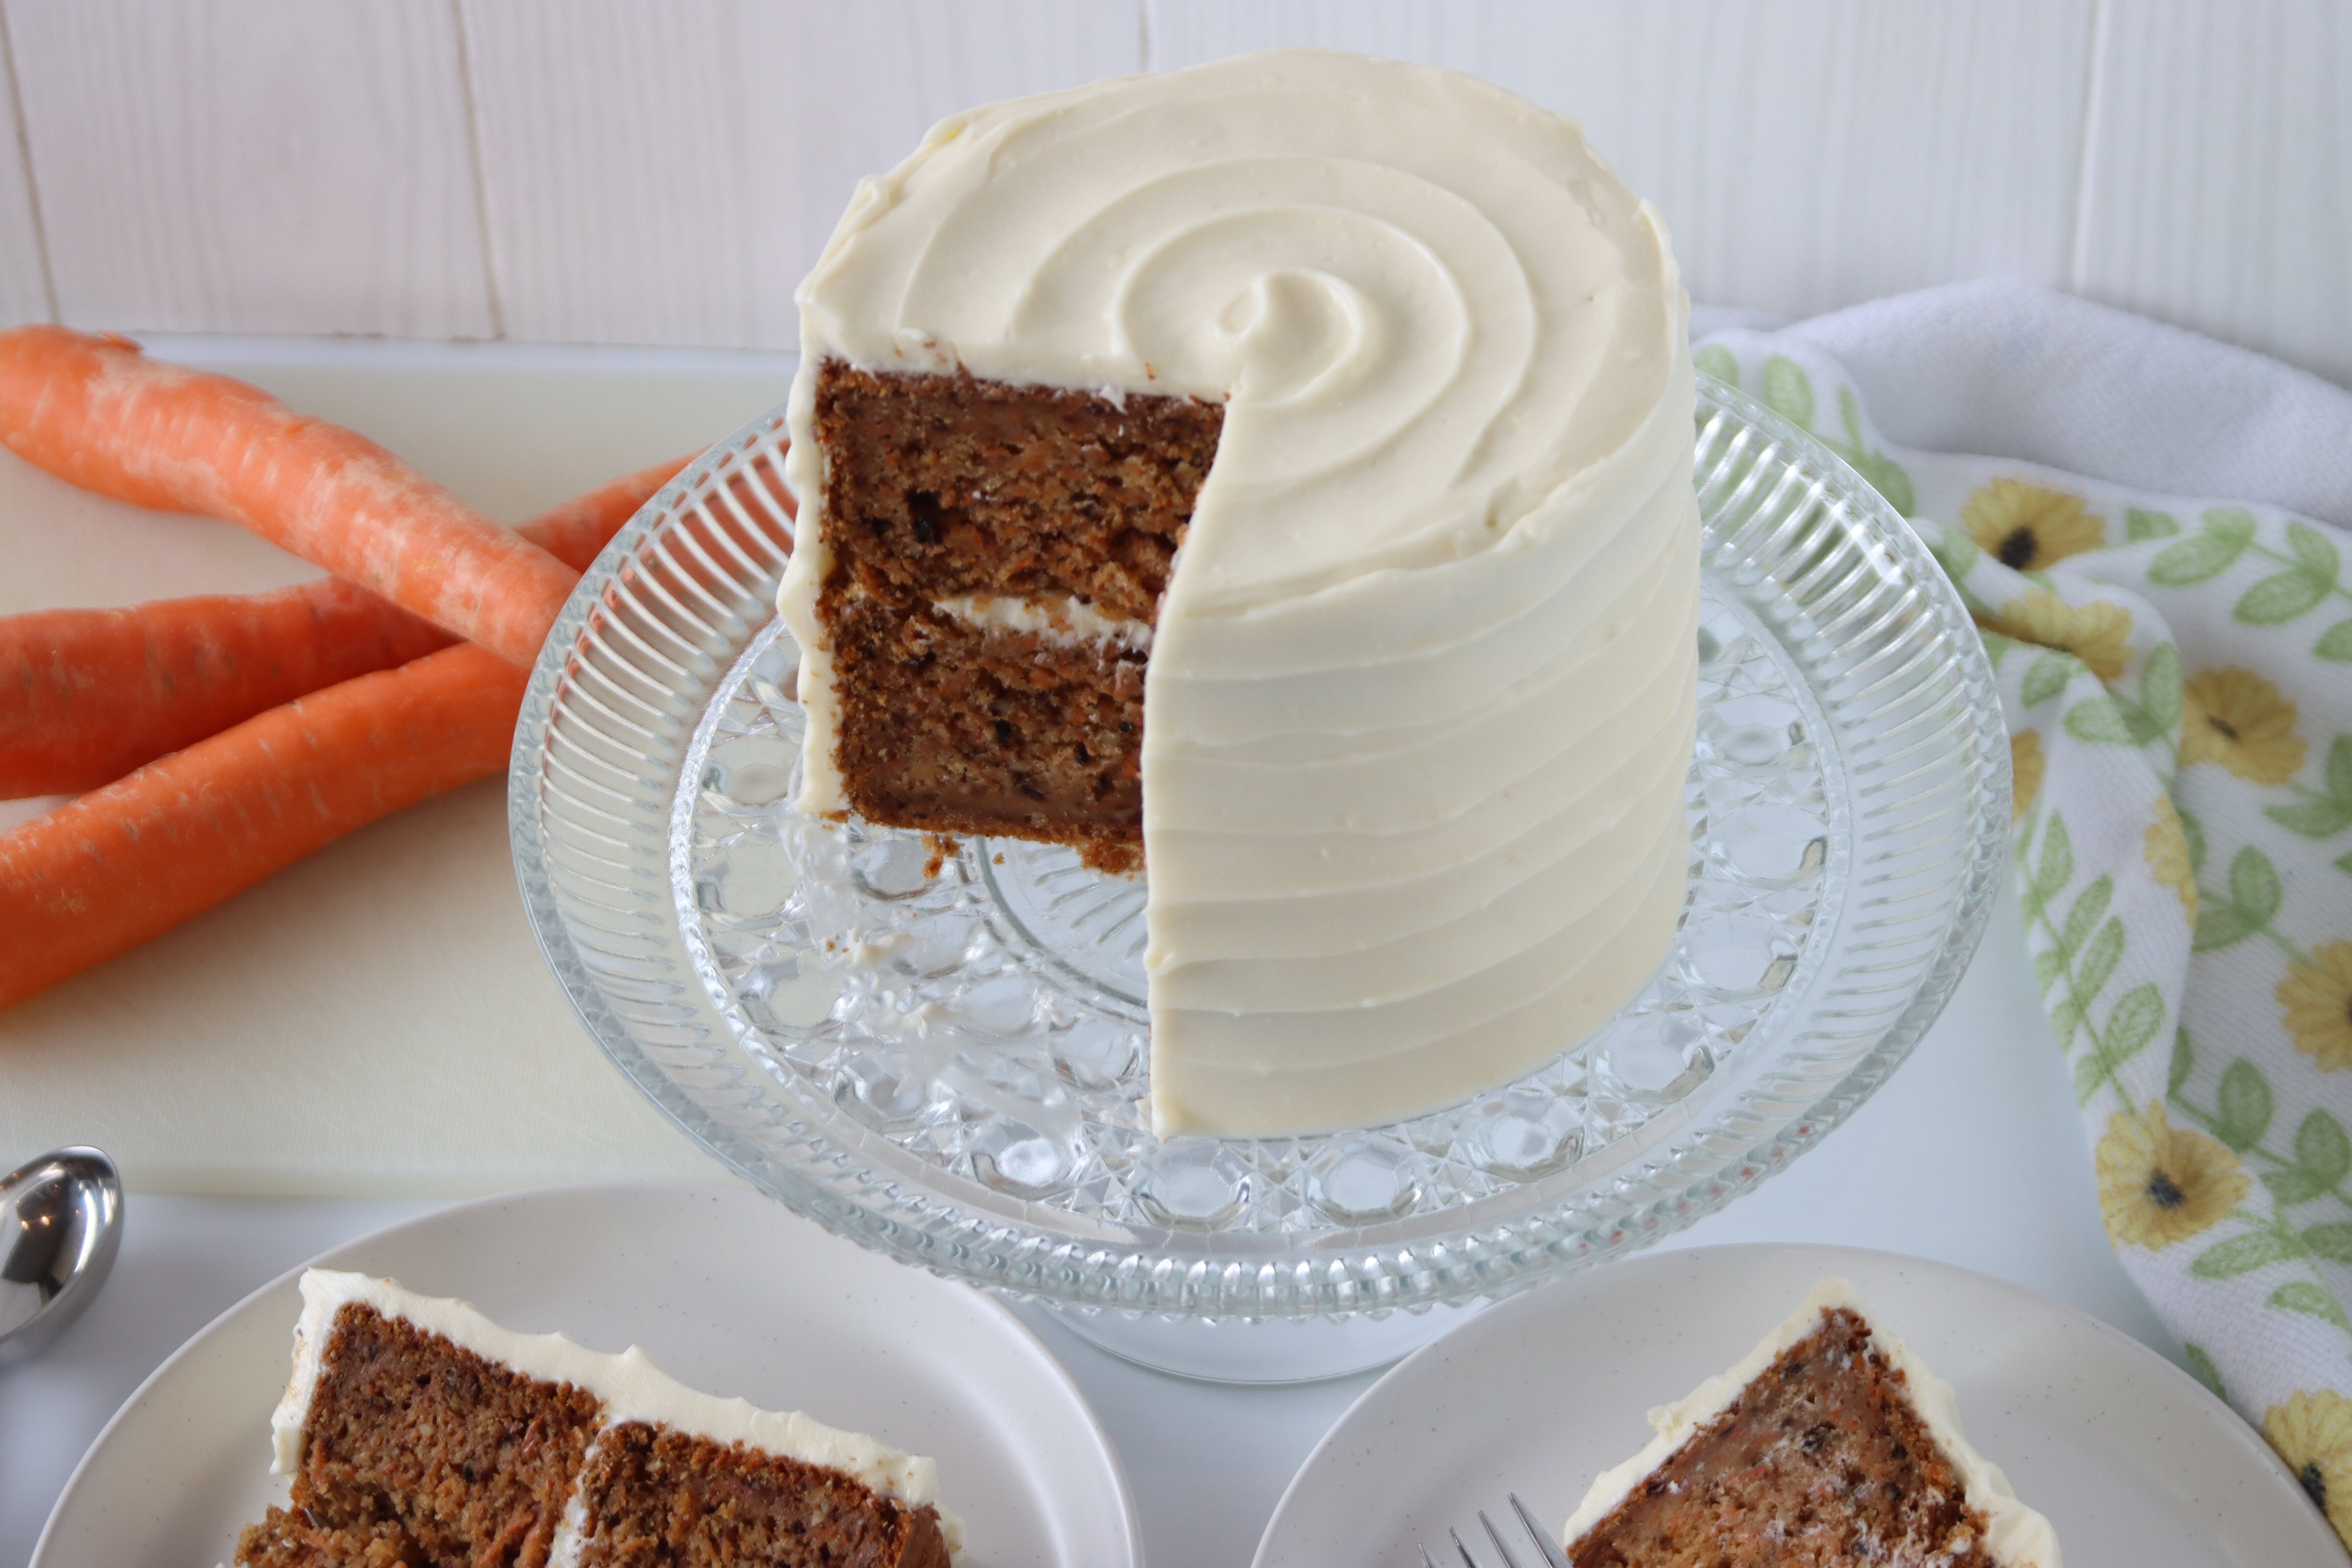
No matter the frosting you choose, I hope you enjoy this carrot cake recipe! Be sure to leave a comment below if you try this recipe!
Happy baking!
The Best Carrot Cake
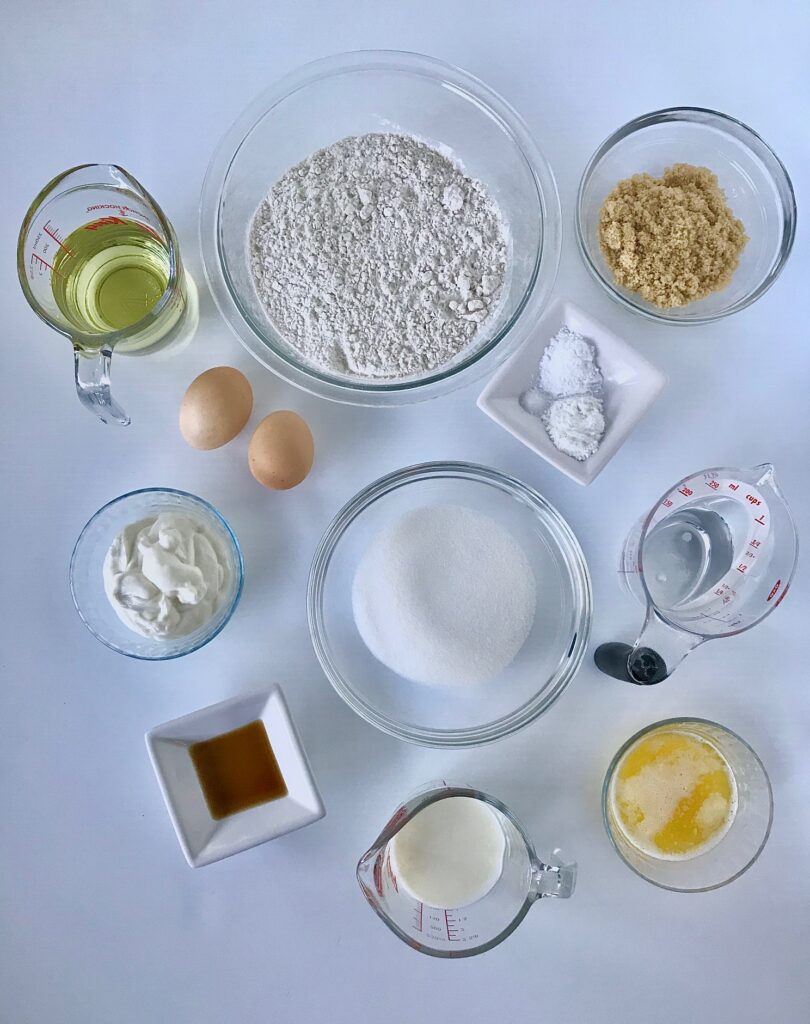
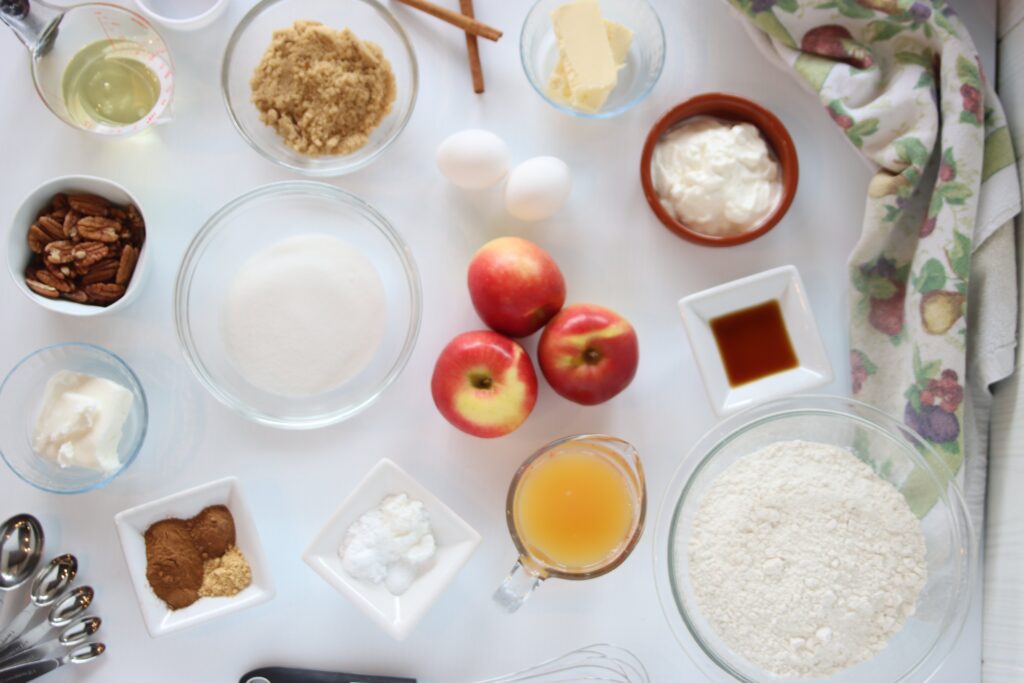
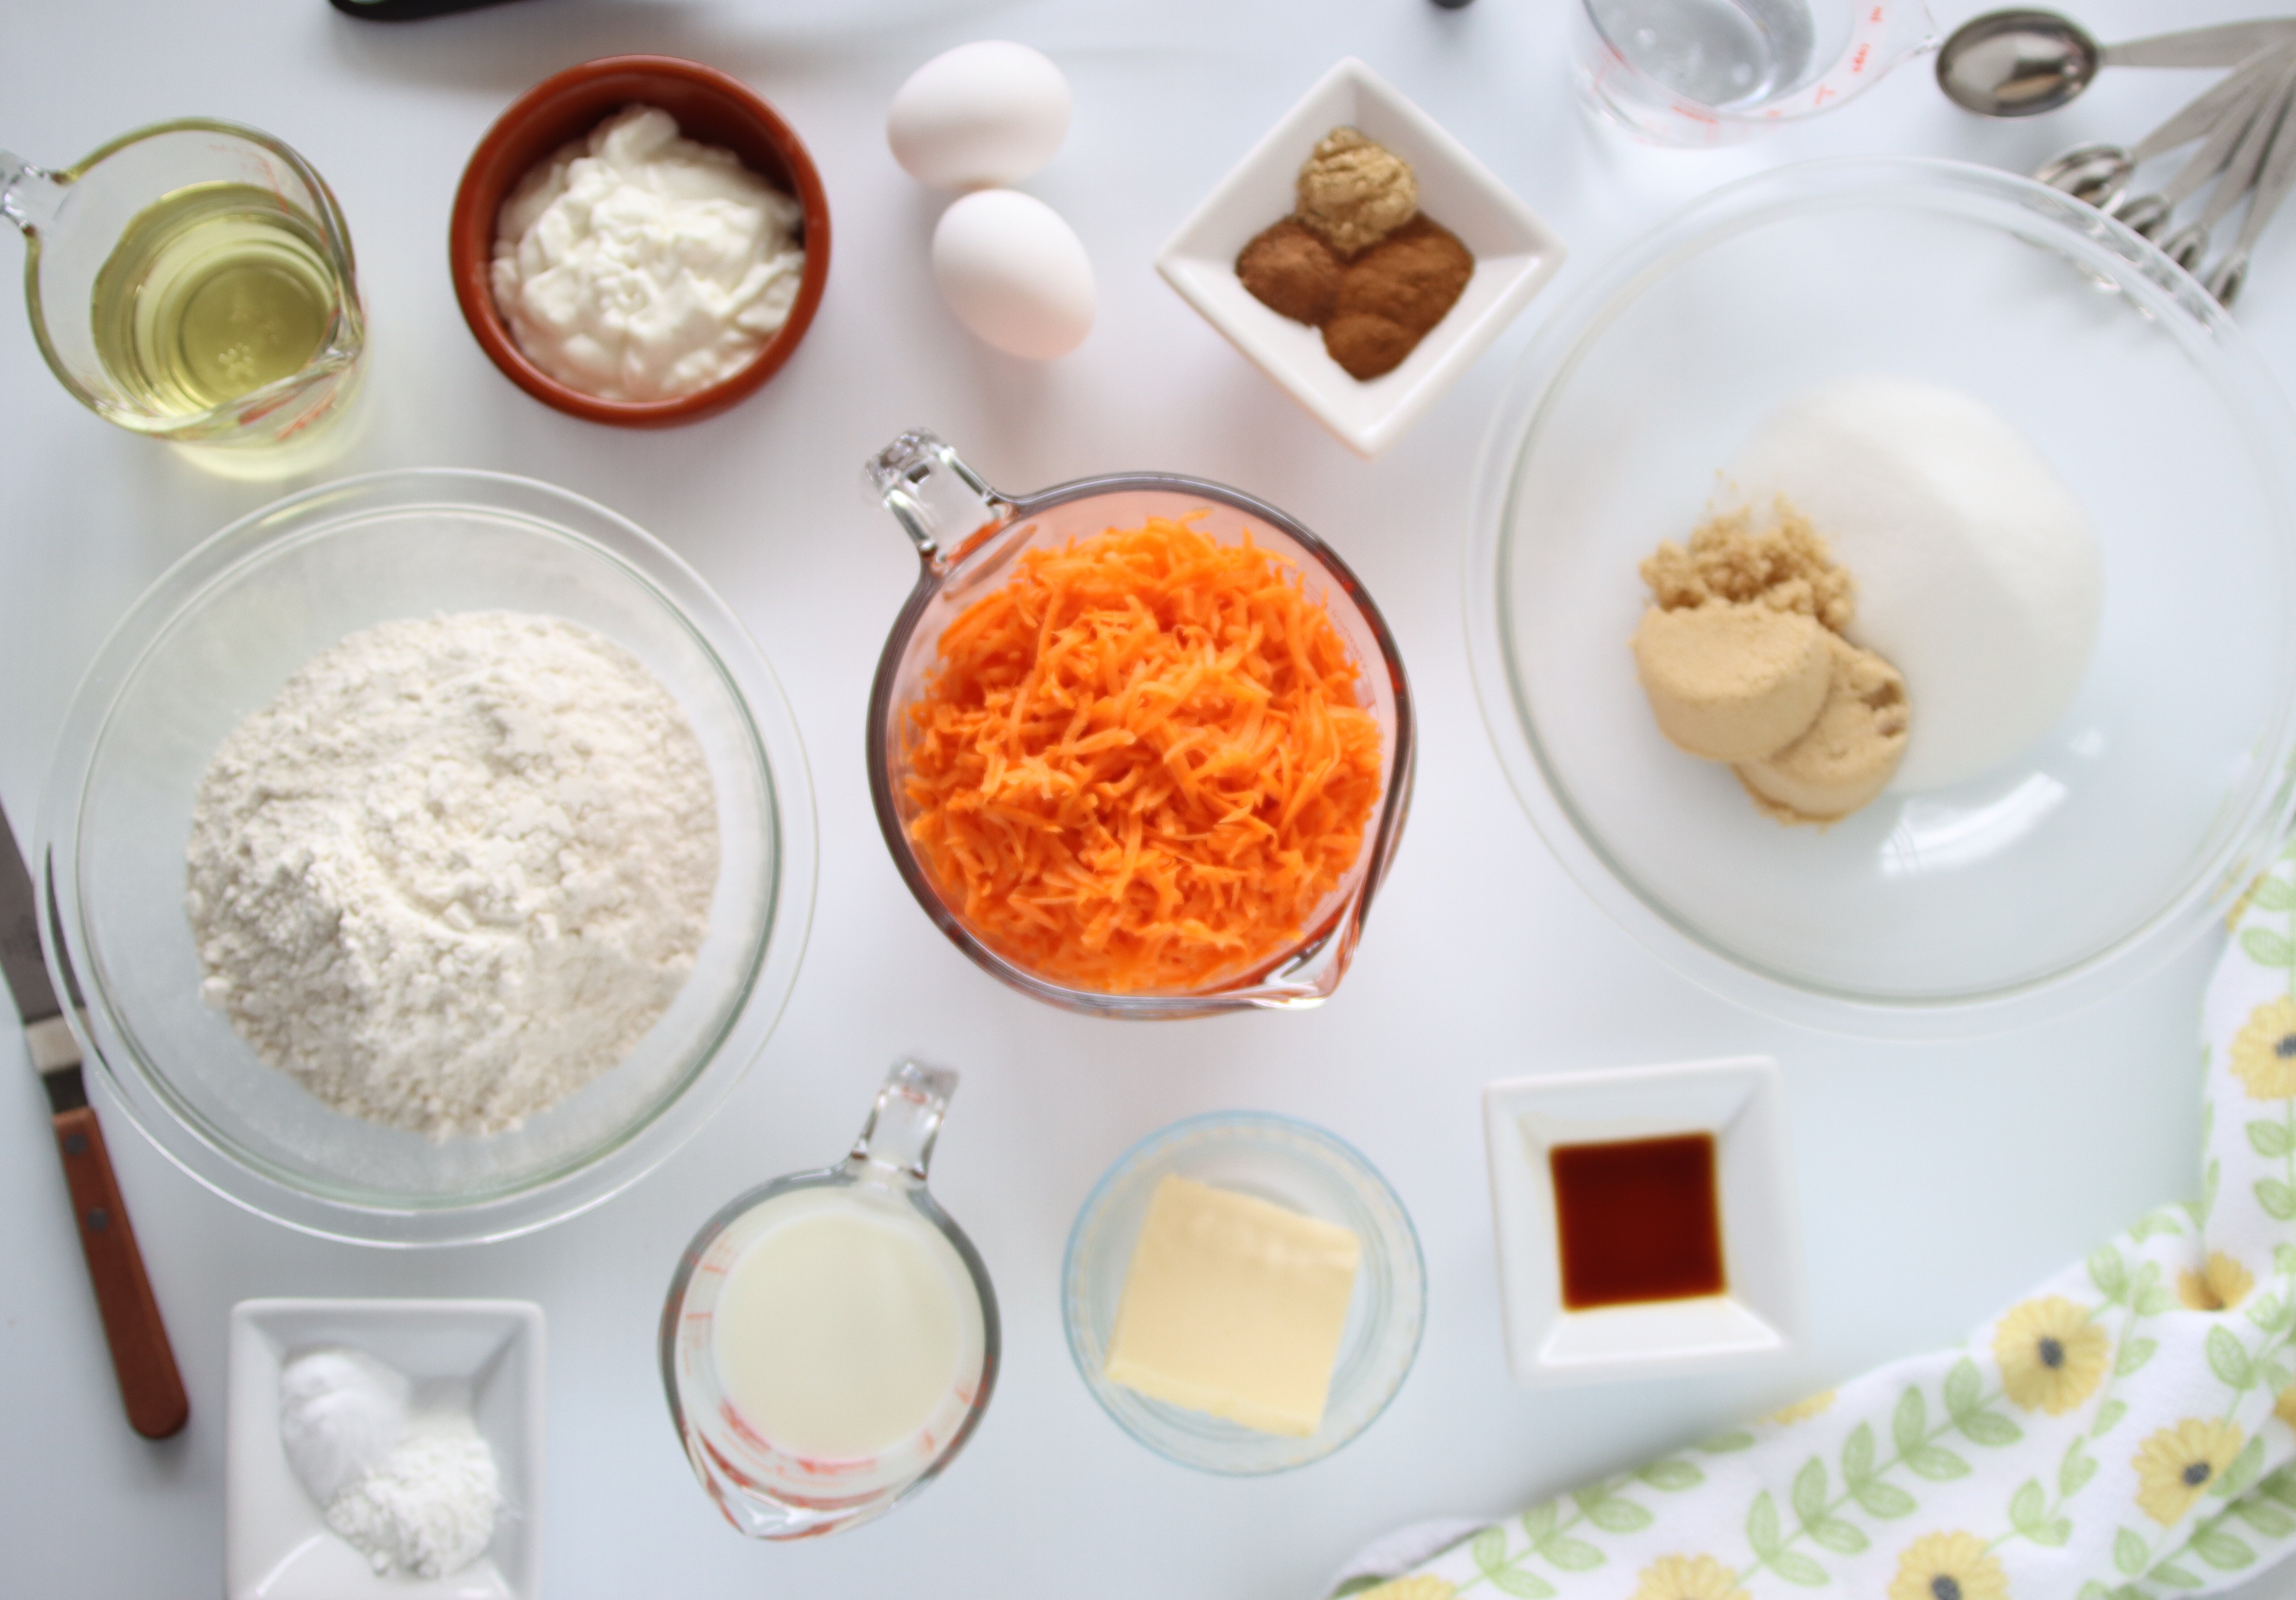
Ingredients
- 3 cups all-purpose flour
- 2 1/2 teaspoons baking powder
- 1 1/2 teaspoons baking soda
- 2 1/2 teaspoons cinnamon
- 1 teaspoon ginger
- 1 teaspoon nutmeg
- 1/2 teaspoon salt
- 2 eggs separated
- 3/4 cup white sugar
- 1/2 cup brown sugar
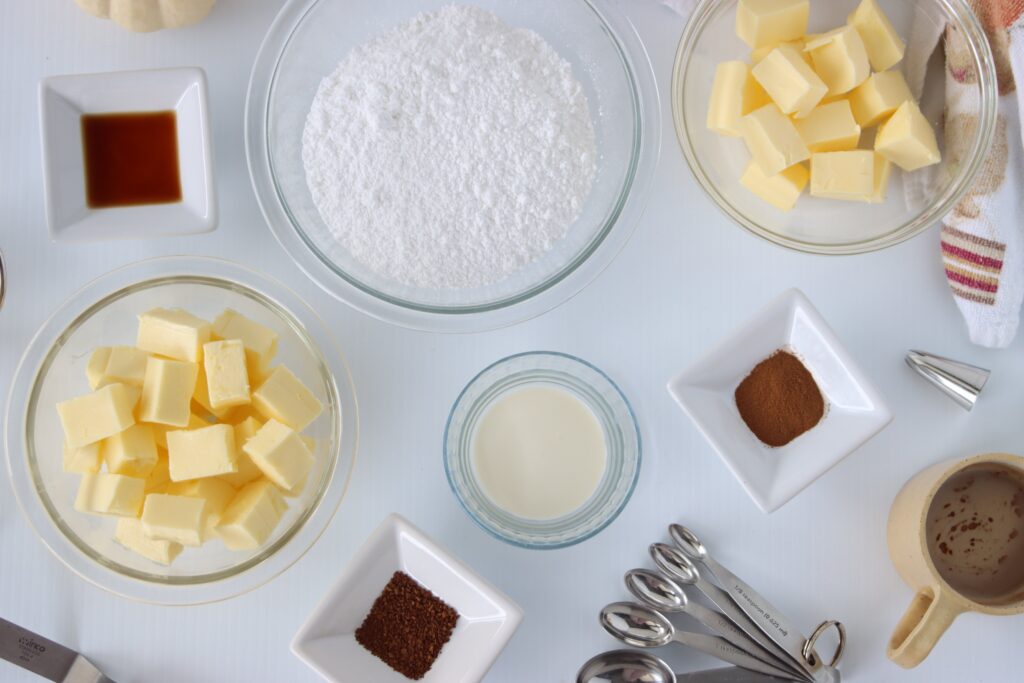
- 3/4 cup neutral oil vegetable, canola, sunflower etc.
- 1/4 cup melted butter
- 1/2 cup sour cream
- 1/2 cup milk
- 1/2 cup water
- 1 teaspoon vanilla extract
- 3-4 cups grated carrots from 3-4 whole carrots
- 1/2 cup ground nuts walnuts, pecans etc., optional
Instructions
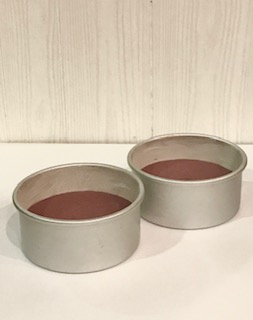
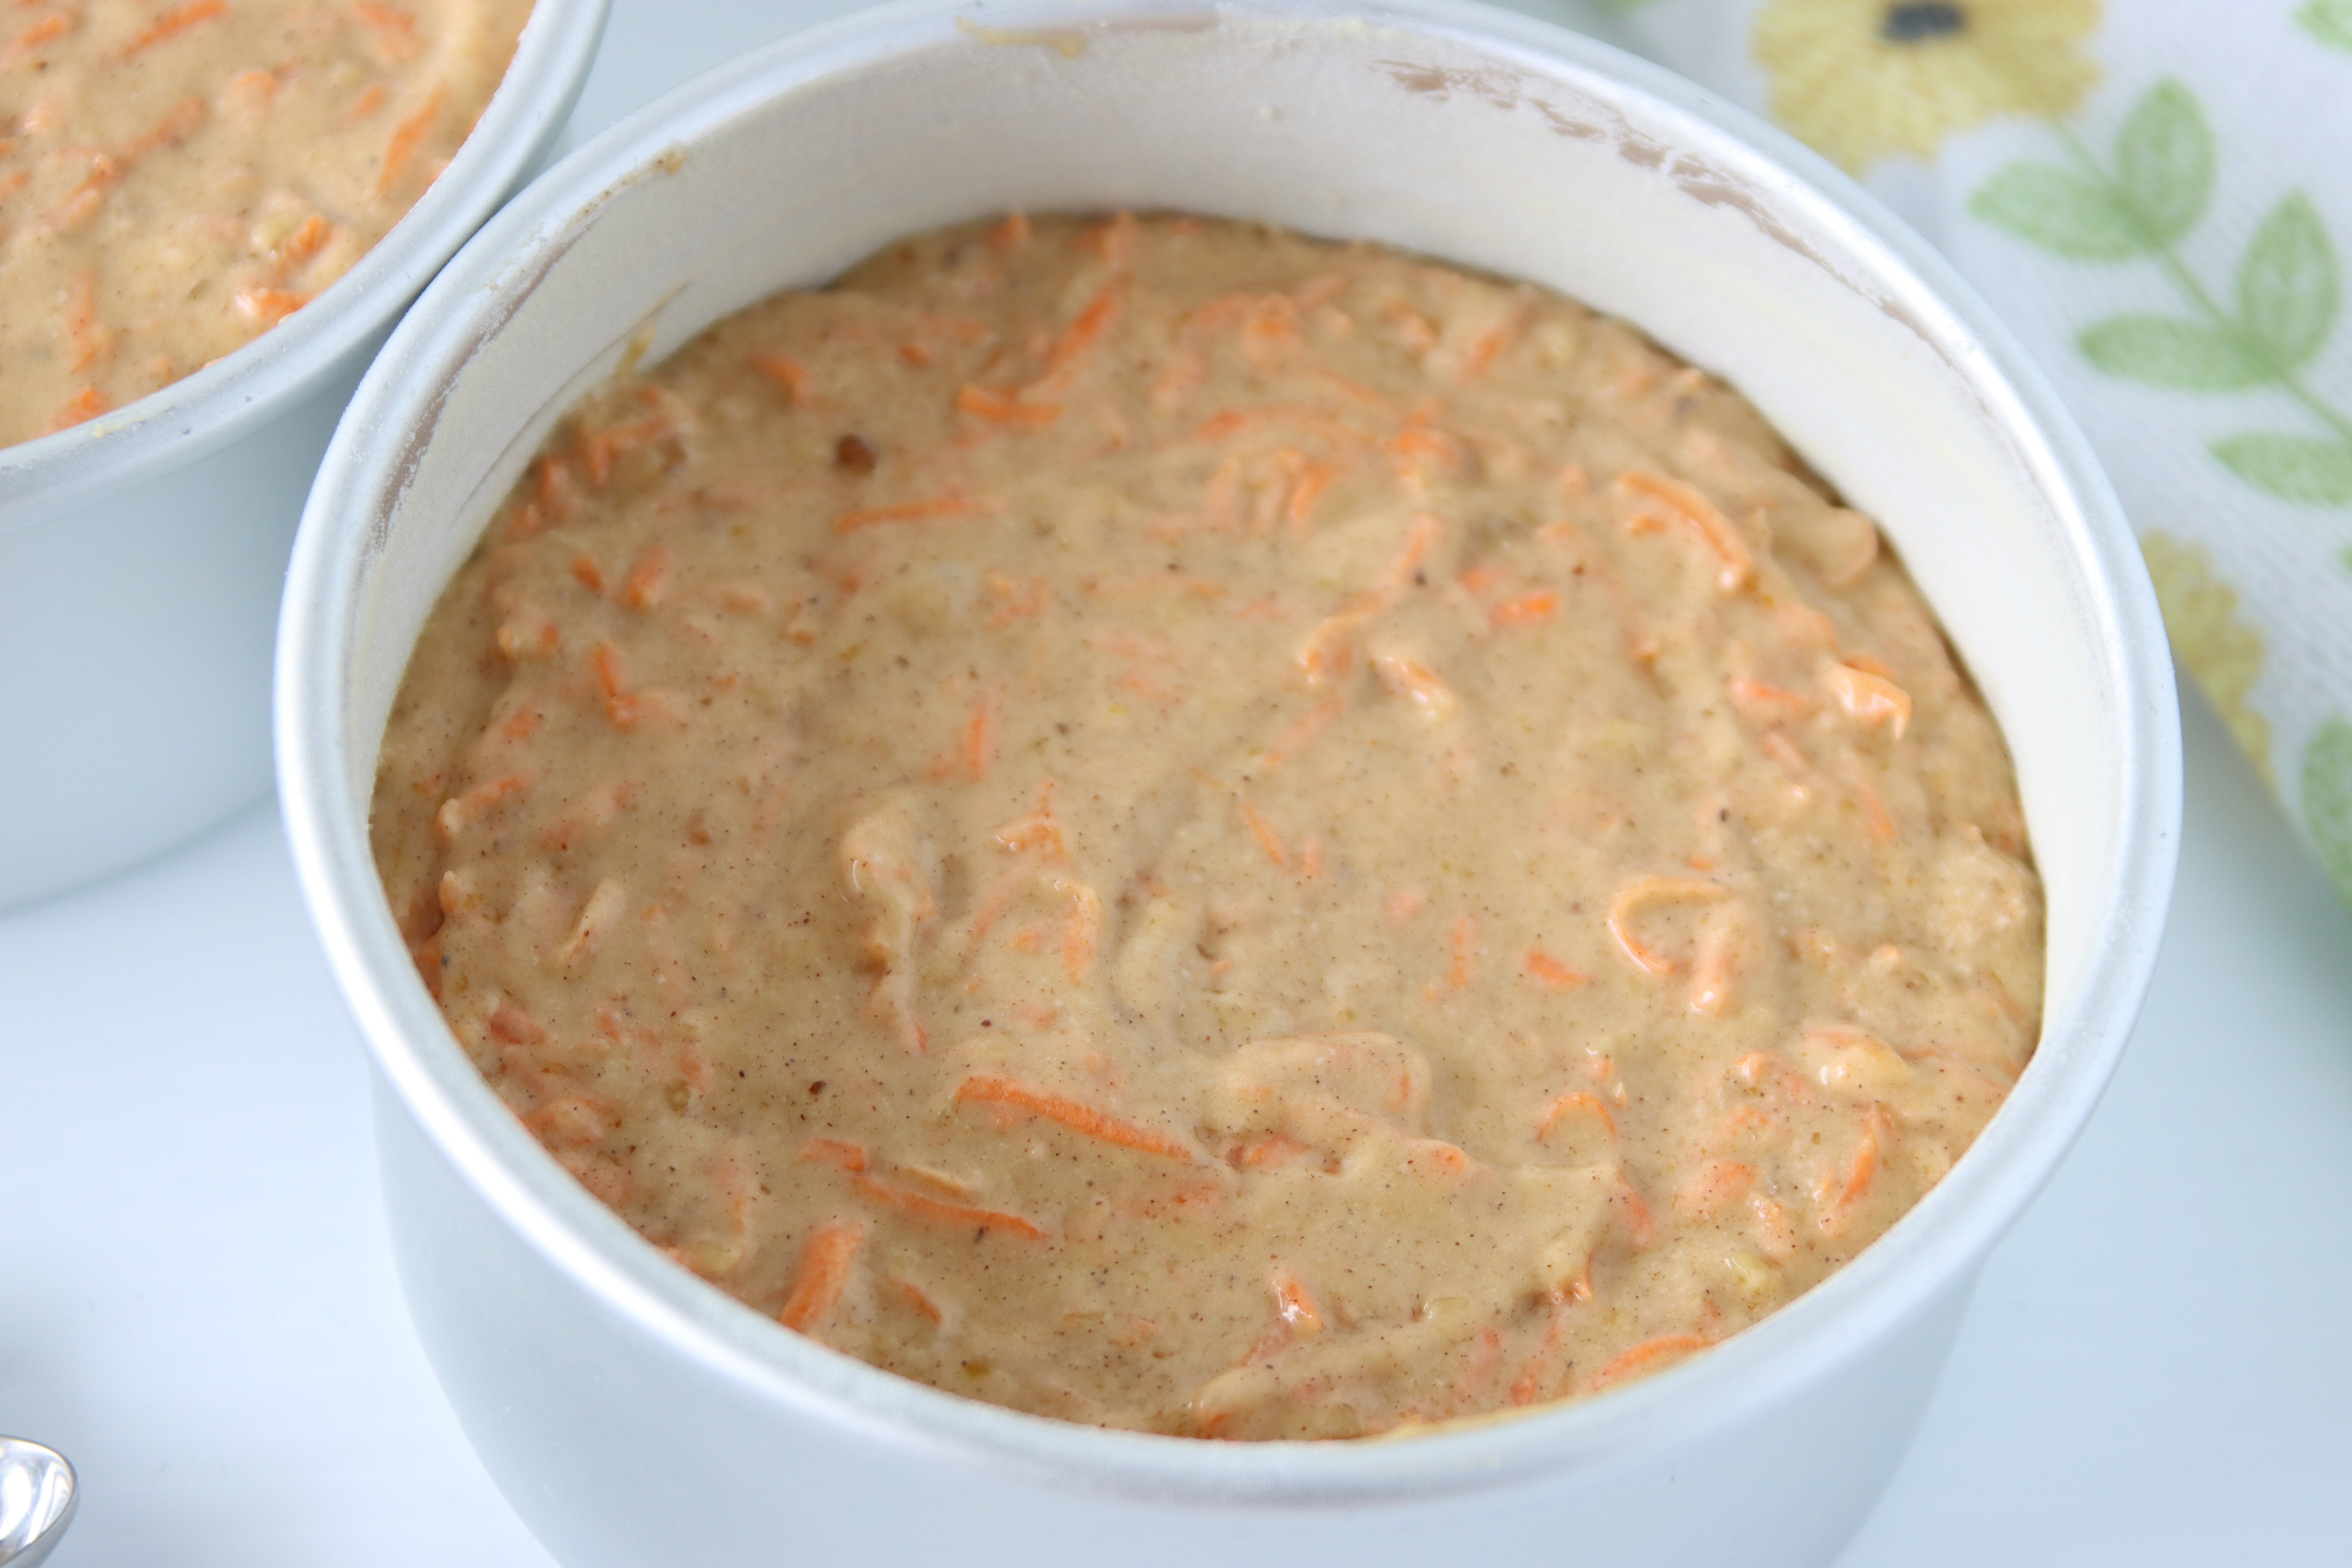
- Preheat the oven to 335 degrees fahrenheit. Grease and flour two 6" (3" tall) round cake pans. (*see notes)
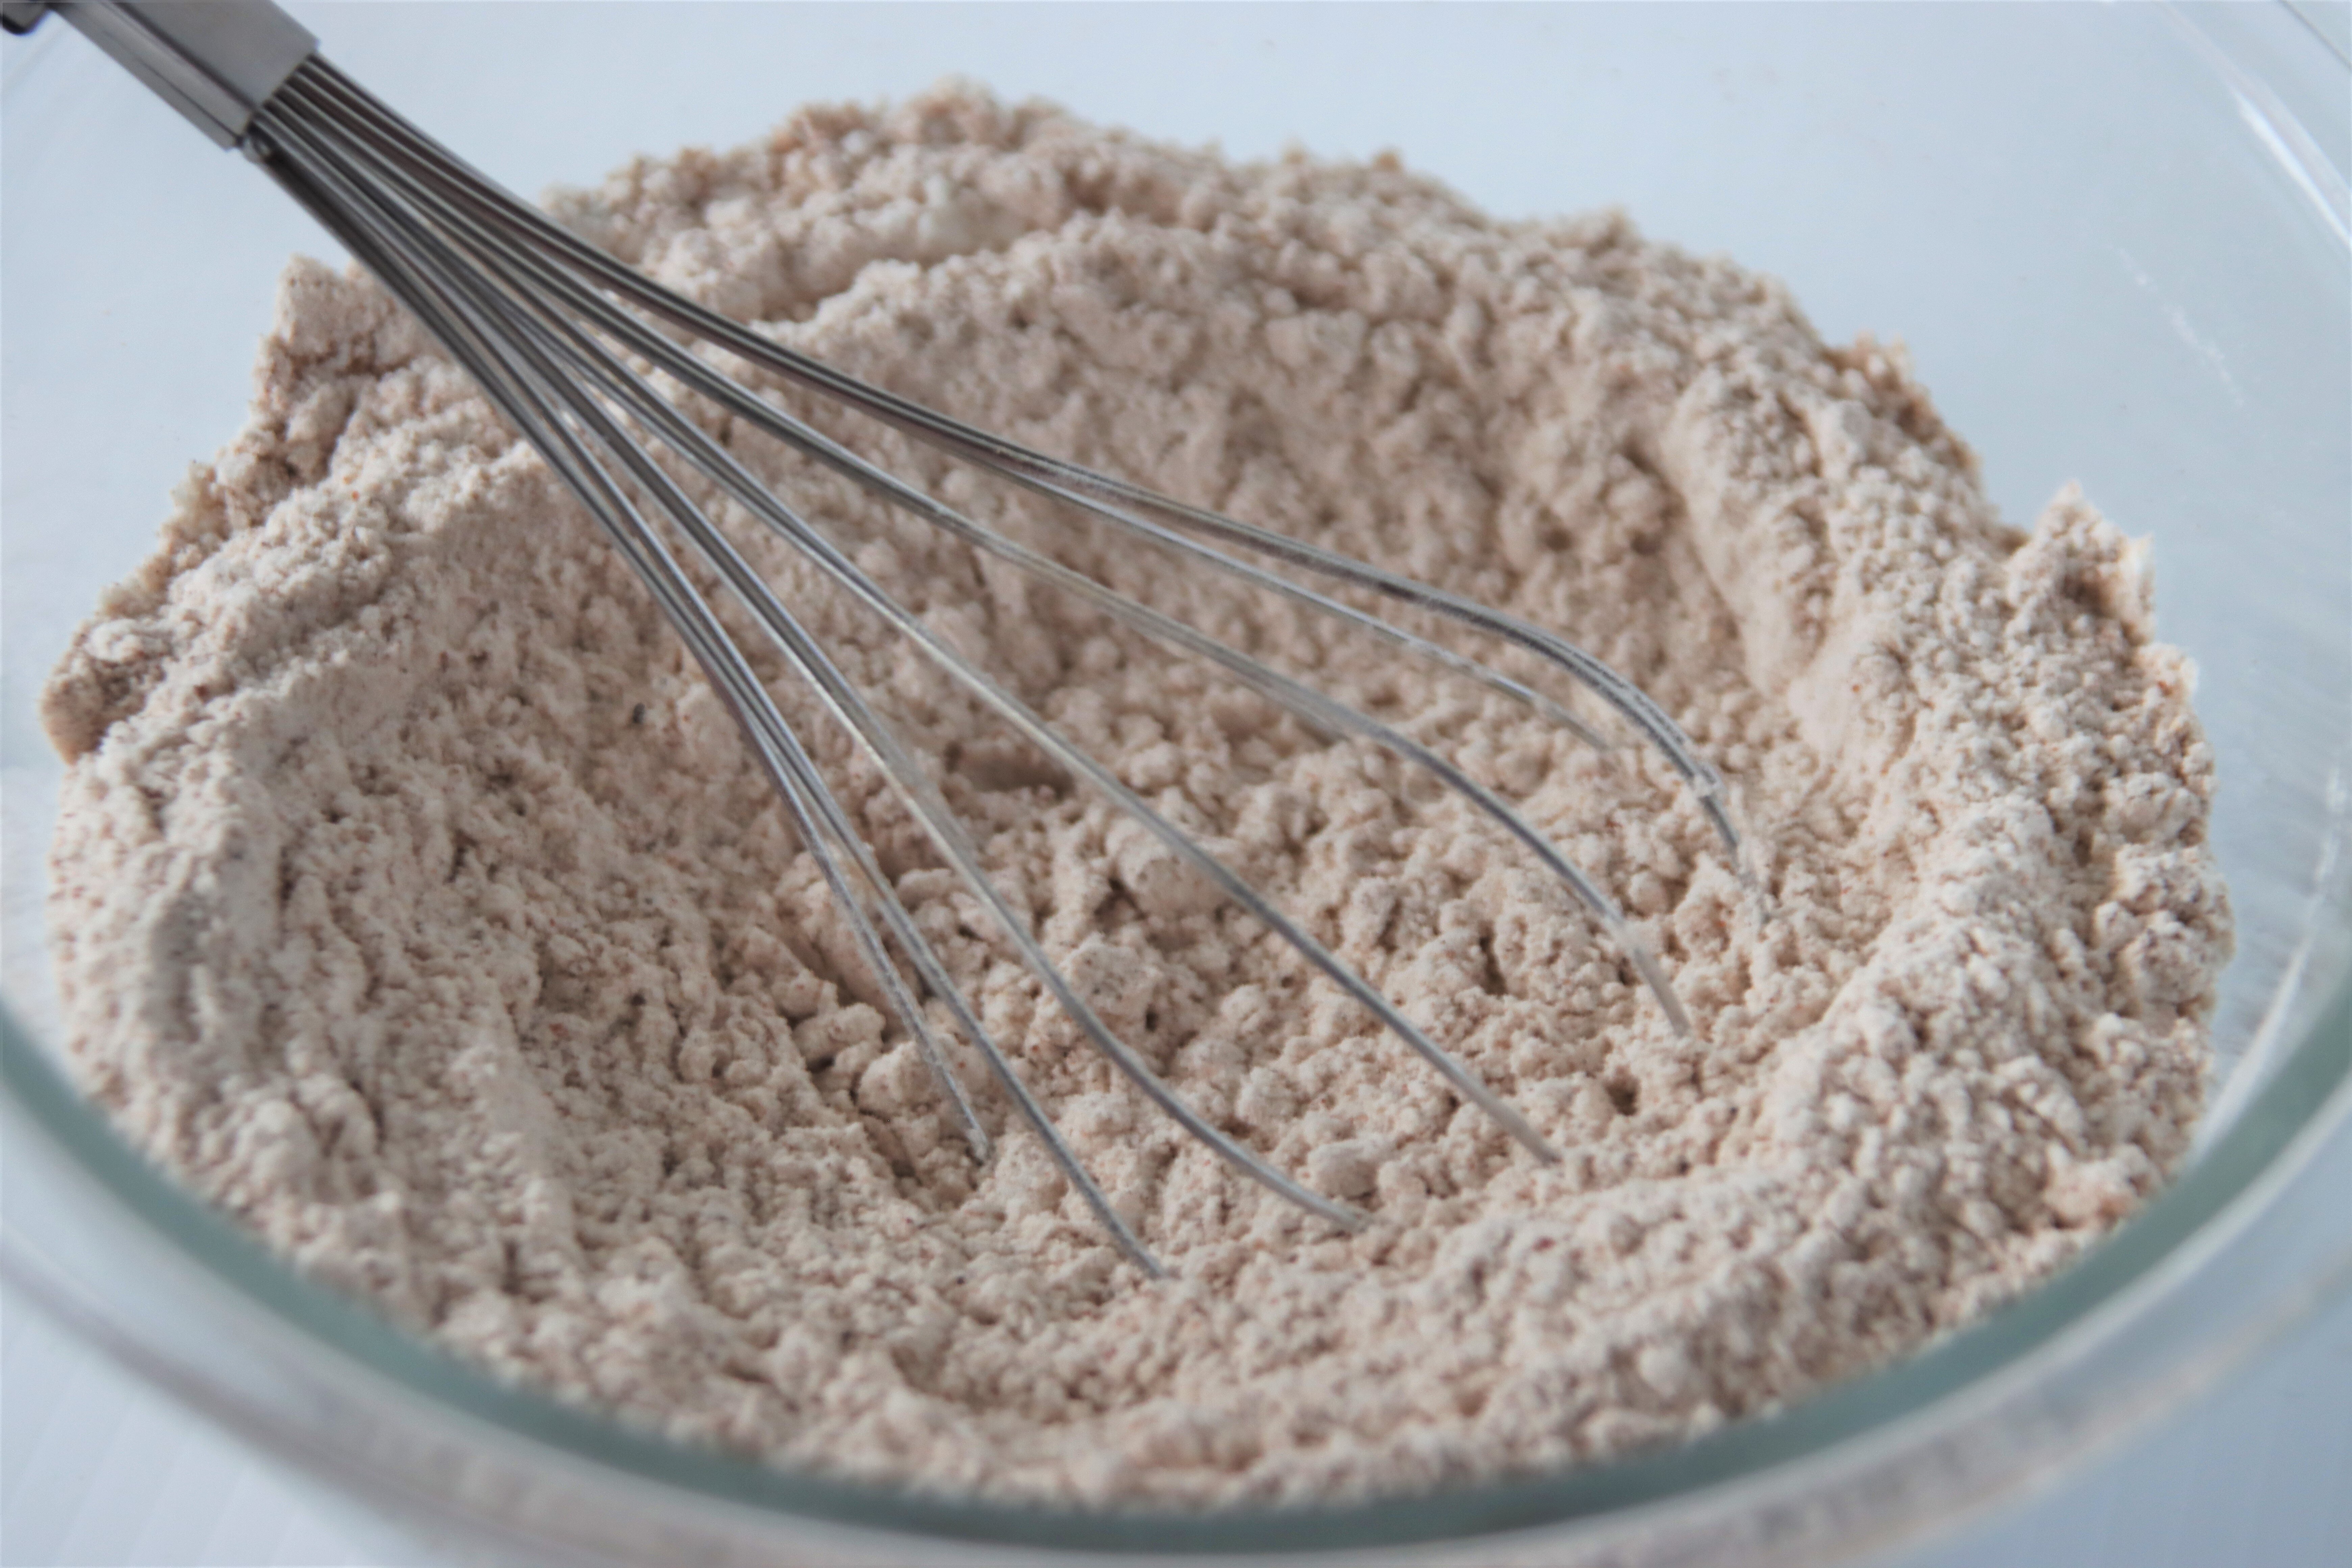
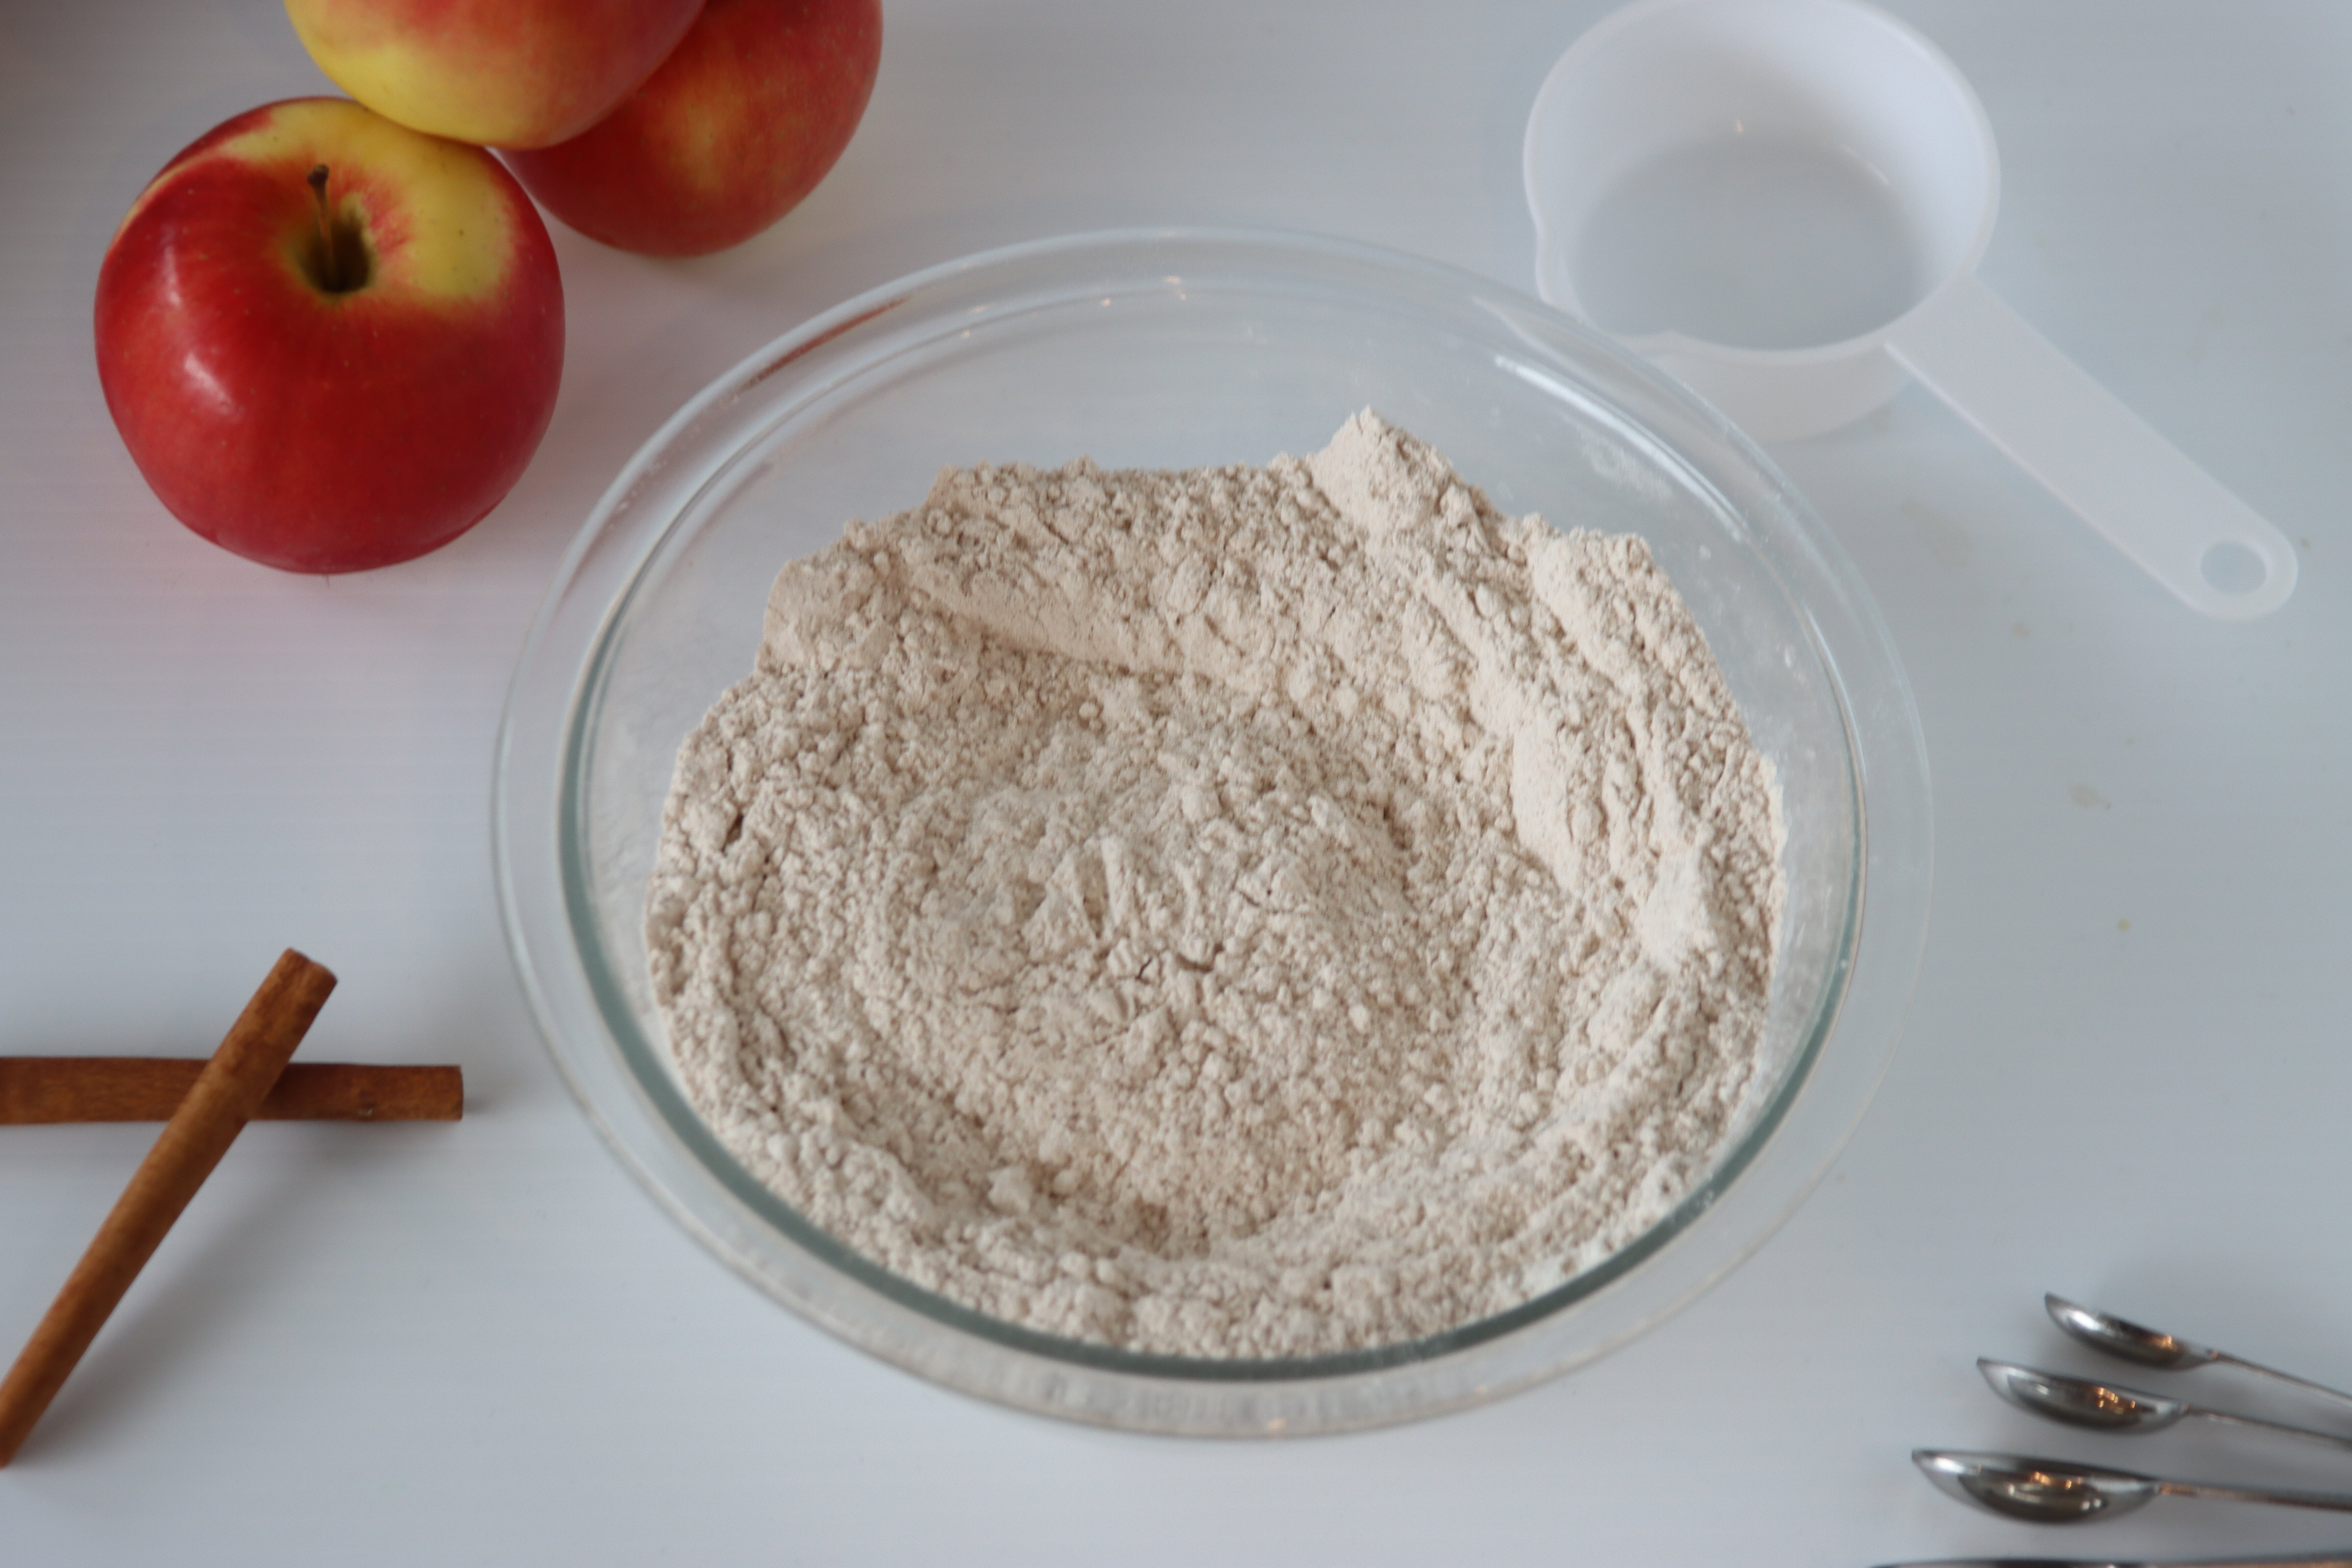
- In a medium bowl, whisk together the dry ingredients: flour, baking powder, baking soda, cinnamon, ginger, nutmeg, and salt.
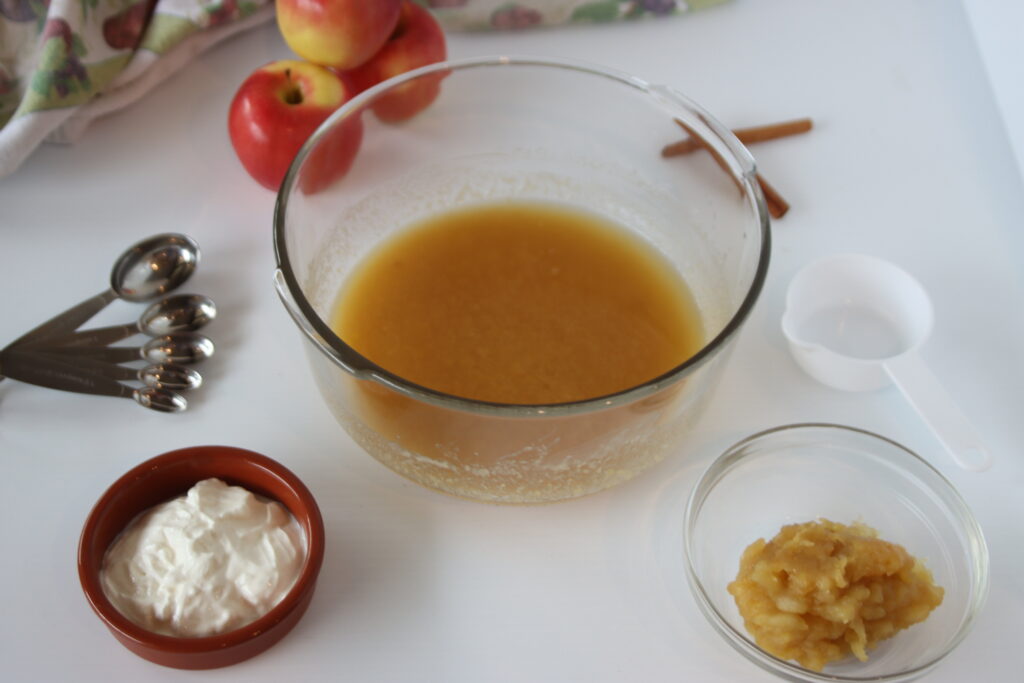
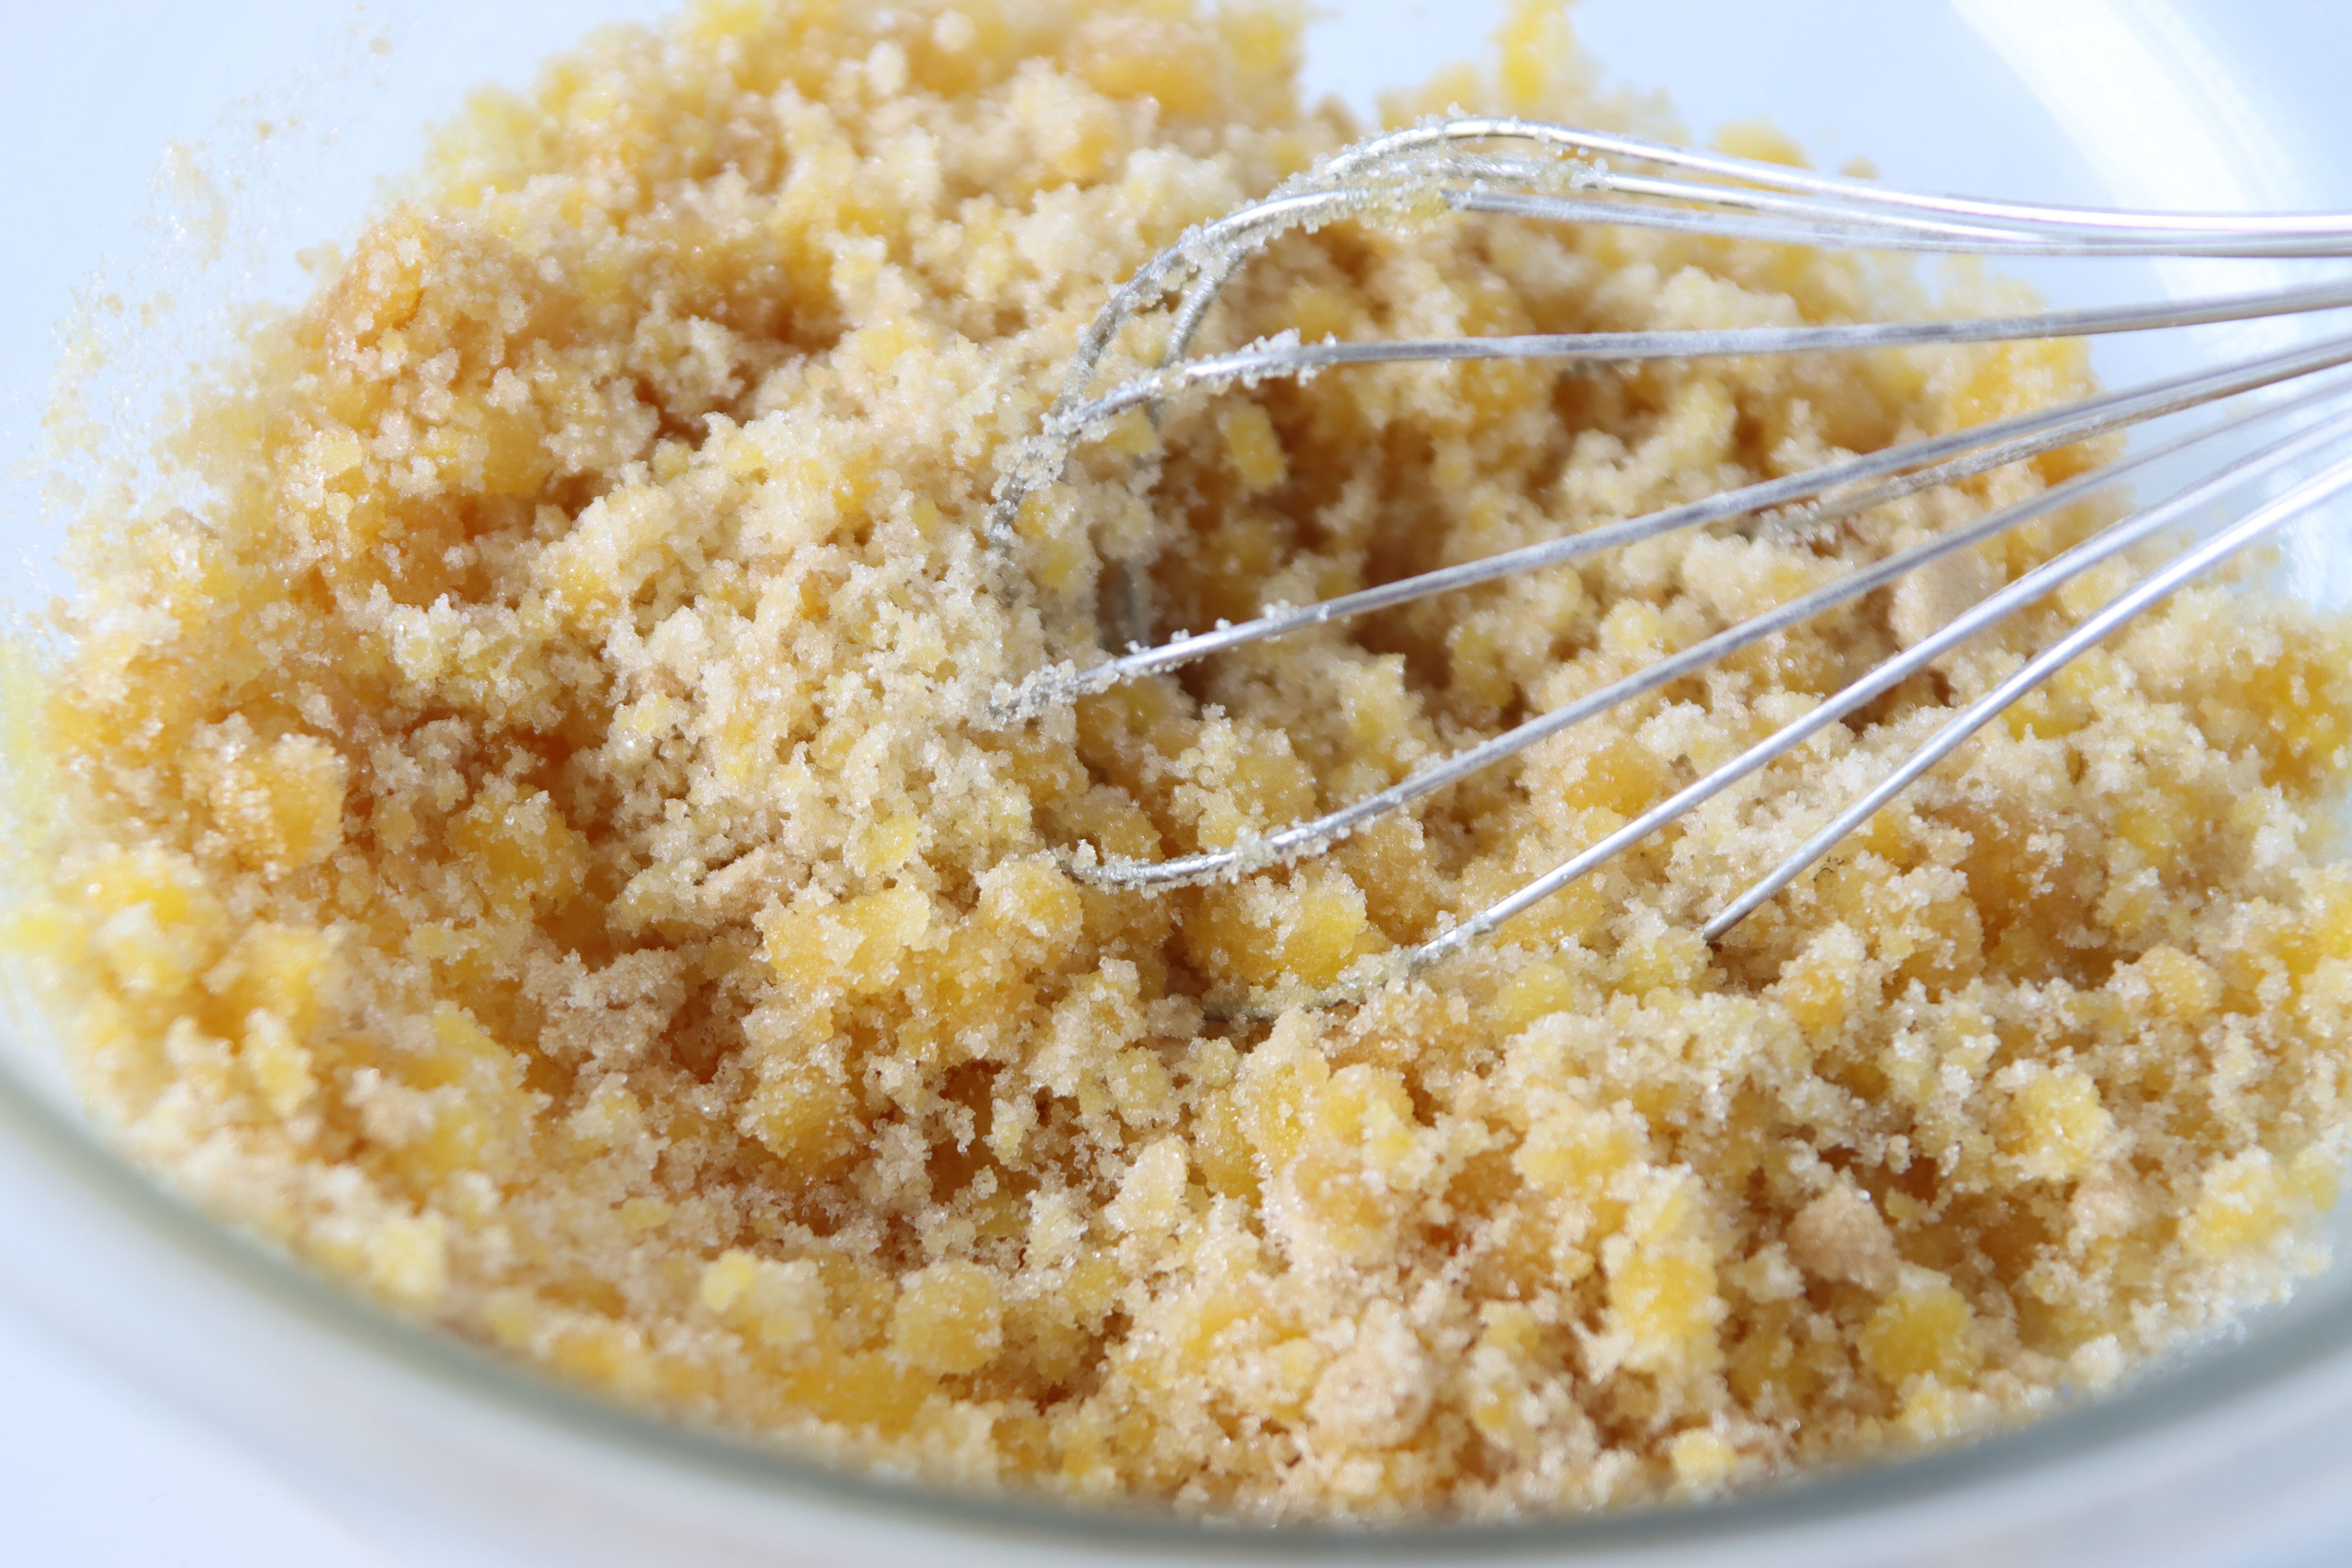
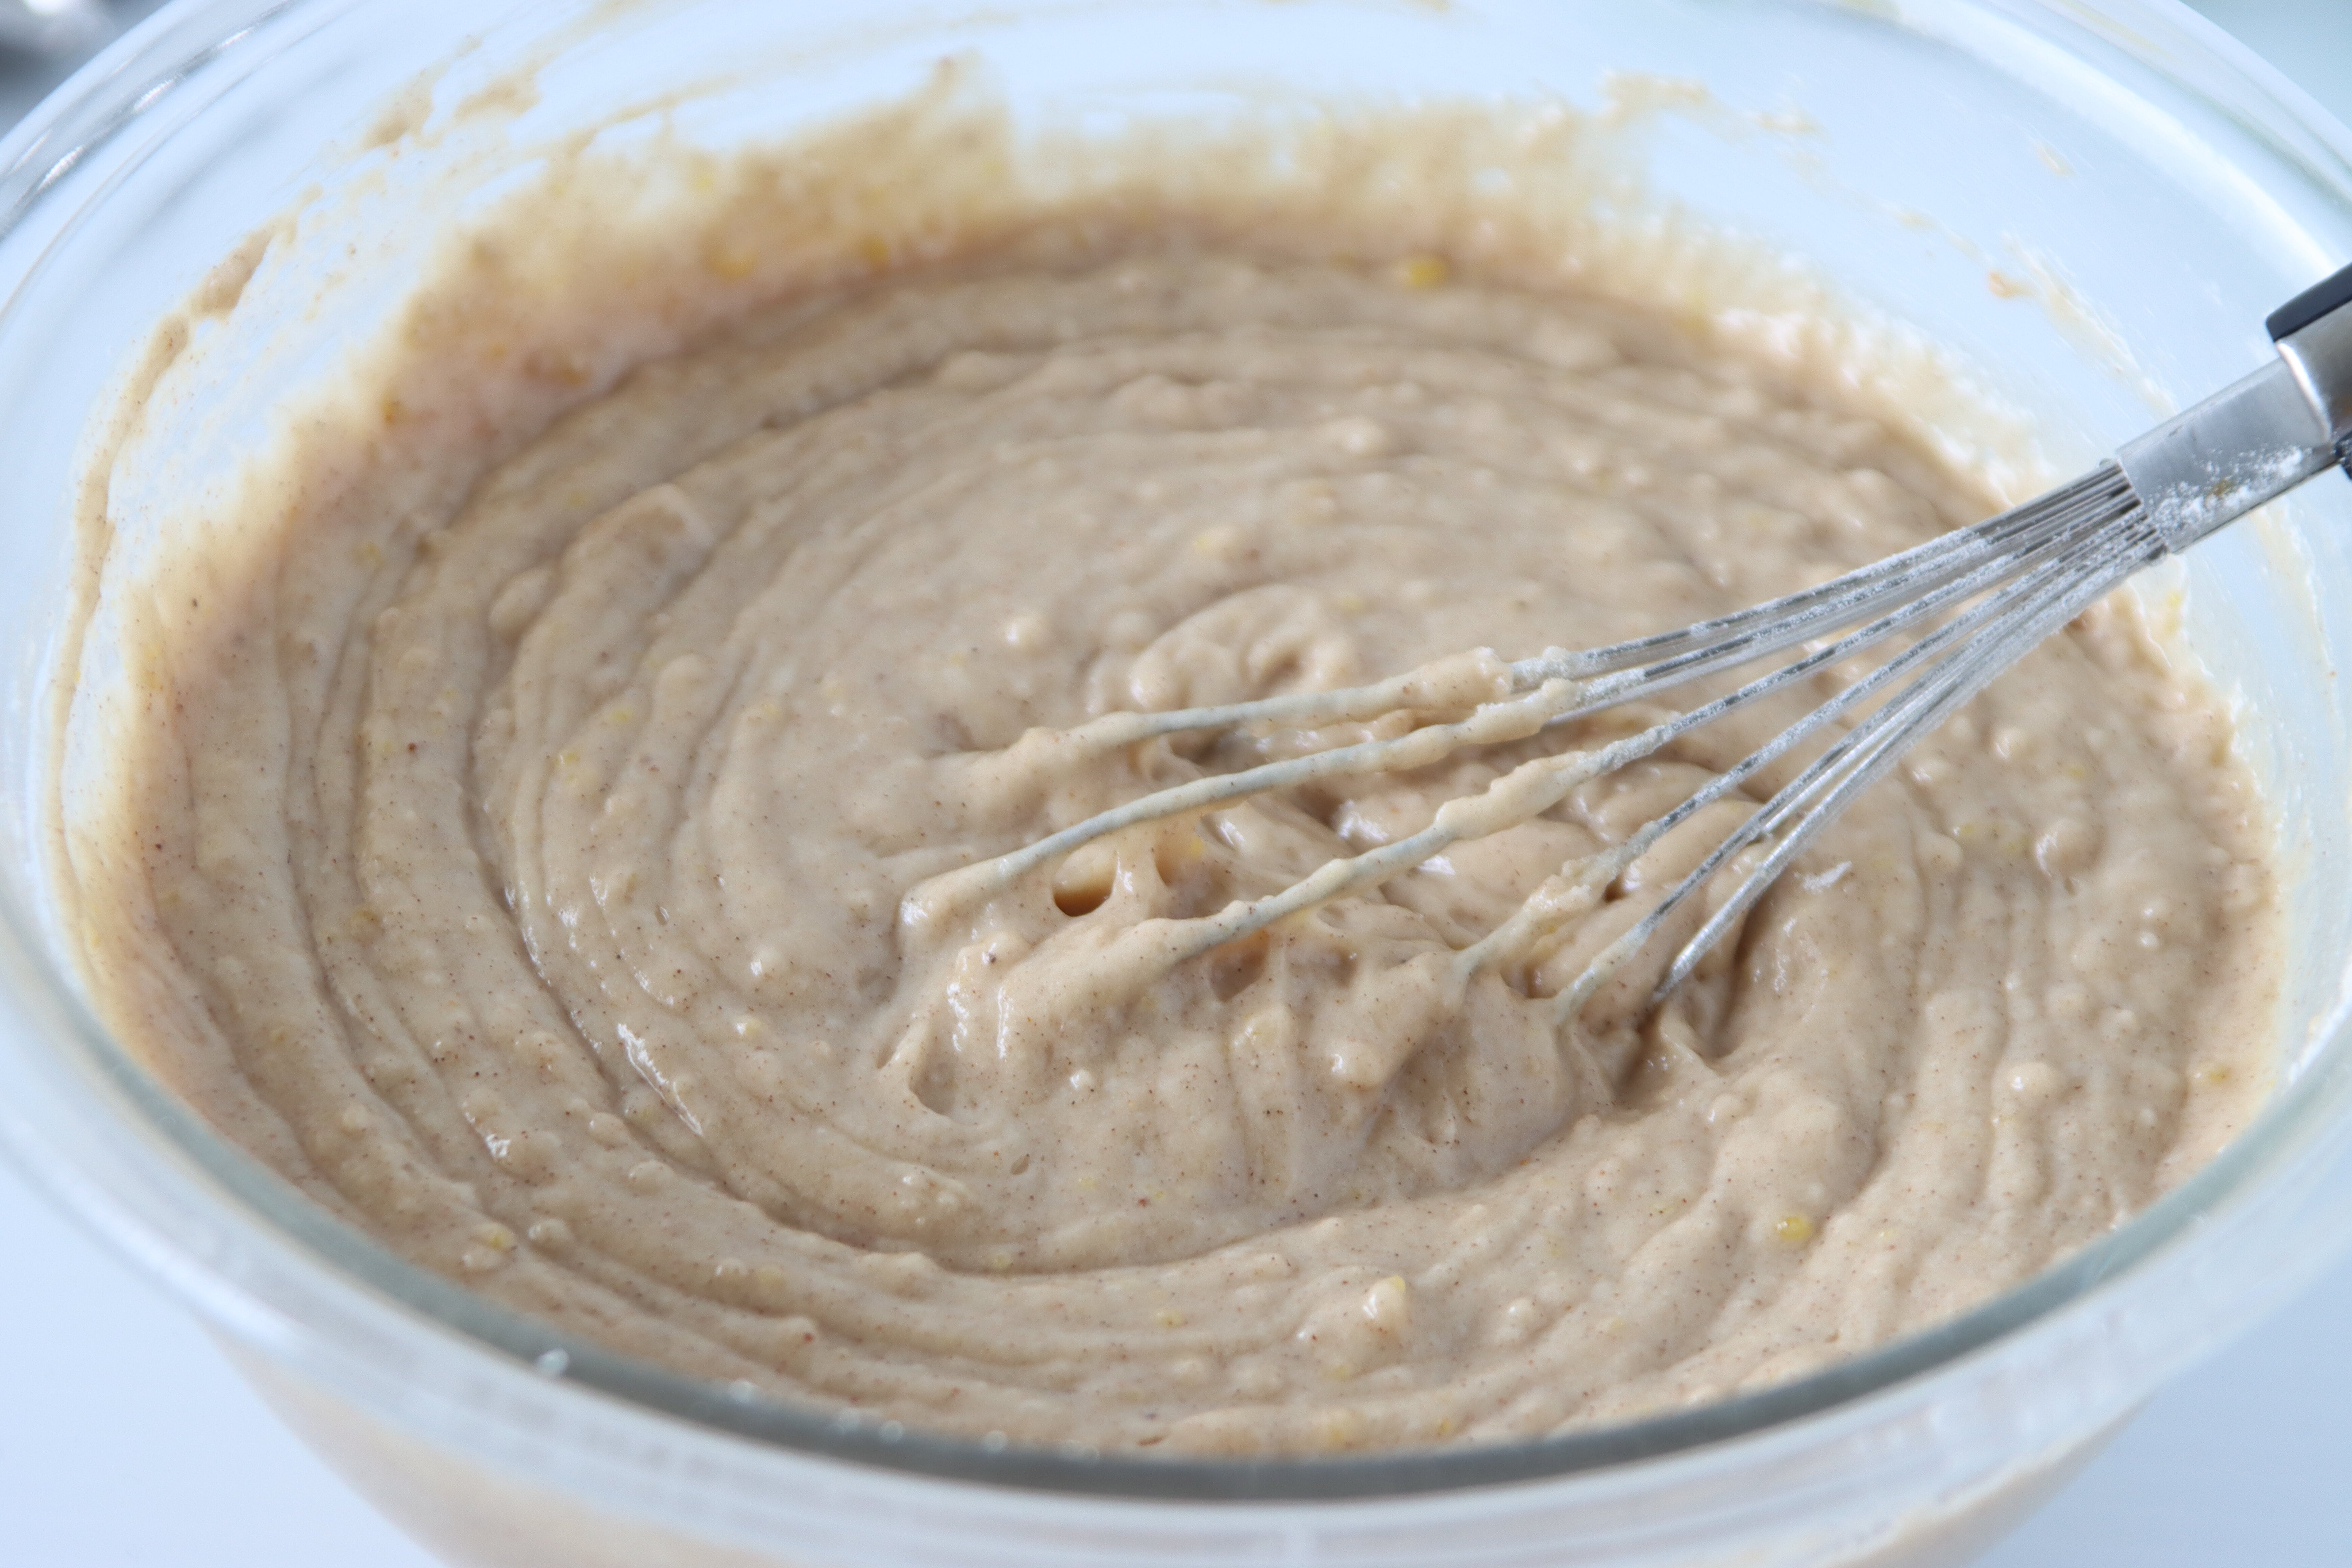
- In a large bowl, whisk the yolks of the 2 eggs with the white and brown sugars. It will be crumbly and dry in texture. (Be sure to save the egg whites as we will need them later!)Add the liquid fats, oil and melted butter, and whisk until combined. Add the sour cream and whisk until combined. It should be basically the texture of a cake batter at this point.
- In a measuring cup, stir together the milk, water and vanilla extract.
- In a small bowl, whip the 2 egg whites to stiff peaks using an electric mixer. Keep mixing until it is completely white and fluffy, with streaks forming as you mix and so that there is a peak of white that stands straight with only a little curl at the end of the beater when you lift it out of the bowl.
- Alternate adding the dry ingredients and the wet ingredients to the bowl of egg yolks, fats and sugar. Begin by pouring in half of the flour mixture and whisking until combined. Then pour in all of the milk mixture and whisk. Finally, pour in the remainder of the flour and whisk.
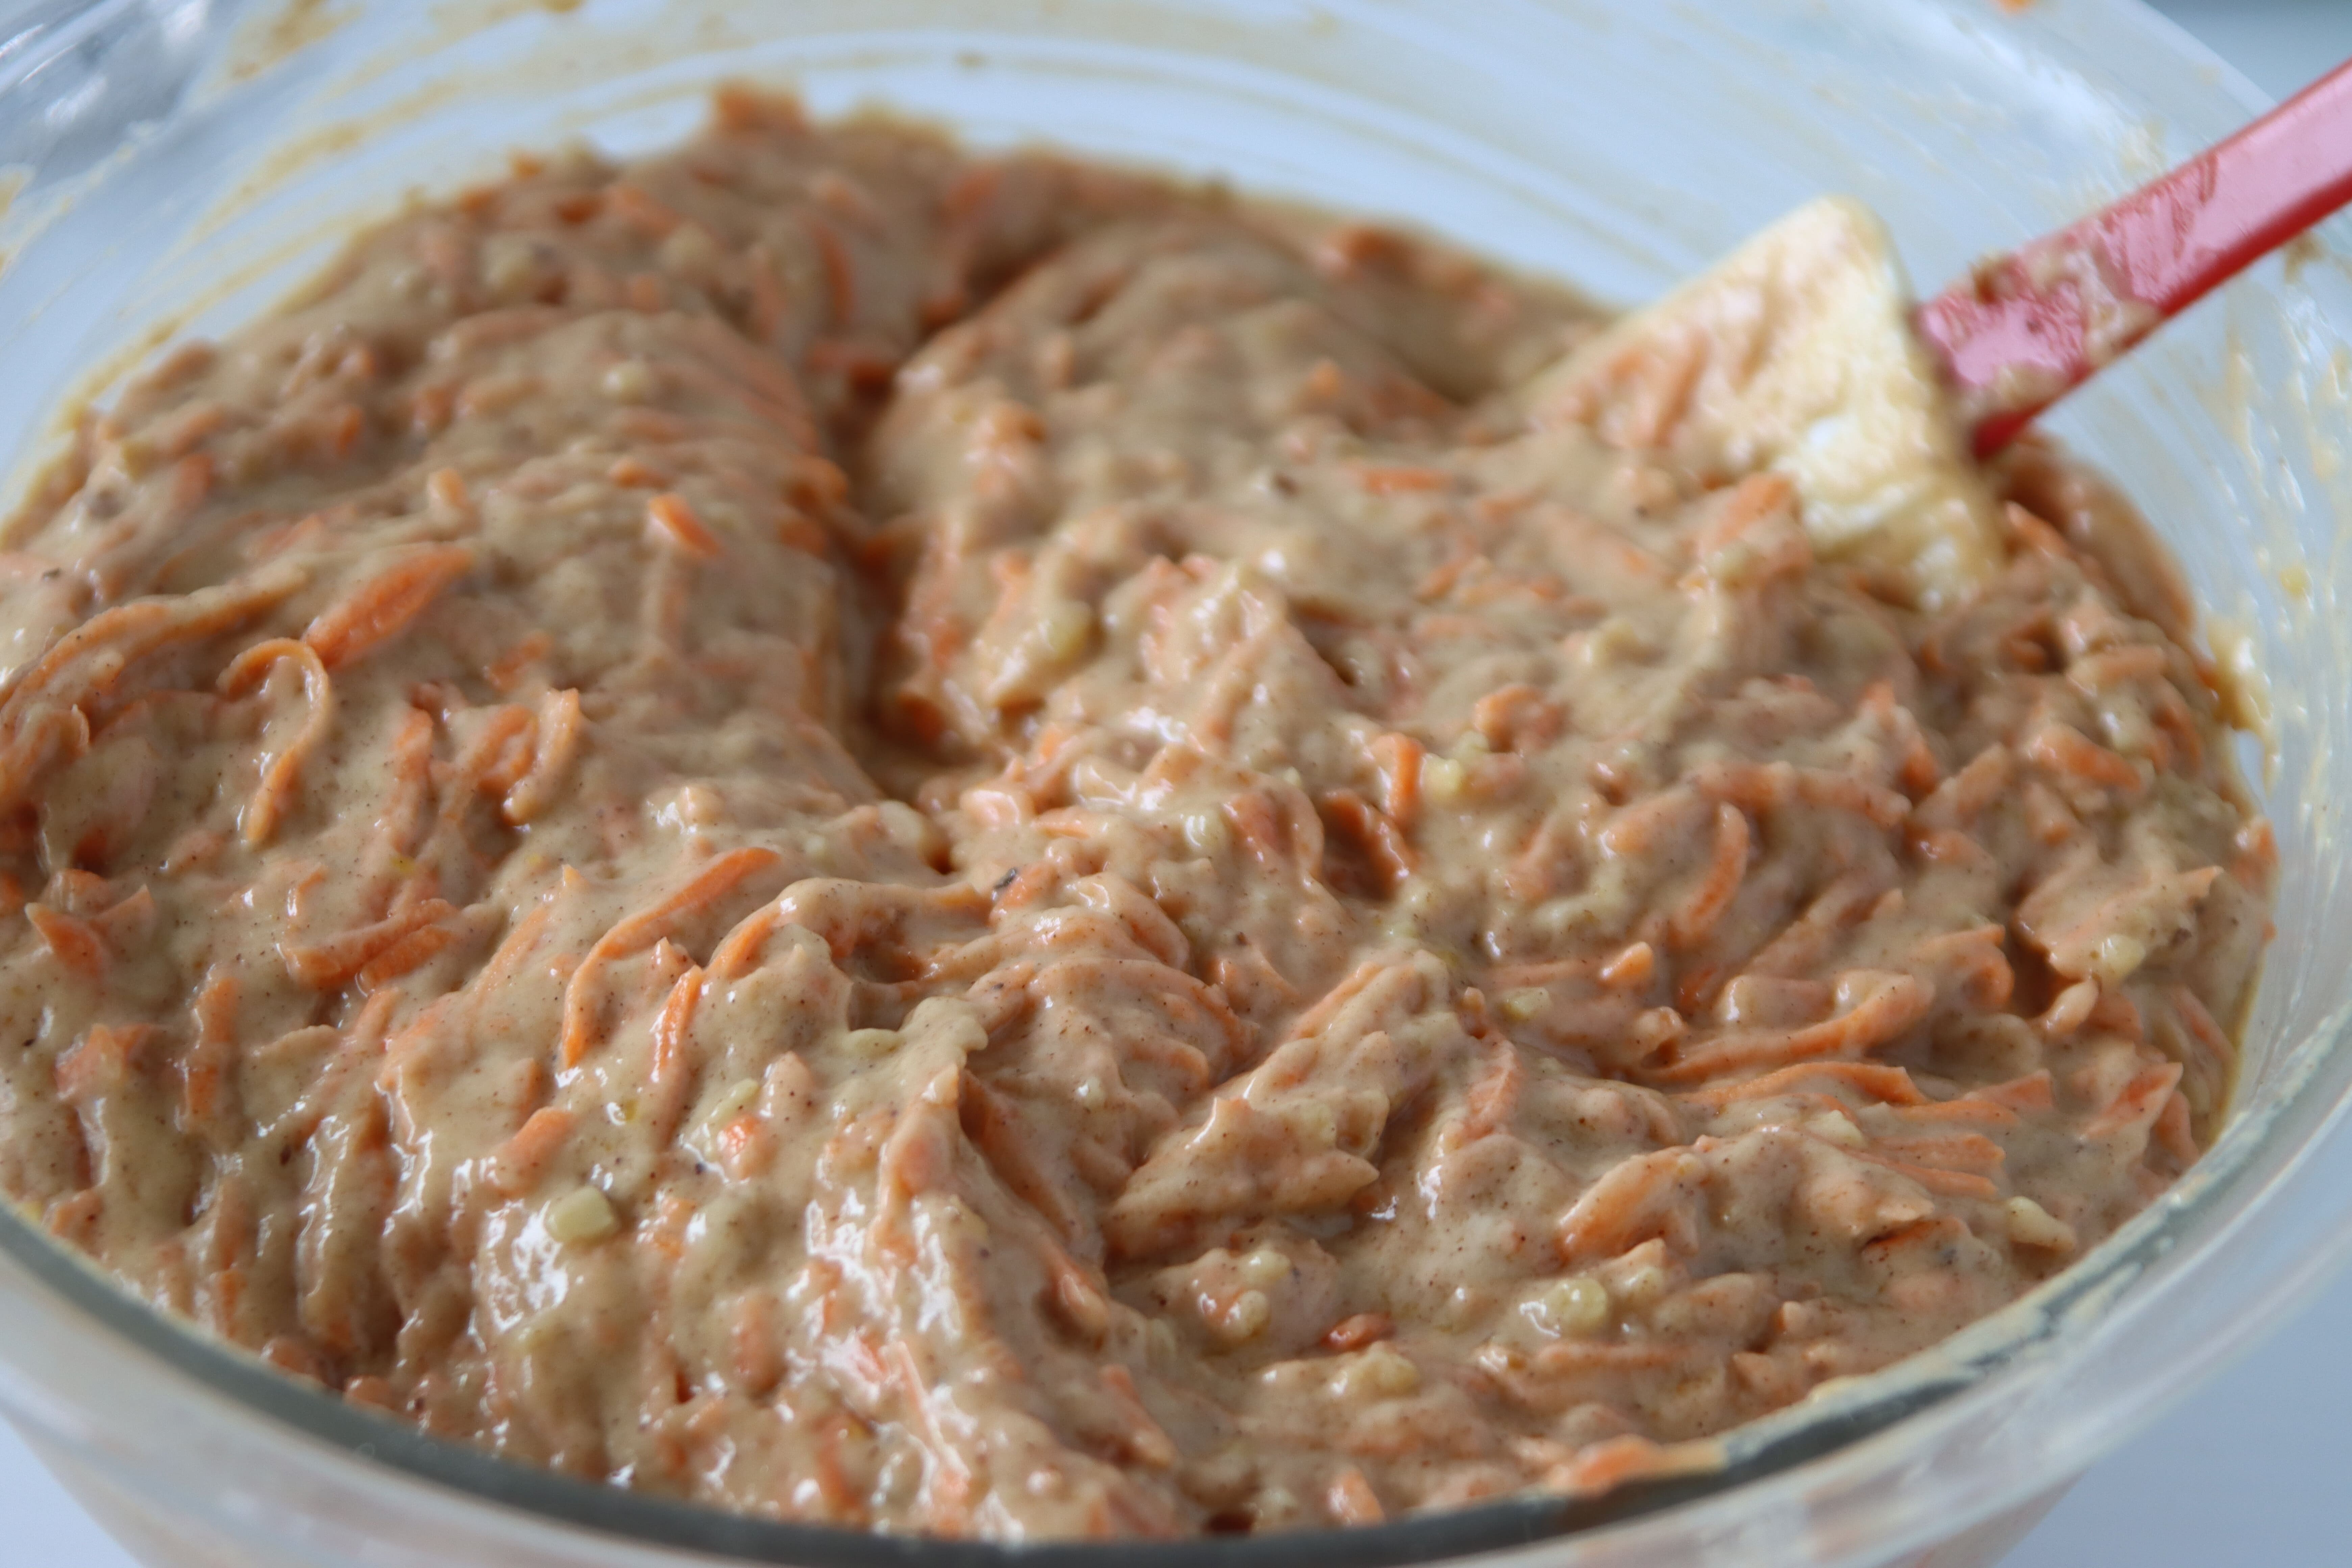
- Fold in the grated carrot and chopped walnuts.
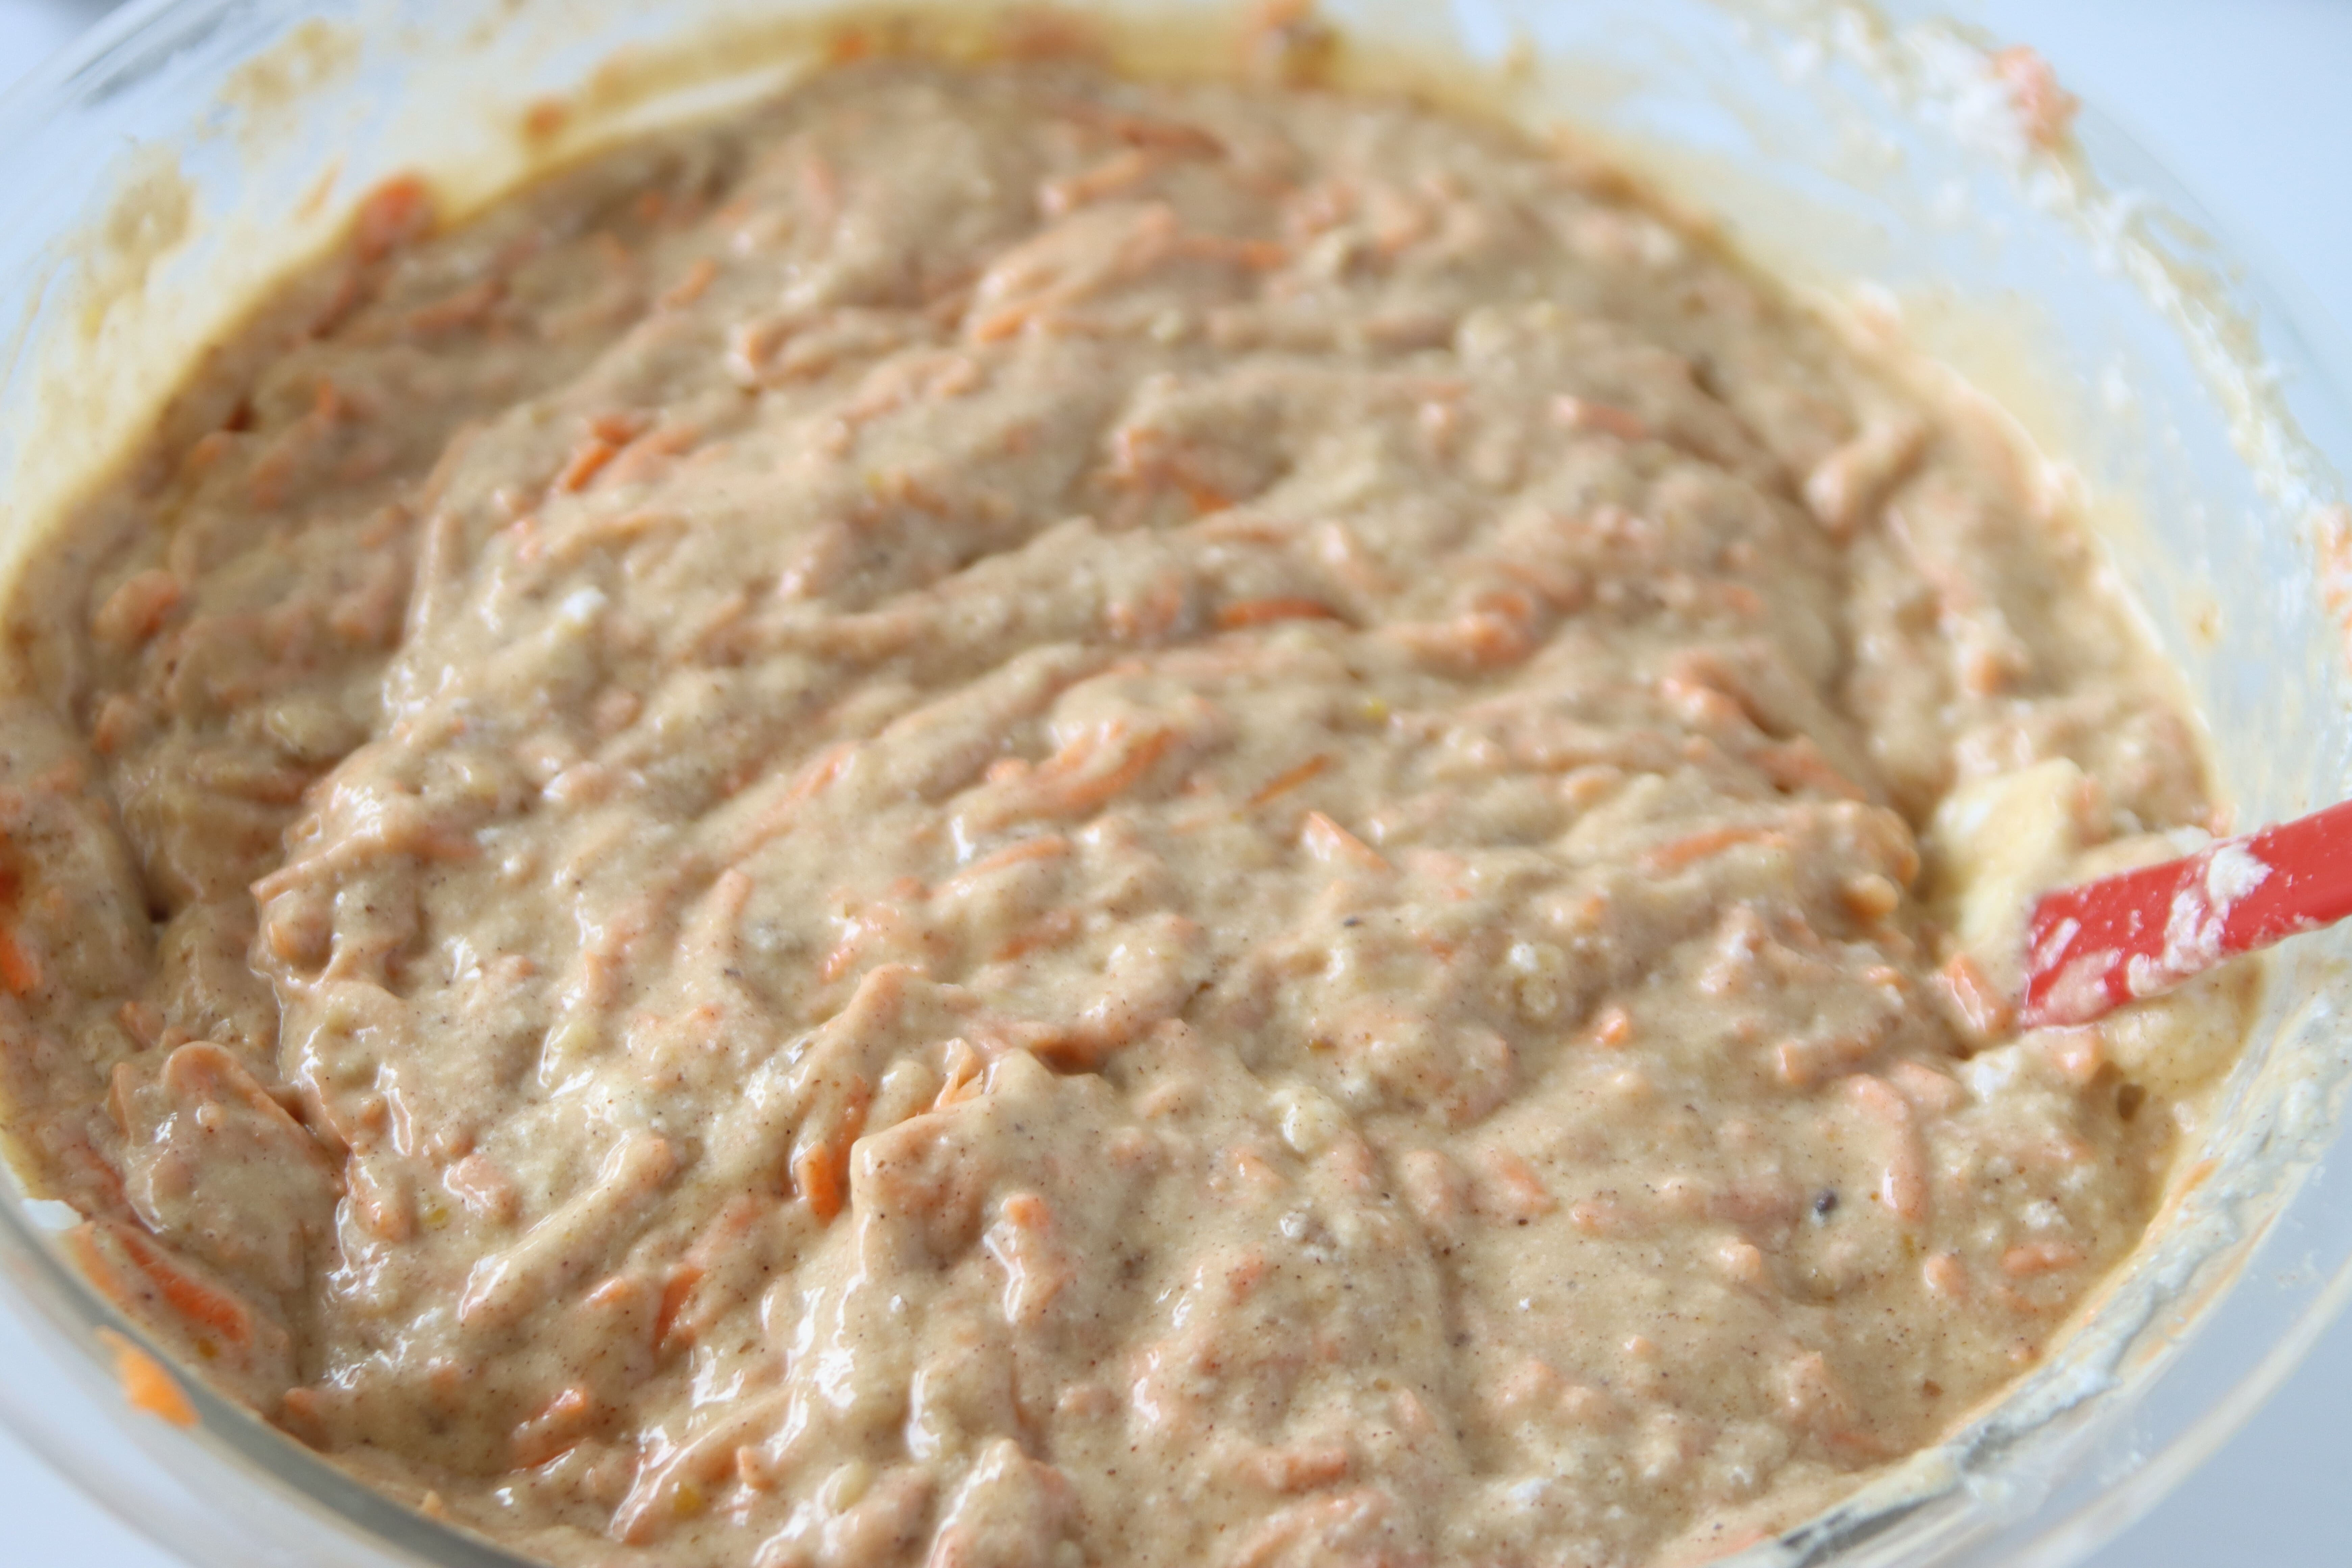
- Lightly fold in the whipped egg whites, careful not to completely deflate them. It's okay if there are tiny streaks of egg whites left in the batter.
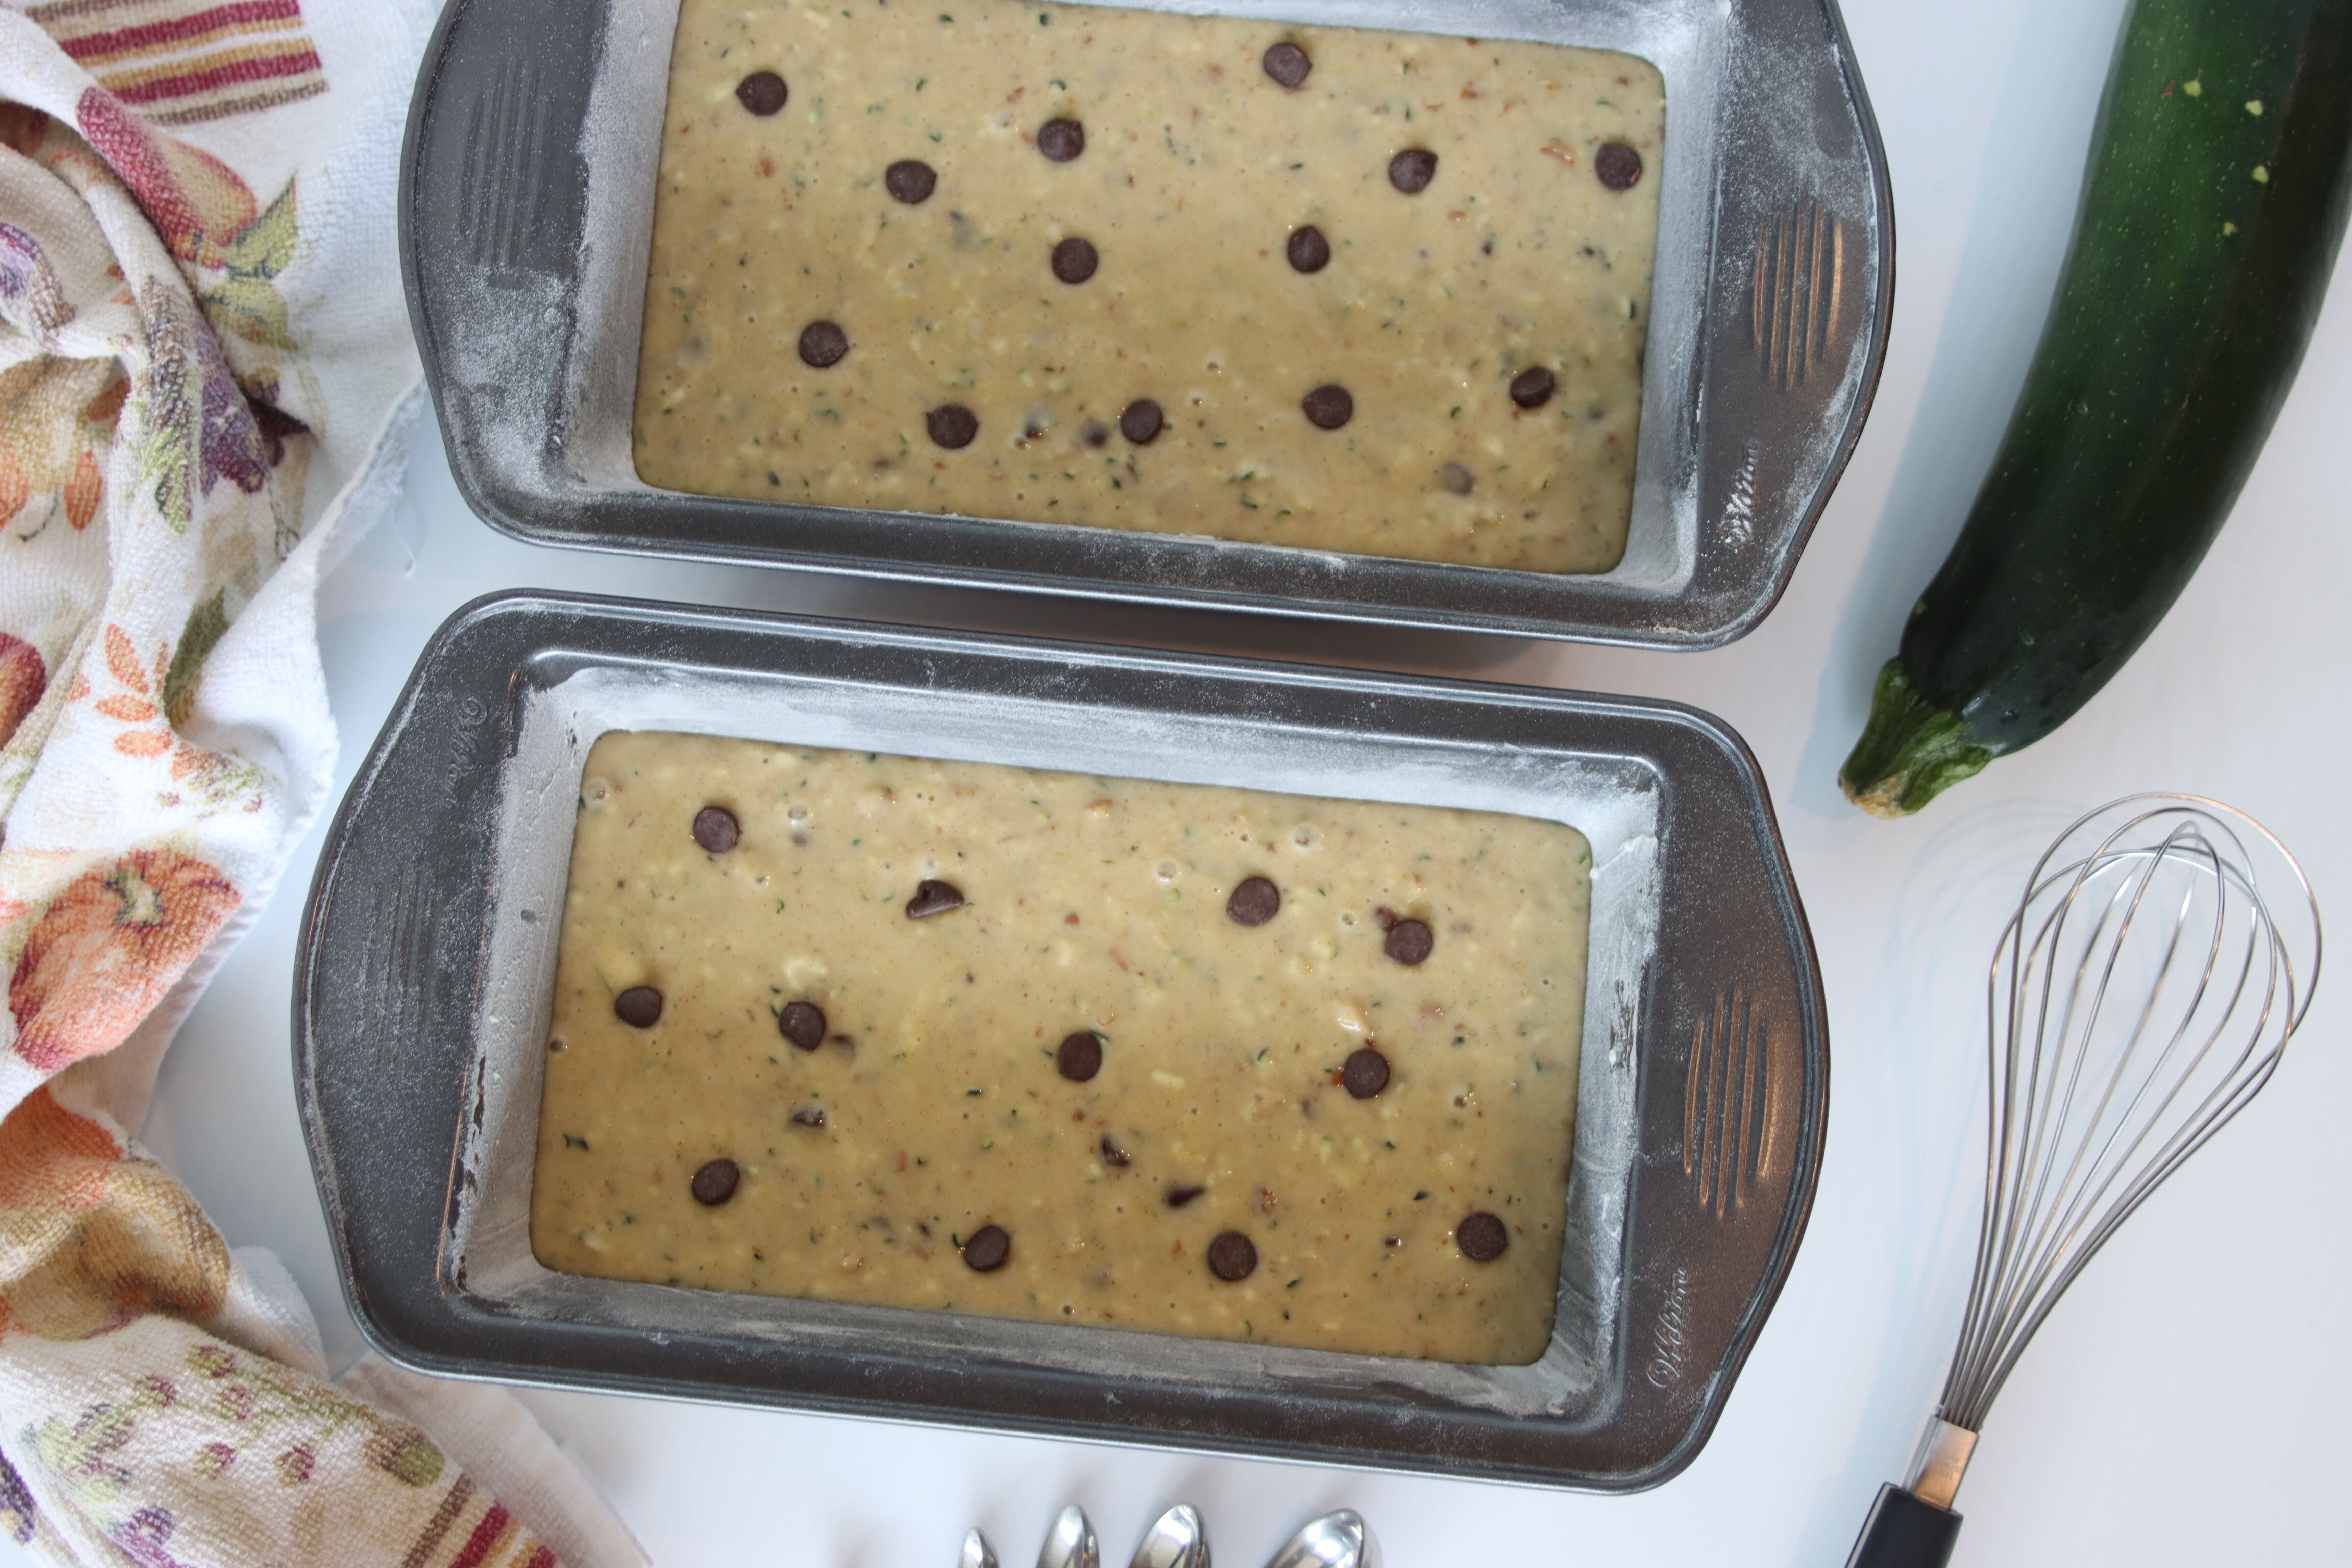
- Divide the batter evenly in the two pans, and bake at 335 for about 60 minutes, or until a toothpick inserted in the centre comes out clean. (see notes*)
- Allow the cakes to cool in the pan for about 10 minutes, then flip onto a wire rack and allow to cool completely before frosting.
- Enjoy!