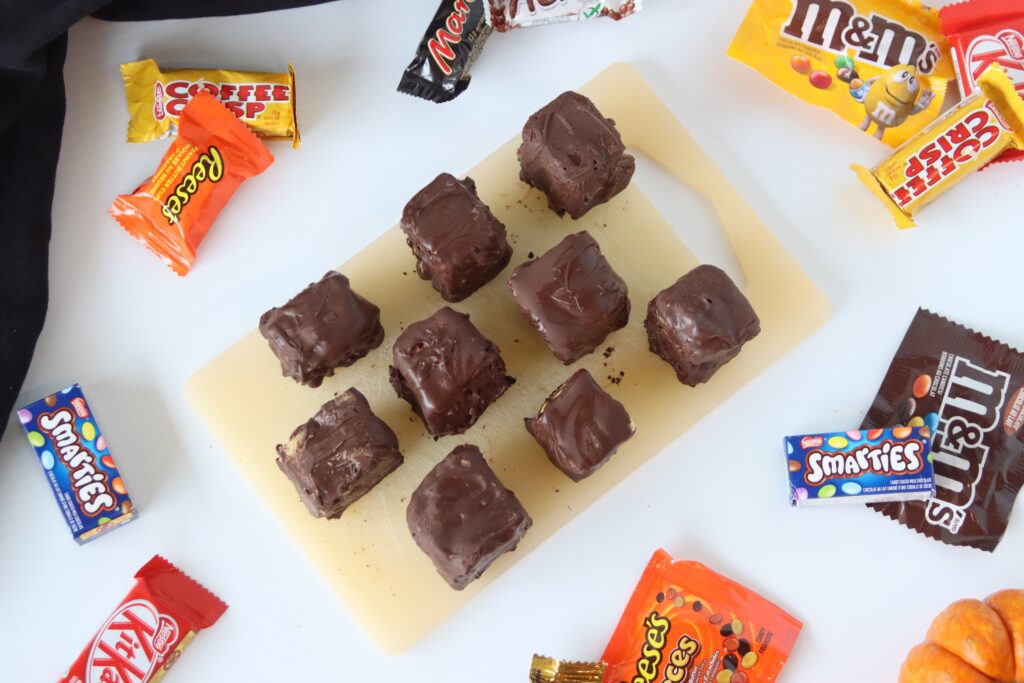
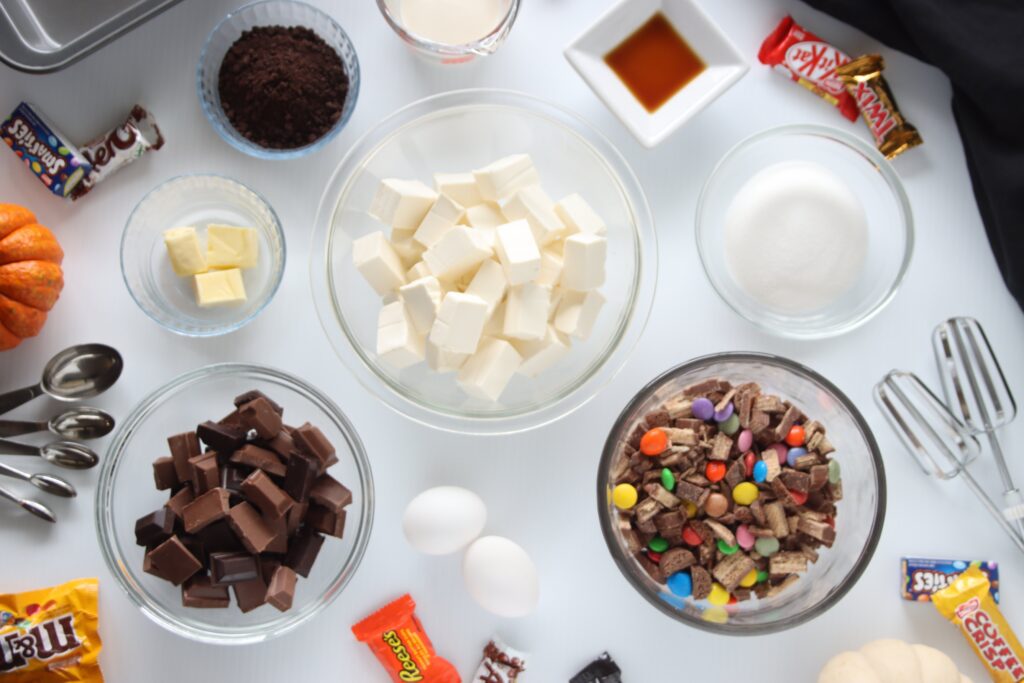
These Cheesecake Bites put all of your leftover Halloween candy to good use in a creamy, delicious, chocolaty way! Perfect for both kids and adults alike; combining the joys of your favourite Halloween candies and the elegance of a fluffy cheesecake, all in one bite-sized package! Keep reading to find out how you can make these fun treats, all from the comfort of your own home.
I created this recipe in the winter of 2019. Since it was that long ago, I really don’t know what made me think of making this recipe, except for the fact that we still had a lot of Halloween candy leftover. One specific thing I remember was that we even had some chocolate fudge still sitting in the fridge from the summer!
But I have absolutely no clue why I decided to turn all of those leftovers into cheesecake – cheesecake bites of all things! I could’ve added it into cookies, brownies, eaten it straight… and yet I chose cheesecake! I don’t even know if the goal was to use up bricks of cream cheese that were about to expire! Nonetheless, it’s safe to say that I don’t regret the decision in the least, since it turned into this.
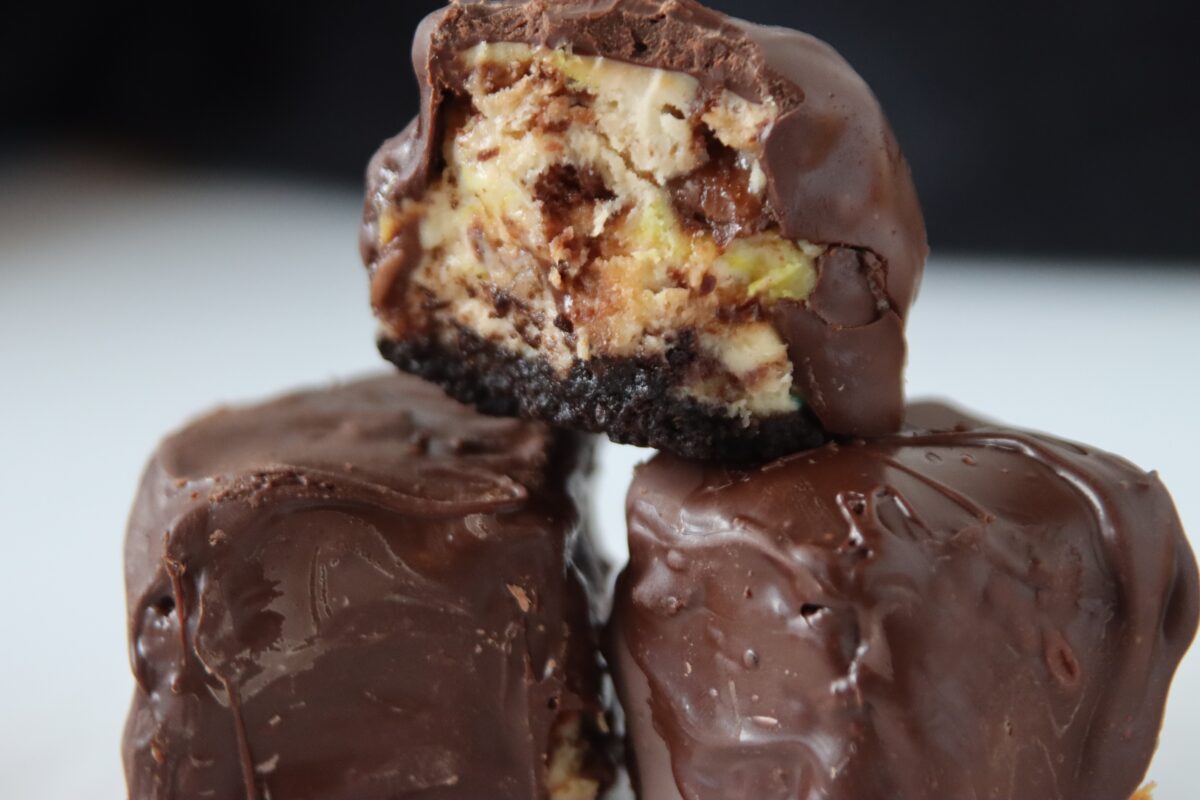
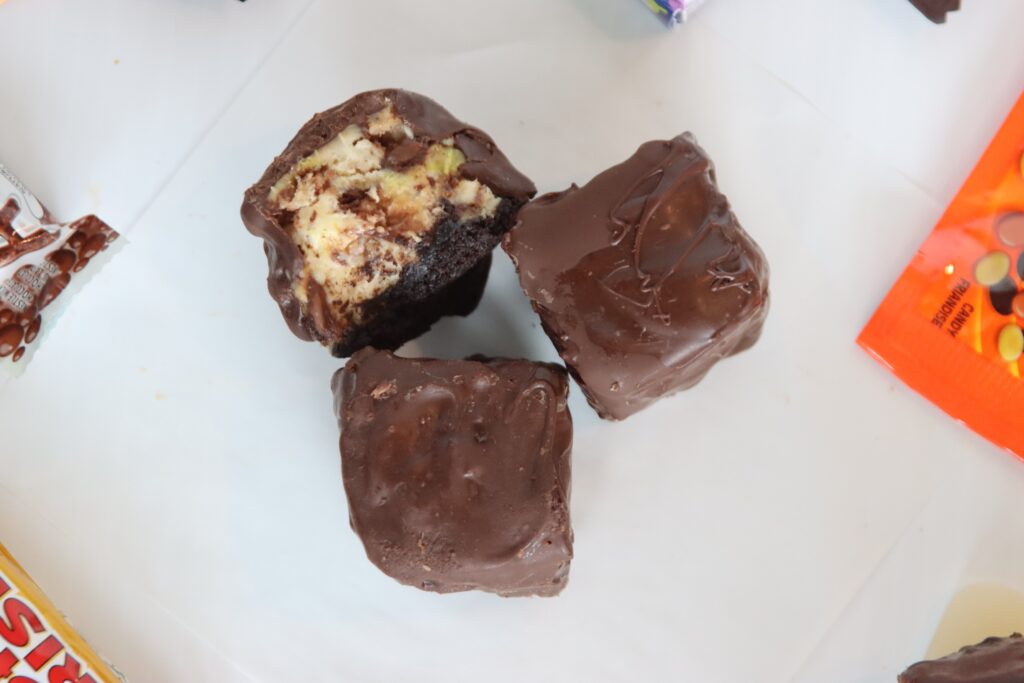
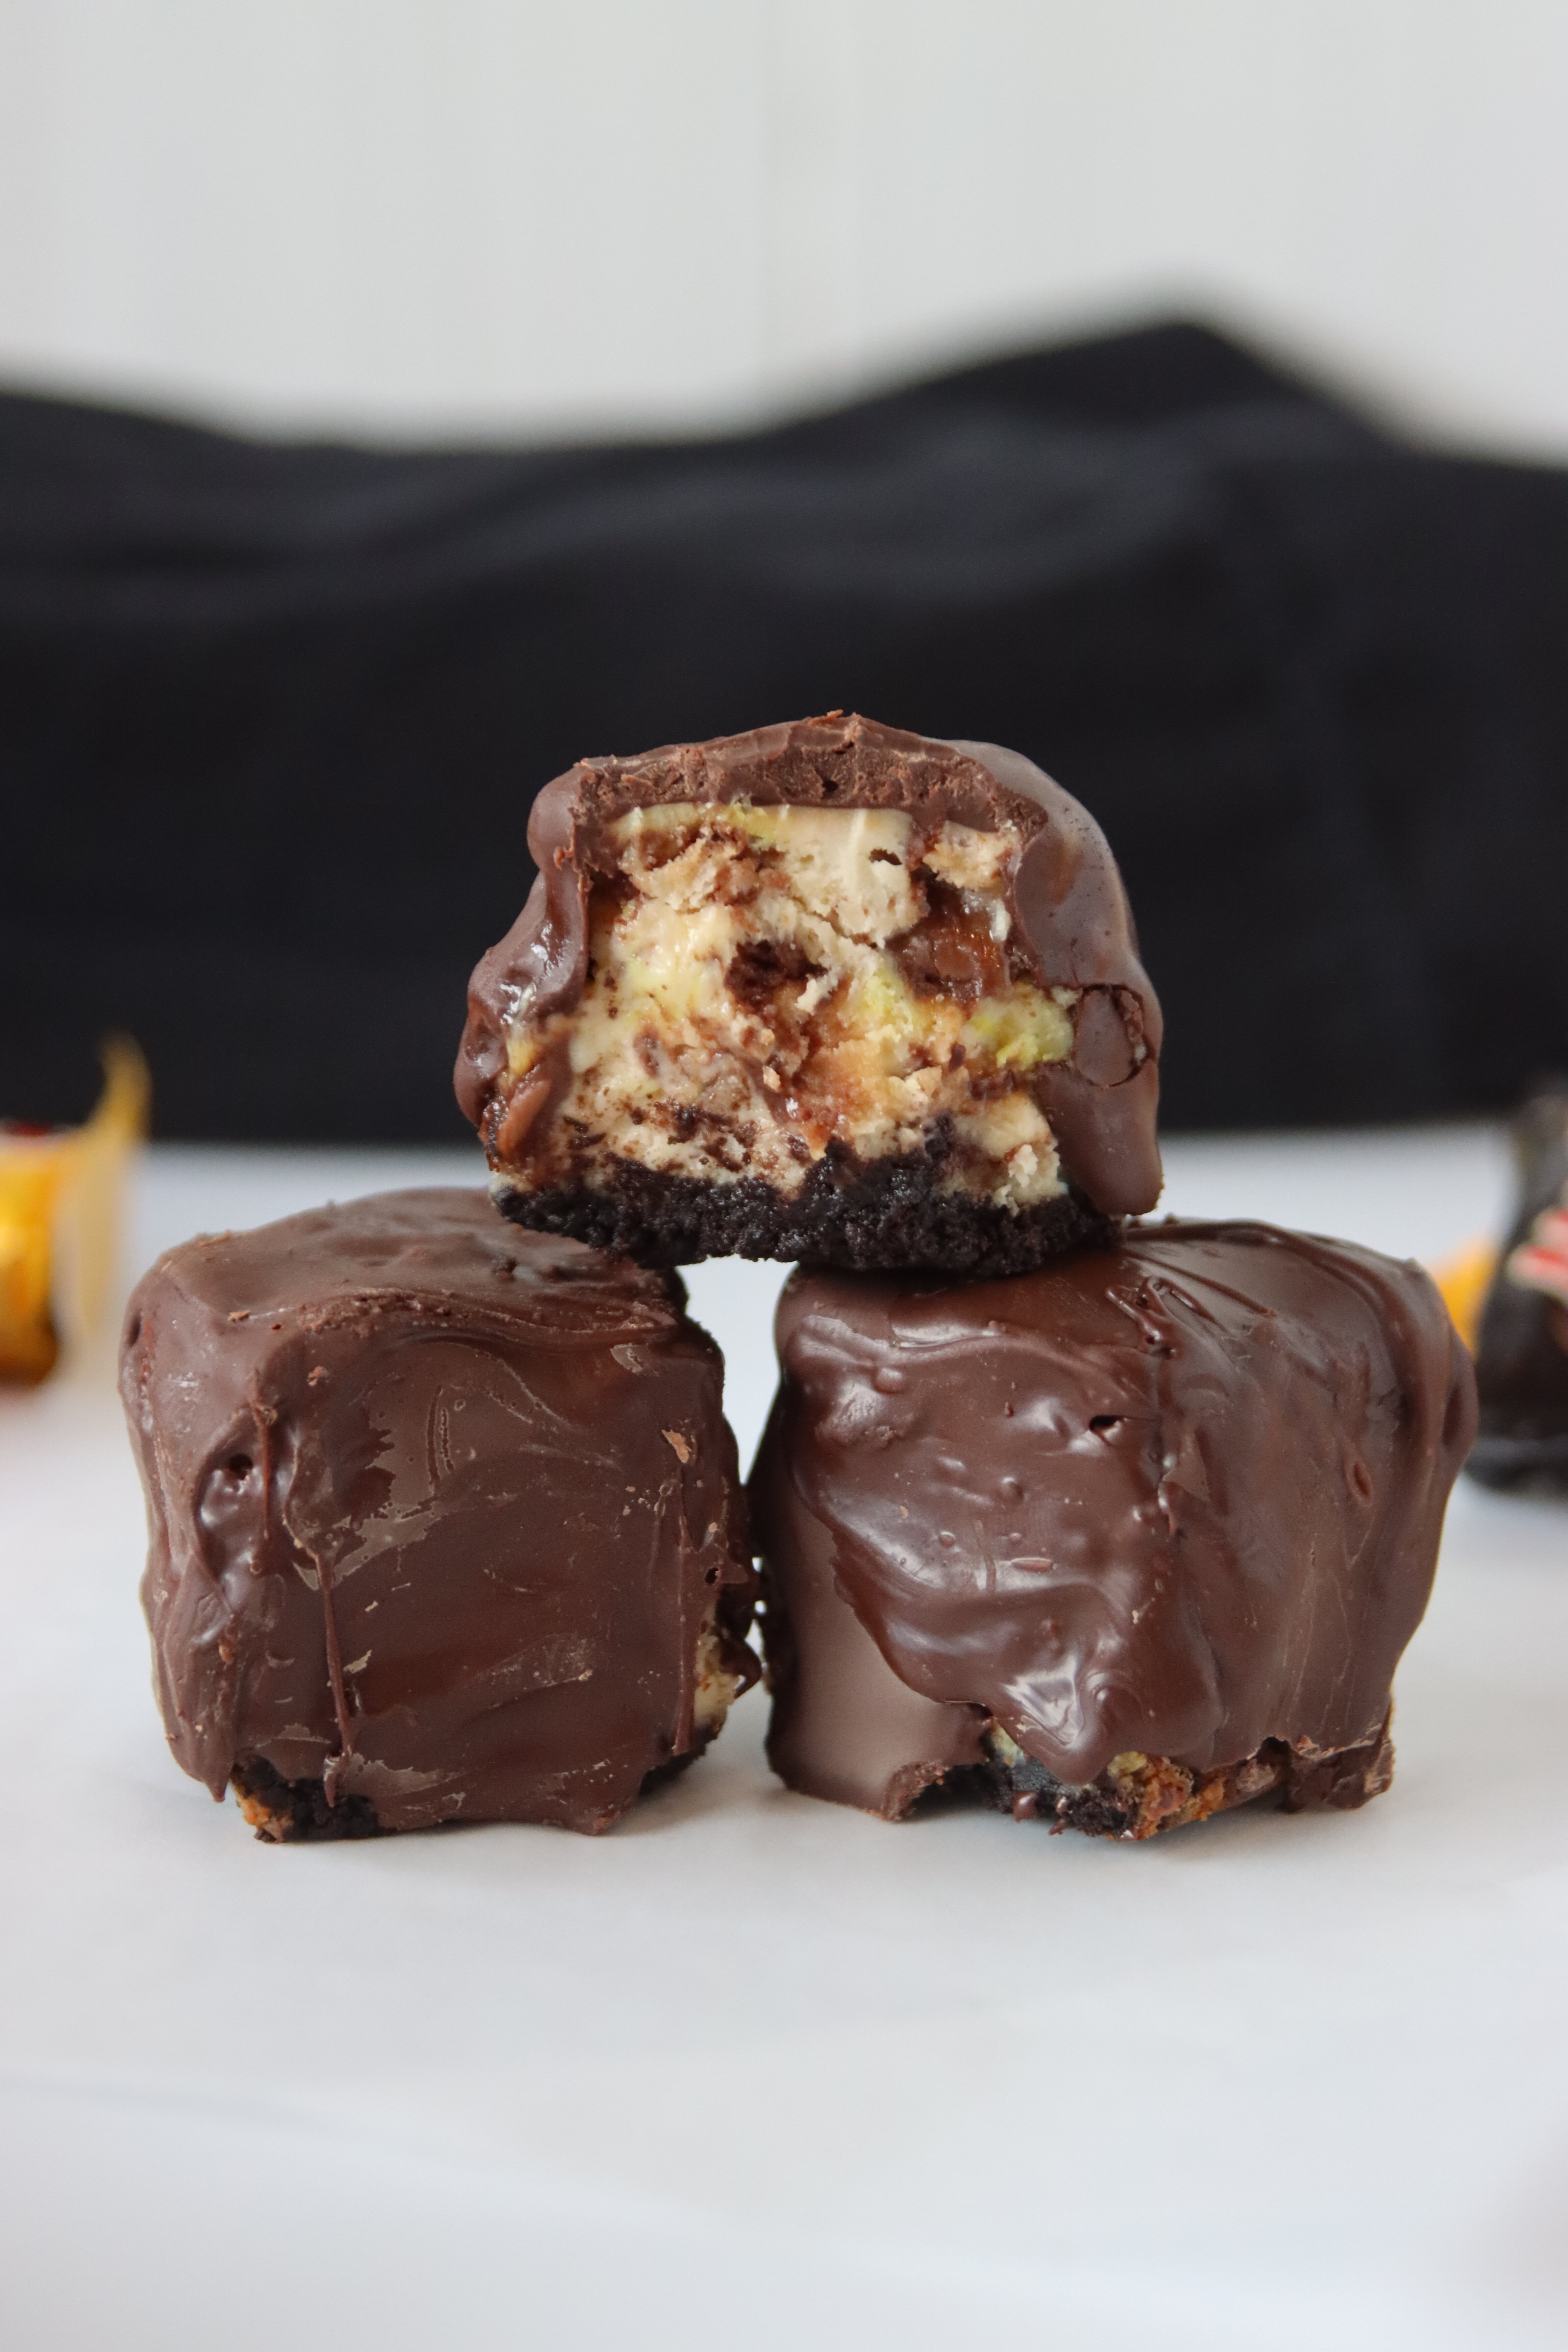
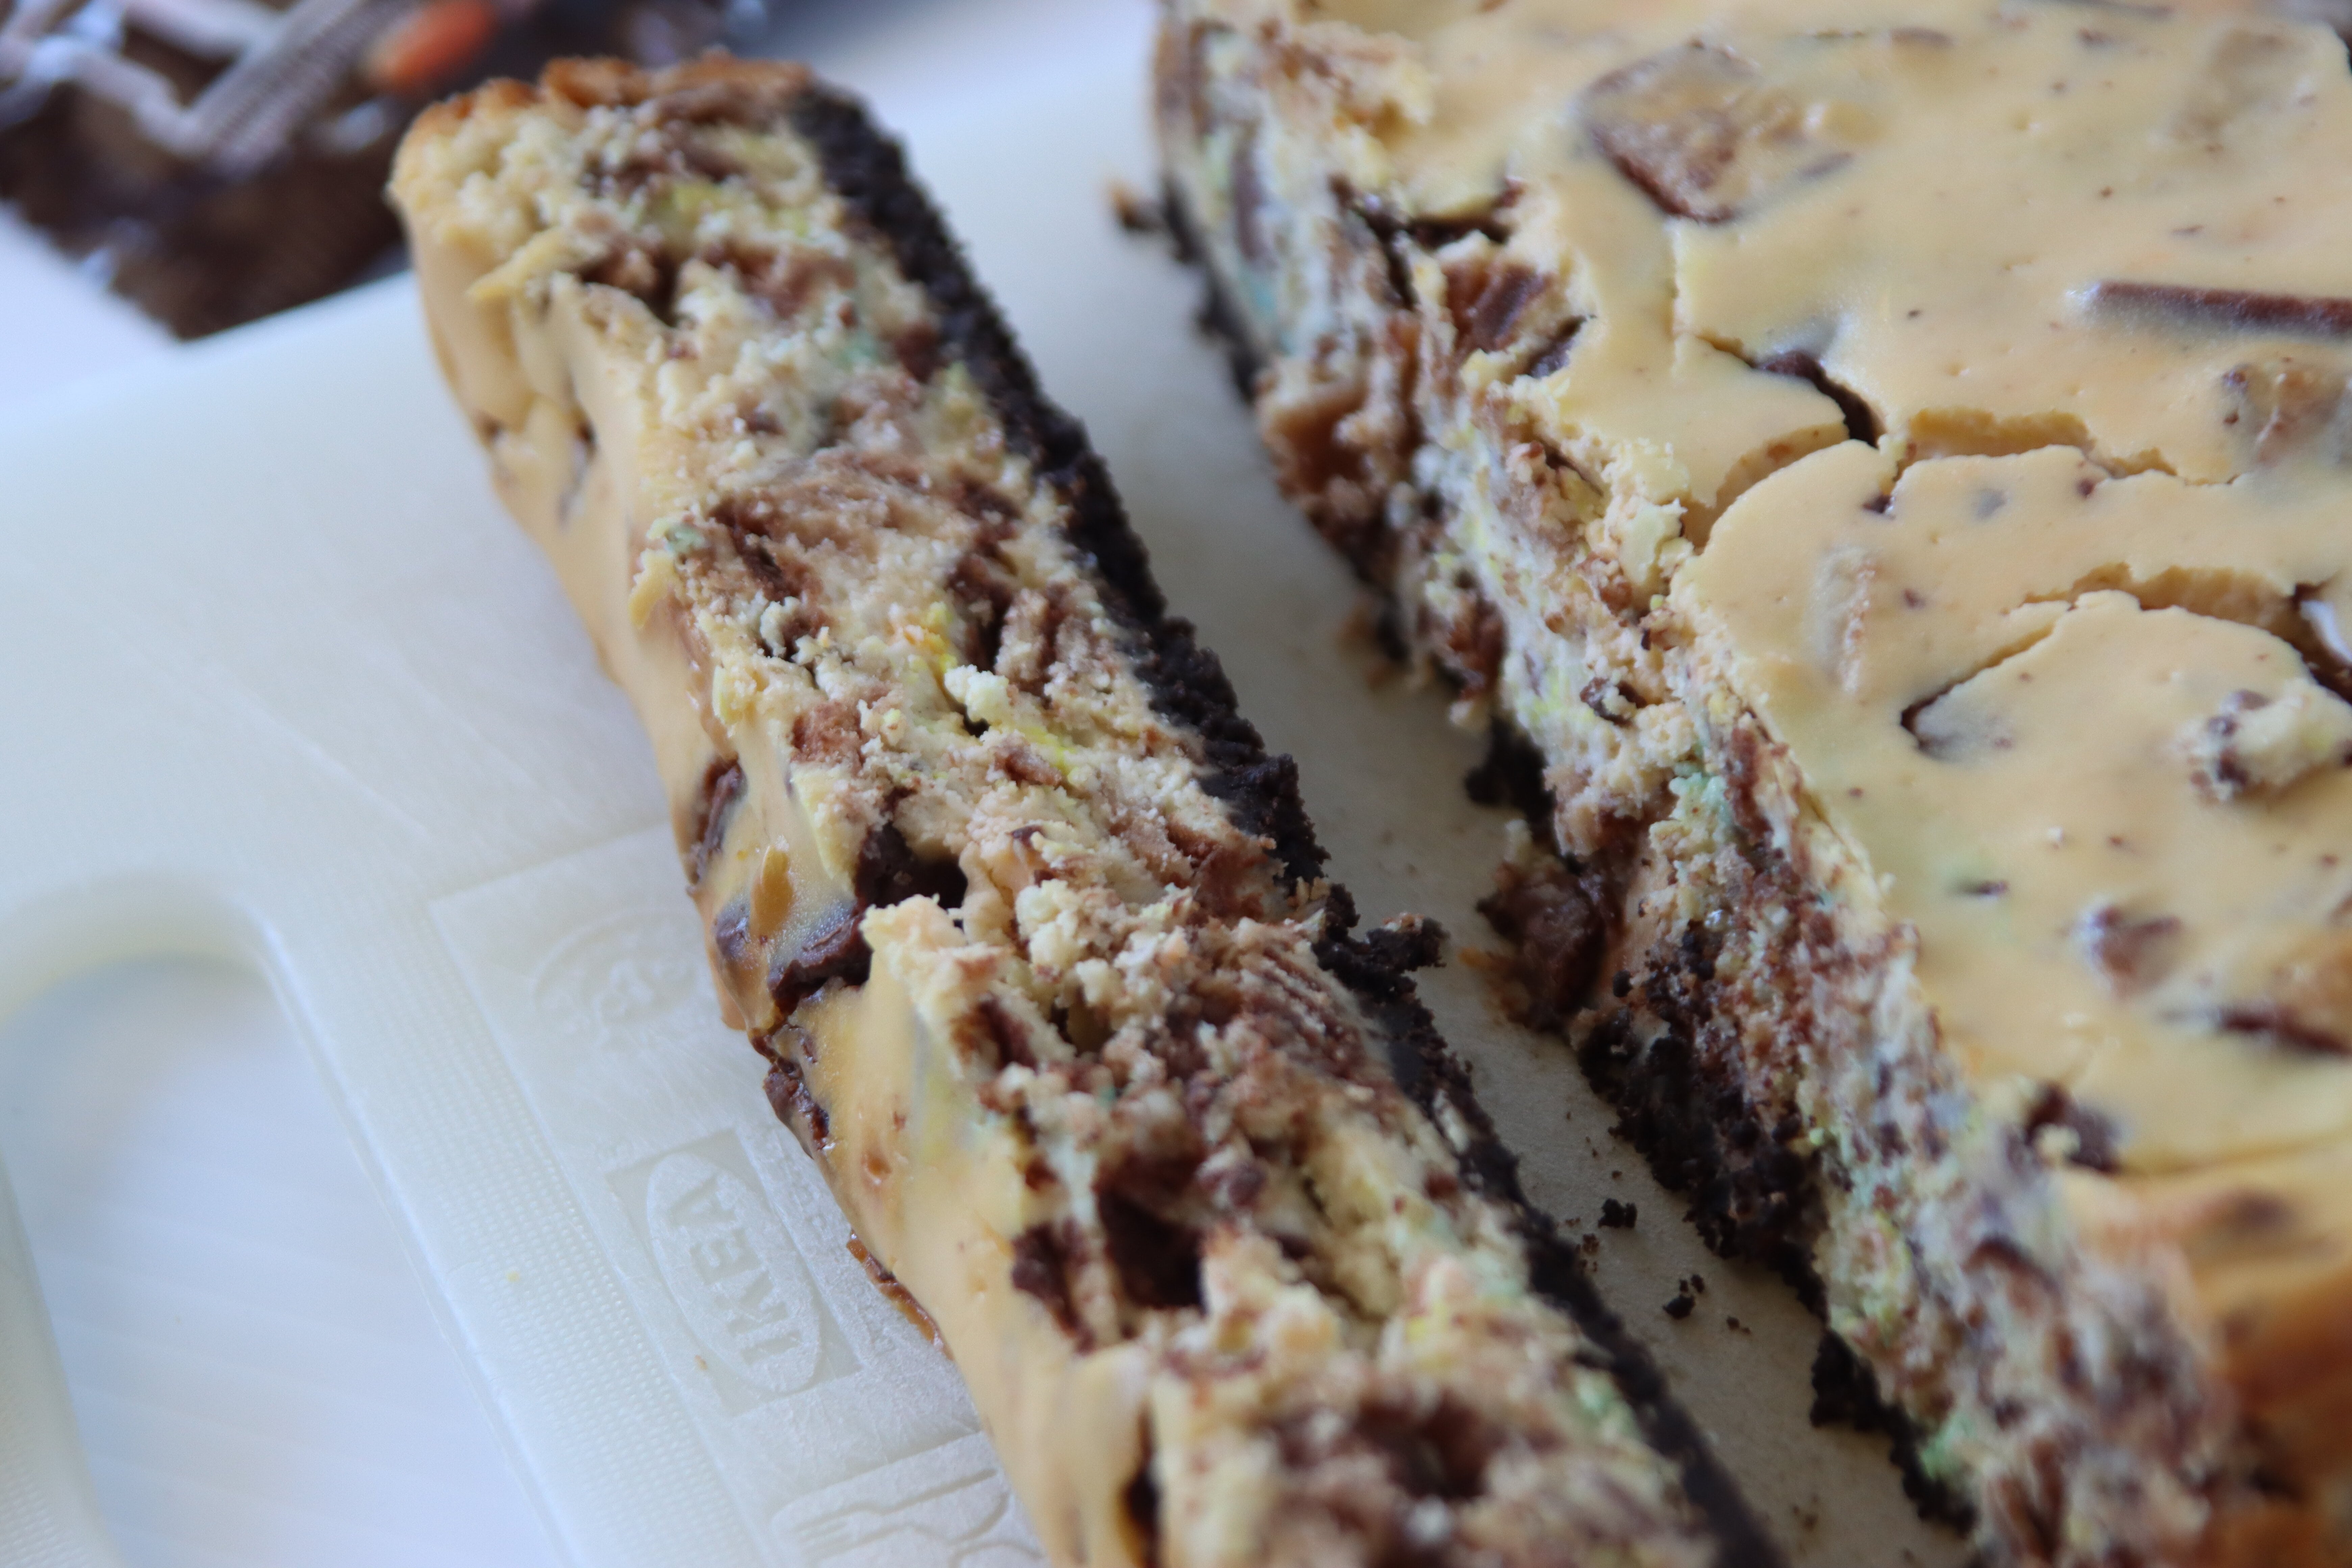
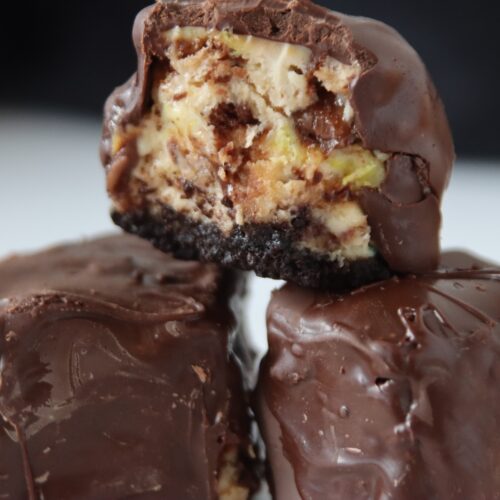
Rich and creamy cheesecake. The sweet taste of candy bars. Buttery graham cracker crust. The crack of the chocolate shell when you bite into it. Are you drooling yet? I know I am.
Now let’s take a look into each of the parts that make this a drool-worthy recipe.
Graham Cracker Crust:
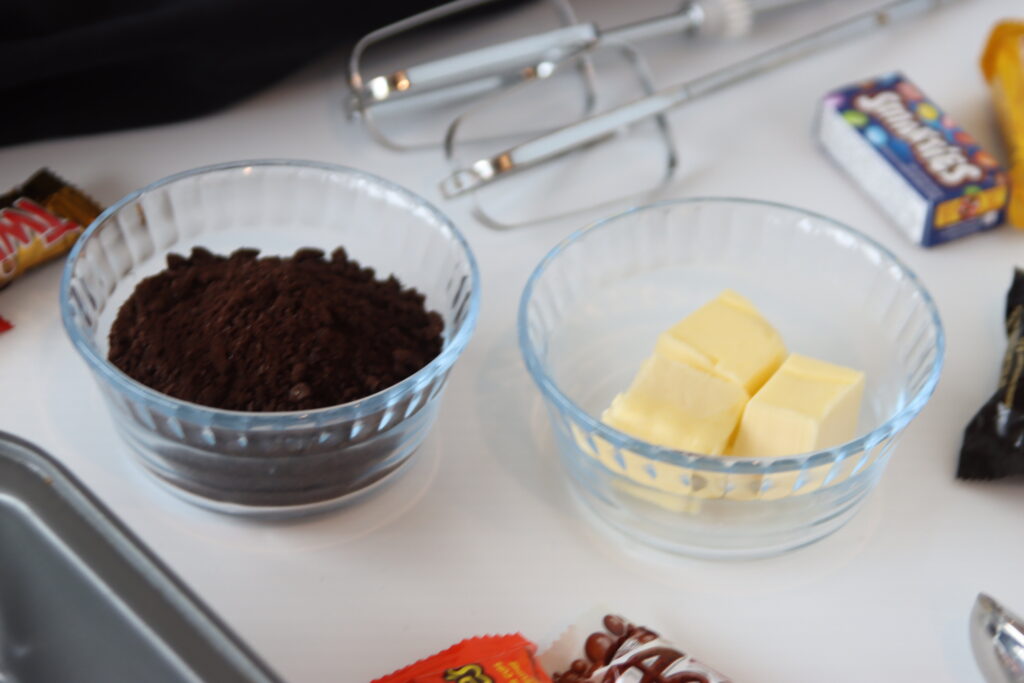
The first thing we do is make a crust. It’s a pretty standard graham cracker crust, made from melted butter and crushed graham crackers.
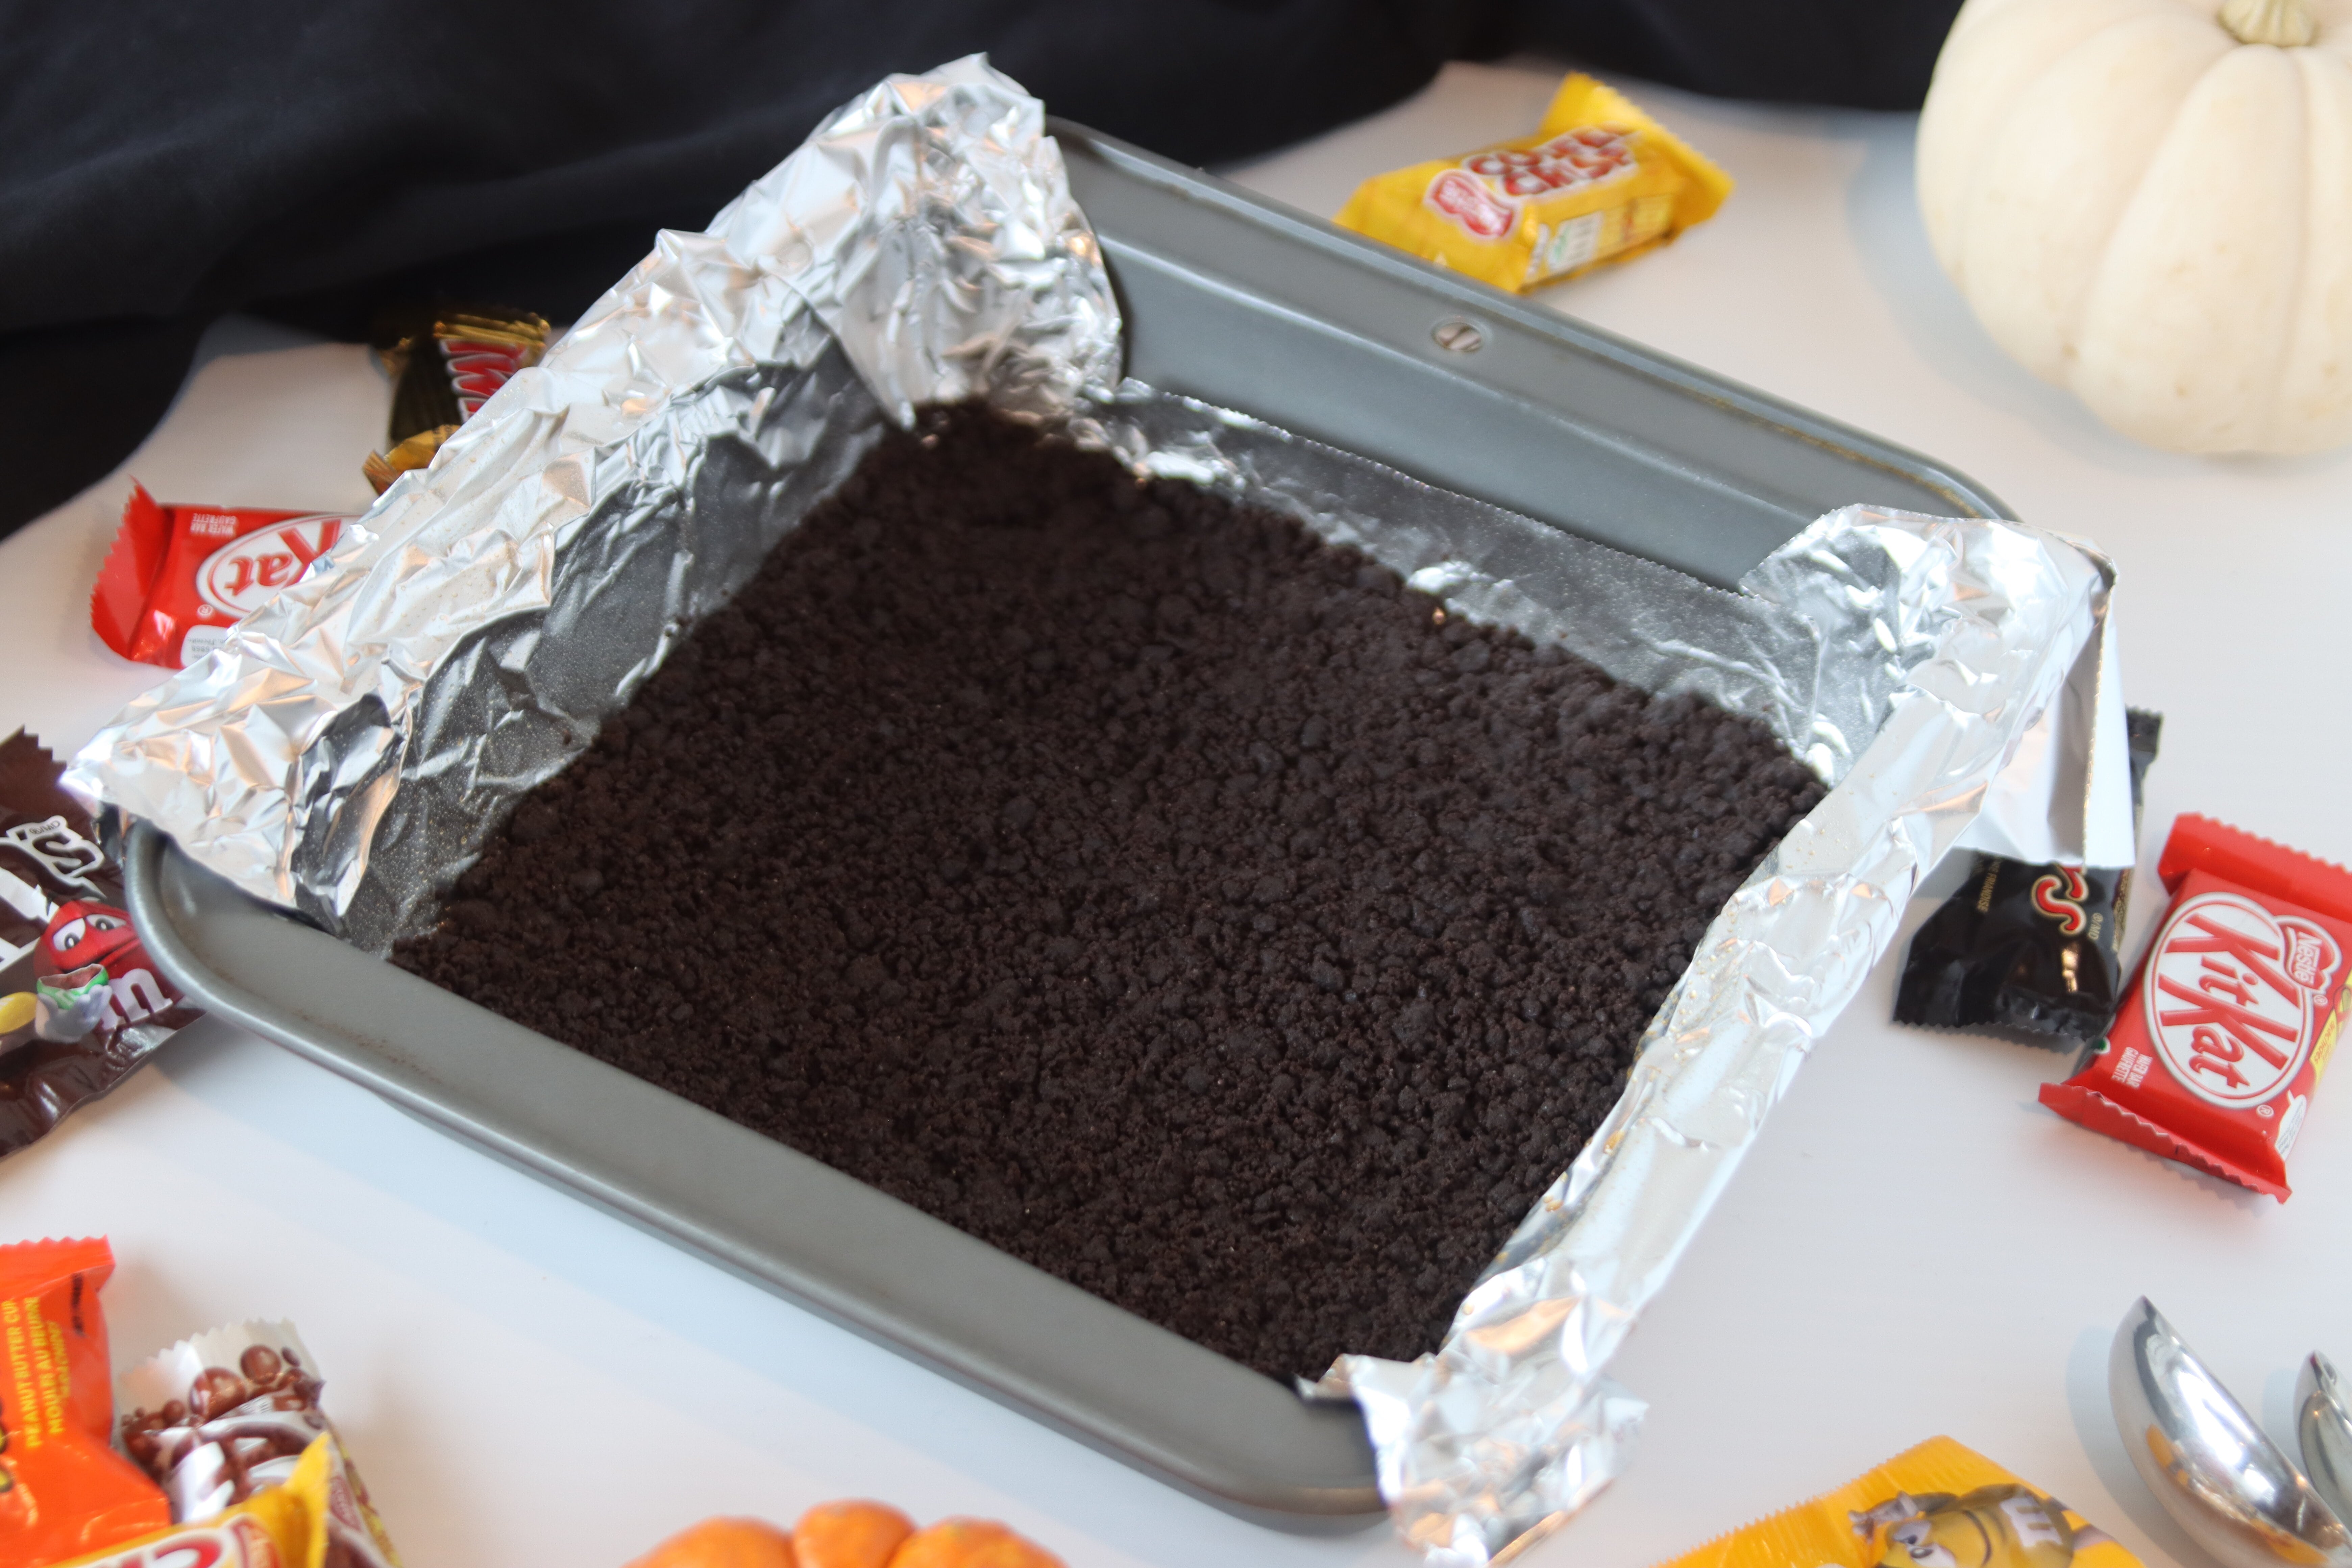
A fun thing to do with this crust is change up the flavour! I for one am a huge chocolate lover, so I love using chocolate graham cracker crumbs (or Oreo crumbs, if you will) instead of just plain old regular graham crackers!

With this recipe, I pre-bake the crust (also known as blind baking for all you pie bakers out there). This really lets it set up nicely before adding in the cheesecake batter. It only takes about 10 minutes, time that you’ll be using to make your cheesecake batter anyway, so it shouldn’t be that influential if you’re pressed for time.
Cheesecake Filling:
Now, you may know that my Mom is known for her cheesecake. But, up until this year, she hadn’t written out her perfect recipe, and just went from memory every time. So, when it came to making these cheesecake bites, I based the filling off of a different recipe that my brain unfortunately refuses to remember, instead of using my mom’s recipe.

In fact, this entire recipe was actually born from combining that recipe with a great recipe from Handle The Heat: https://handletheheat.com/chocolate-covered-cheesecake-bite/.
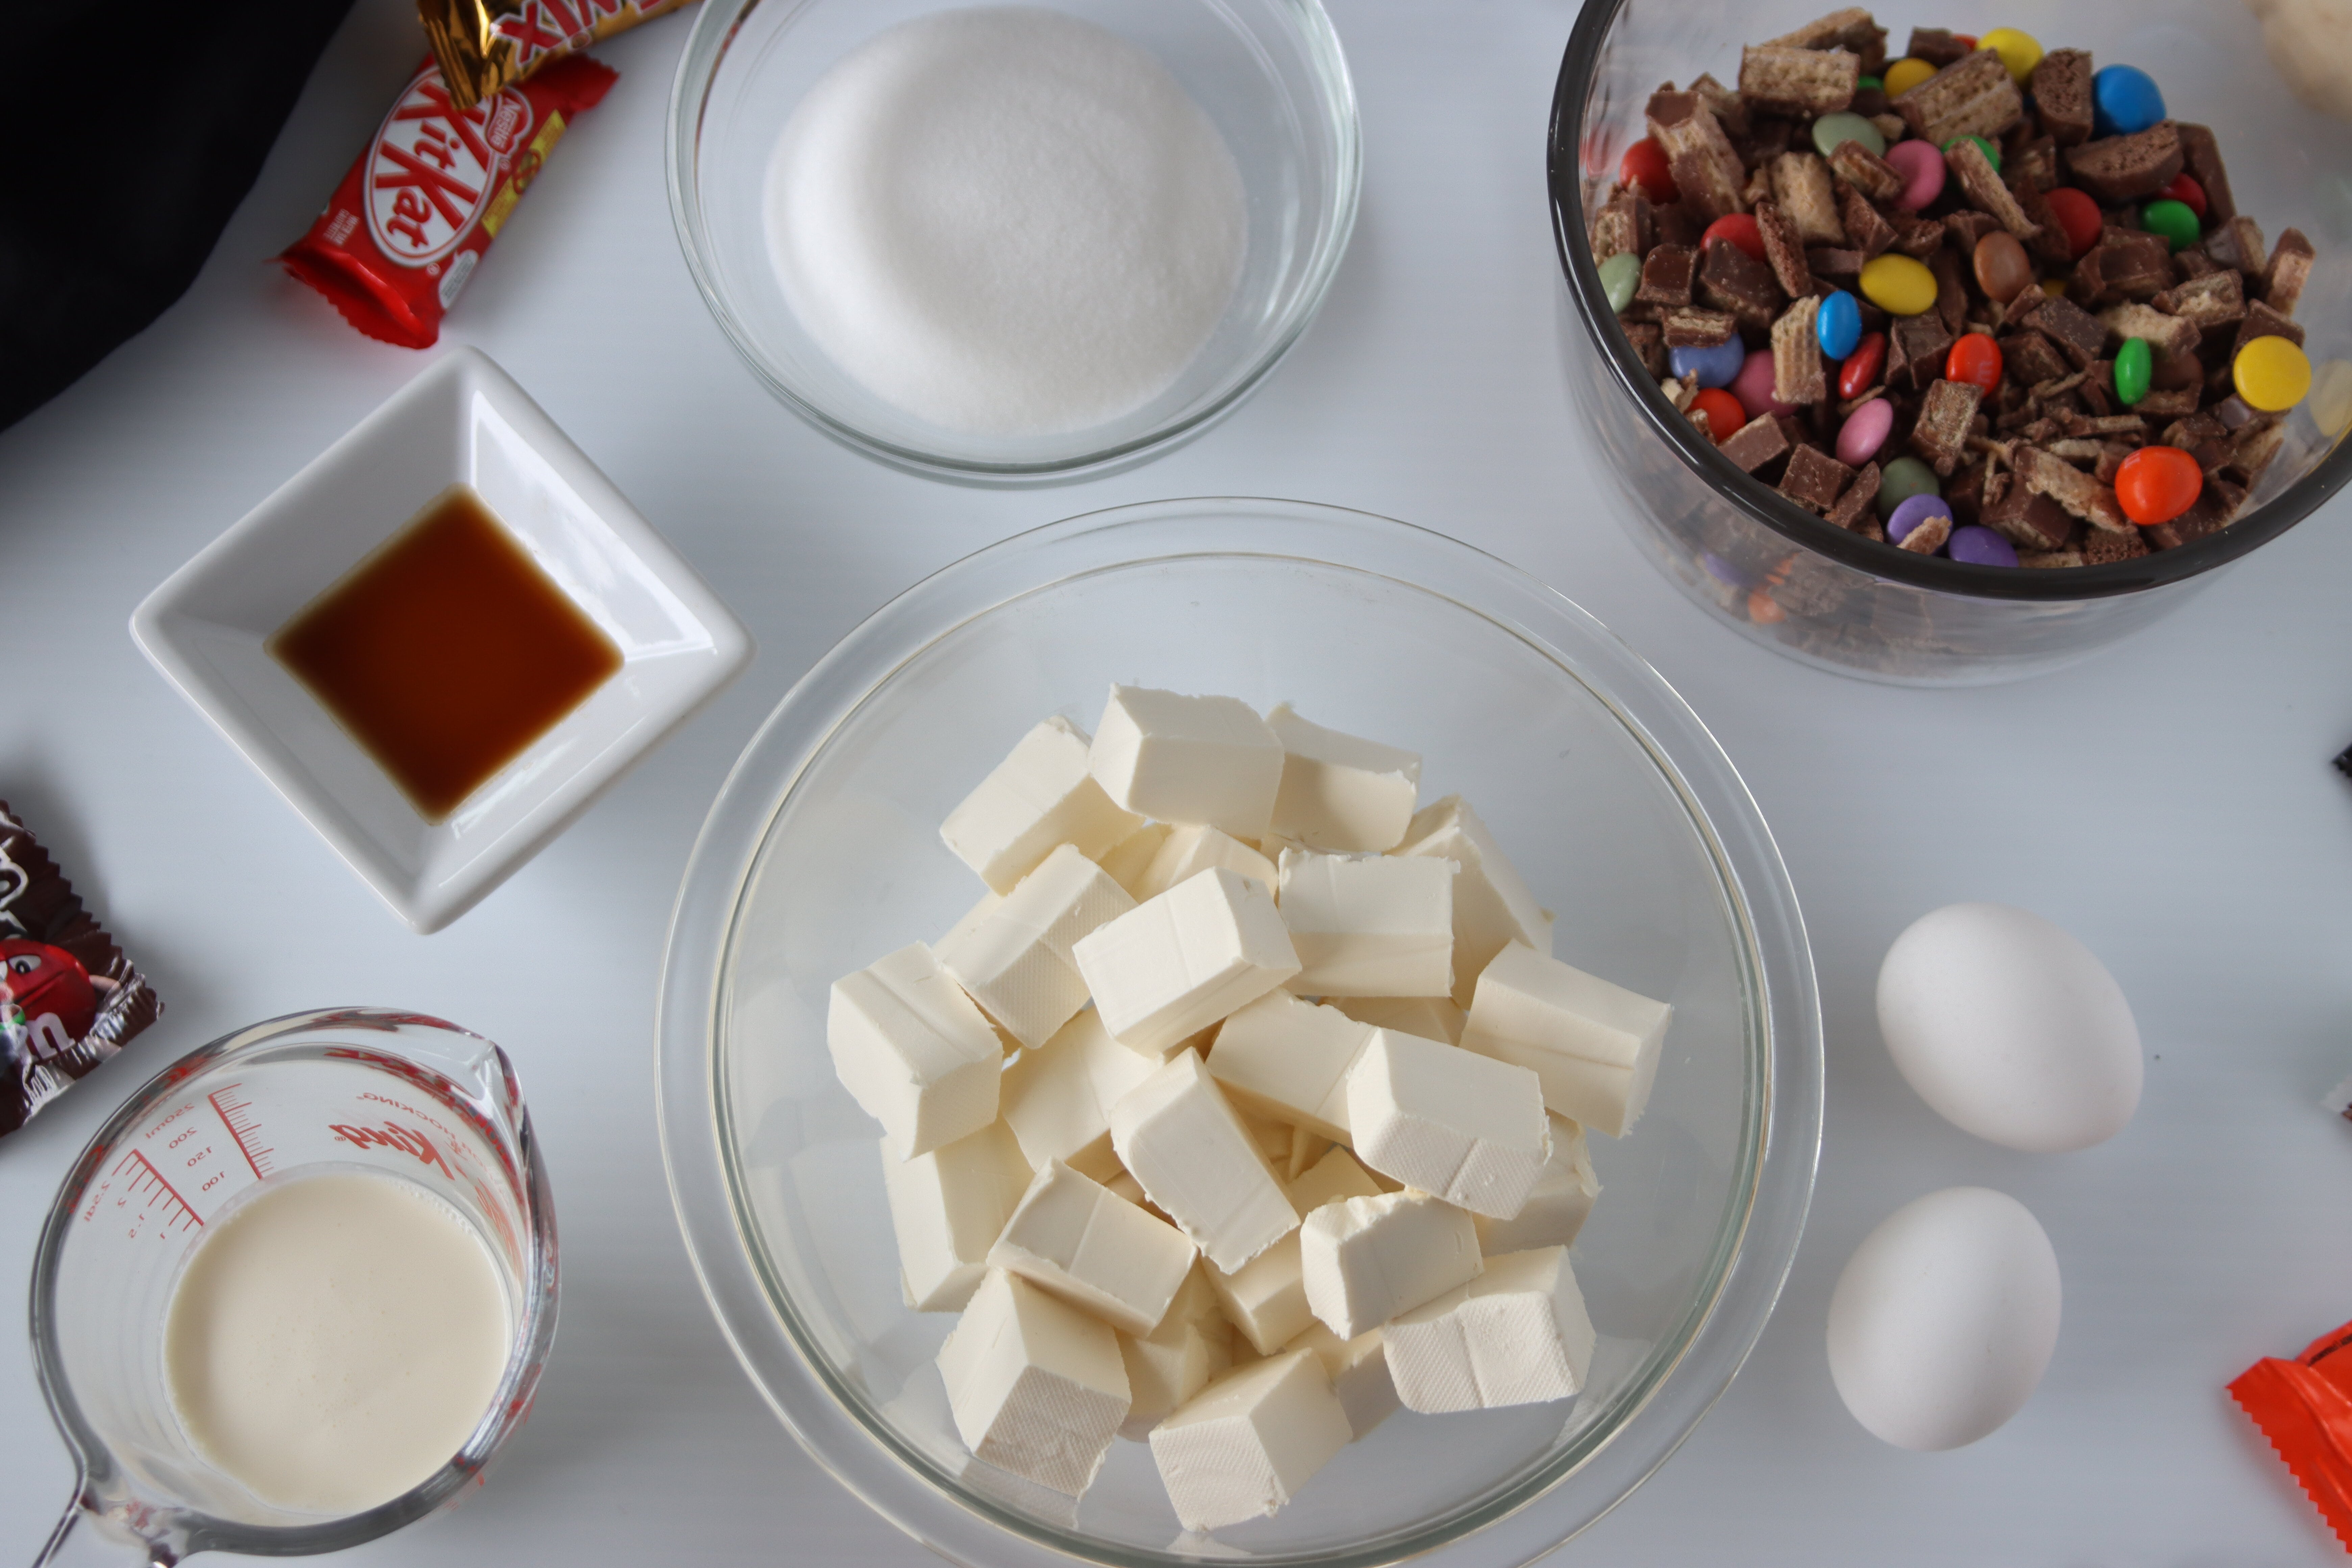
The cheesecake starts with the oh-so-secret ingredient: cream cheese. Make sure you use the brick-kind and not the tub-kind! Then we add in our sugar, kind of like how you would cream in your sugar in a standard cookie or cake recipe. After that, you whip in the heavy cream (which is key to the creaminess and fluffiness of the cheesecake) and the vanilla extract (is there any recipe that doesn’t use vanilla extract?).
Finally, and here’s the important part, you mix in the eggs. You need to be really careful not to overmix it once you add in the eggs. My mom stressed this a lot when teaching me her cheesecake secrets. You can mix the batter all you want before adding in the eggs (you could do it for hours on end for all I care), but once those eggs are added, only mix until they’re JUST incorporated. If there’s still small traces of egg in the batter, ditch the electric mixer and instead give it a few folds with a spatula to ensure you don’t overmix.
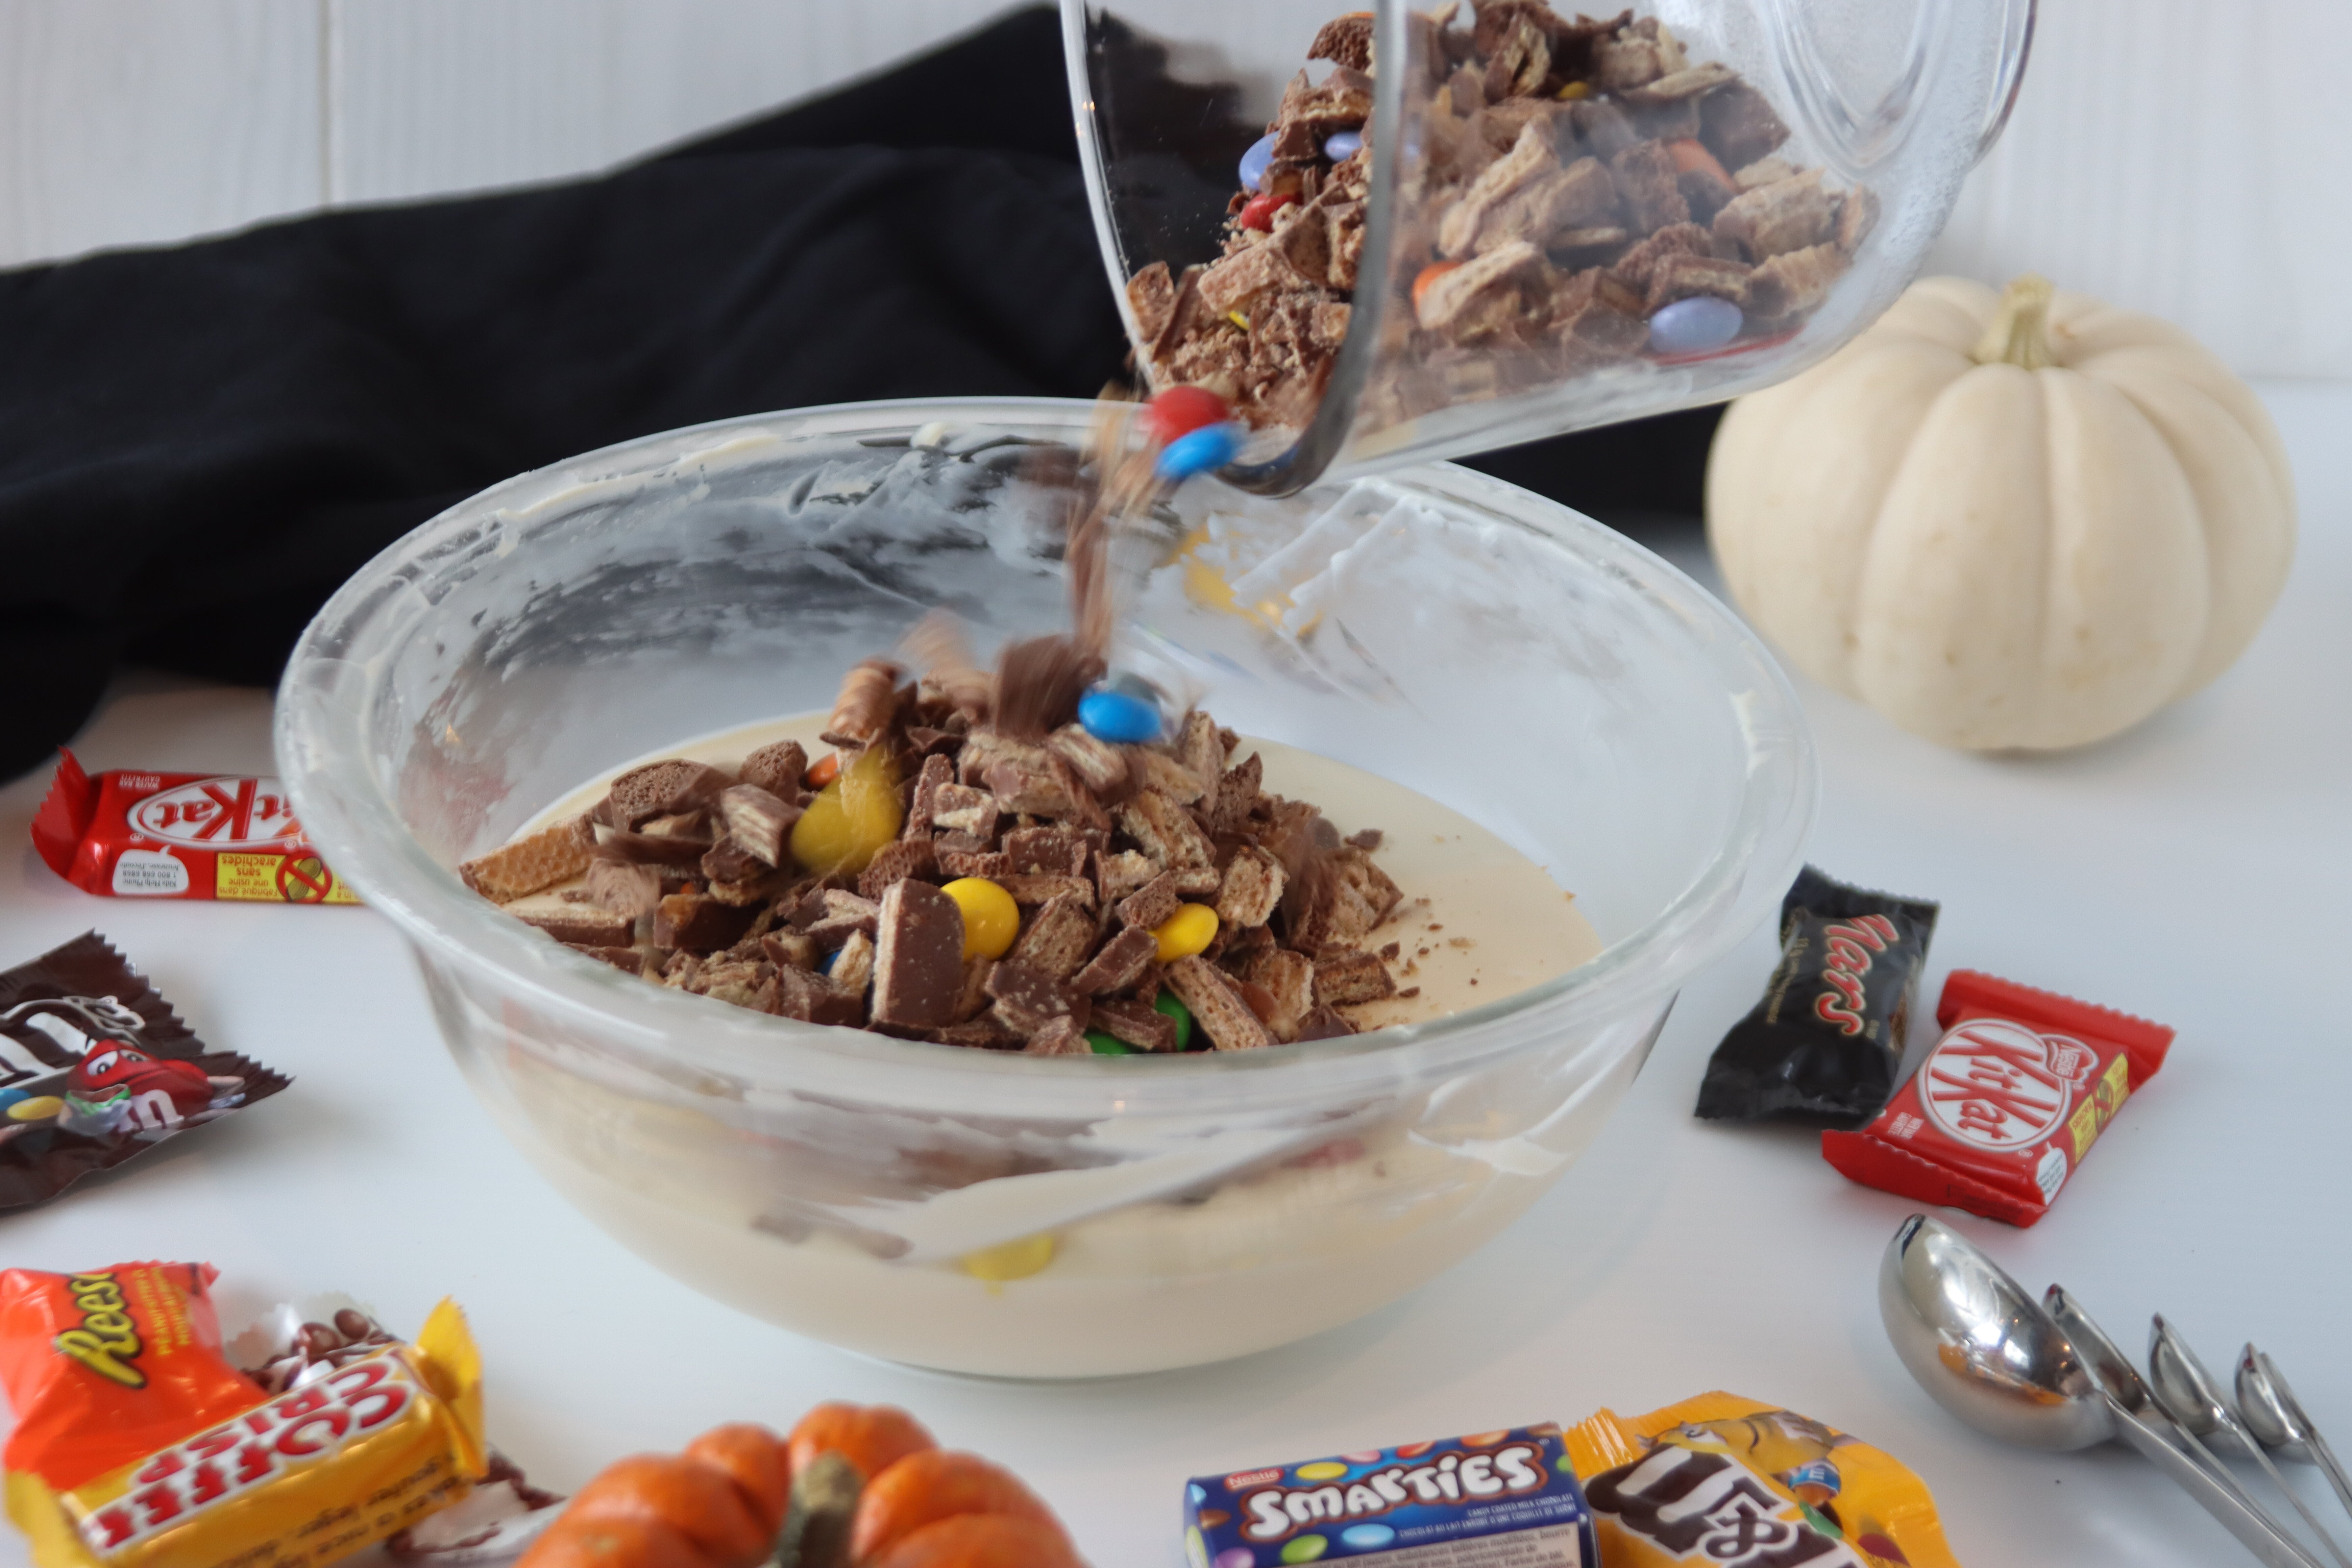
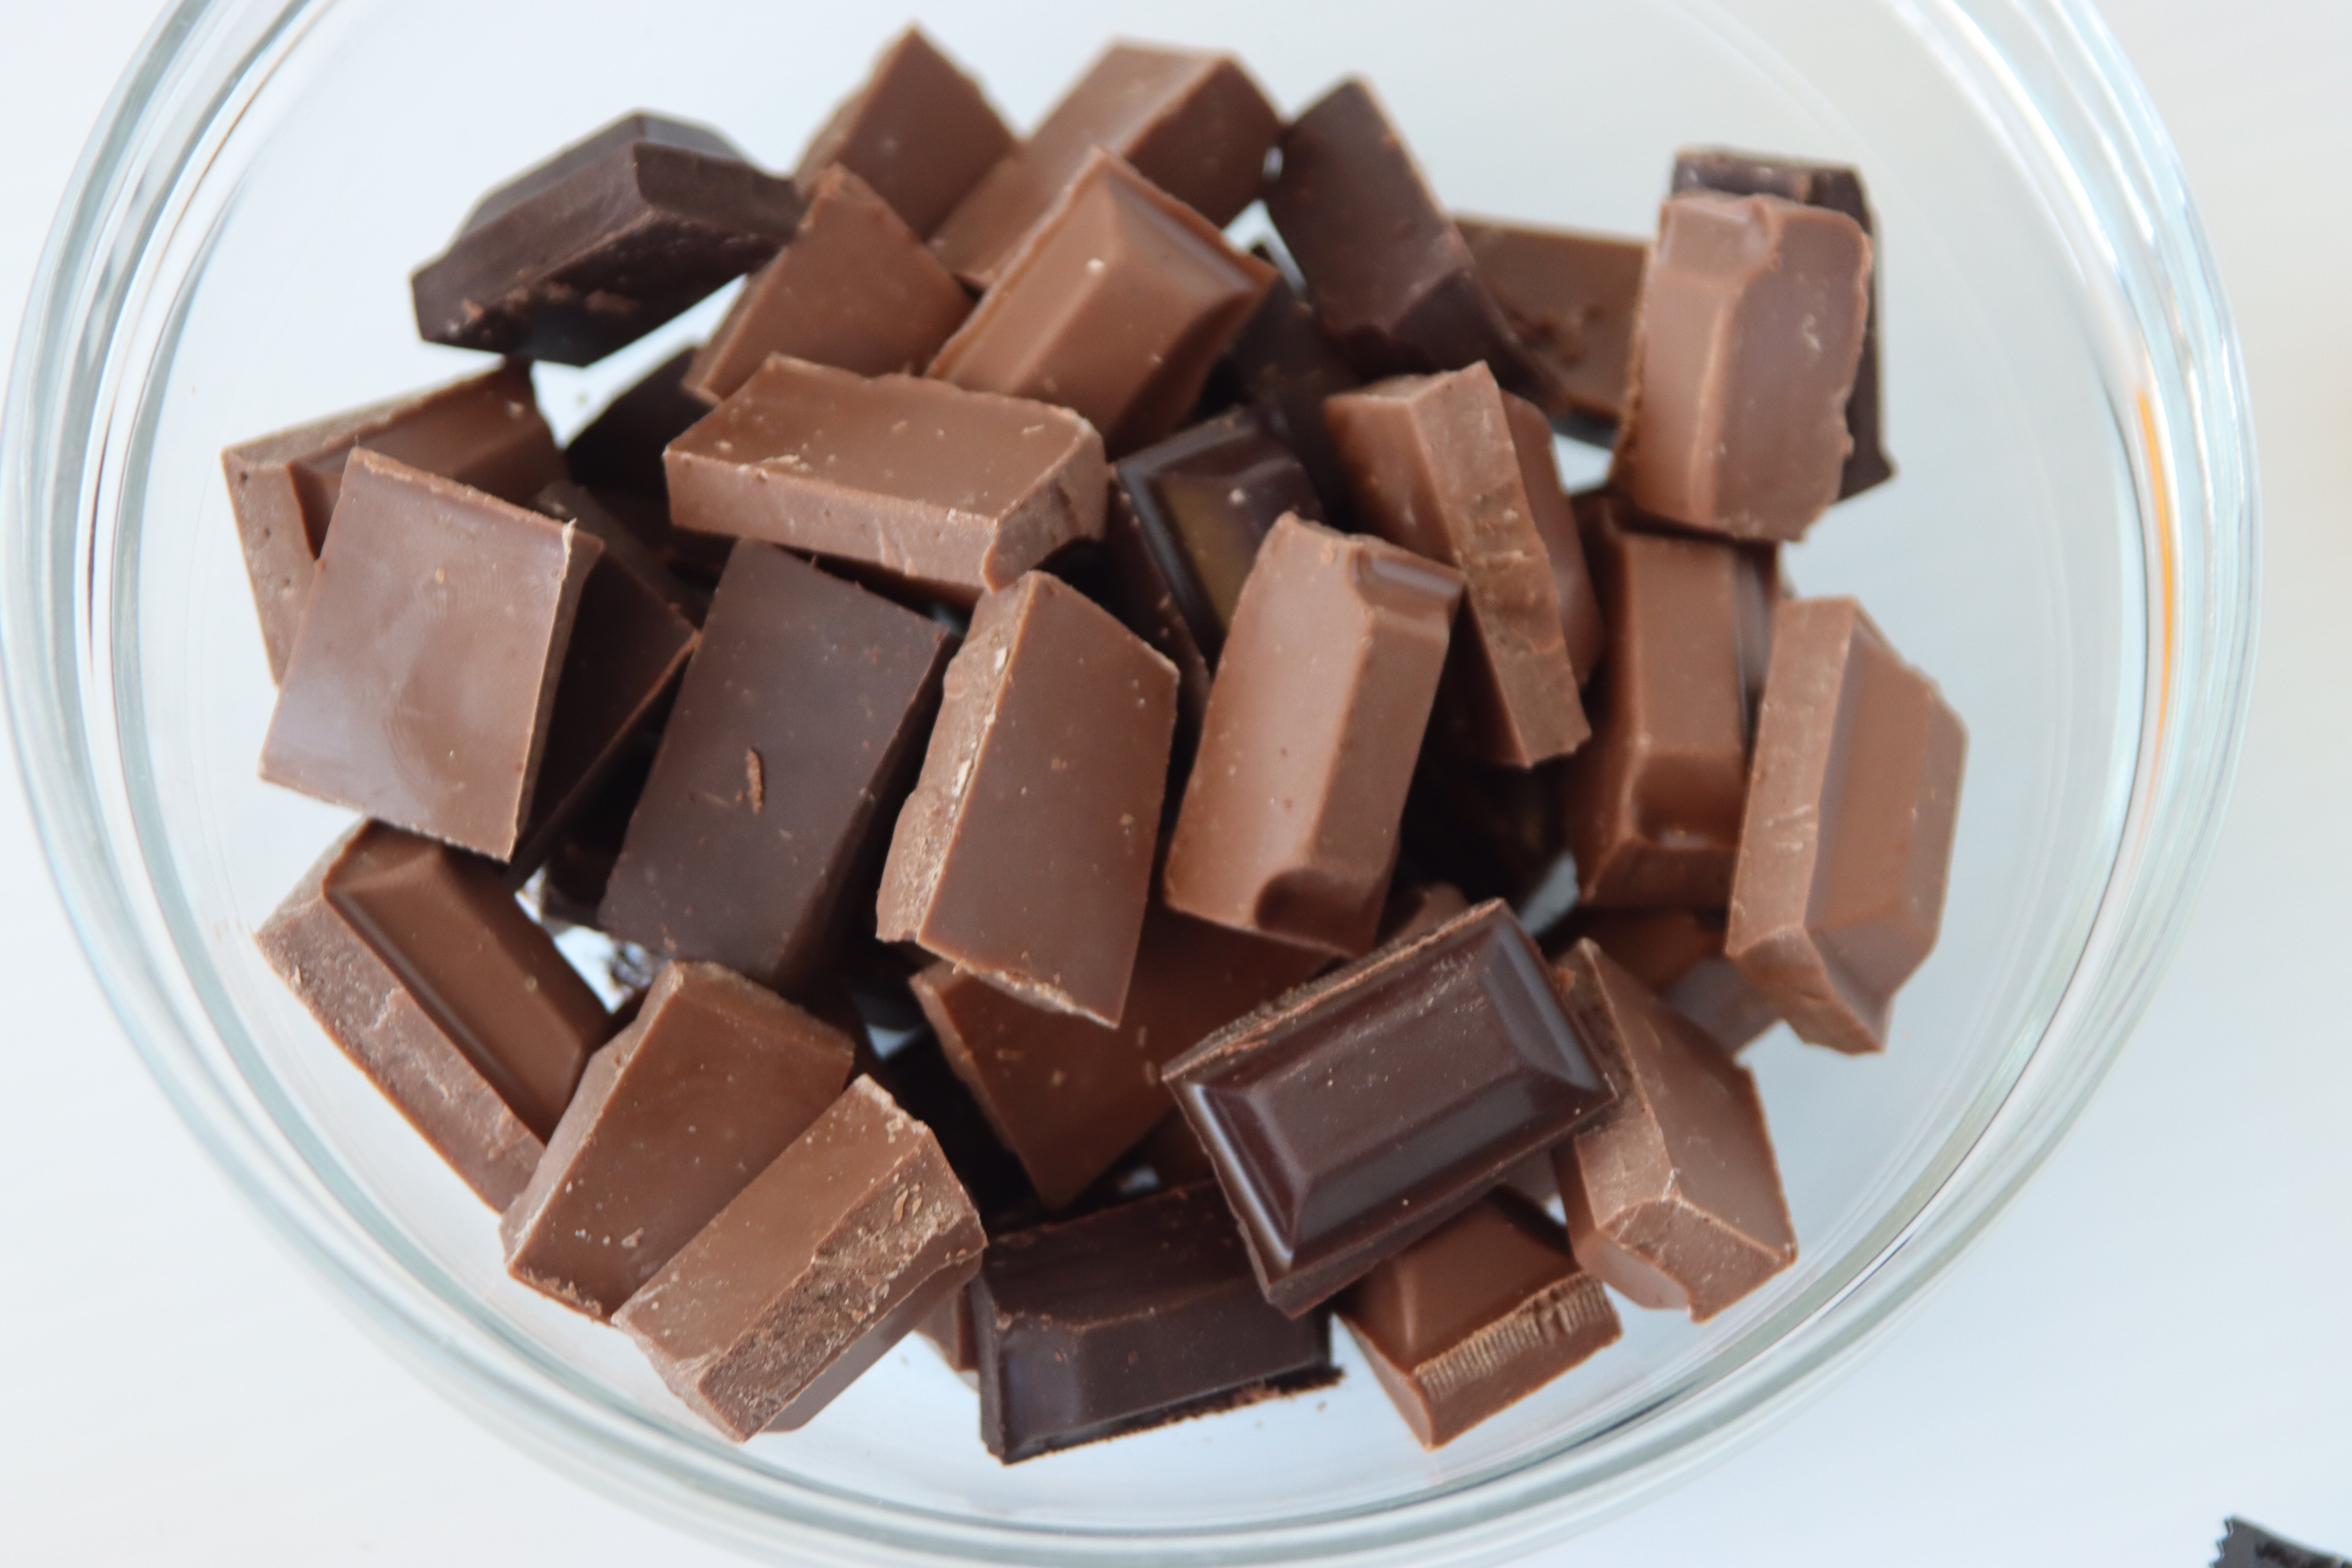
Lastly, fold in your chopped candy bars, which can be anything and everything you have lying around your pantry.
Assembling The Bites:
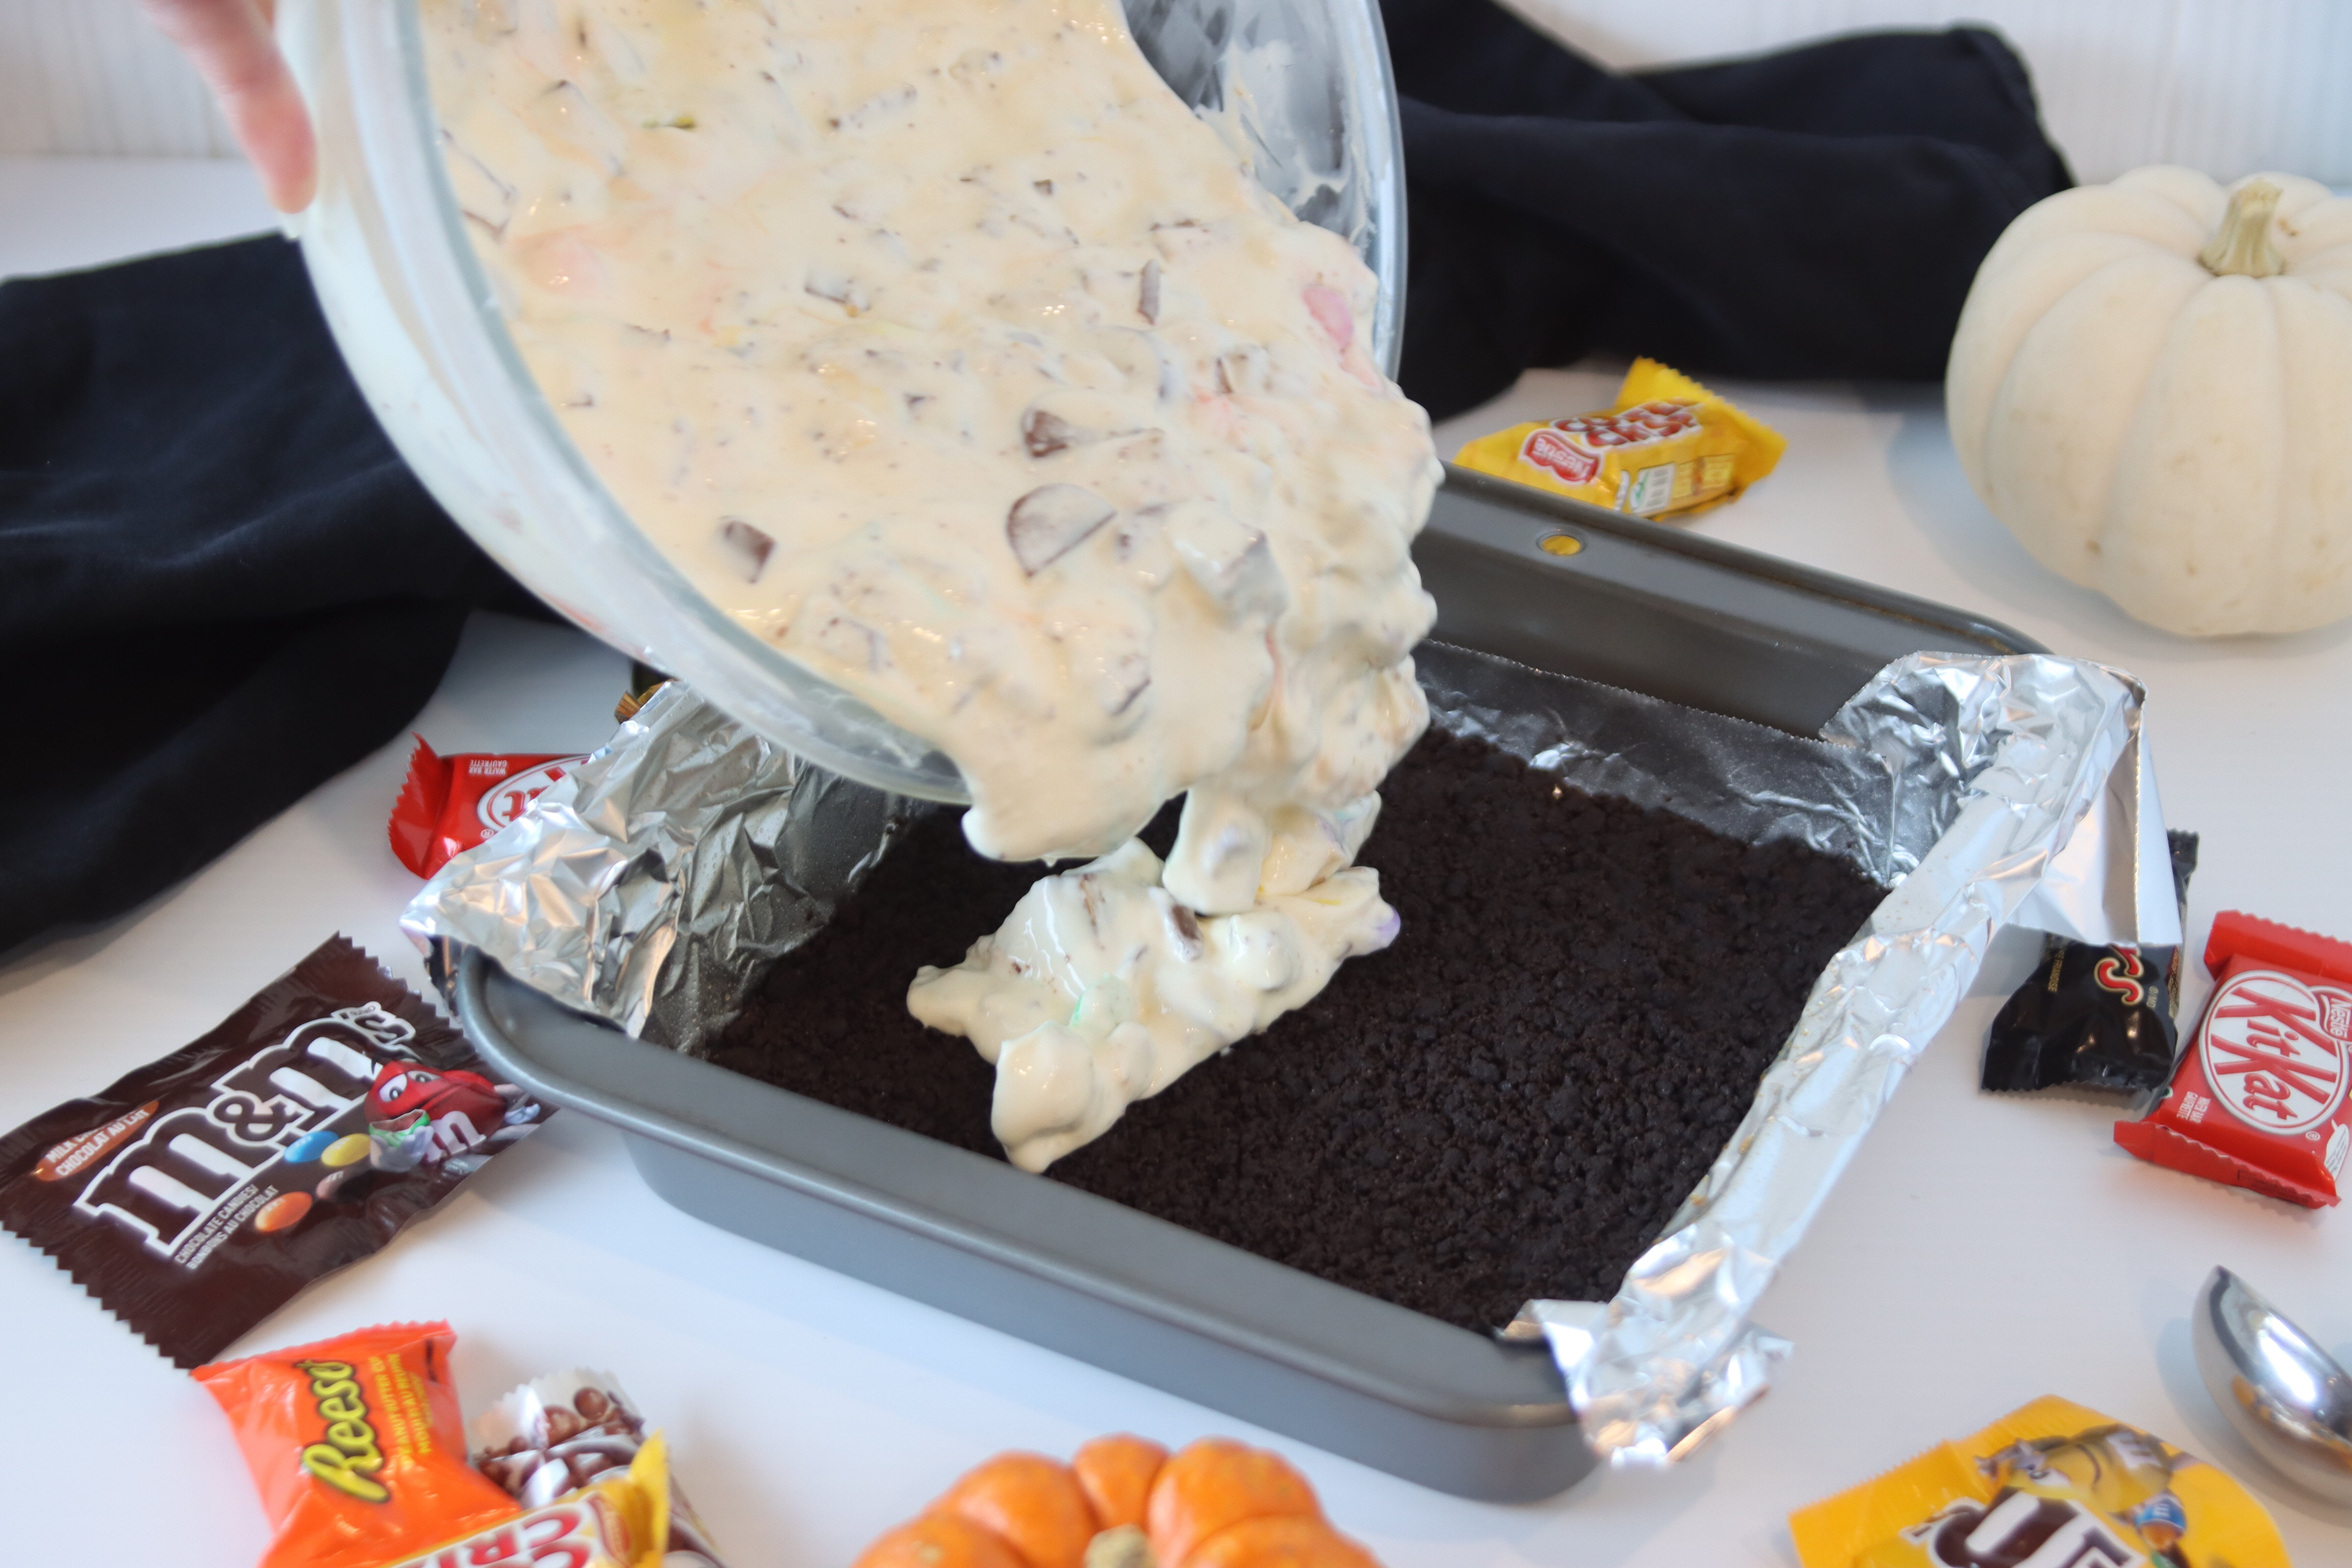
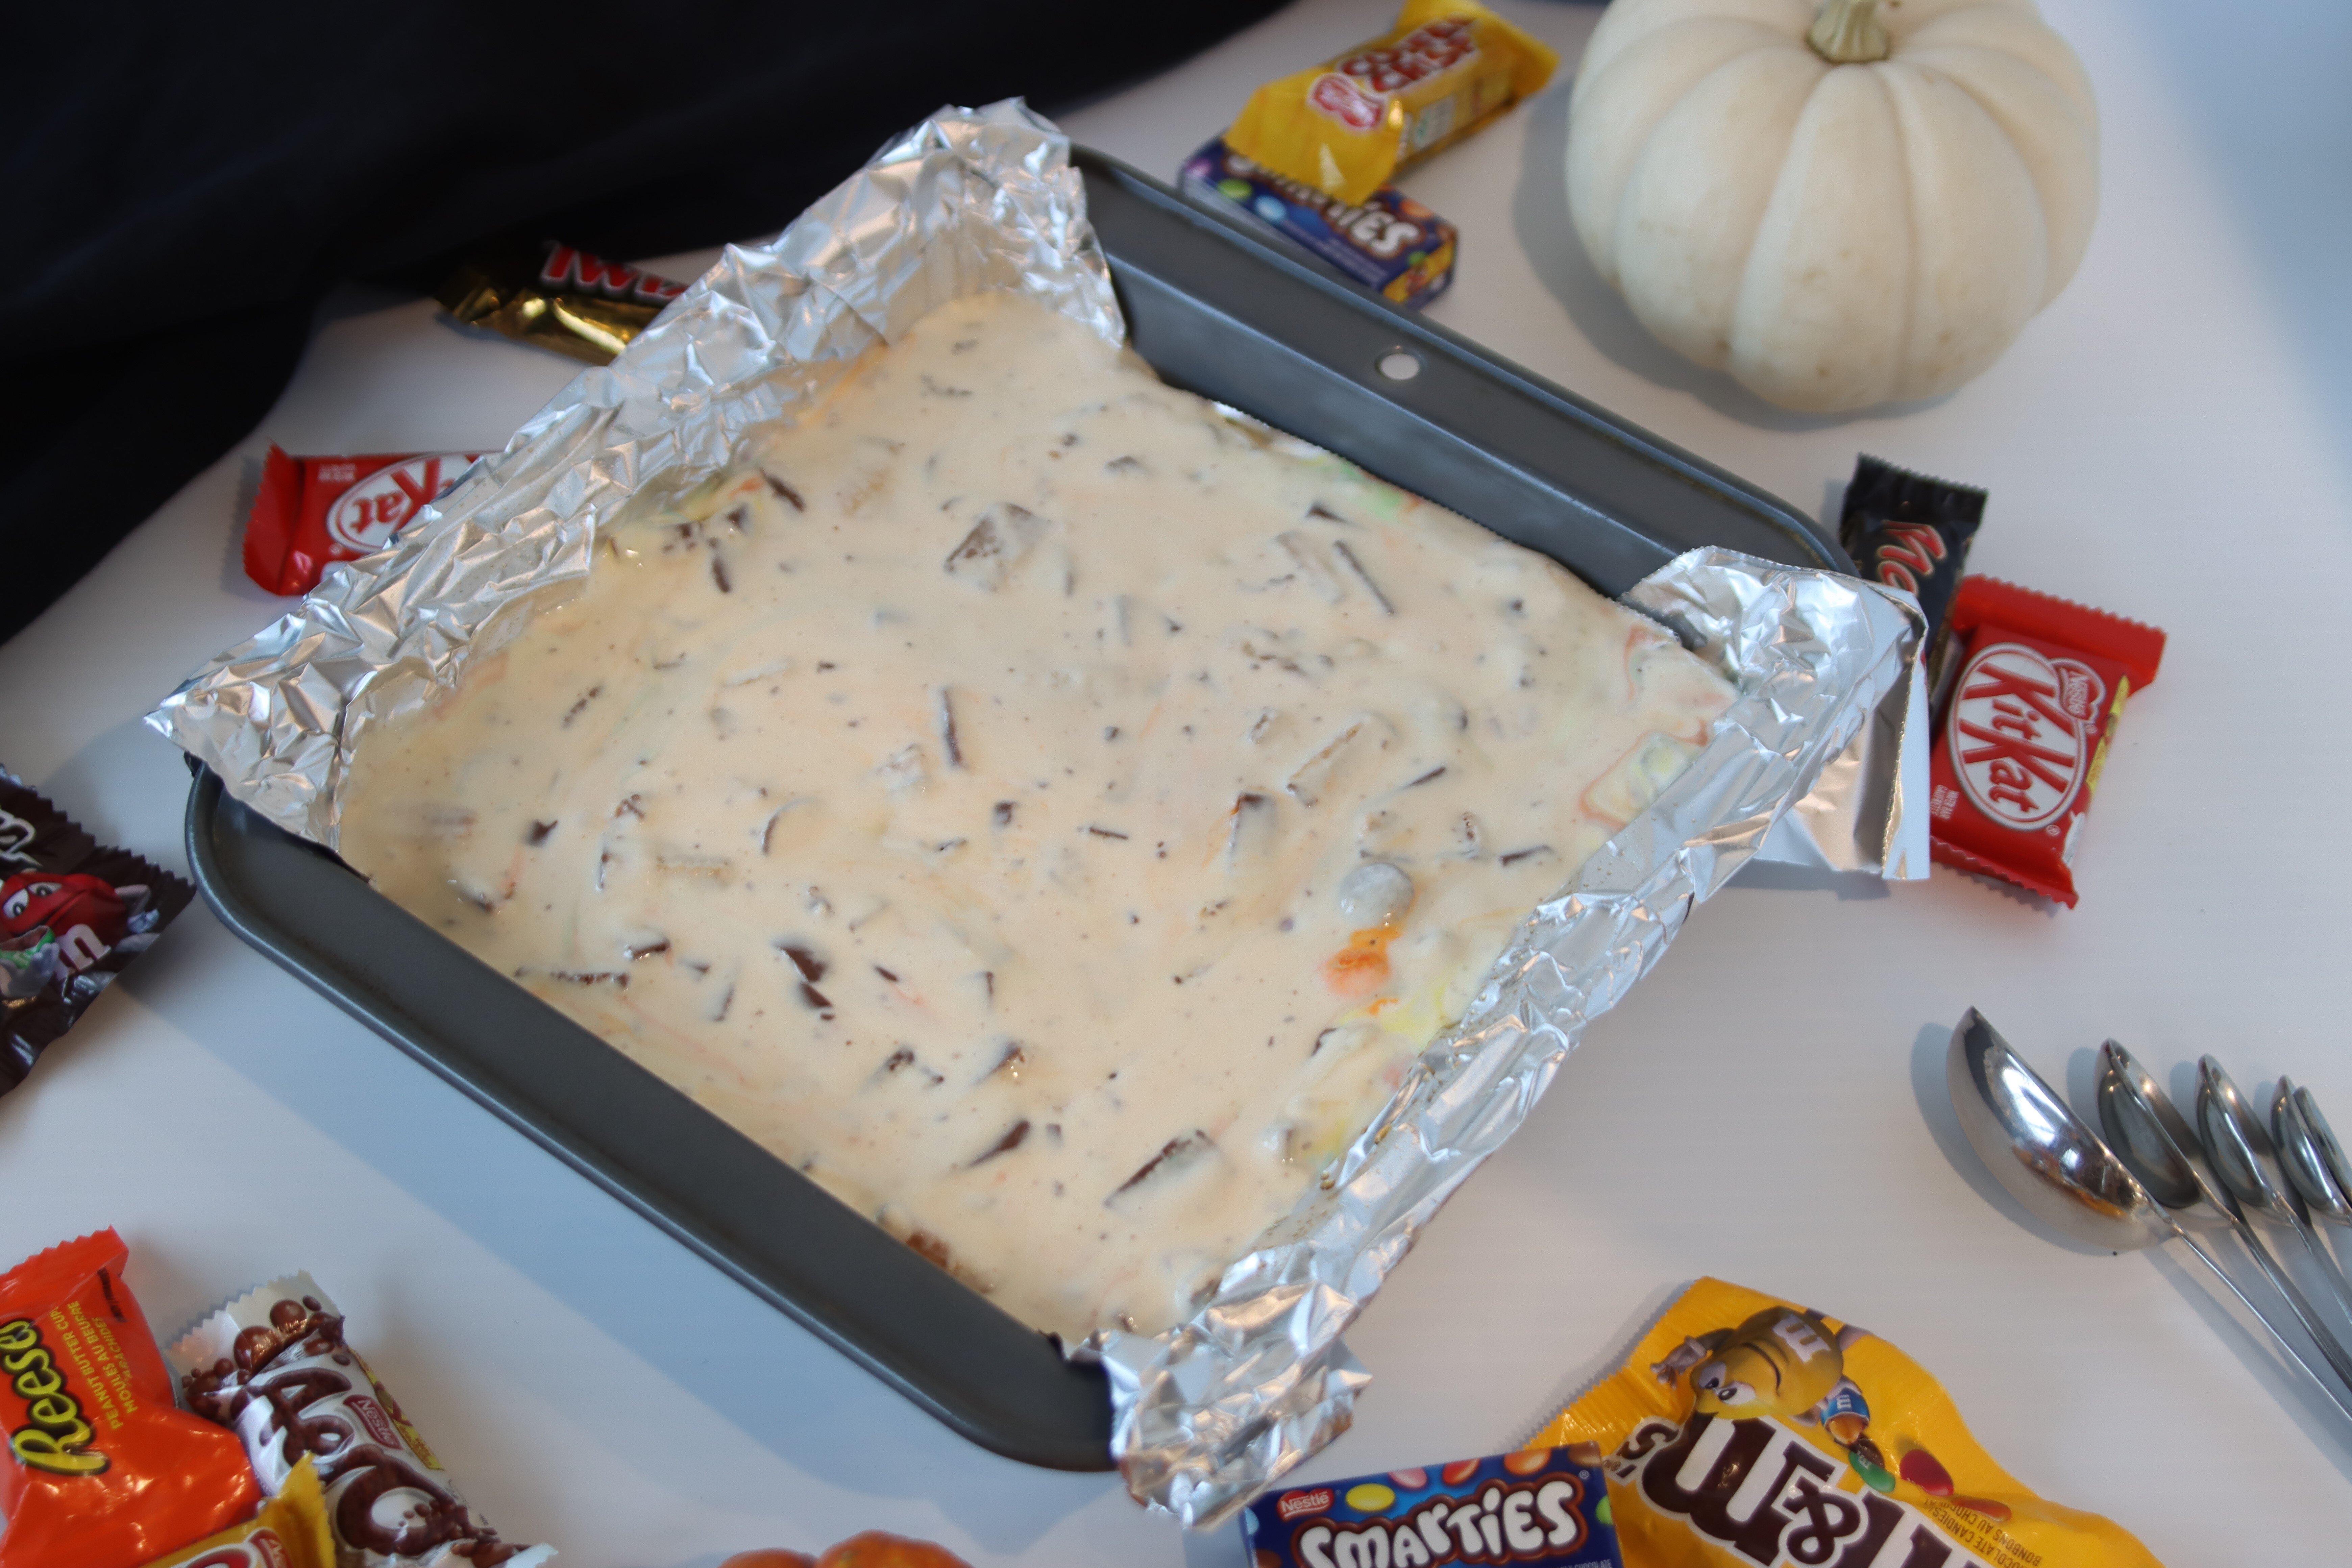
Now that your batter’s prepared, pour it into your pan and bake it.
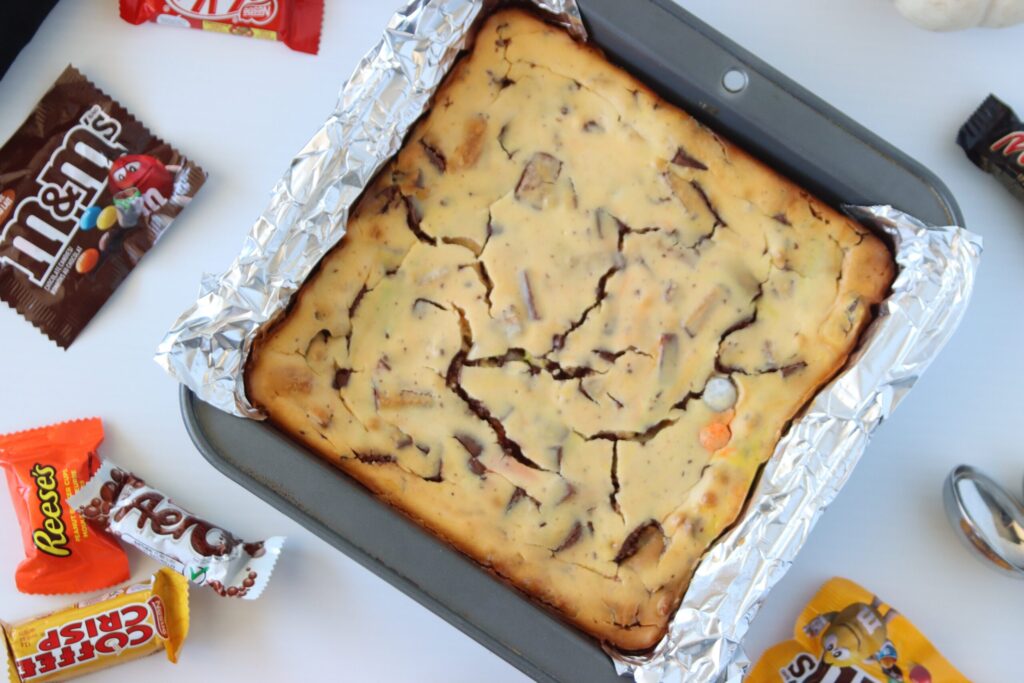
Normally, for a cheesecake, you’d have all of these cautionary measures like water baths and slow temperature drops. However, since we’re cutting this cheesecake anyway, it’s fine to let it crack like your neck after a long day.
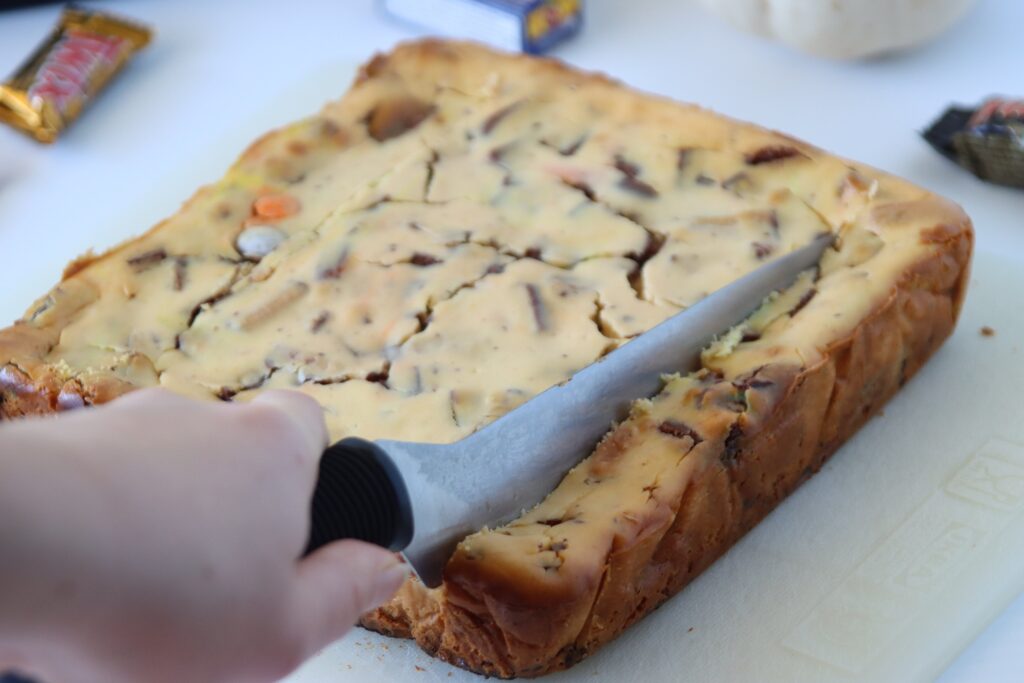
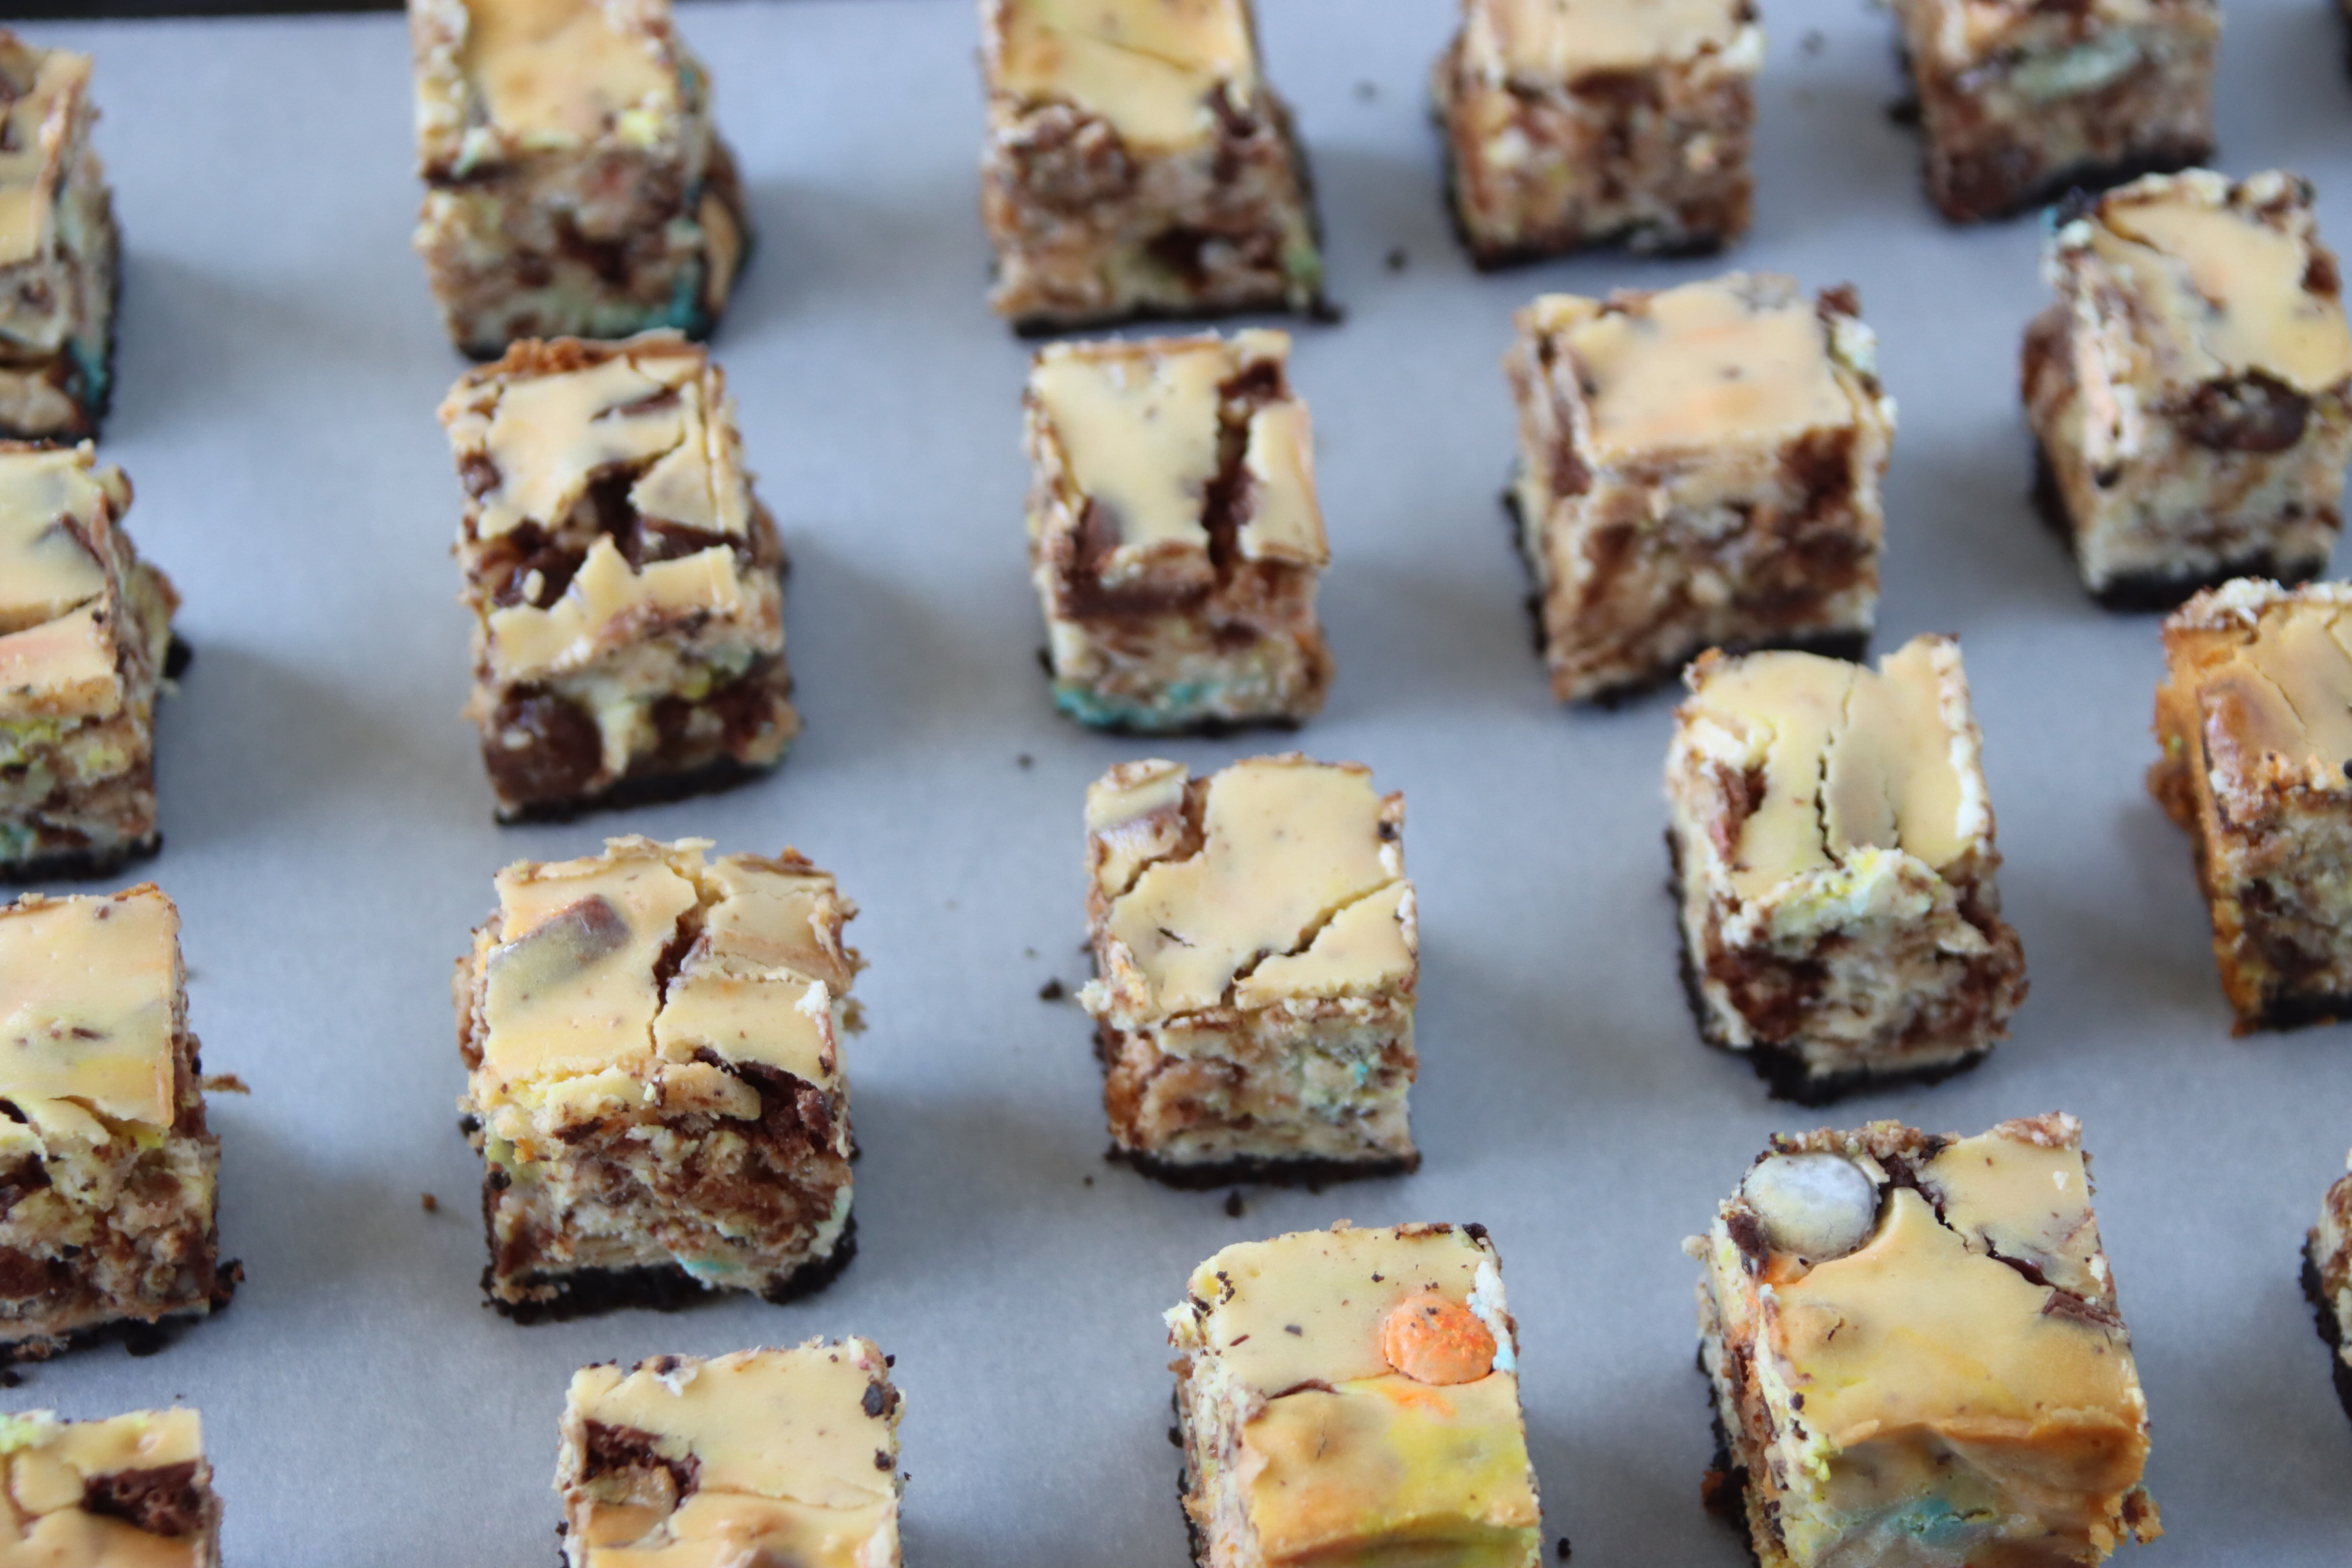
Once your cheesecake is ready, you then let it chill for what feels like, and is quite literally, hours. It needs to be cold for when you cut it, stab it, and dip it. After it has frozen, use your sharp knife and strong muscles to cut it into pieces.
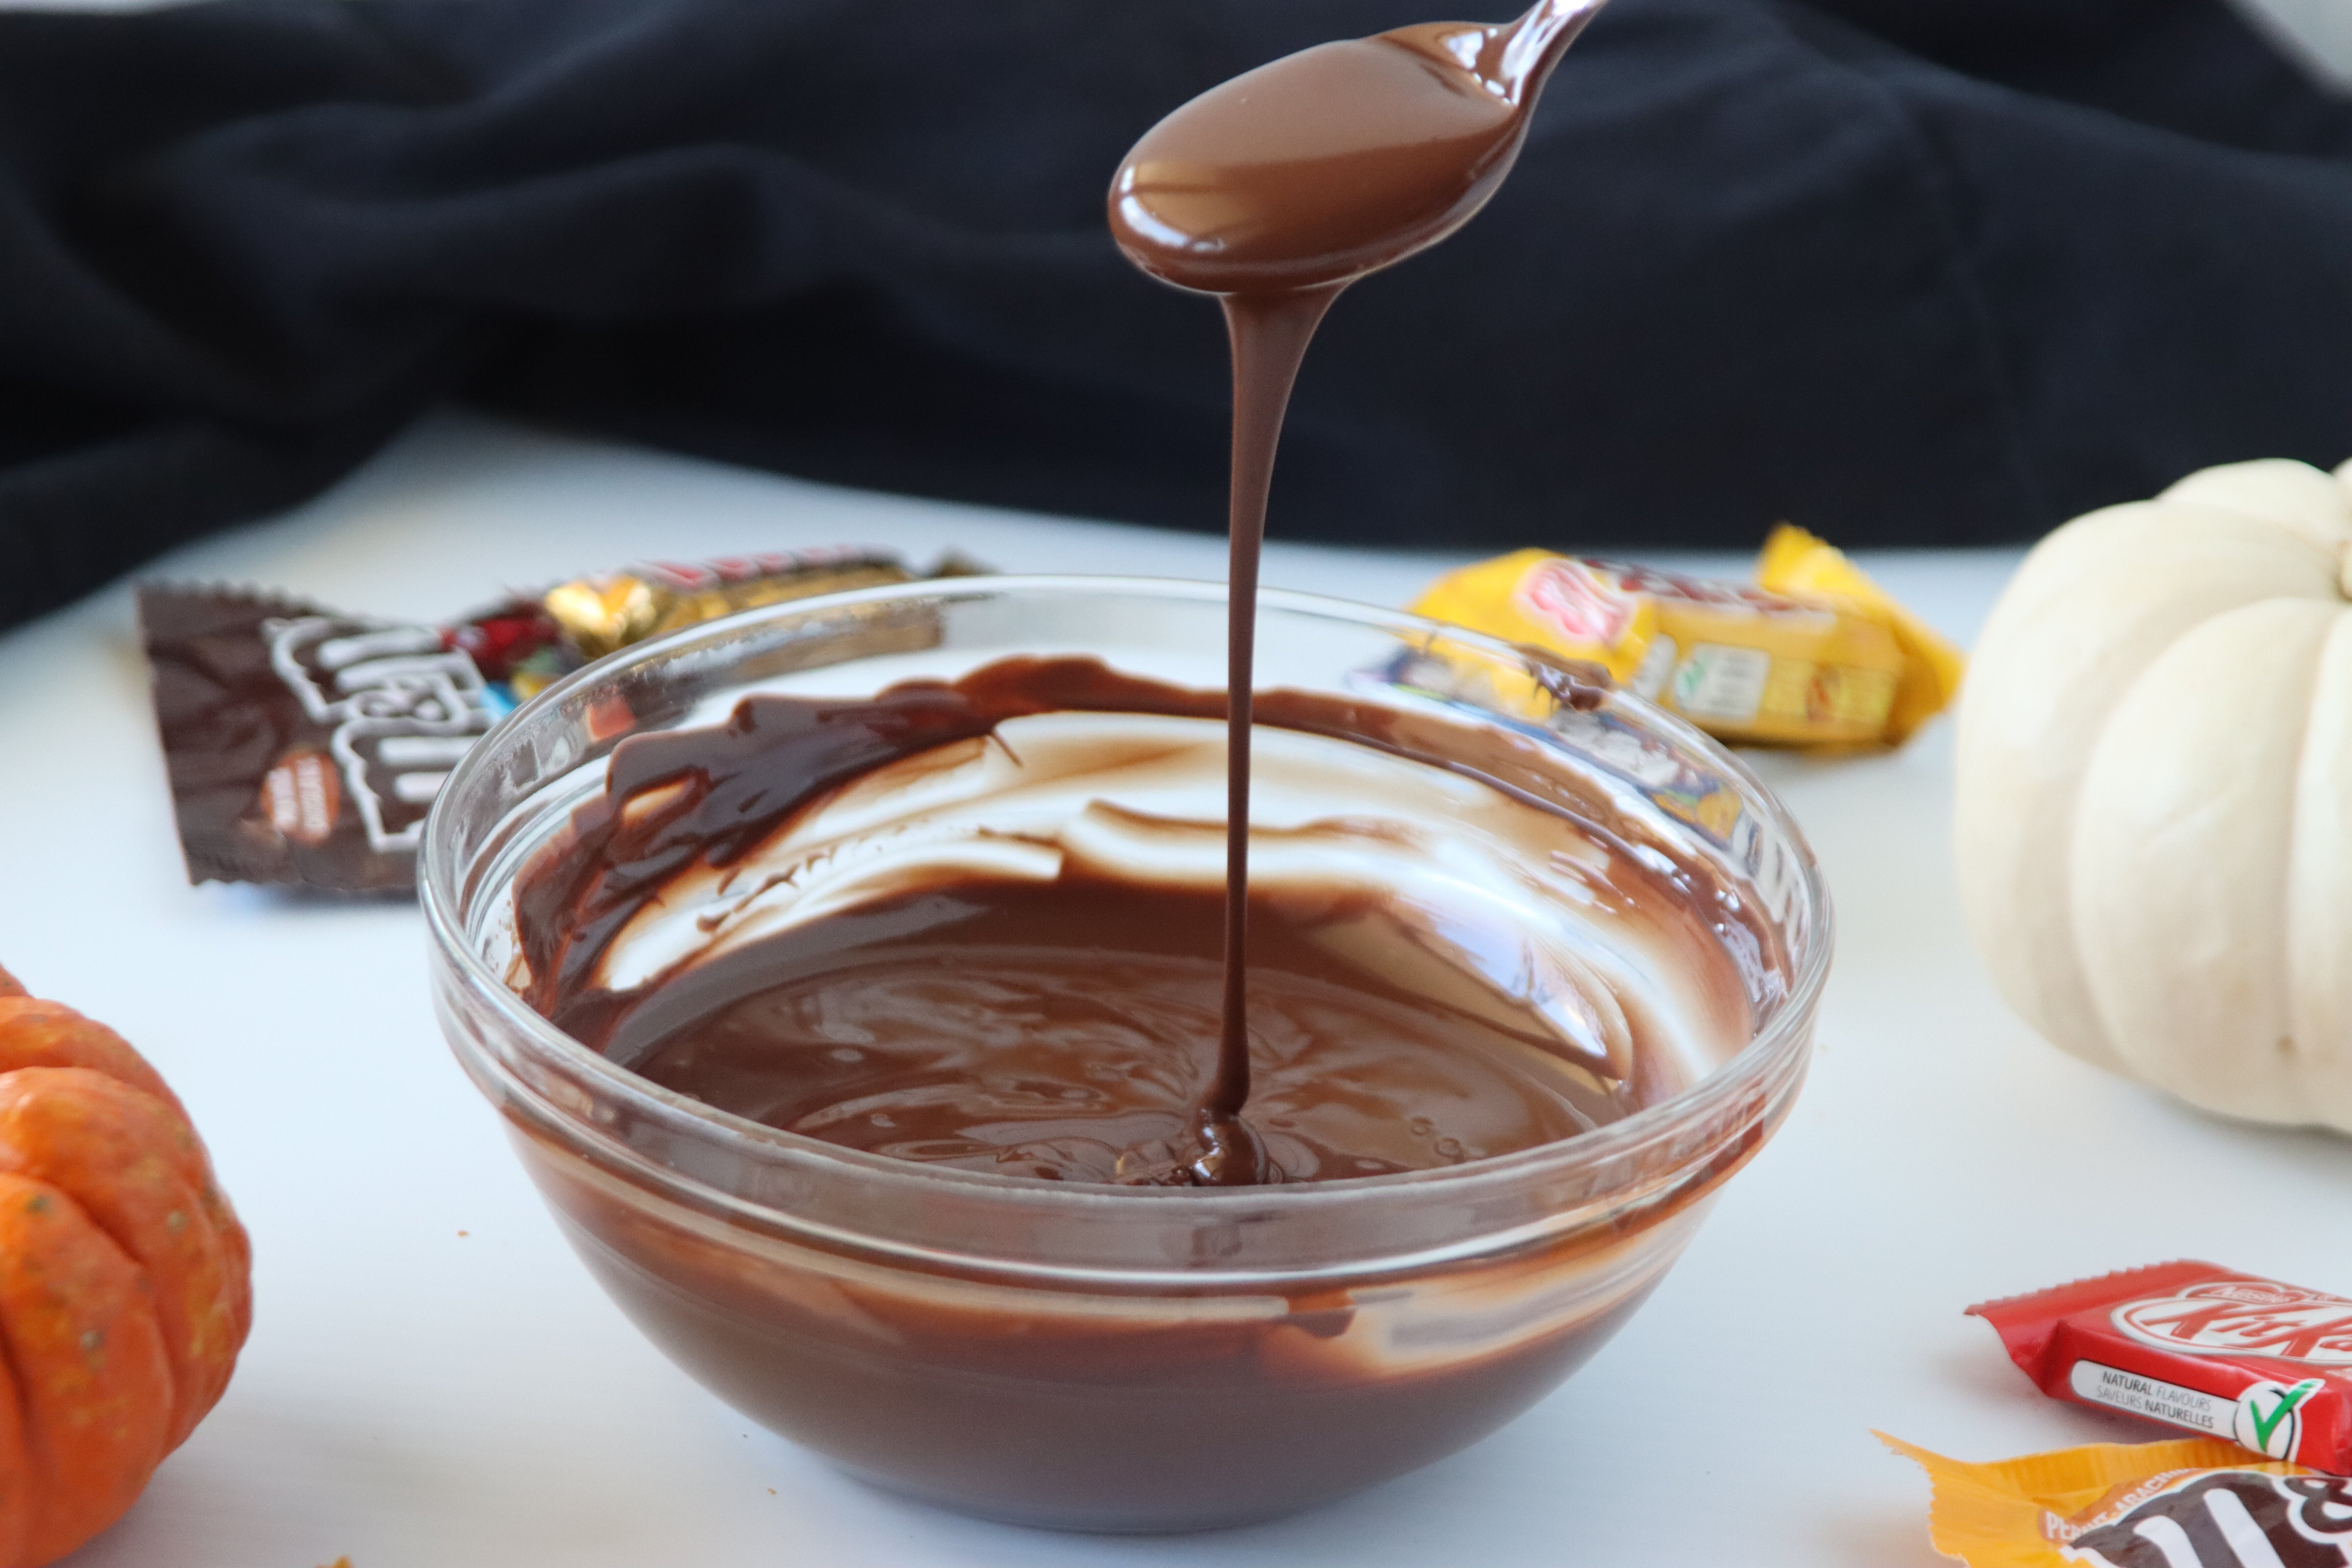
Keeping it completely frozen, dip it into your melted chocolate. If the chocolate is too thick, feel free to add in a few tbsp of oil to thin it out.
When I first tried dipping, I was using a toothpick to hold the cheesecake bite, but it kept sliding off. I then tried a fork, but it would sometimes break my bite into pieces, which is only partially due to the fact that they weren’t entirely frozen anymore.
Finally, I took a chance on the spoon, gently dropping each bite in the chocolate and using the spoon to roll it around and cover all the sides. Go ahead and try whatever method you’d like, but take it from me and just dive right into spoon dunking.
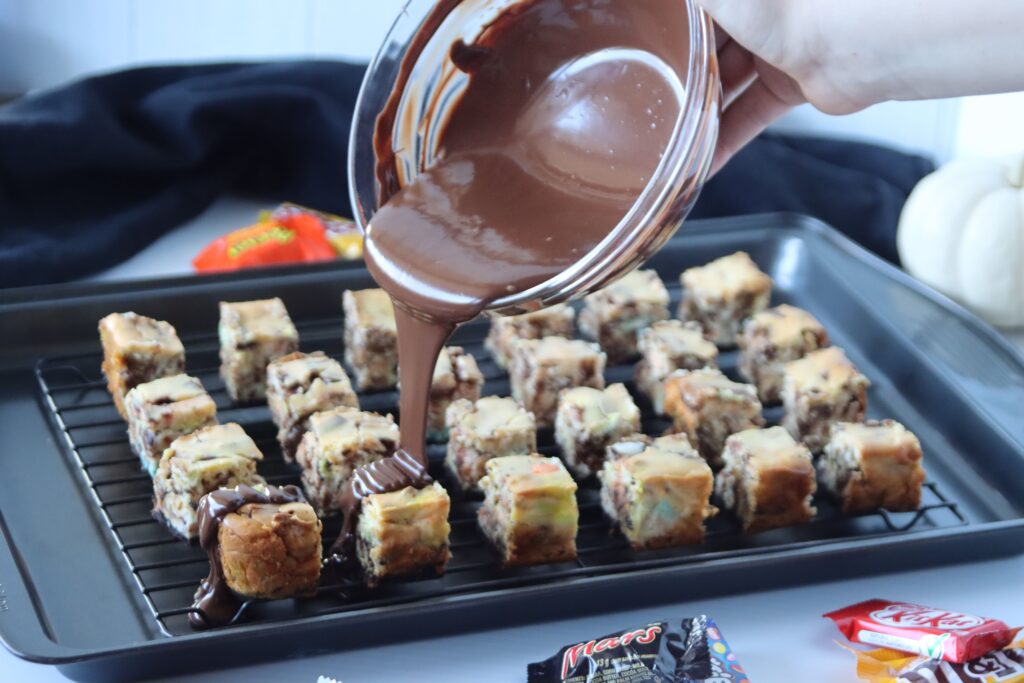
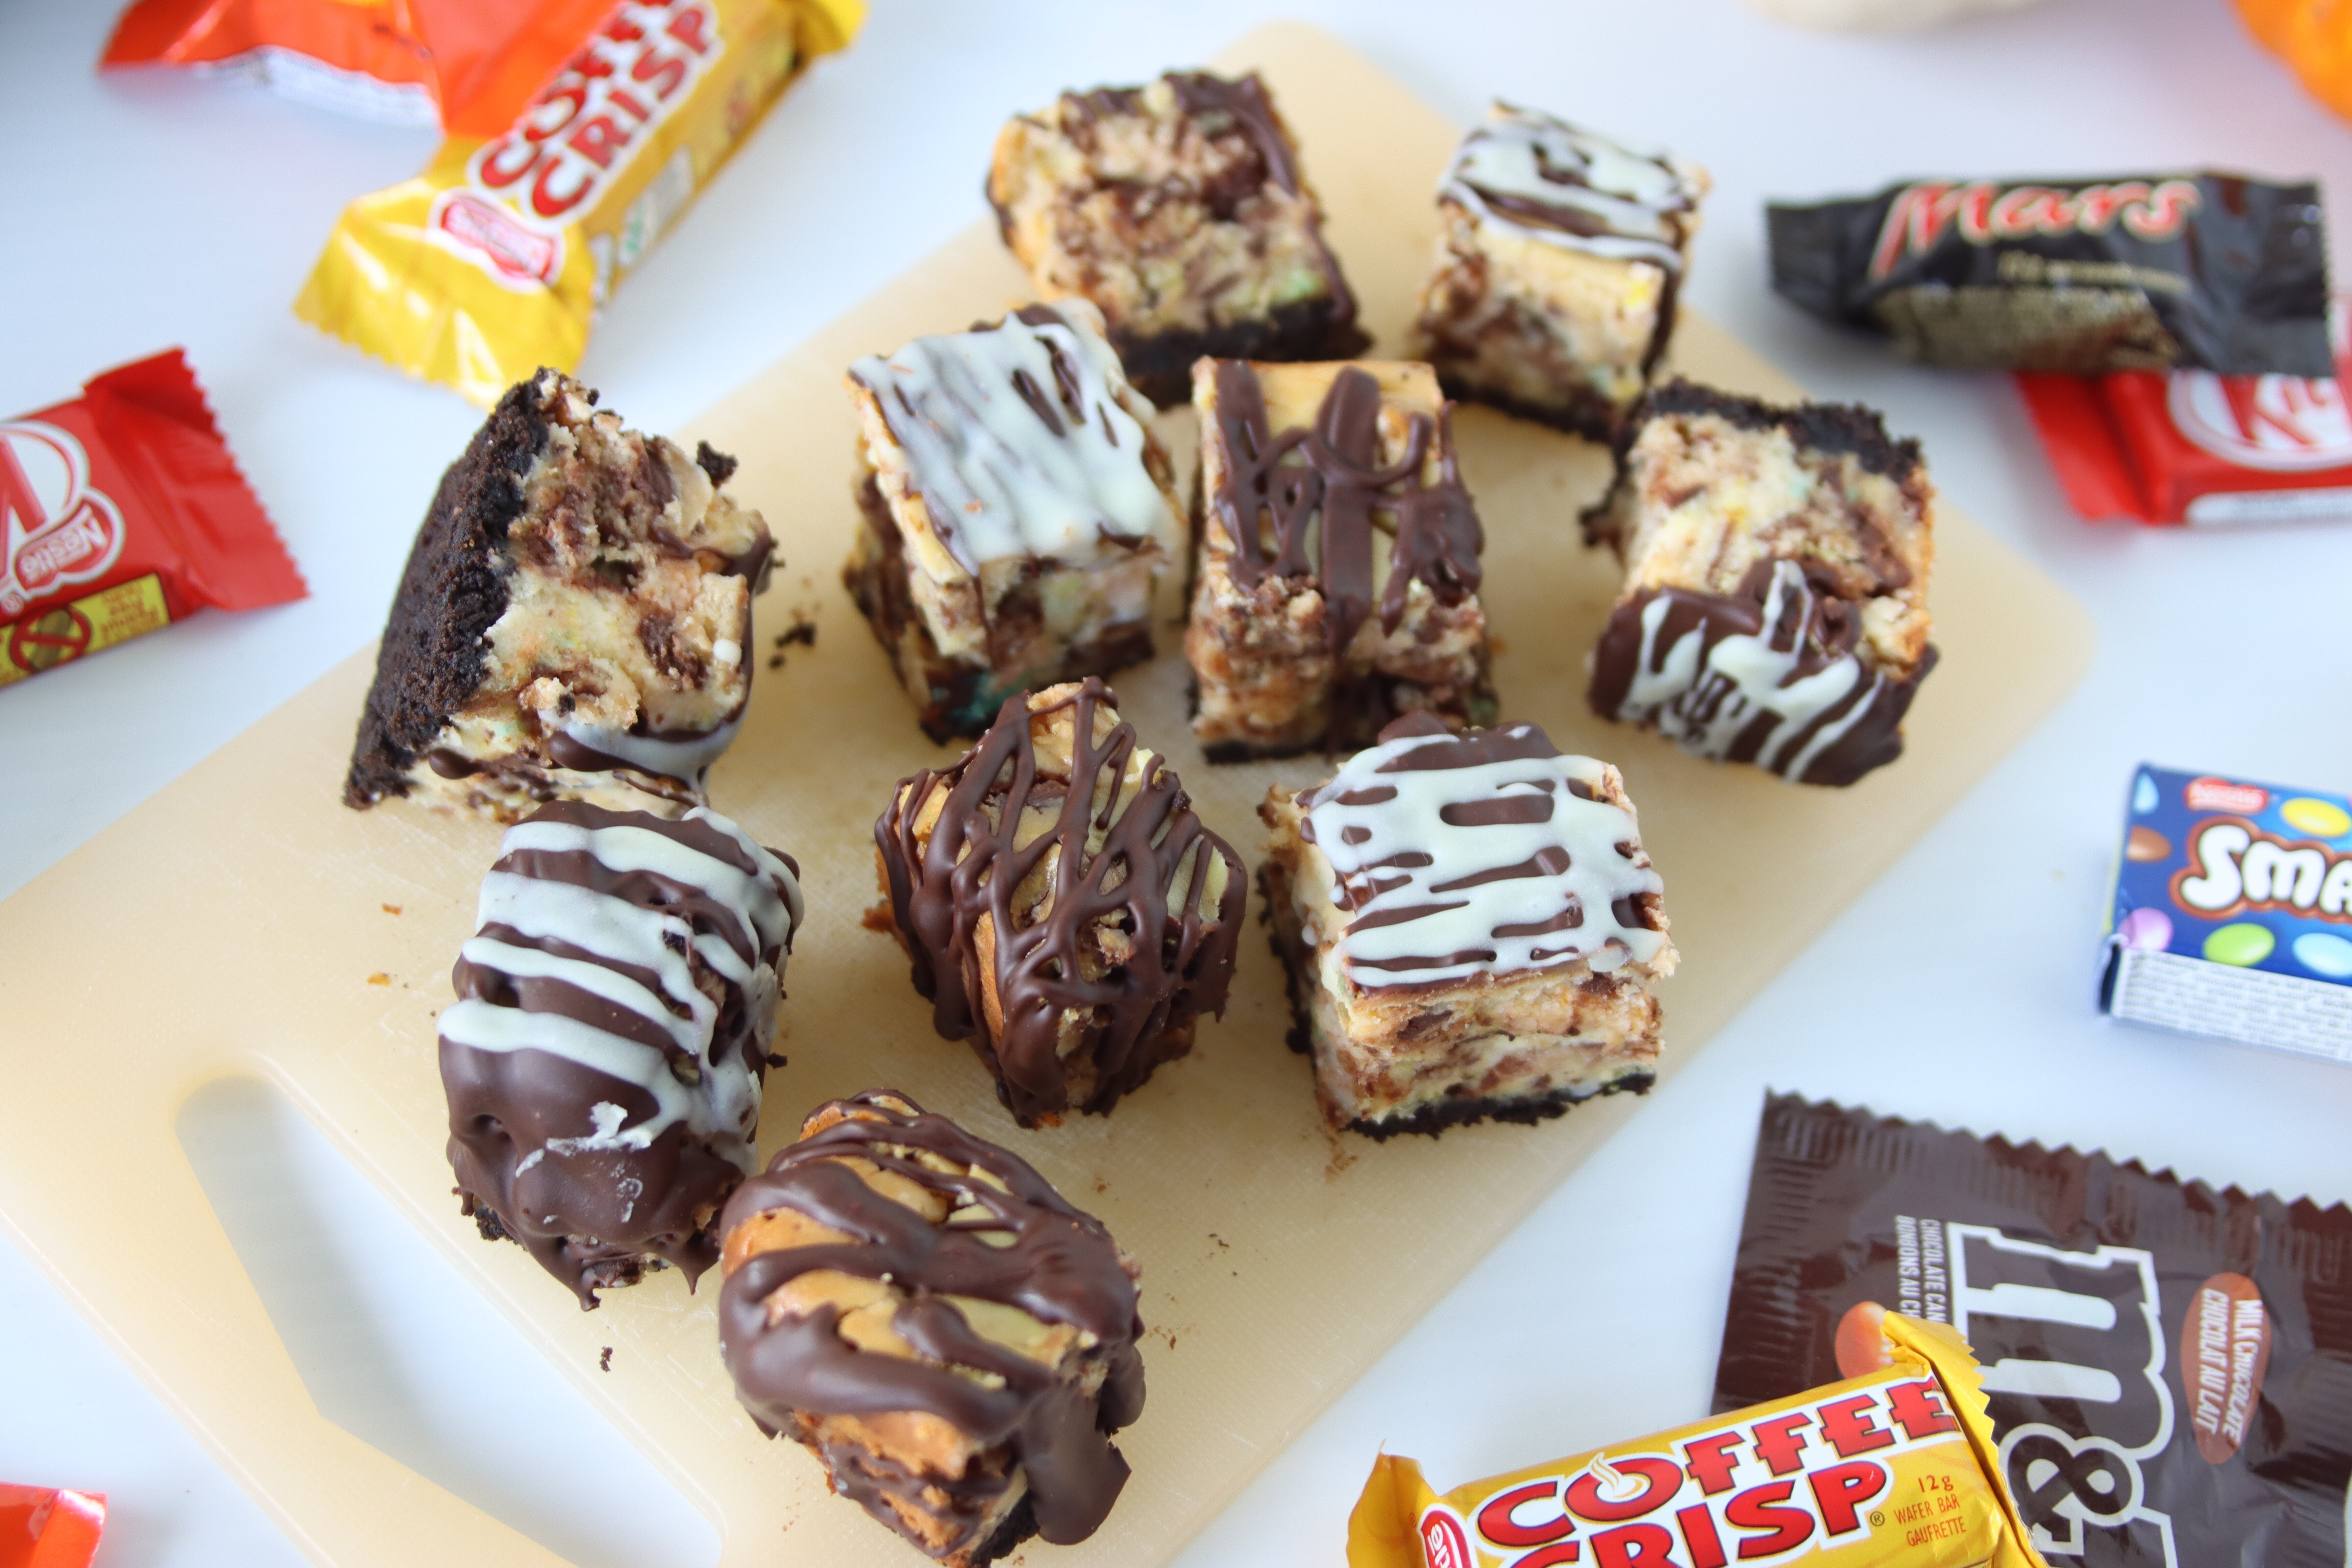
Or, if you don’t feel like going through the process of all that hassle, do it how I did when taking pictures of them. Place your cold bites on a wire rack in a baking sheet and just pour all of your chocolate on top. It may not be the prettiest by the end since the chocolate doesn’t fall perfectly, but it gets the job done quickly and easily.
Another way you could decorate them, which, if done well, will give you the prettiest results, would be to drizzle the chocolate on top. You can even mix it up with different kinds of chocolate, like the white chocolate drizzle in the pictures!
Last but not least, you chill them. I know, again. But this process is what gives it that delightful snap of the chocolate when you bite into it and break the shell. And it would feel kind of weird to have a mix of temperatures; who would want to have warm chocolate on one side of their mouth and ice-cold cheesecake on the other? It’s not a microwaved meal!
Conclusion:
It may seem like a lot of time and effort to make something that looks so cute and simple in the end, but trust me you’ll thank me when you’re done. Even more than that, your taste buds will thank me when you’re done.

If you liked this recipe, leave a comment below, and check out some of my other similar recipes, like Mom’s Famous Cherry Cheesecake or Pumpkin Cake Pops! Happy Halloween and happy baking!
Leftover Halloween Candy Cheesecake Bites
Ingredients
Graham Cracker Crust:
- 9 whole graham crackers crushed into crumbs (*see notes)
- 1/2 cup butter melted
Cheesecake Filling:
- 16 ounces cream cheese bricks room temperature
- 1/2 cup sugar
- 1/4 cup heavy whipping cream
- 1/2 tsp vanilla extract
- 2 eggs
- 1 1/2 cup candy bars chopped (*see notes)
Chocolate Coating:
- 16 ounces semisweet chocolate (*see notes)
Instructions
Graham Cracker Crust:
- Preheat oven to 350 degrees Fahrenheit.
- Line an 8"x8" square pan with tin foil and spray with non-stick cooking spray.
- In a small bowl, combine graham cracker crumbs and melted butter with a fork. You may need to add more crumbs or more melted butter to get the correct consistency.
- Press mixture evenly into prepared pan.
- Bake the crust for 10 minutes or until lightly golden (you should be able to smell the crust in the oven when it's ready).
Cheesecake Filling:
- Reduce oven heat to 325 degrees Fahrenheit.
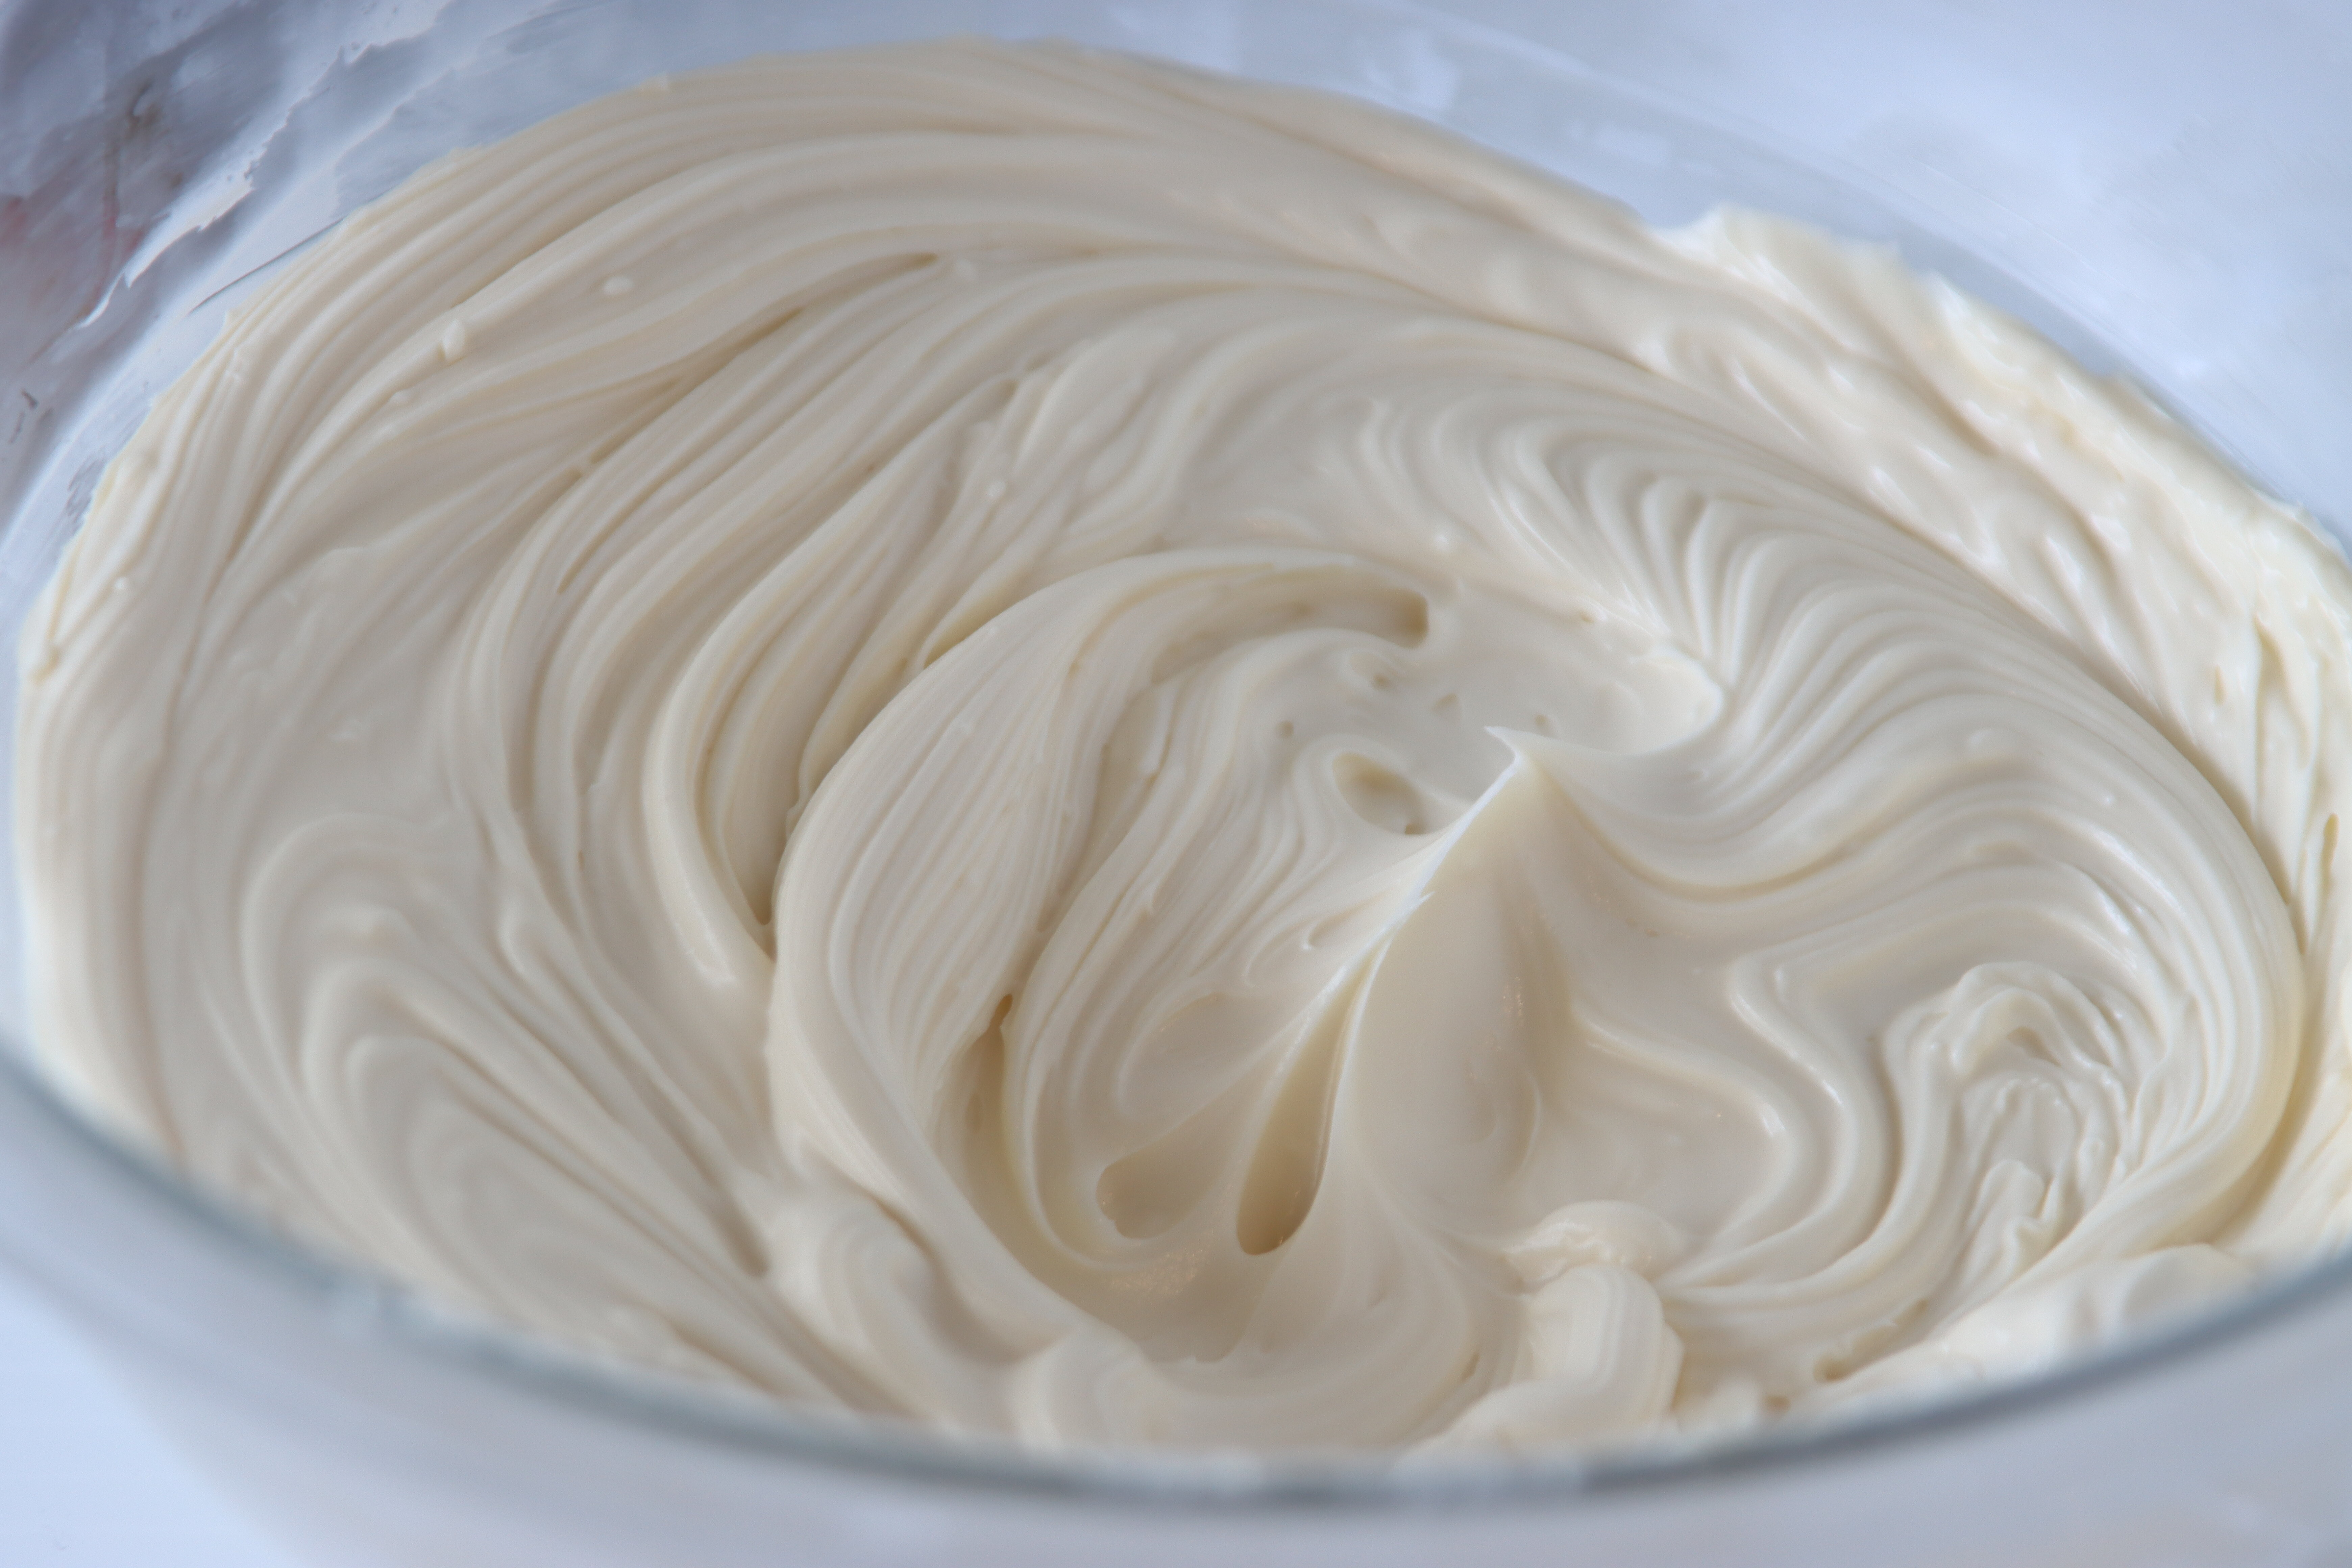
- Using an electric mixer, beat the cream cheese until smooth in a large bowl.
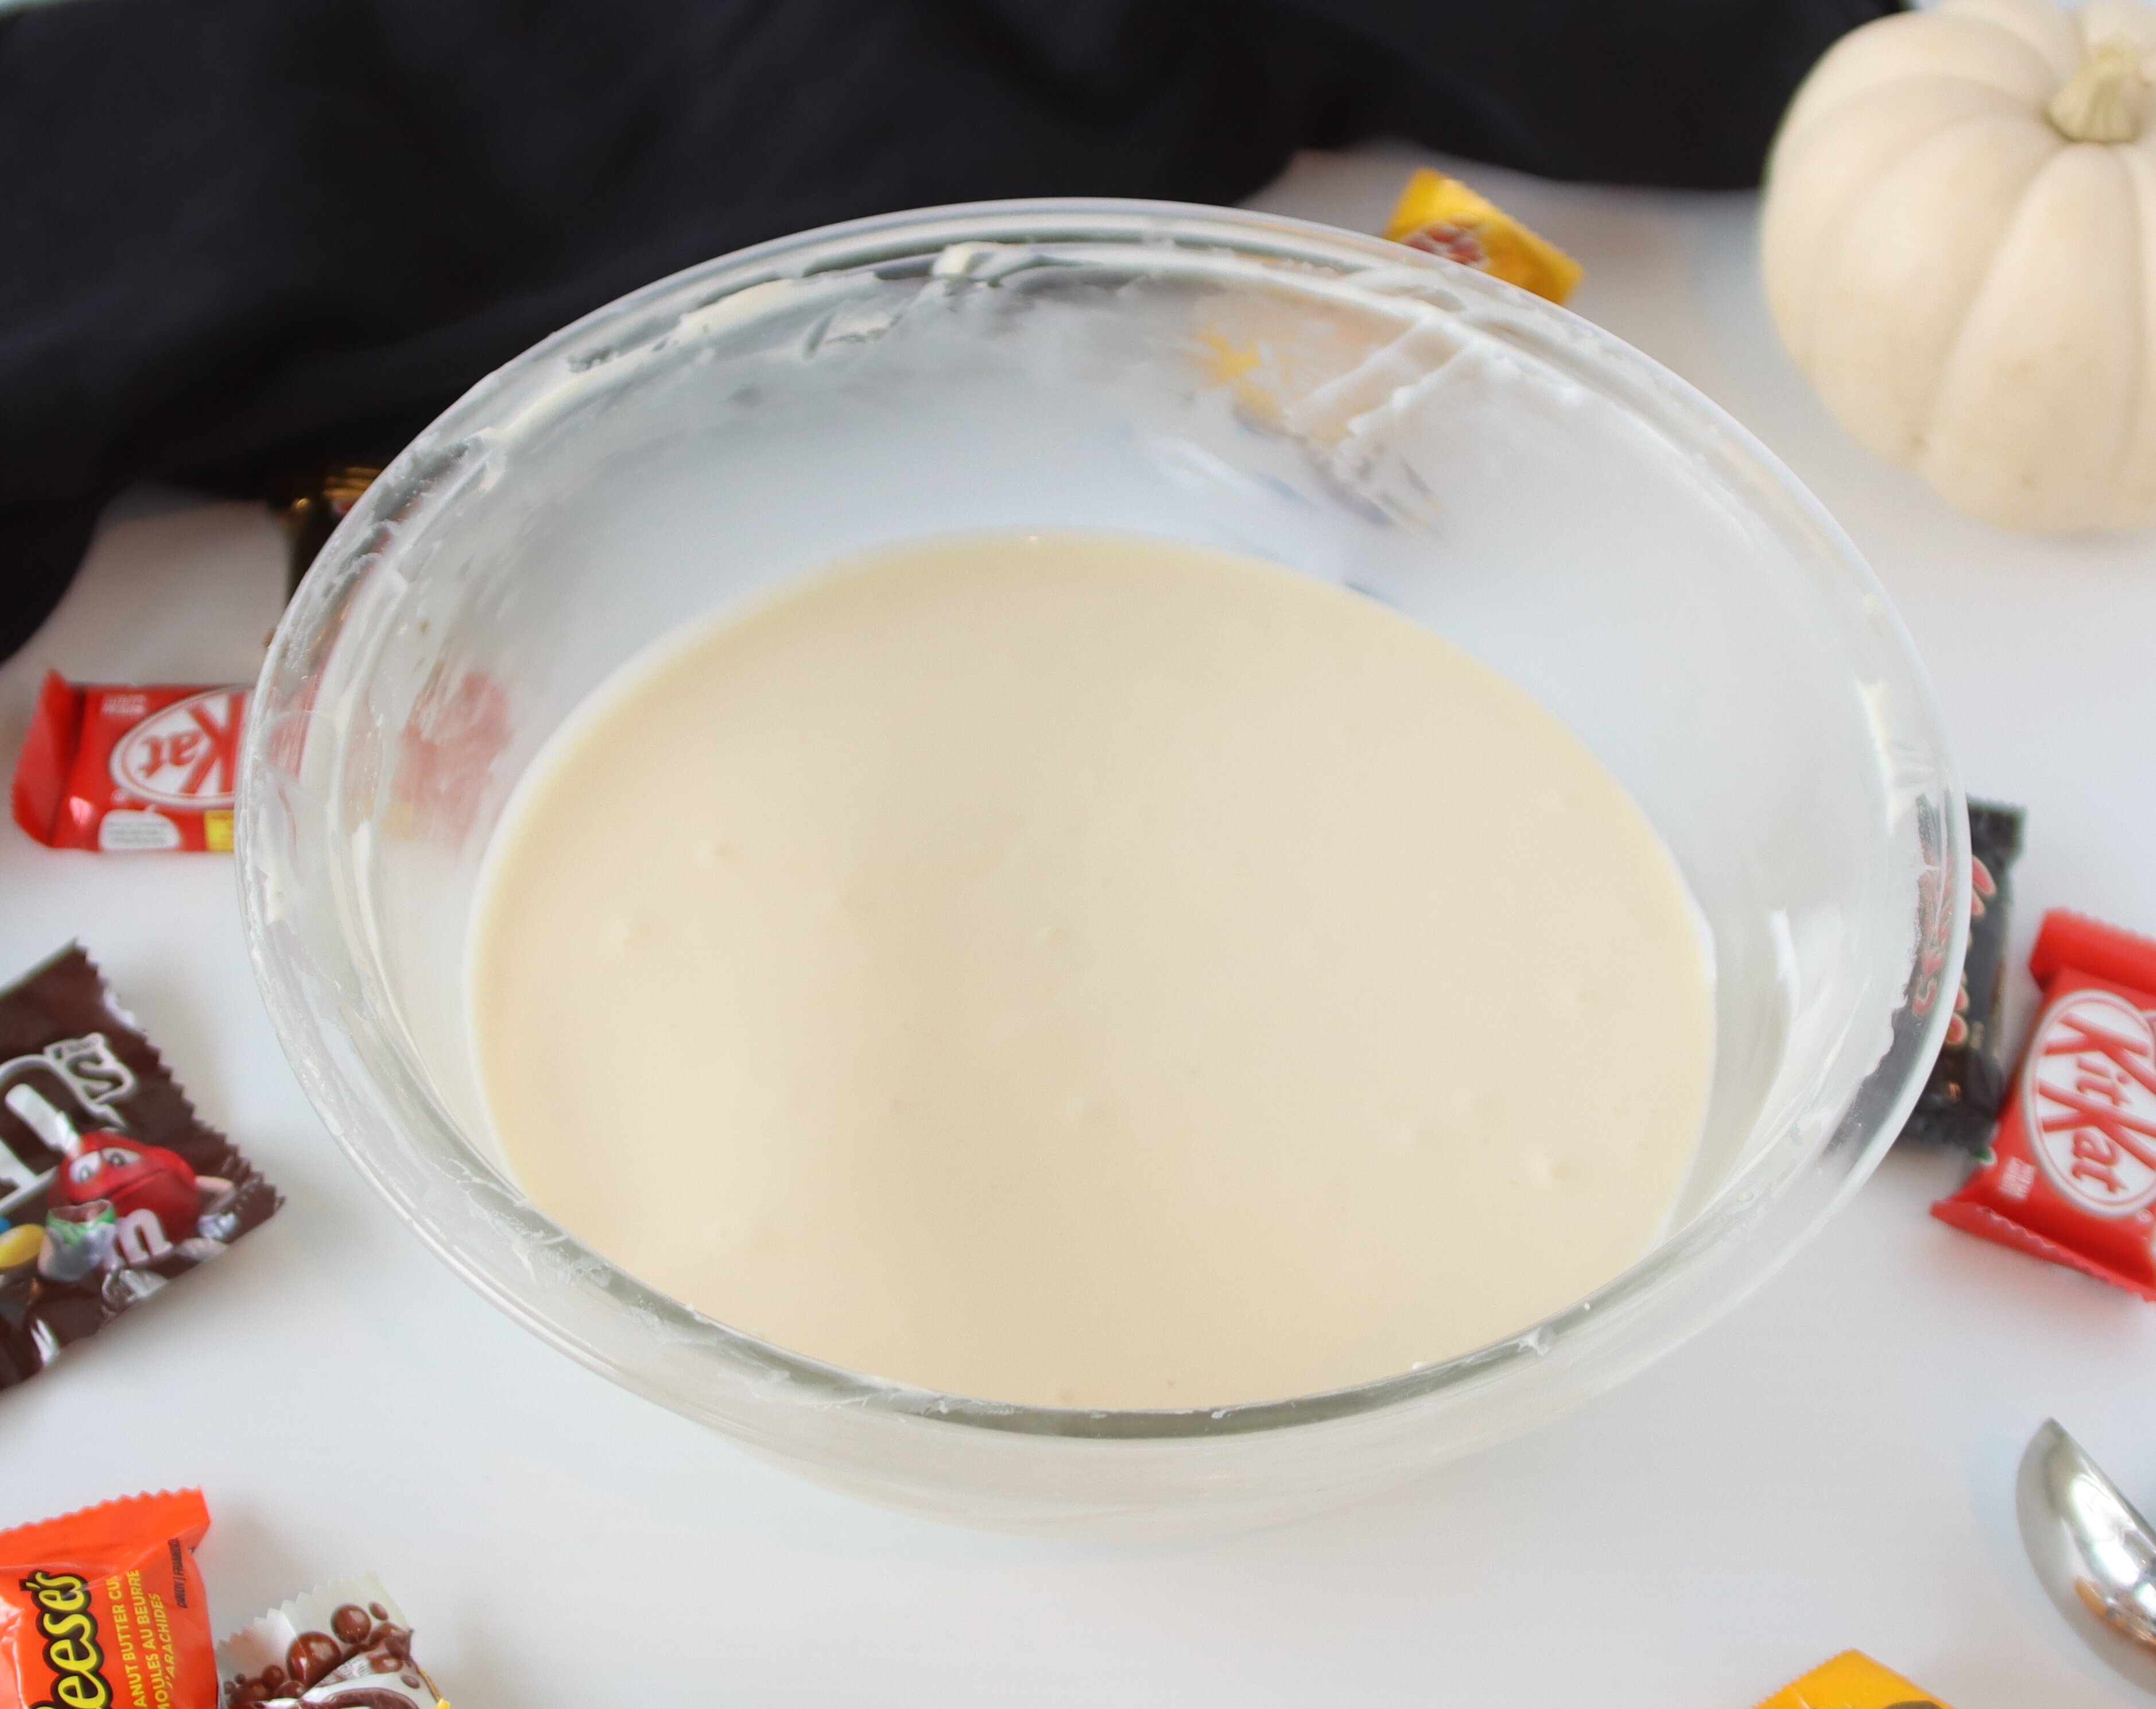
- Add in the sugar, heavy whipping cream, and vanilla, and beat until combined.
- Add in the eggs, one at a time, beating lightly between each addition until just combined. It's very important not to overbeat the batter once the eggs are added; however, you can beat for as long as you want before this addition.
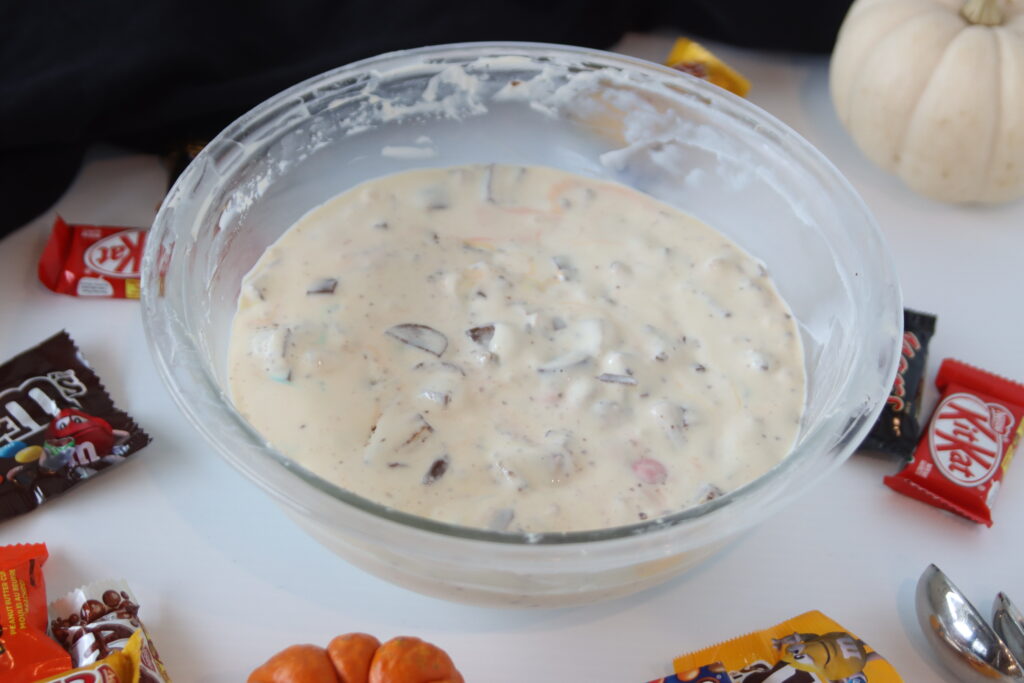
- Stir in the chopped candy bars, chocolate, fudge, or whatever other ingredient you'd like.
- Pour the batter into the cooled crust.
- Bake for anywhere between 30-60 minutes or until set. You will know it's set once it's slightly golden and the middle is only slightly jiggly. The key here is to keep a close eye on it after the first 30 minutes, you don't want to overbake it, but you definitely don't want to underbake it! (*see notes)
- Keeping the cheesecake in the pan, let it cool completely on a wire rack, then move it to the freezer and let it chill for at least 3 hours.
Chocolate Coating:
- Once frozen, lift the cheesecake out of the pan and gently peel away the foil.
- Using a sharp knife, cut the cheesecake into 36 bite-sized squares. If the bites become too soft, put them back into the freezer until chilled again.
- Place the chocolate in a microwave safe bowl and heat for 1-2 minutes in 30 second increments, stirring in between each increment, until the chocolate is melted.
- Line a baking sheet with parchment paper.
- Dip each bite into the melted chocolate, coating them completely. I use a fork to do this process, since the bites just fall off of a toothpick. It's very important that the bites are cold for this so that they do not fall apart as you are coating them. Let the excess chocolate drip off and place the finished bite on the baking sheet. You could also coat them by pouring the chocolate over top (place the bites on a wire rack with a baking sheet underneath to catch the drippings), or by drizzling them with the chocolate.
- Refrigerate or freeze until the chocolate is set.
- Enjoy! Serve chilled, or store in a container in the fridge or freezer.